TUTORIAL – Kaer Morhen
Once you gain control of Geralt after splashing your way out of the tub, you'll be standing in a circular tower with Yennefer nearby.
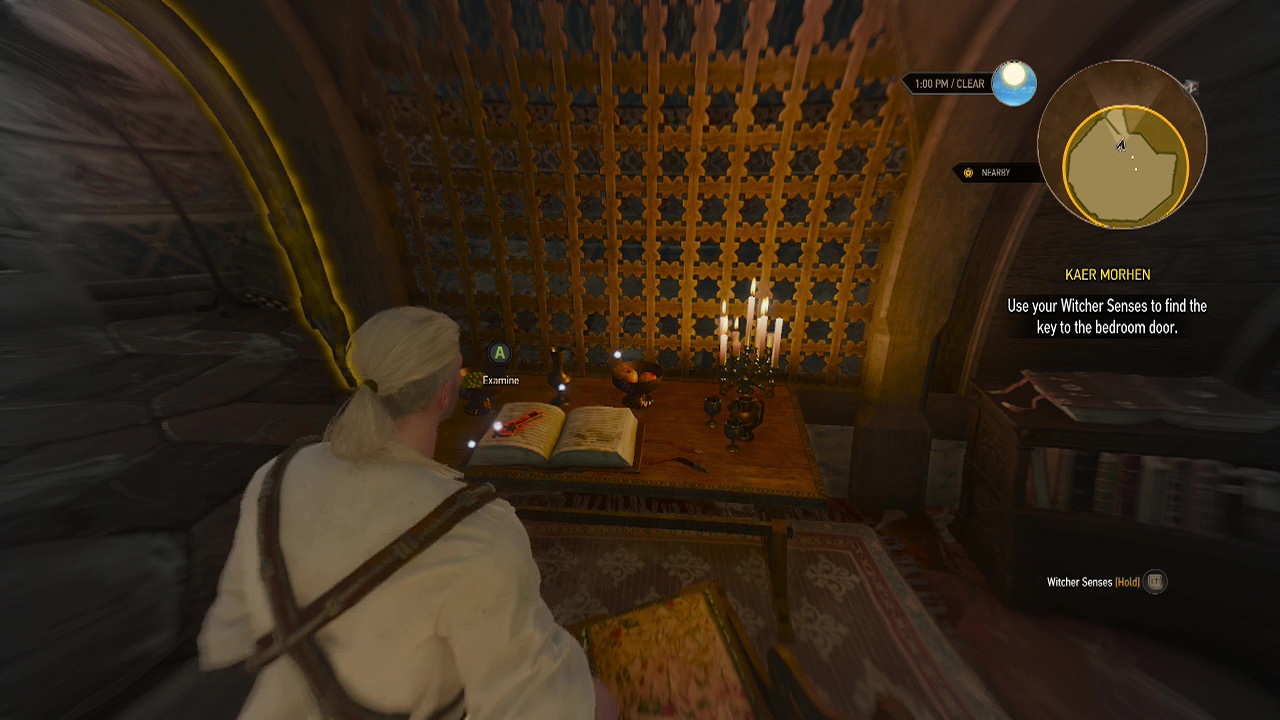
Objective: Use your Witcher Senses to find the key to the bedroom door
There are several objects in the room that you can examine by activating your witcher sense (hold LT), some trigger quick snippets of dialogue when you interact with them. The item you need though is a key sitting on a glowing book of magic against the North-West wall of the room. Walk over to the locked door nearby now that you have the key and press A (Xbox) or X (PS) to open it.
Objective: Go to the lower level
Trundle down the circular stairs to trigger a scene.
Objective: Talk to Ciri
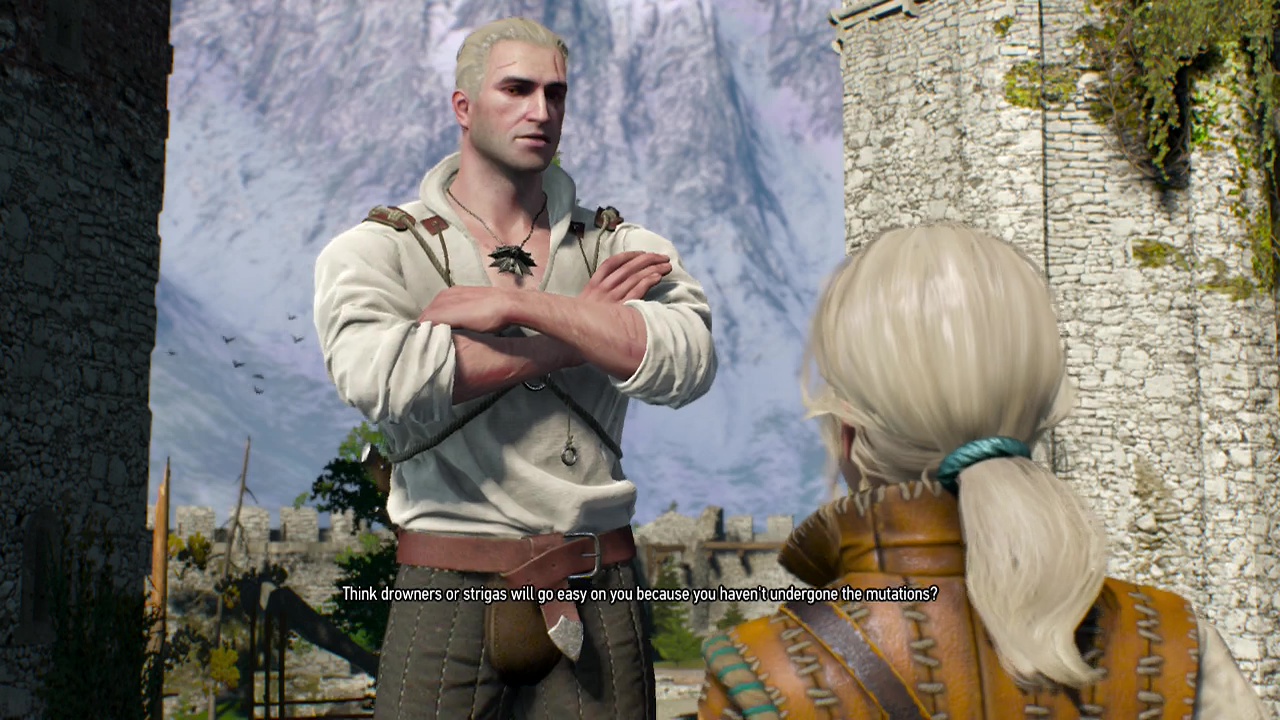
During the scene you'll have a quick chat with Ciri and get a dialogue choice. Afterwards, it's time to get moving. You'll get a choice during the conversation to undertake the movement tutorial or to skip it.
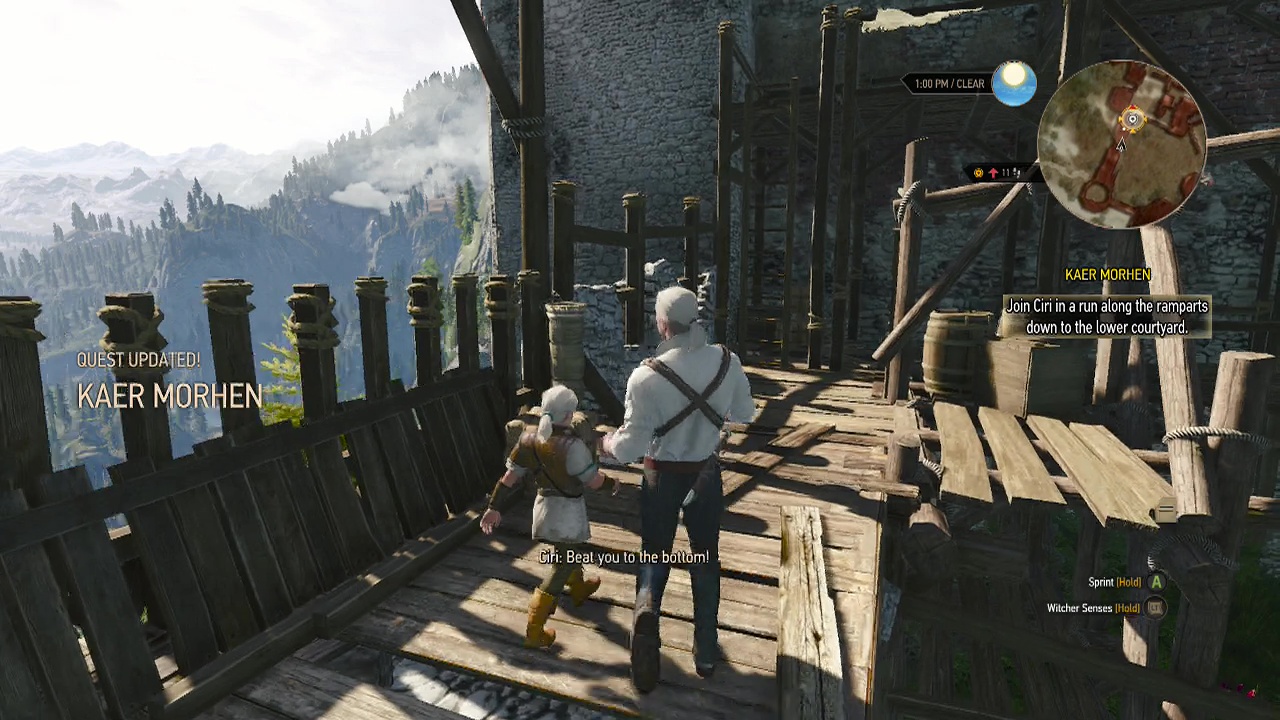
Objective: Join Ciri in a run along the ramparts down to the lower courtyard
Follow the tutorial instructions that come up on the screen as you follow Ciri along the walls.
Movement tutorial:
Sprint: Hold A (Xbox) Hold X (PS)
Climb ladder: Press A (Xbox) Press X (PS) – when nearby
Jump: Press B (Xbox) Press Circle (PS)
Climb over: Press B (Xbox) Press Circle (PS) – when facing a wall or other climbable object
Objective: Draw your sword
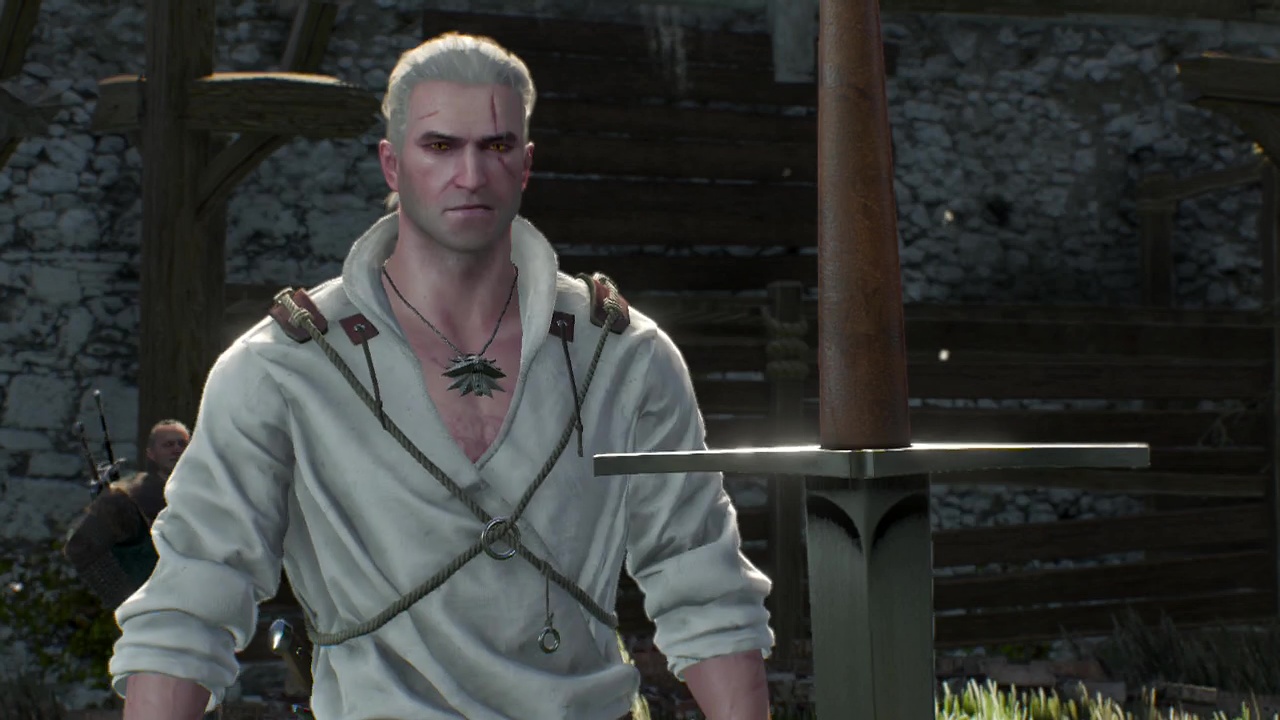
A heads up on swords for anyone who has not played a witcher game before. Geralt has two swords, steel and silver. Steel works against humanoid and non humanoid enemies – generally races with sentience (bandits, other races). Steel sword enemies will have a red health bar. The silver sword is used exclusively on monsters (ghouls, drowners, etc), which have a silver health bar to help you distinguish them. Using the correct sword is crucial, as using the incorrect weapon will do minimal/ no damage to the enemy. You will be given the option here to undertake the combat tutorial or to skip to free training.
Combat tutorial:
For the training duel, draw your steel sword (D-pad left) and ready yourself.
Objective: Aim at Vesemir and mark him as your target
Pull RT once when when facing a target to lock onto them. This adjusts the camera to focus your view on them, making movement tracking and aiming easier. Pulling RT again will remove the lock on.
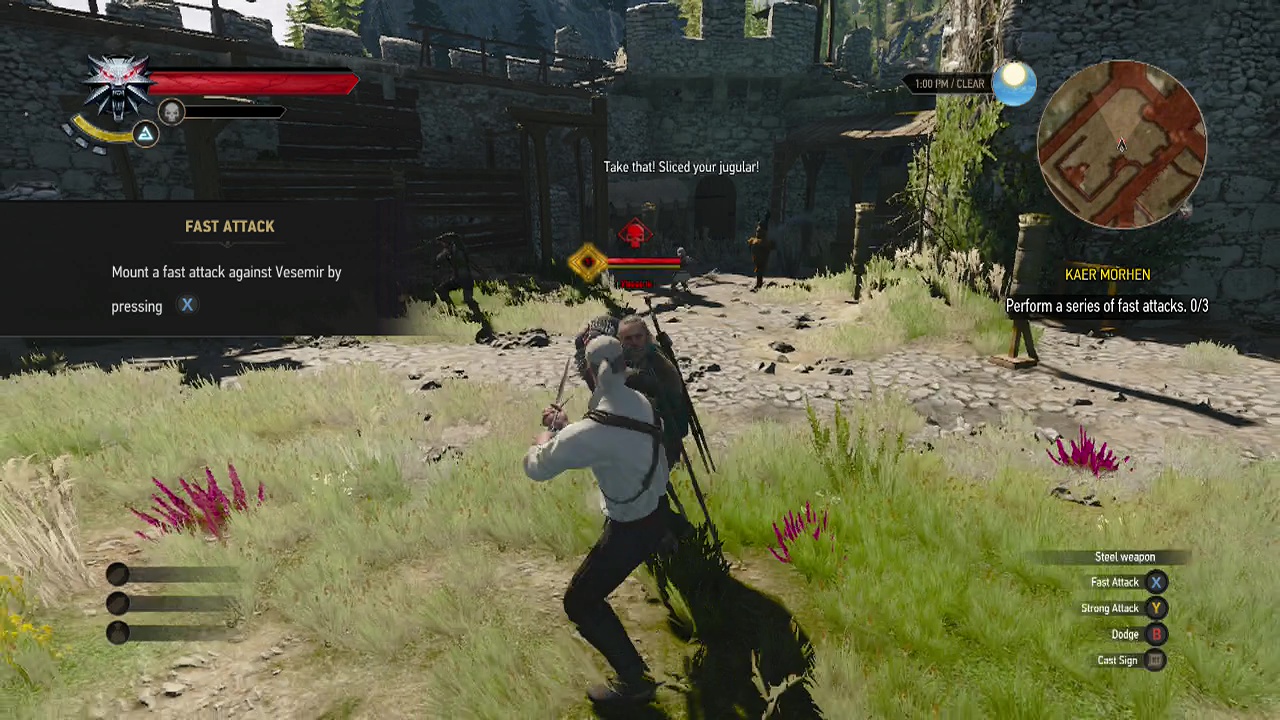
Objective: Perform a series of fast attacks (3)
Simply tap X (Xbox) or square (PS) to initiate a light attack. Successfully hit Vesemir three times with the light attack to advance
Objective: Perform a series of strong attacks (3)
Tapping Y (Xbox) or triangle (PS) will perform a heavy attack. While slower, heavy attacks deal more damage to your target. Successfully hit Vesemir three times with the heavy attack to advance
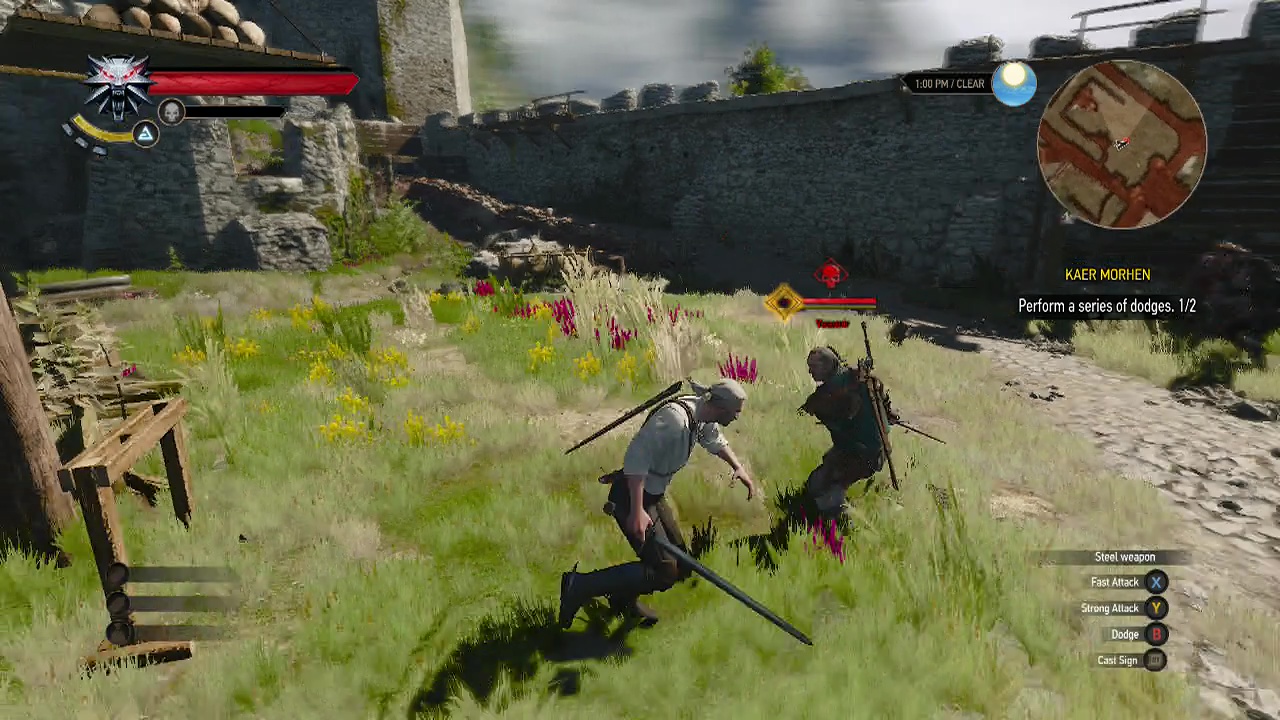
Objective: Perform a series of dodges (2)
The game will pause initially when Vesemir swings at you, allowing you to pull off a dodge successfully by moving in a direction with the LS and pressing B (Xbox) or Circle (PS). Dodge out of the way again to move on.
Objective: Roll out of the way of Vesemir's blows (2)
The game will pause initially when Vesemir swings at you, allowing you to pull off a roll successfully by moving in a direction with the LS and pressing A (Xbox) or X (PS). Roll out of the way again to move on.
Objective: Perform a series of parries (3)
Parrying attacks is a basic, but useful way of avoiding damage when facing multiple foes or single strong human sized enemies (some larger or magic using enemies cannot be parried). Simply hold LT to enter parry stance and move toward Vesemir until he swings at you. Once you have parried three of his attacks, you can advance.
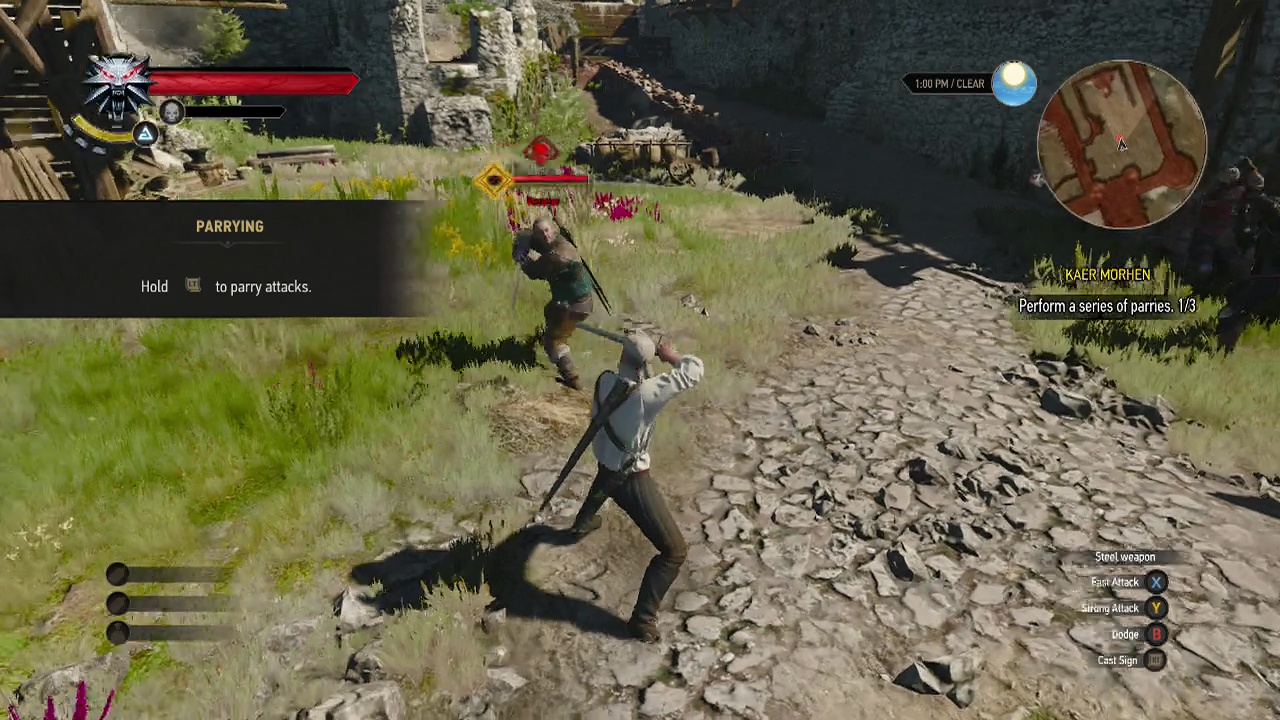
Objective: Perform a series of counterattacks (3)
Counterattacks require more skill to pull off but can be devestating when used correctly. You must time a LT press to the first few frames of an enemies attack animation. In other words, when an enemy begins swinging at you, pull LT to perform a counterattack. If successful you will knock them back or disorient them, giving you an opening to attack. Perform three counterattacks to continue onwards.
Objective: Cast the Quen Sign
The Quen sign protects a witcher against damage and certain critical effects. Press LB to bring up the quick access menu, which shows all your signs and equipped ranged weapons/ bombs. Select the Aard sign from the signs at the top. To cast it, pull RT when focusing on Vesemir. Once it connects, the next objective will trigger.
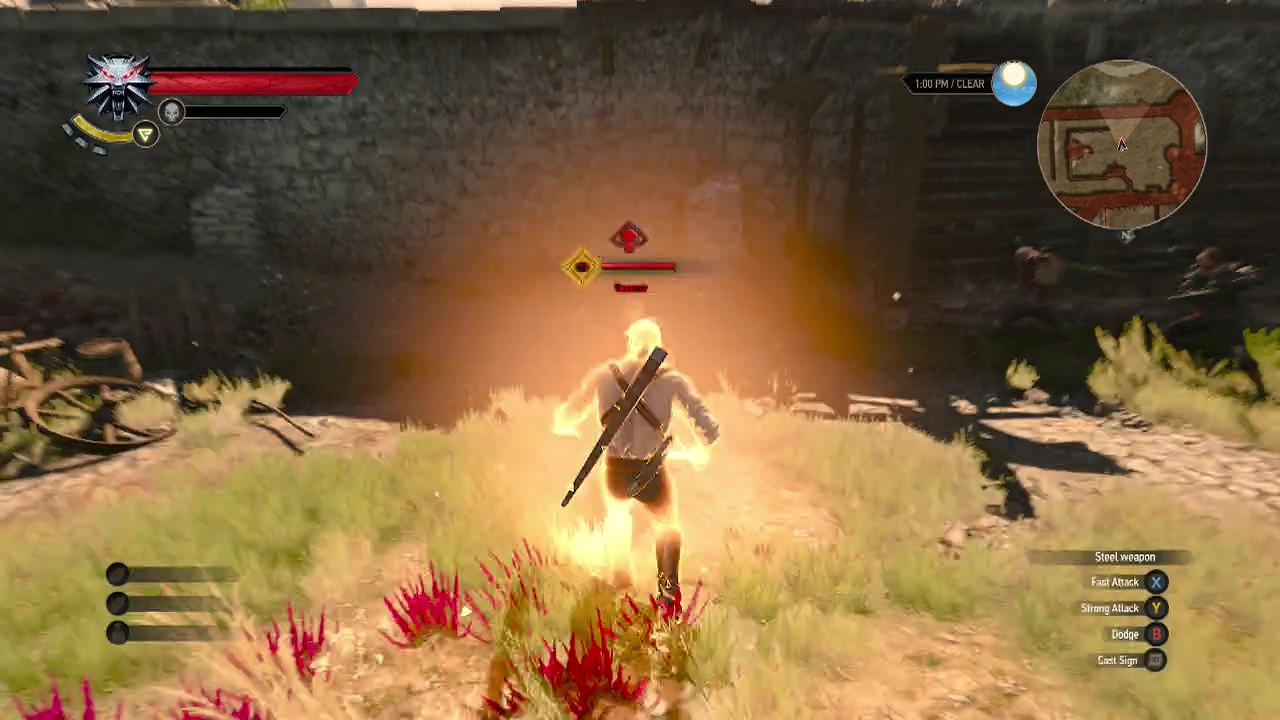
Objective: Cast the Igni sign
The Aard sign deals fire damage and has a chance to burn enemies when cast. Select it in the quick access menu and cast it on Vesemir to move on.
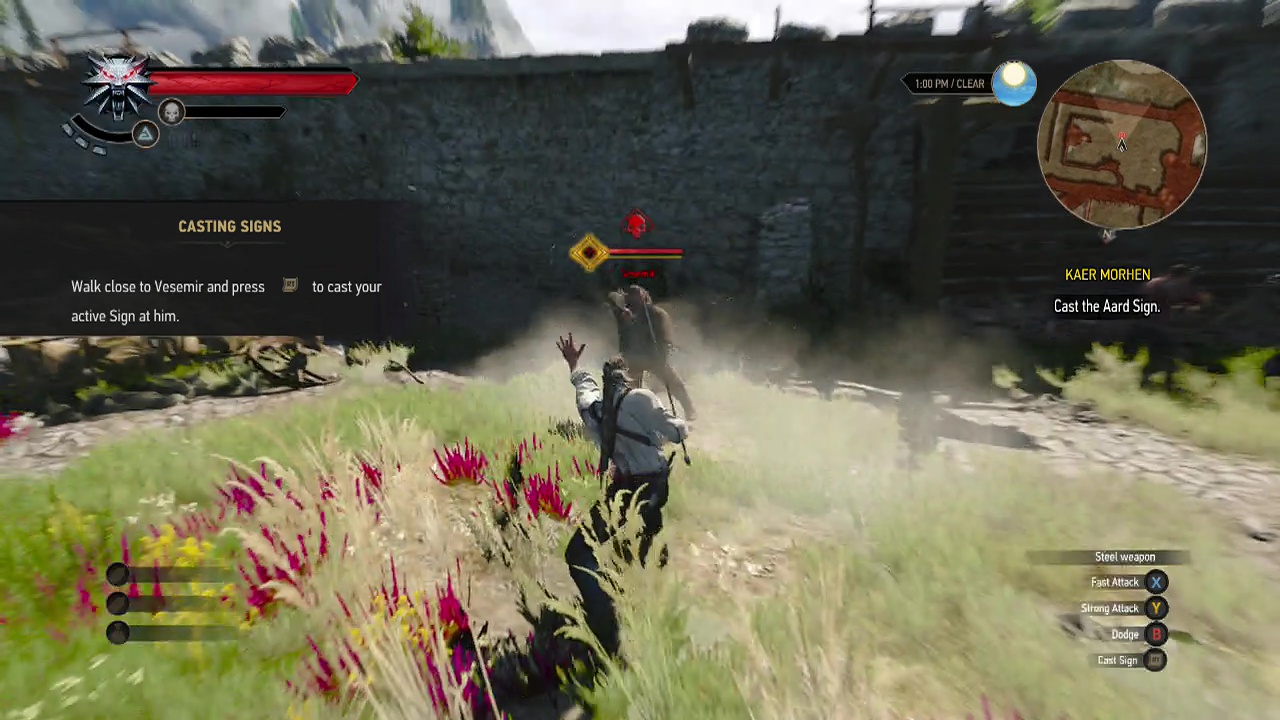
Objective: Cast the Aard sign
The Aard sign stuns and can knock down opponents. Select it in the quick access menu and cast it on Vesemir to move on.
Objective: Cast the Axii sign
The Axii sign disorients opponents. Select it in the quick access menu and cast it on Vesemir to move on.
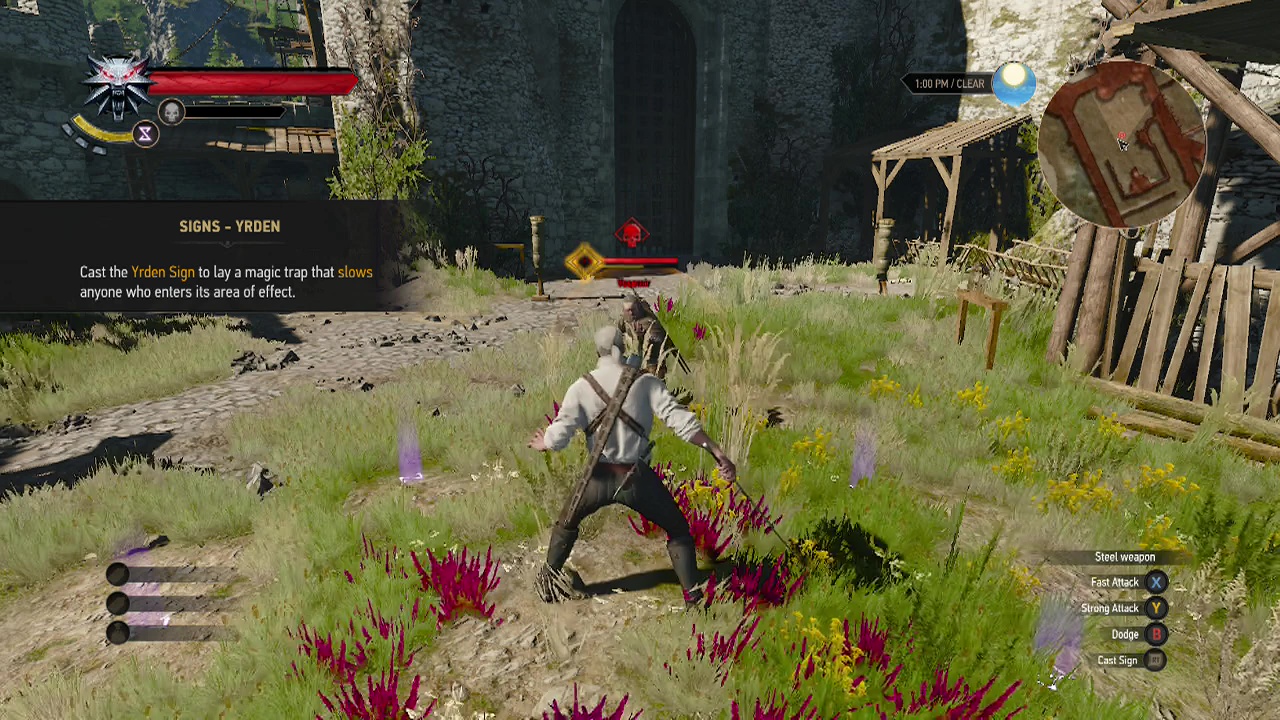
Objective: Cast the Yrden sign
The Yrden sign places a circular magic trap on the ground that slows down opponents that enter it. Select it in the quick access menu and cast it on Vesemir to move on.
Objective: Throw a bomb
Bombs can also be accessed in the quick access menu, press LB to bring it up and pick the training bombs in the lower area. Tap RB when locked on to Vesemir to throw one at him.
Objective: Stand in the highlighted spot
Walk over to the nearby highlighted spot (use the mini-map if you need to).
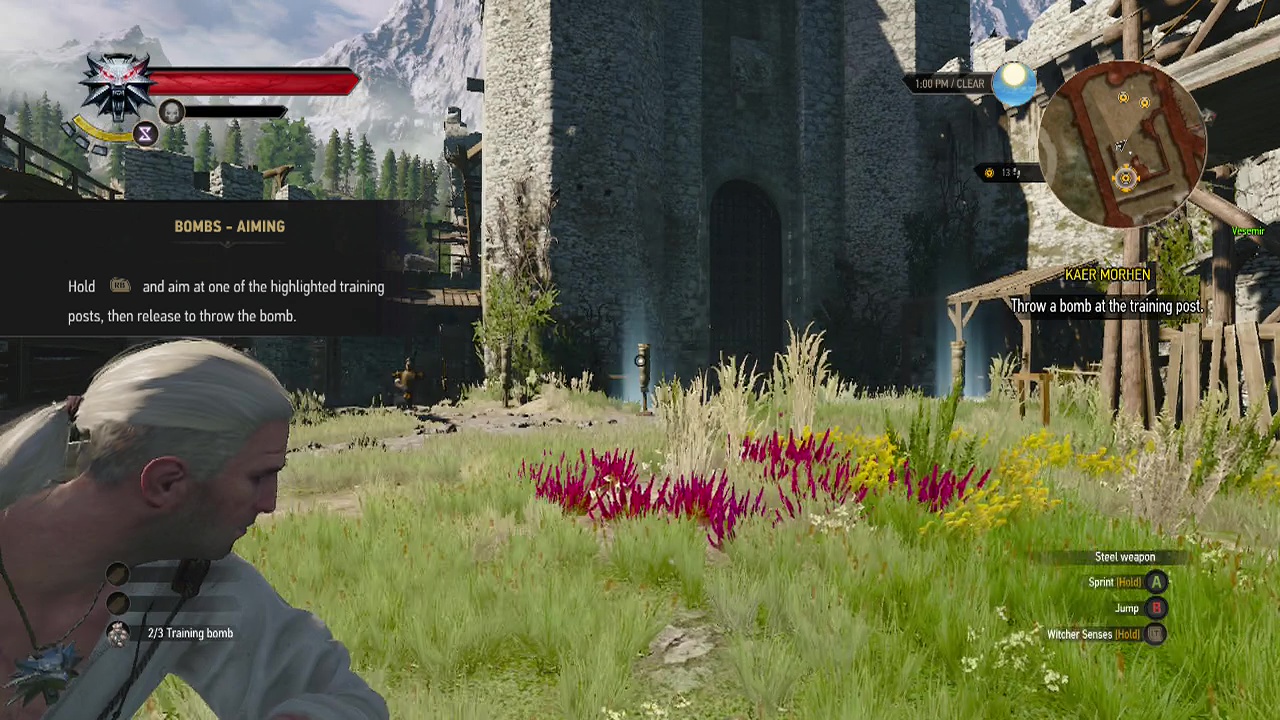
Objective: Throw a bomb at the training post
Now you'll need to manually target one of the training posts nearby (Hold RB to manually aim and then release to throw the bomb). When you hit the training post, the structured training is complete. Free training will start from here if you want to hone your skills.
Objective: Sheathe your sword
When you are done with free training, simply sheathe your sword and a scene will begin, ending the tutorial.
