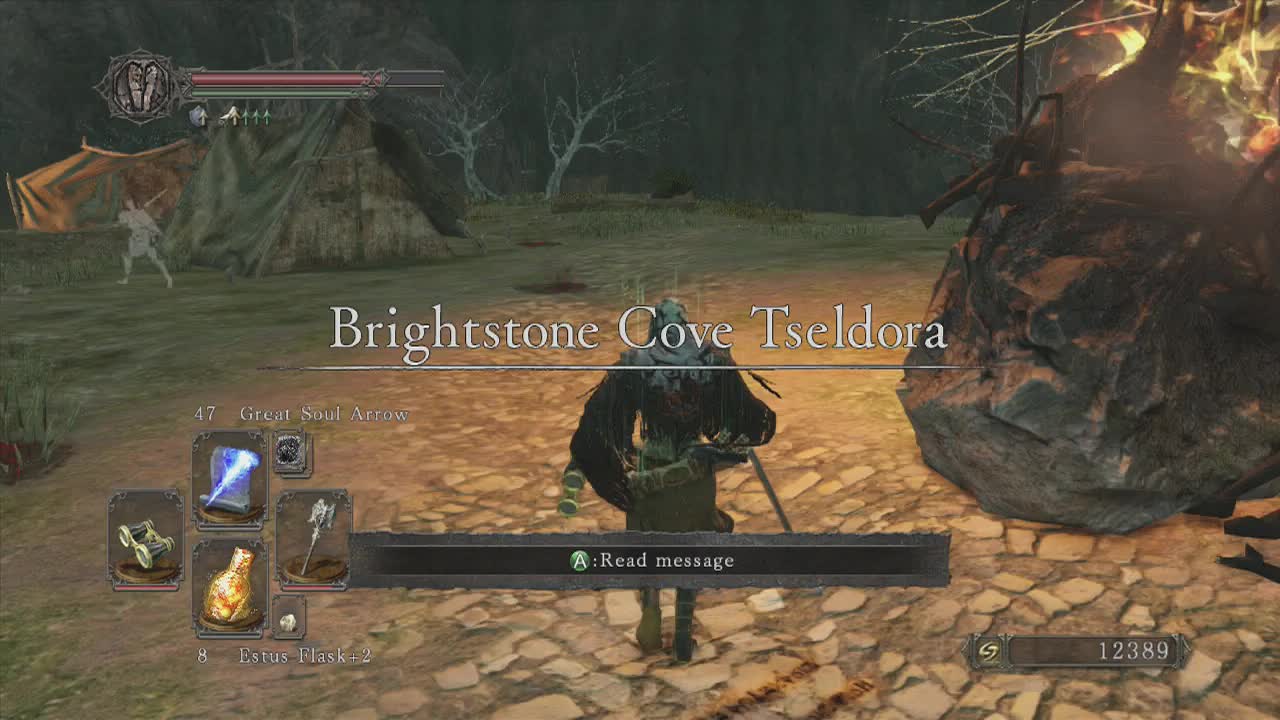
Brightsone Cove Tseldora can be reached by traveling through Shaded Woods and the Doors of Pharros. After climbing up the staircase at the end of the Doors of Pharros area and emerging into the open area through the door beyond, you will enter Brightstone Cove Tseldora. When you first enter the area, the royal army camp will be directly ahead. Inside several tents in the area, undead villagers (with dark enchanted weapons) are waiting to ambush you when you approach the middle of the camp. Inside the tent to the right of the burning corpse pile is the first bonfire of the area. Just ahead of the burning corpse pile are two boars (grown up versions of the ones found in Majula) to dispatch. Head to the left side of the camp to spot a hollow surrounded by several corpses which all hold items. Pick up the multiple Souls of Nameless Soldiers and the Large Soul of a Proud Knight. The scaffolding next to this can be brought down with a couple of good hits to retrieve the Lacerating Arrow from the corpse at the top. Just past the first scaffolding tower is a second with an archer on top, if you have ranged attacks you may want to take him out now to prevent cheap damage.
The ruined building just past the two scaffold towers cannot be accessed in the normal way, however there is an alternate entrance. Before we head for that though, smash the vases on the side of the building to find a corpse holding a Large Soul of a Nameless Soldier. Head towards the nearby well and collect the Titanite Shard from it. Climb up the nearby ramp that overlooks the well and drop down onto it's outer wall, then drop down inside the well to find a secret passage back to the ruined building. At the bottom of the well, pick up the Holy Water Urns from the body and continue along the passage. Inside the building is a chest containing Human Effigies to collect. Climb the small ramp in the doorway to exit the building.
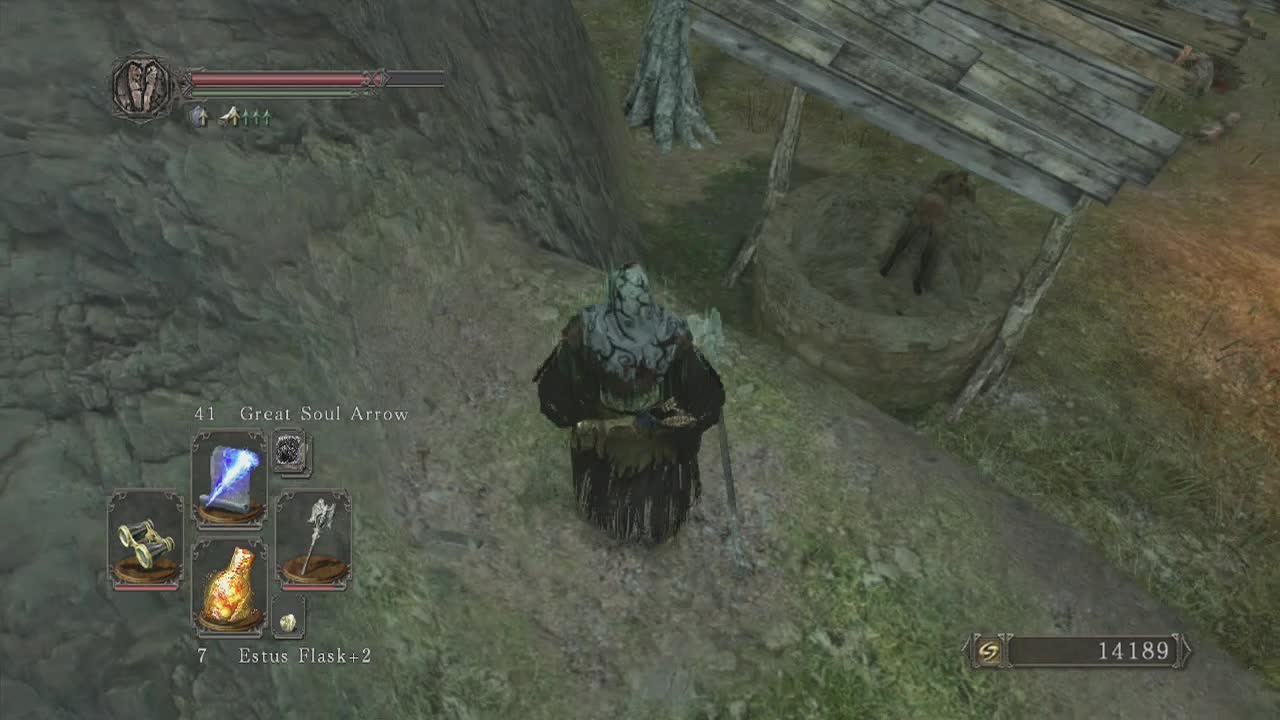
Now that we've cleared the left side of camp, it's time to deal with the other side. Head towards the cliff on the right side of camp (slightly further along than the well we just used). From here, a ramp will descend down towards a ladder and a small cave further down. Before using this path, look above to spot giant boulders that undead soldiers are waiting to crush you with. Ranged characters can actually hit the boulders and crush the waiting undead (shooting any that survive). Melee characters will need to bait the rocks and then ascend the ladder to deal with the soldiers. Before ascending the ladder (if you have already triggered the first boulder), pick up the Soul of a Nameless Soldier from the body on the ramp. Then climb the ladder to the upper area, underneath the second boulder is a corpse with Soul of a Brave Warrior on it. Ranged characters can use the upper area to pelt the undead soldiers below from this advantageous position and clear the path further ahead (there will be four undead soldiers waiting in the small rock tunnel below). Melee characters will need to lure them out one by one or in pairs to deal with them easily.
Pass through the small rock tunnel and look to the right edge of the cliff you end up facing at the end. A corpse will be dangling on the edge here holding a Large Titanite Shard. To the left are three undead villagers guarding a metal door emblazoned with spider motifs. Pick them off from around the rock face, or lure them out and kill them with melee. Once they are gone, push open the metal doors and step inside. Descend the ramp into the first room. The holes in the walls, although suspicious don't contain anything. So pass through the next door to another ramp leading down. At the entrance to the second room, you should be able to look at the holes inside and spot the waiting spiders. When you enter the room they will ambush you (you can trigger the ambush early by attacking any of the spiders with ranged attacks, although this means you can kill off a couple before they can move to attack you). A total of seven spiders will attack here. They do inflict poison status when they attack but are relatively weak and only a threat if you are overwhelmed and out of stamina. When they are gone, open the trap chest in the center of the room to pick up the Heavy Bolt inside.
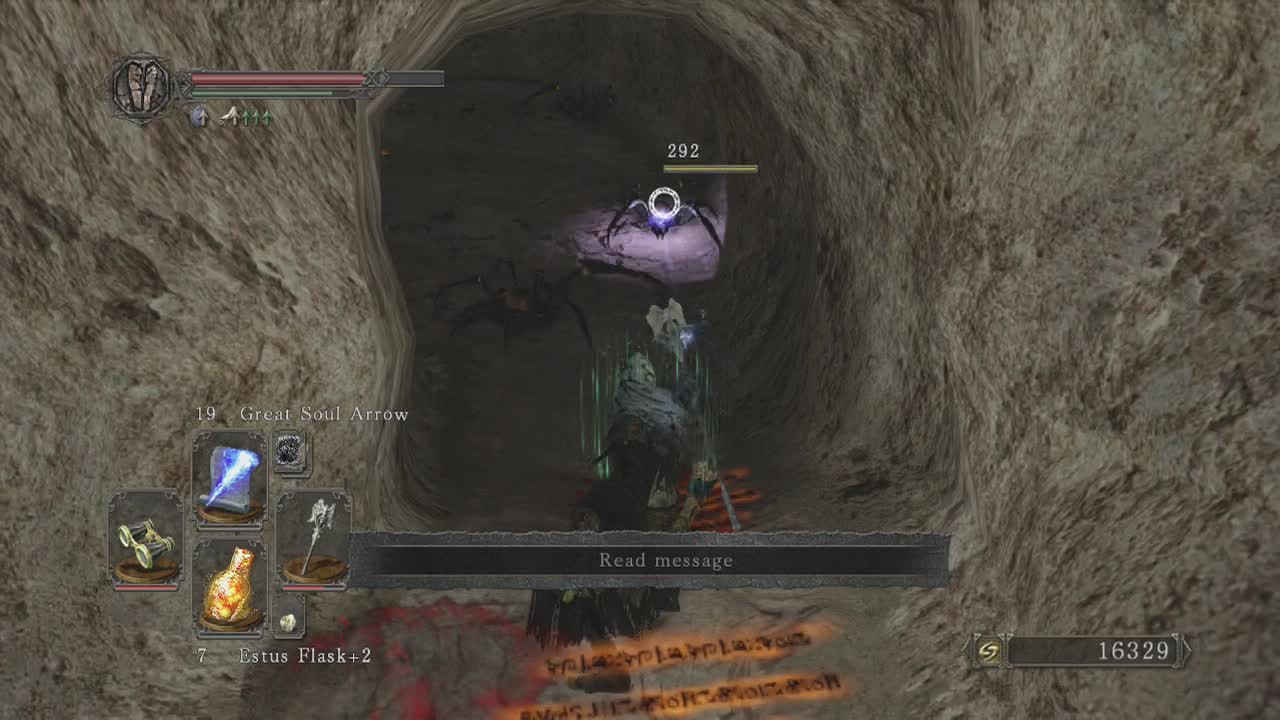
Open the metal door in the room and before using the mist door beyond, interact with the wall to the left of the mist door to discover a hidden door. Inside, climb the stairs and pick up the Estus Flask Shard from the body hanging in the window. Return to the mist door and prepare for the first boss fight of the area.
_________________________________________________________
Boss: Prowling Magus
Personal Death Count: 0
Attacks –
Prowling Magus:
Dark Orb: Just like the hex spell you can learn if you are a caster. The magus raises his staff overhead and then uses it to lob a slow moving ball of darkness towards the player. A simple sideways roll or moving out of the way (if you are far enough away) will work.
Dark Force: Similar to the regular force spell. The magus crosses his arms over each other in front of him and a purple aura of power travels outwards from him, knocking back any nearby players. He will only use this attack when a player is close to him.
Priests:
Lightning Spear: Exactly like the miracle. The priest will raise their arm into the air, gather electricity for half a second and then launch it directly towards the player (very fast). Benches can block this attack but dodging two of these spells at once is difficult. Roll to the side for your best chance of evasion. Remember to target the priests first to minimize this danger.
Dark Heal: The clerics will on occasion stop and heal all the enemies in the room. Focus fire on these guys to prevent this.
Dark Armour: The clerics will occasionally stop and cast an iron skin spell that reduces their damage taken. Attack them quickly to prevent this (have I said this enough times yet?).
Hollows:
Swing Attack: The hollow will perform a slow wind up (either to the side or overhead) and swing their arms towards the player. Simply moving out of the way will keep you safe (or rolling if you are surrounded).
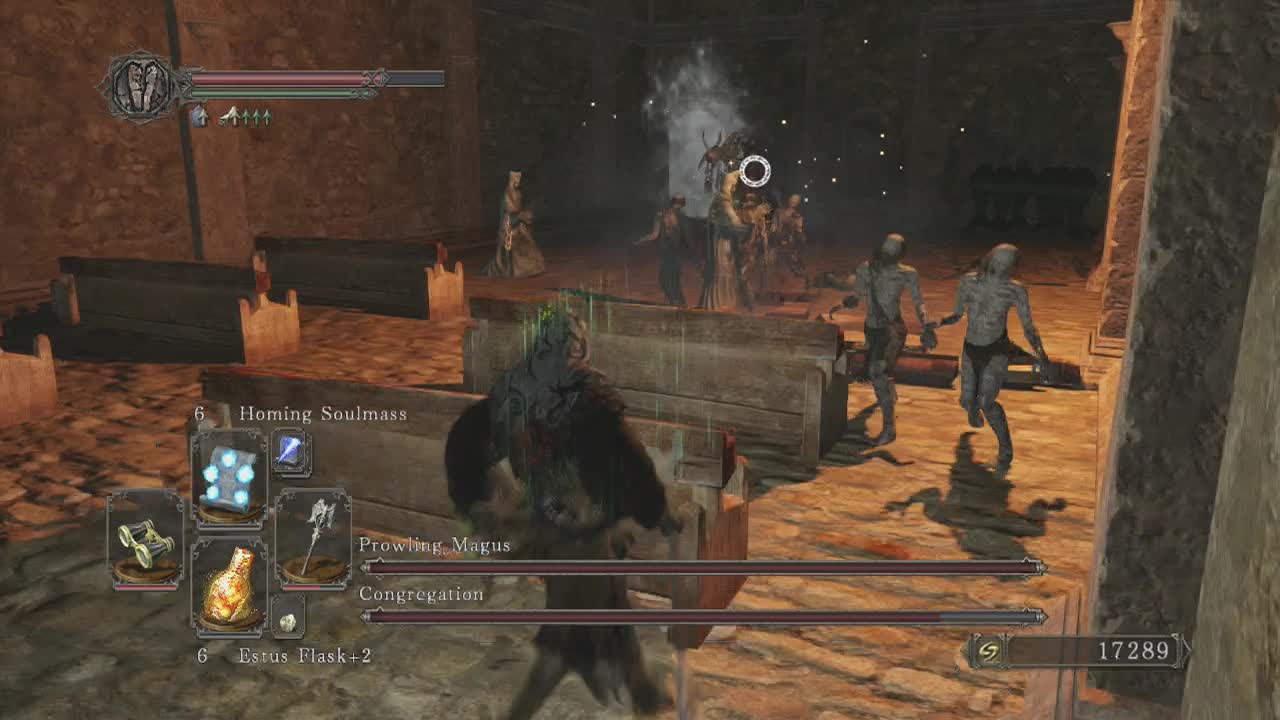
Before entering the mist door, you can return summon Bernhart at the army campsite (next to the first bonfire) at the start of the area which can make life a lot easier. When you enter the room, the hollows will be kneeling on the ground in front of the prowling magus and the two priests. Casters with AoE spells can simply run into the middle of them and use one to wipe out (or severely damage) all the hollow enemies in a single shot. Melee characters who use weapons with large swing arcs (greatswords or polearms) will be able to do the same thing. The first enemies you want to actively target in this battle are the priests. They can reduce damage taken, heal all allied units and cast lighting spears at the player. This makes them much more dangerous than the prowling magus (whose attacks are slow and easily avoided) and the hollows (same deal). If you need to heal, sprint behind an intact pew at the other end of the room. They block all enemy attacks (but crumble when hit) so they are a temporary but useful cover.
Once the priests are dealt with, concentrate on taking out the hollows as quickly as you can (if you didn't already) regular attacks should work fine. Just keep moving and dodge the occasional spell cast by the prowling magus. The prowling magus should go down in a few quick attacks afterwards. But having an AoE spell or large attack area weapon turns this fight into a piece of cake.
_________________________________________________________
Once the boss is finished, head out the door at the far end of the chapel. This takes you out to a large cliff overlooking the area we will be traveling through shortly. Before moving ahead however, instead take an immediate left and look for a ladder in a small alcove next to the door. At the top you will meet Cromwell (pardons sins, sells miracles and faith gear). Be careful in using his pardon option as it currently doesn't remove your sin count. Instead it removes the aggression effect if you have attacked an NPC. It also costs souls based on your level, so unless you have attacked an NPC and couldn't kill them this option is normally not worth it (being cheaper to kill and revive the NPC instead). Crowell will also give you a Ring of Resistance if your faith is over 34. Also in the same room are several corpses with items: Fading Souls, Skeptic's Spice, Bonfire Ascetic and Cleric's Small Shield.
When you are done, descend the ladder again. Ranged characters can prowl the cliff edge here to spot a crystal lizard on a ledge below. Don't attempt to kill it yet as we can take advantage of the nearby bonfire and a homeward bone to drop down and retrieve the items it drops shortly. Instead, enter the cave near the cliff edge to find the second bonfire of the area. From here you can "respawn" the lizard if you fail to kill it. When you descend to pick up it's items, Grave Lord Casters will open fire (one in either direction from the ledge, making staying alive here difficult. Instead drop down to the nearby ledge for a corpse containing Twinkling Titanite and Titanite Chunks. Then use a homeward bone to return to the bonfire after dropping down to pick up the items. This allows you to return to the safer path down to the ravine below.
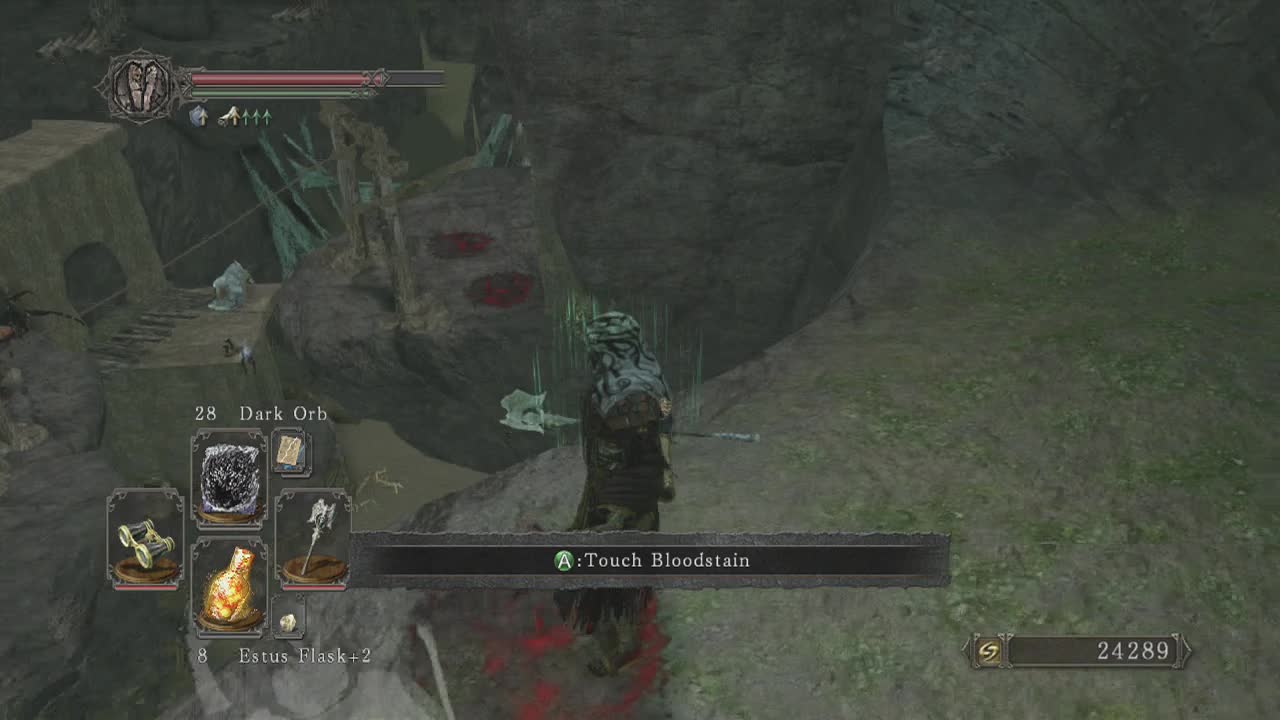
Back at the bonfire, head down the nearby ramp until you reach the sand below and look underneath the ramp you just descended for a body with a Soul of a Proud Knight. The only other exit here is a wooden door, so head through. A room with a few vases (smash them to find a corpse with a Wilted Dusk Herb on it) lies beyond. Head up the small stairs onto the ledge and look down to spot a grave lord caster to your right. Ranged characters should easily be able to pick it off from here (using the edge of the cliff to block the homing spells). A spider to the left of the grave lord can also be picked off. This will make life easier when you cross the nearby zip-line shortly. If you are a good shot with ranged attacks, you can also head to the left side of this edge to take down a second grave lord caster below (the nearby ledge here is where we dropped down to for the crystal lizard). Melee characters will just have to cross the zip-line quickly and deal with the enemies the old fashioned way.
Cross the zip-line and deal with the enemies (if you haven't already). Another grave lord caster and spider will be on the opposite side on a ledge below for ranged characters to pick off early. Head left towards the vases and building and head inside. If you have completed Pate and Creighton's paths so far (exhausted their dialogue at every meeting), they will be present here fighting one another. You can side with one by attacking his opponent. Once an NPC goes down, the victor will give you the Tseldora Den Key and his armour set. The wooden door into the small room contains nothing but a spider hiding behind a bookcase, so don't bother with it. Grab the Charcoal Pine Resin from the body in the jar at the back of the building. A pair of bookcases nearby hides a small cave. Smash through them and open the first wooden door inside. To your right is a corpse containing a Torch. Open the second wooden door to find an infected hollow with it's back to you. These enemies, while damaging are very slow and only use melee and grapple attacks. Quickly back-stab or used ranged attacks to bring it down. On the same ledge to the right of the infected hollow is another crystal lizard to kill (before it drops off the ledge). To the left of where the infected hollow was, along the ledge is a corpse with a Titanite Chunk on it to grab.
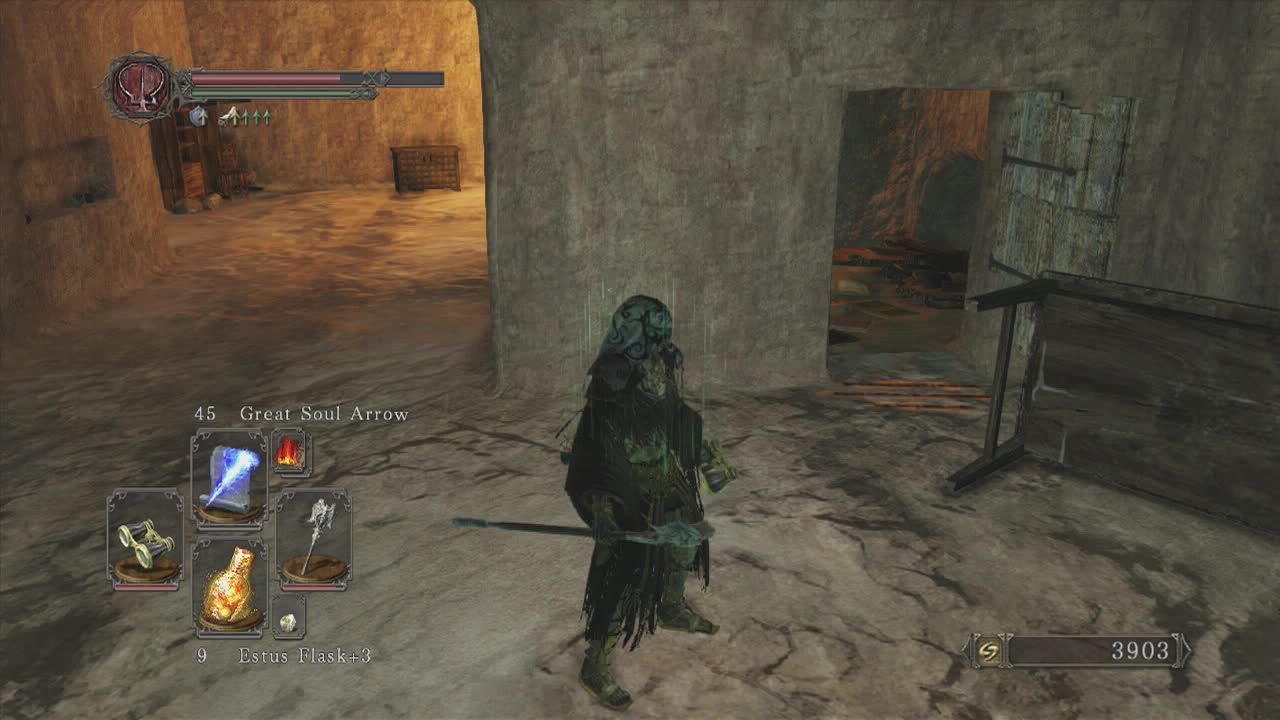
From here (if you have a spare homeward bone) you can drop down to a lower platform where the crystal lizard was. The only item on this path is a southern ritual band +1, so decide if it is worth it to you before continuing. If you don't want to take the detour, return to the base of the zip-line outside and skip to the next paragraph. If you do want to take the detour drop down from where the lizard was, take out the infected hollow on the platform further down (with ranged attacks if possible). Turn around towards the small wooden bridge and deal with the second infected hollow across it. Past him, you should see a third infected hollow to take on. Cross the wooden bridge and attack the fourth infected hollow that is crouching on the floor in the same room as the last. Another infected hollow will be next to the wall on the left as you enter the room (making three total in this small room). A pile of boxes and furniture next to it against the wall can be smashed to reveal a switch. Pull this to lower a platform at the entrance to the room that contains a chest with the Southern Ritual Band +1 in it. Once you have it, there is nothing else to grab here so use your homeward bone and head back across the first zip-line.
A second detour beckons for those with a spare homeward bone, past the second zip-line is a wooden platform that you can drop off the end of to reach a body with a Large Titanite Shard. Drop down again onto the stone platform find a building with an Estus Flask Shard on a body inside. Once you pick it up, use your homeward bone and return to the second zip-line. Cross the second zip-line (finally) and deal with the grave lord caster and spider if you didn't earlier with ranged attacks. Head through the nearby doorway into a small passage. At the end is a room containing two grave lord casters as well as a spider above on the ceiling. Ranged attacks are the way to go here, but if you are melee equip a shield with good magic defense and block the spells while keeping an eye on the spider above. Once you are victorious, pick up the Lightning Urn from the body along the left wall of the room and climb down the ladder in the small room beyond. From the bottom of the ladder, follow the short passage to another room. Another spider will be on the roof to the left and the final bonfire of the area will be directly in front of you. Cautious players will want to exhaust the respawns of the spiders in this room to prevent back attacks in future (a second spider will drop down the hole in the ceiling every time you use the bonfire).
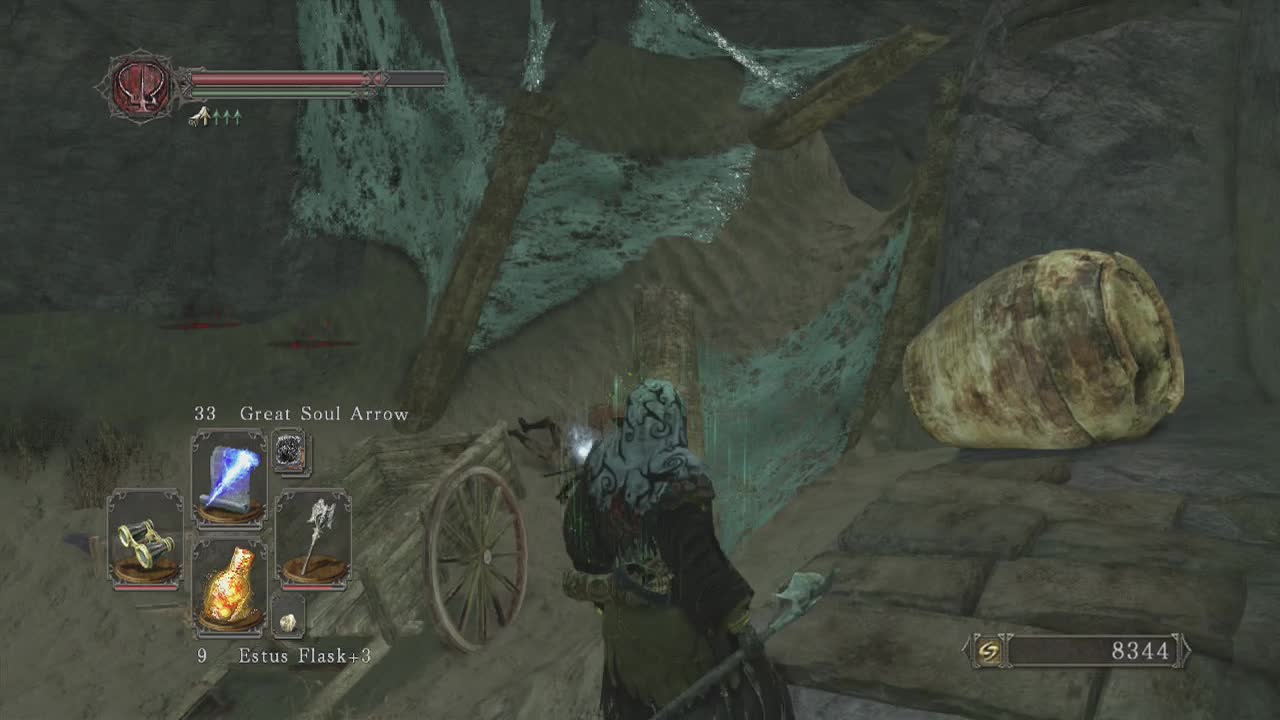
Deal with the spiders (once off or permanently) and head for the wooden door out of the room. This takes you to the bottom level of the chasm, in a large sandy area. Be careful here if you rested at the bonfire as the pair of grave lord casters and spiders you killed at the zip-lines above will be back and will attack you (the spiders will drop down, while the casters fling magic from above). Melee characters will be able to deal with the spiders when they drop down, but will have to keep moving to dodge the spells as the casters only drop down rarely. To the right of where you entered is a corpse at the base of a small slope that will trigger three spiders (coming from the top of the slope) when you try to take the Petrified Dragon Bone from it. Return to the door and take a left this time. Before entering the next wooden door in this direction, a basilisk will pop up out of the sand and try to petrify you. Take him out with ranged attacks or bait his attack and then circle to the side and take him out in melee. The wooden door here opens to Weaponsmith Ornifex (if you rescued her from her cell in Shaded Woods). If she is here, she will offer to reward you by allowing you to perform a boss item trade for free. In her workshop, you can also break the nearby bookshelves and jars to the left of the door to find a Flame Butterfly and Pharro's Lockstone on the hidden corpses (suspicious much?).
Back outside the workshop, continue in the same direction you were traveling to find a red crystal lizard. Red crystal lizards are like explosive versions of blue crystal lizards. They don't always explode, but act as decoys and have a chance of exploding on death. They also don't drop anything on death, so ignore it or kill it off at range. Past the red crystal lizard is another door that leads to another wooden door. Inside is a grave lord caster as well as a spider (either next to the caster or to the right inside the door depending on what happens in the room). A pair of bookcases in this room conceal a small hidden room with a spider inside and a chest containing a Crescent Axe and the Soul Vortex sorcery. Head back out to the previous room and enter the hole in the wall. Drop down the one way drop (there is no way back from here except to use a homeward bone or to use the primal bonfire guarded by the area boss, so make sure you are ready to before dropping down), to the sandy slope. Head left to find a skeleton with a Titanite Chunk on it. Return to where you dropped down and open the wooden door that leads out to a courtyard filled with stone statues.
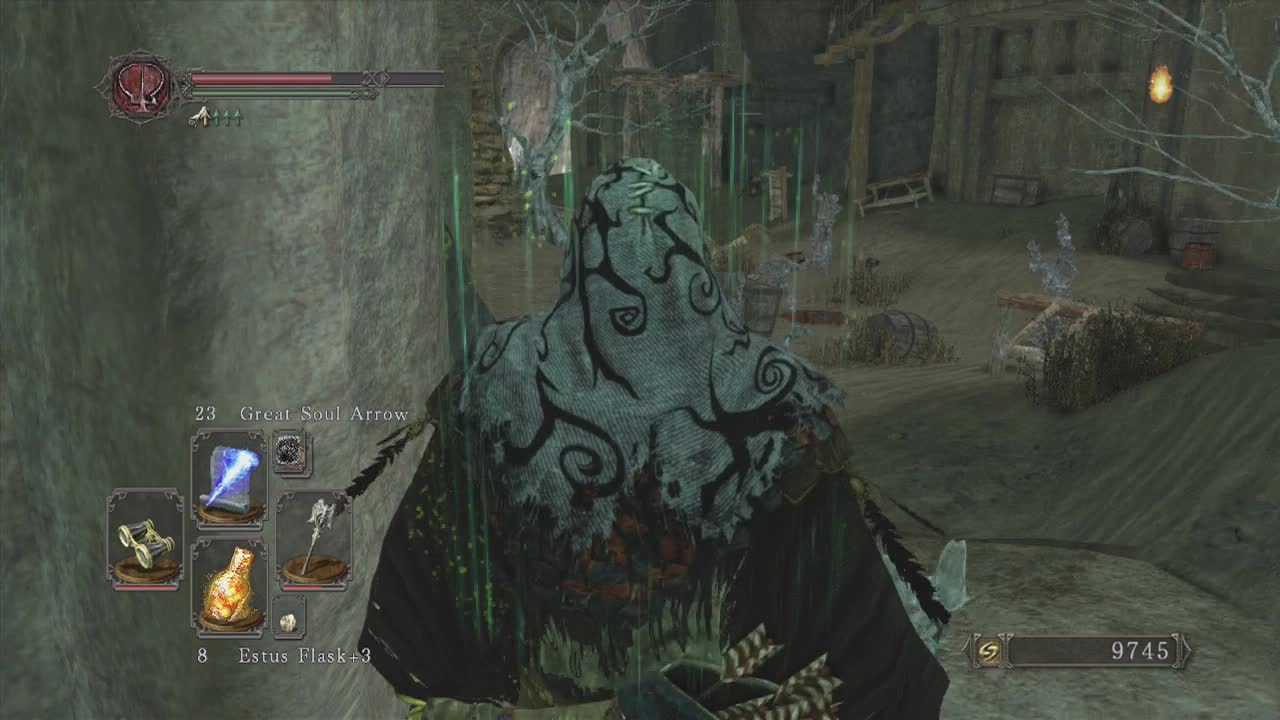
On the roof of the building to the right are two infected hollows that will drop down when you enter, a basilisk will also pop up out of the sand if you move too close to the center of the area. Deal with the infected hollows first and then kill the basilisk (via ranged or by baiting it's attack and hitting it from the side with melee). The building on the right contains a pair of spiders that will break out of the building and attack if you move to the far end of this courtyard, so be ready if you see legs moving through the door of the building (as long as you don't move right up to the gap in the wall, they shouldn't activate, but this note is just in case). Against the right wall past the building the infected hollows dropped down from is another infected hollow leaning against the wall. Pick him off with ranged attacks if possible or dash in to activate him and retreat as just beyond him is another concealed basilisk under the sand in the far right corner of the courtyard, waiting to ambush you. Defeat both of them and deal with the pair of spiders (if they attack) to clear the courtyard.
Now we can investigate the buildings. Enter the one the infected hollows dropped from (look to the left as you enter and attack the pair of spiders if they didn't emerge prior, you can also shoot one of them under the gap in the door with ranged attacks if you want to make sure they cannot quickly mob you). Climb up the stairs beyond and open the wooden door to step on the ledge the infected hollows were on. A corpse with a Large Titanite Shard on it will be to your right as you pass through the wooden door. Below you will spot a red phantom enemy waiting beyond the exit of the courtyard. Ranged characters can use this position to kill off or even knock the phantom into the spikes beyond (hilarious) for an easy win. Return to the courtyard and engage the phantom directly if you are a melee character (to prevent back attacks in the next building we explore). The phantom is not to hard to deal with and with no support (thanks to the earlier clear out) should fall quickly. Once the phantom is no more, approach the building opposite the last one you were in. Make sure you are healed up and then smash the wooden plank holding the door closed. A stream of sand will knock you down and damage you slightly (as a caster I only lost a third or so of my health so it is unlikely to be lethal).
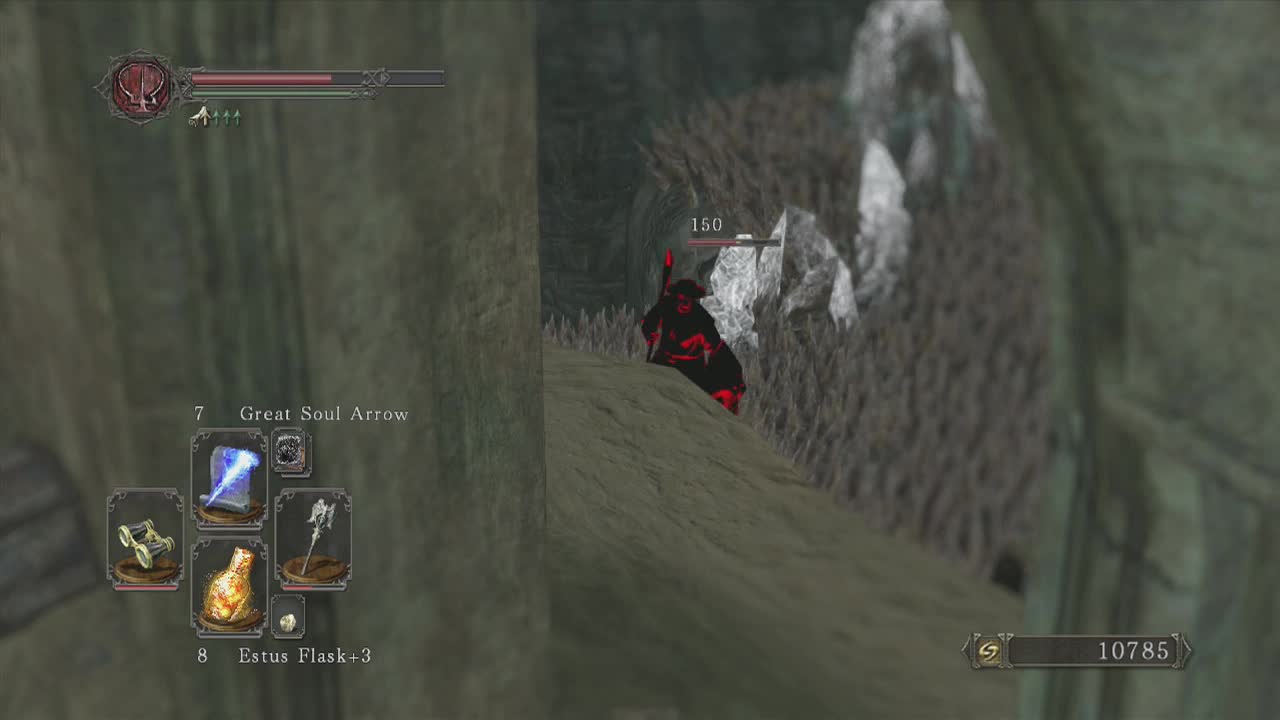
Inside if you have the tsledora den key from the battling NPC's earlier in this area, use it to open the door. The left chest is trapped and contains Rusted Coins. The right chest has Engraved Gauntlets inside. Head back outside to where the phantom was waiting to see a bridge surrounded by spikes as your path ahead. Before crossing the bridge, look at the building opposite. You should see a pair of infected hollows standing on a ledge above the entrance. Players with ranged attacks should take these enemies out as you cross the bridge to prevent a battle on the bridge itself (as falling into the spikes can be painful). Melee characters will want to rush across the bridge, trigger the infected hollows and either fight them there or retreat back to the other side of the bridge to fight them (avoiding battle on the bridge itself). When the infected hollows are taken care of head for the door and open it but don't advance into the room yet. On the ceiling inside are six spiders (five directly ahead and a sixth to the right). Pick them off one by one with ranged attacks or trigger them and use a weapon with a large swing arc to take them out quickly.
Brightstone Key Room:
On the right side of the room is a door that can only be unlocked after obtaining the brightstone key from the boss battle. Inside is a roomful of spiders waiting to ambush you (just like the room quite a bit earlier in this section). As you enter you should be able to see a pair in the holes directly ahead. You can snipe them with ranged attacks. This triggers the attack but means two less spiders you need to kill. Players having trouble (or melee characters) should retreat back to the large room you just came from to have more space to deal with the spiders. Once again there are seven spiders total to kill before the room is clear. Open the locked door at the back of the room to find a chest that contains a Black Knight Ultra Greatsword, the Great Fireball pyromancy and a Fire Seed. I will remind you about this area after we obtain the key.
A bench next to the locked door can be smashed to find a corpse with a Soul of a Hero and Gold Pine Resin on it. Two doors at the far end of the room have switches next to them. The one on the right can be opened to reveal a corpse with a Homeward Bone on it. The other way out is guarded by an infected hollow. He should be easy to get past now there are no other enemies supporting him and you have plenty of space to move around. Climb the ladder behind to reach a ledge overlooking a web filled cavern.
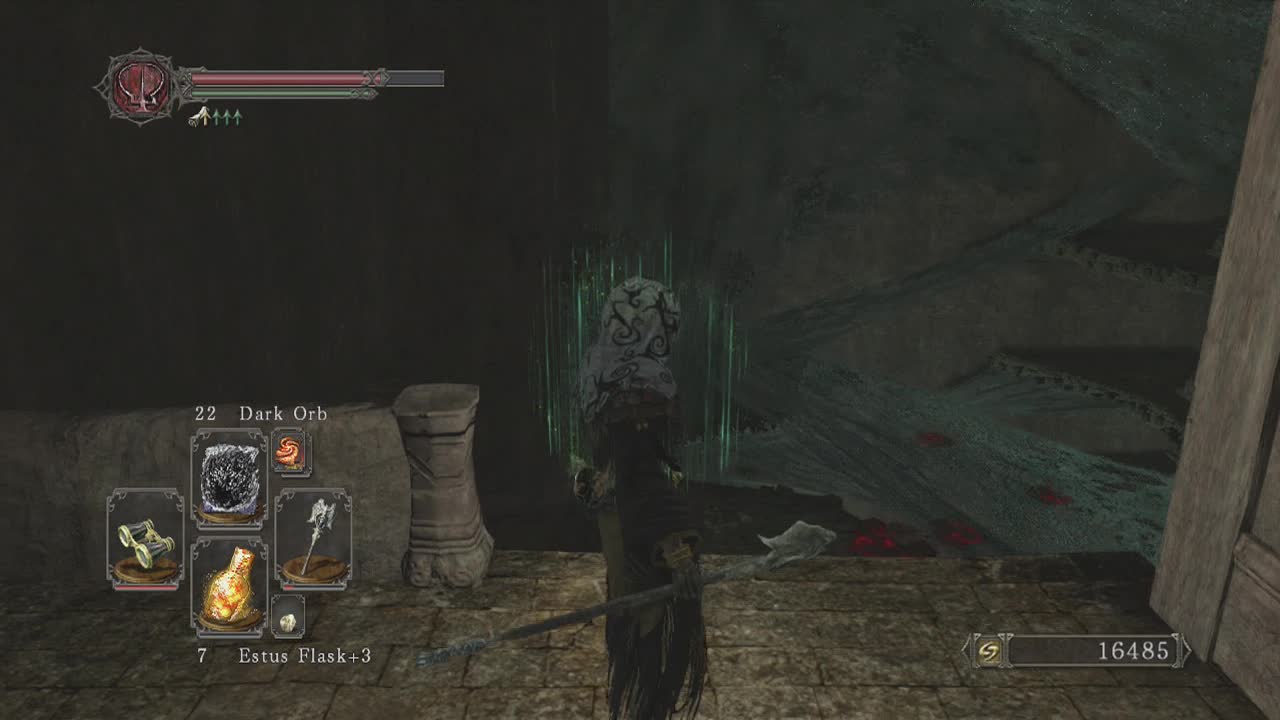
The webs in this room act like bridges. These slow your movement and occasionally spiders will appear from the underside of the web and attack. Be warned that attacks from spiders on the webs can be more damaging then their regular attacks. Drop down to the floor below and travel to the end of the stonework (to the far end of the room. A lone web bridge will cross down a level and to the other side of the room. Halfway across a spider will climb up from underneath the bridge and attack, so quickly engage it of you are a melee character or back up and use ranged attacks to get rid of it. On the other side of the web bridge, observant players will notice the spider on the roof above the corpse. Deal with the spider and then loot the torch off the body. Head to the far end of this platform to find vases that can be smashed to find a corpse holding a Pharro's Lockstone and another web bridge. Halfway across this web you can drop down to a lower web bridge (drop down on the wall side). This wide web bridge will have a corpse on it, but when you move forwards, three spiders will rise up from underneath the web and attack. On will come up behind the pillar to the right, one on the left just ahead and the third straight ahead behind the corpse. Ranged attacks are your best bet here if possible, otherwise play defensively and take them out one at a time. A fourth (and possibly fifth) spider will also start approaching from the floor of the room below, so keep an eye out as you loot the Radiant Life Gem off the corpse.
Head to the right side of the web and you should be able to hit two or three lurking spiders below. Another is visible on underside of the web bridge to the left at the base of the one you are on. Climb up this web bridge to reach a corpse with a Twilight Herb on a platform above. Underneath the web where you fought the three spiders at once, there is another corpse containing a Simpleton's Spice. The final item in the area can be found in the diagonally opposite corner from the mist door, behind a pillar. Grab the Corrosive Urns from the corpse. Deal with any remaining spiders as you head for the mist door. A summon sign is next to it for Ashen Knight Boyd. Enter the mist when you are ready to face the second area boss and obtain your third great soul.
_________________________________________________________
Boss: The Duke's Dear Freja
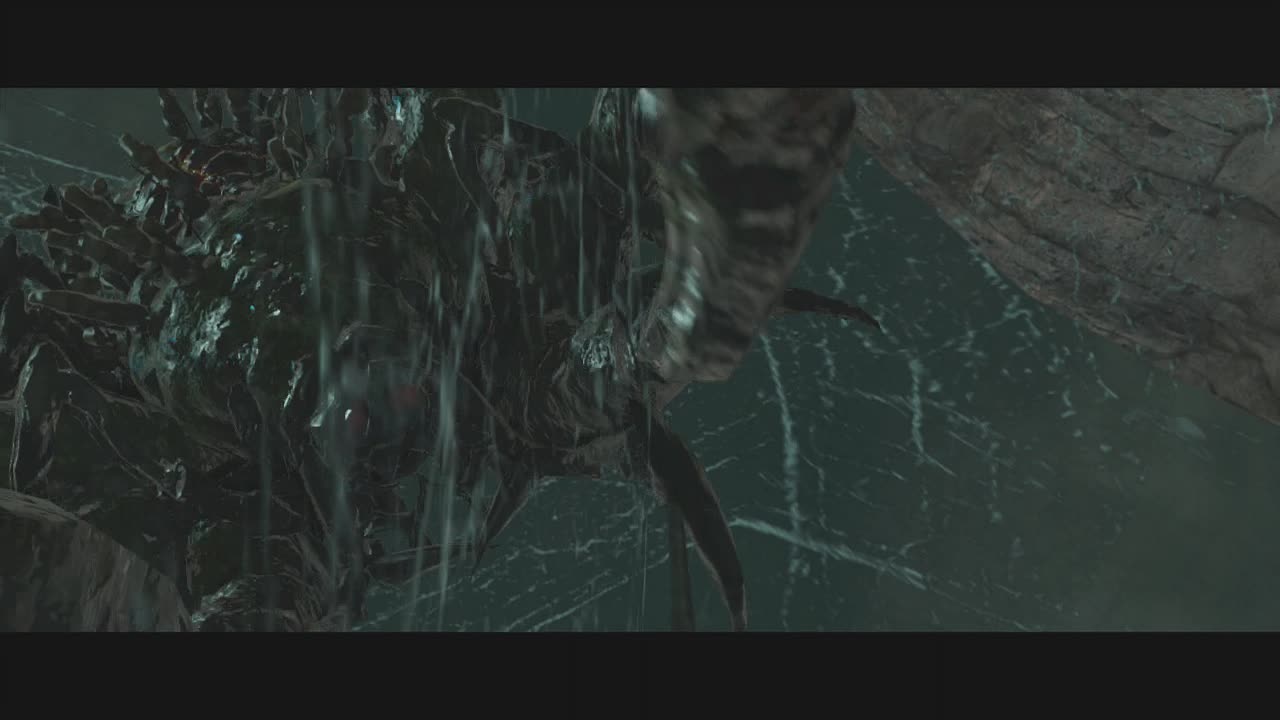
Personal Death Count: 18
Attacks –
Acid Spit: Freja will rear back slightly and then move forwards, spitting out a barrage of small acid blobs. Does damage to the players equipment as well as health damage. Roll to the side to avoid taking damage from this attack.
Dual Stab: Freja will quickly stab both front legs towards the player in an attempt to impale them. Roll to the side to avoid the attack.
Finger-quotes "Laser": Freja will raise both front legs into the air and keep them raised. A second or two later, she will shoot a massive laser in an anti-clockwise direction (and begin moving it towards the player). Run in an anti-clockwise direction or if you have good timing, roll under the laser to avoid the attack. You can also use the laser as a chance to attack by running to the other head and attacking it while freja is immobile.
Flying Tackle: Freja will leap up into the air (crouching down slightly before leaping) and attempt to land on the player. Sprint away from her direction of travel and roll away as she lands. Sometimes she will be stunned after landing, giving you a free attack opportunity (she will remain splayed on the ground for four or five seconds).
Leg Stomp: One of her more common attacks, she will raise her front legs (one at a time) and try to stab the player two or four times. Roll away from the legs or sideways when they come down towards you to avoid the attack.
Launch: Freja will huddle forward and then launch herself towards the player. Roll to the side to give yourself the best chance of evading the attack.
Pincer Attack: If you are very close to a head, freja will open her pincers wide and then bring them together for huge damage. This is a relatively slow attack, so rolling backwards should see you to safety easily. Players casting AoE spells too close would be the main recipients of this attack.
Web Shot: Freja will occasionally spit out three blobs of web, which slow the player on contact. This makes the fight far more difficult as evasion is far slower. Roll to the side to avoid the webs.
As soon as you enter the mist door, a cluster of smaller spiders will be right in front of you with the boss slightly further in. If you have an AoE spell or a wide arc melee weapon (greatswords or polearms) then you can get rid of the annoyances quickly and concentrate on the boss. While not necessary this prevents unseen attacks from the scuttly little nuisances. As for the freja itself, you can only deal real damage to the heads of the creature (yes it has two heads). It also has a weakness to fire attacks, but ranged spells like fire swathe are difficult to connect with due to the bosses constant rotations and legs blocking shots. Melee characters with fire enchanted weapons or casters with AoE attacks will be able to approach the faces and attack them directly (casters will have to worry about the long recovery time from AoE spells though which can get you killed).
If you can bring in a summon player to this fight, things are much easier as it allows you to split tasks (one player damaging the boss while the other kills the minions), see if any signs are visible at the previous bonfire or at the mist door (as they generally appear there). The main attack you want to bait is the huge laser attack. When freja raises her two front legs in the air and keeps them up she is about to use the laser attack. This is your opportunity to run to the other face and attack. Keep the small spiders under control, bring a fire weapon or spells, get your timing right and you should be able to make it past this annoying boss. Note: Blocking the laser attack will nearly always result in death unless you have specialized equipment.
_________________________________________________________
After the battle, look towards the cliff on one side of the area to see a red glowing orb. Collect the red orb for the third great soul and travel through the other tunnel in the wall to reach the Lord's Private Chamber (which is a tiny section). Read on in that section to continue the guide.
