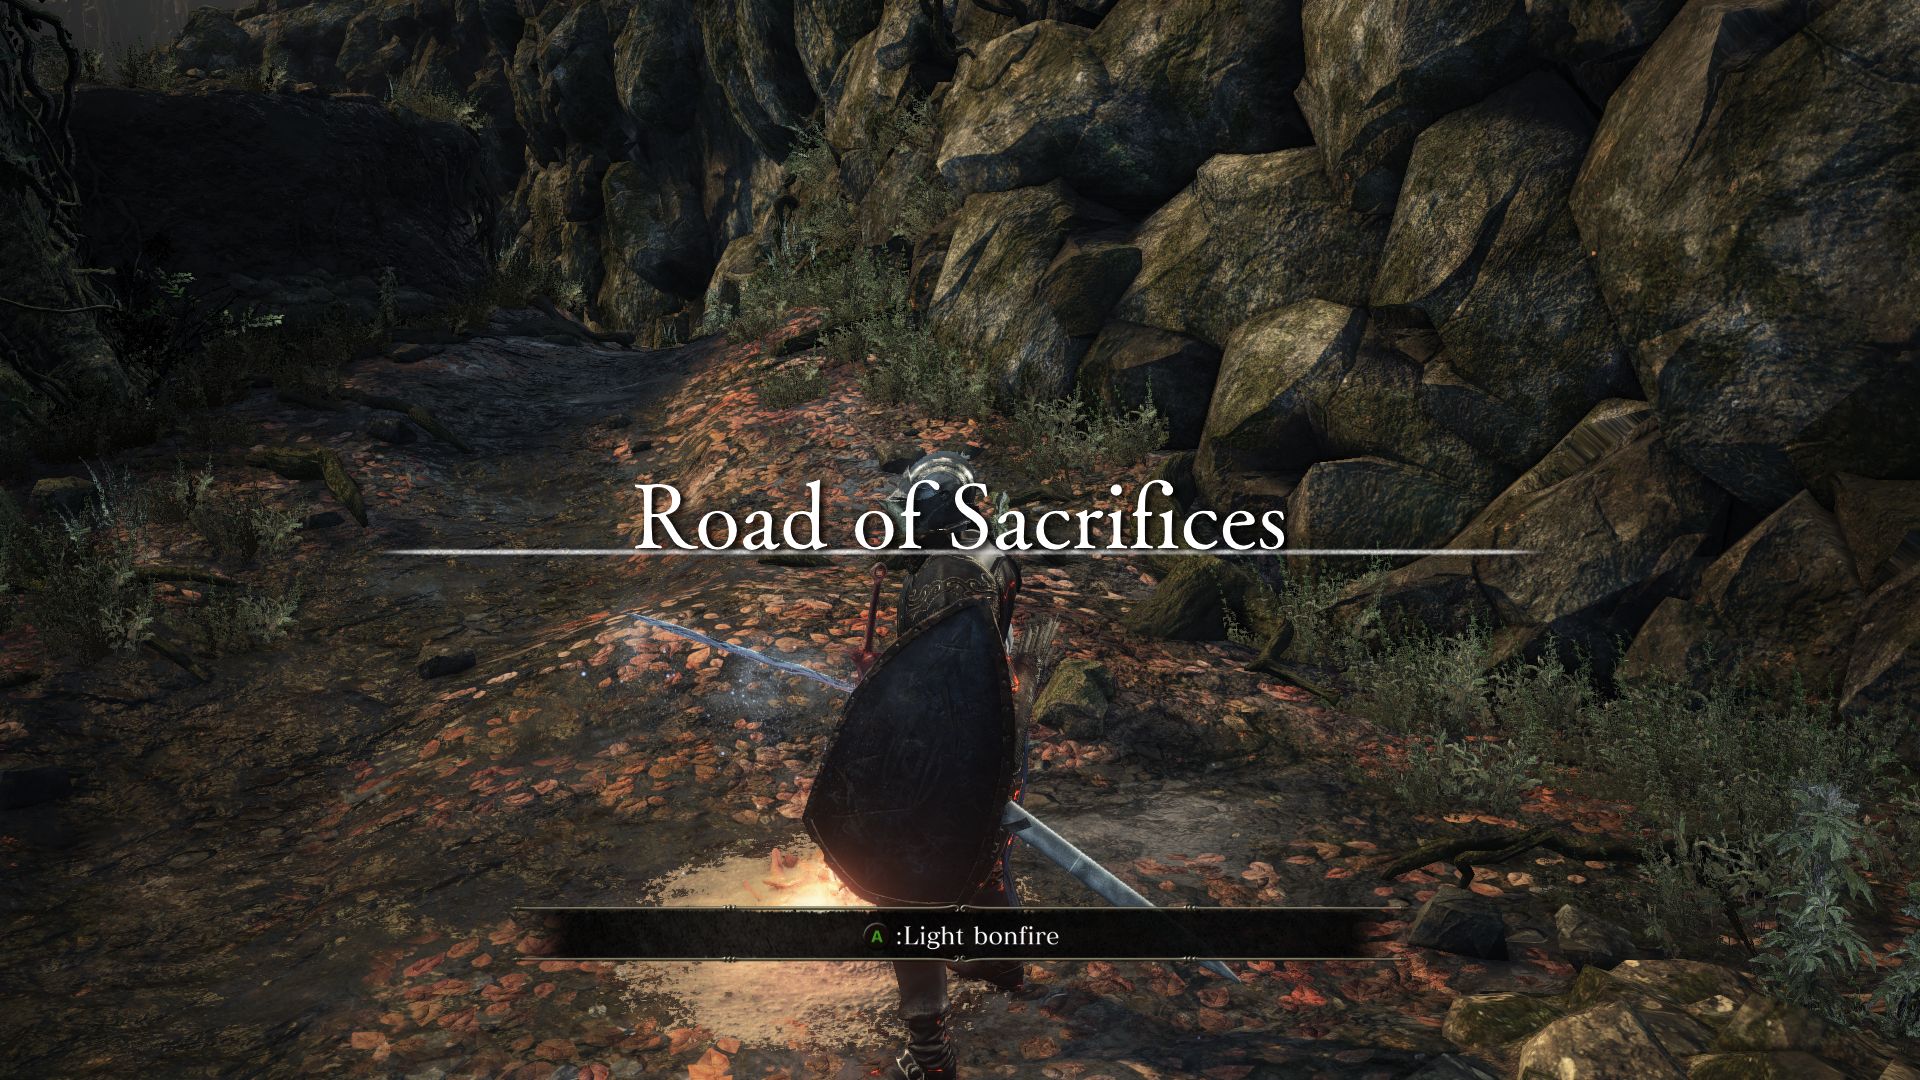
To access Road of Sacrifices, you have to take the elevator down at the tower with the Giant Archer in the Undead Settlement. If you need a refresher, take a look at the Undead Settlement walkthrough where you first met Siegward. Use the elevator to go down and you’ll find yourself facing a rather difficult opponent from the get go.
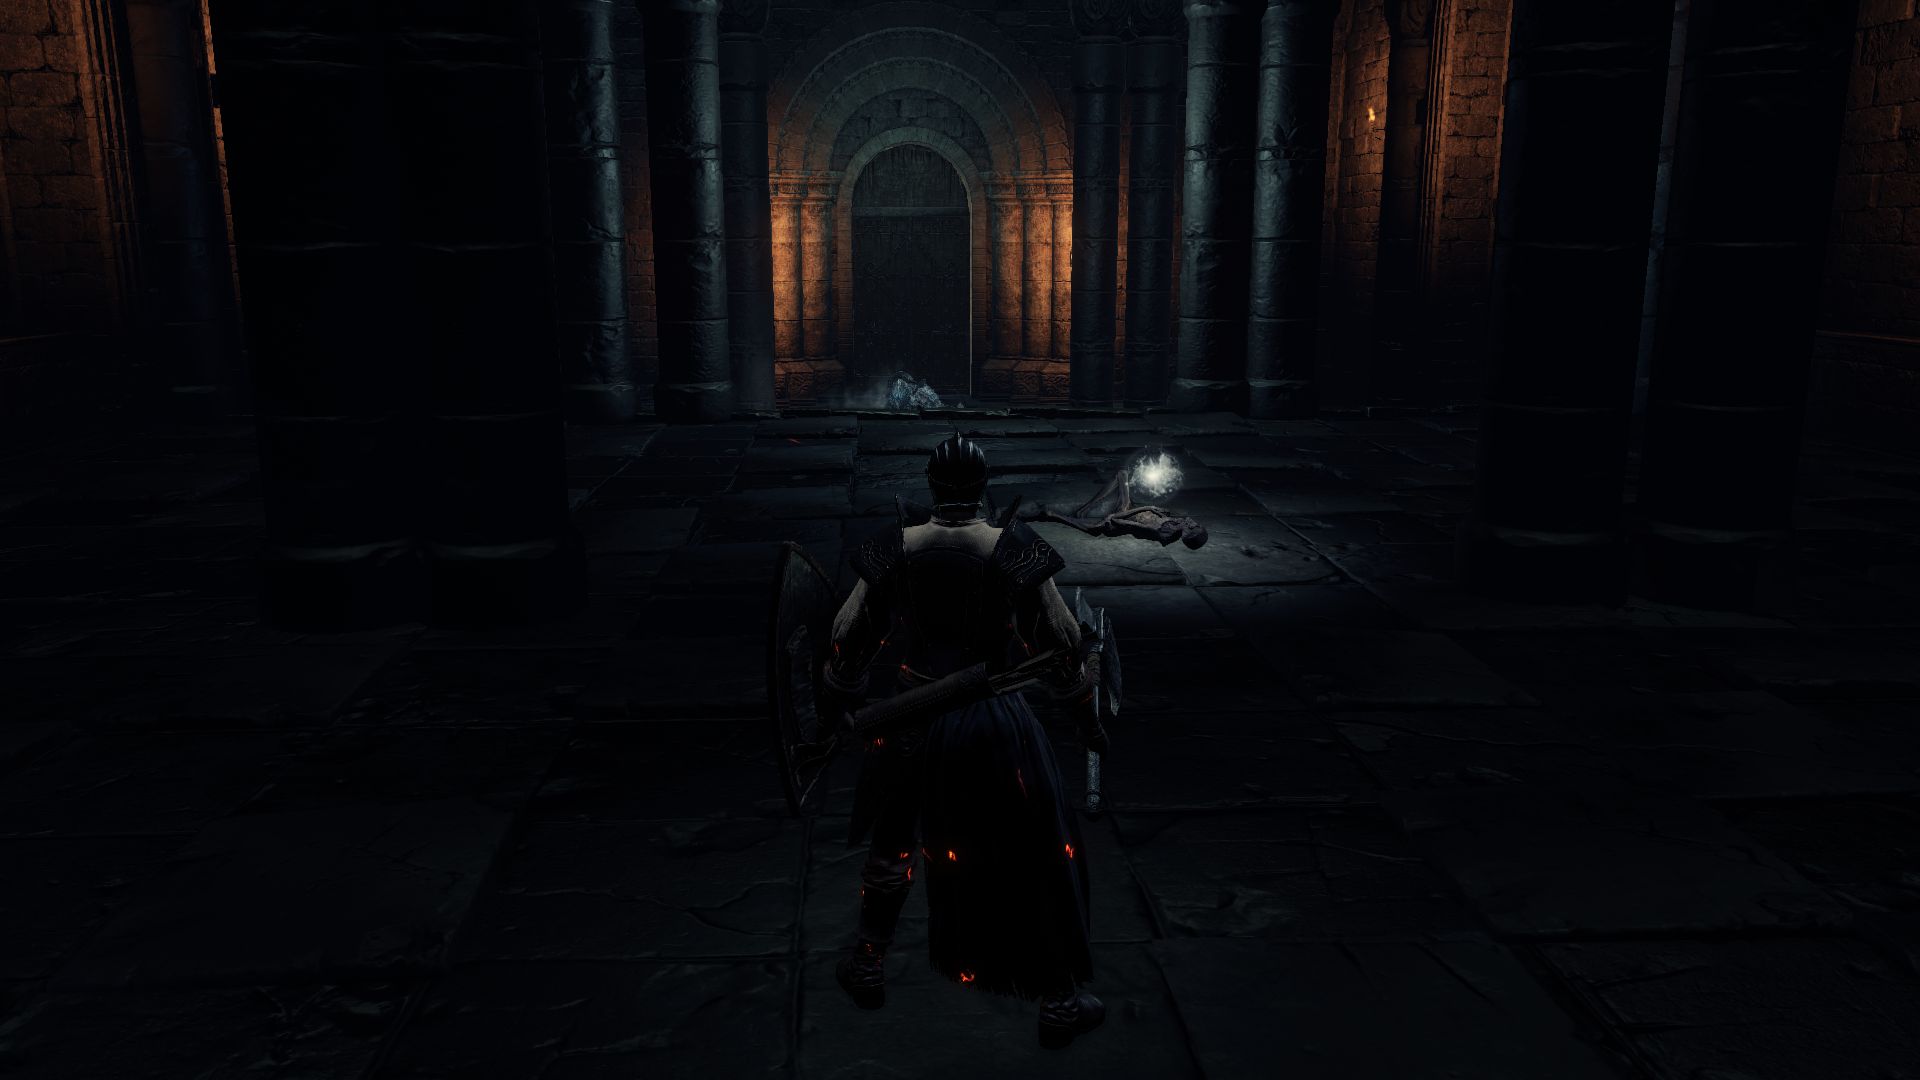
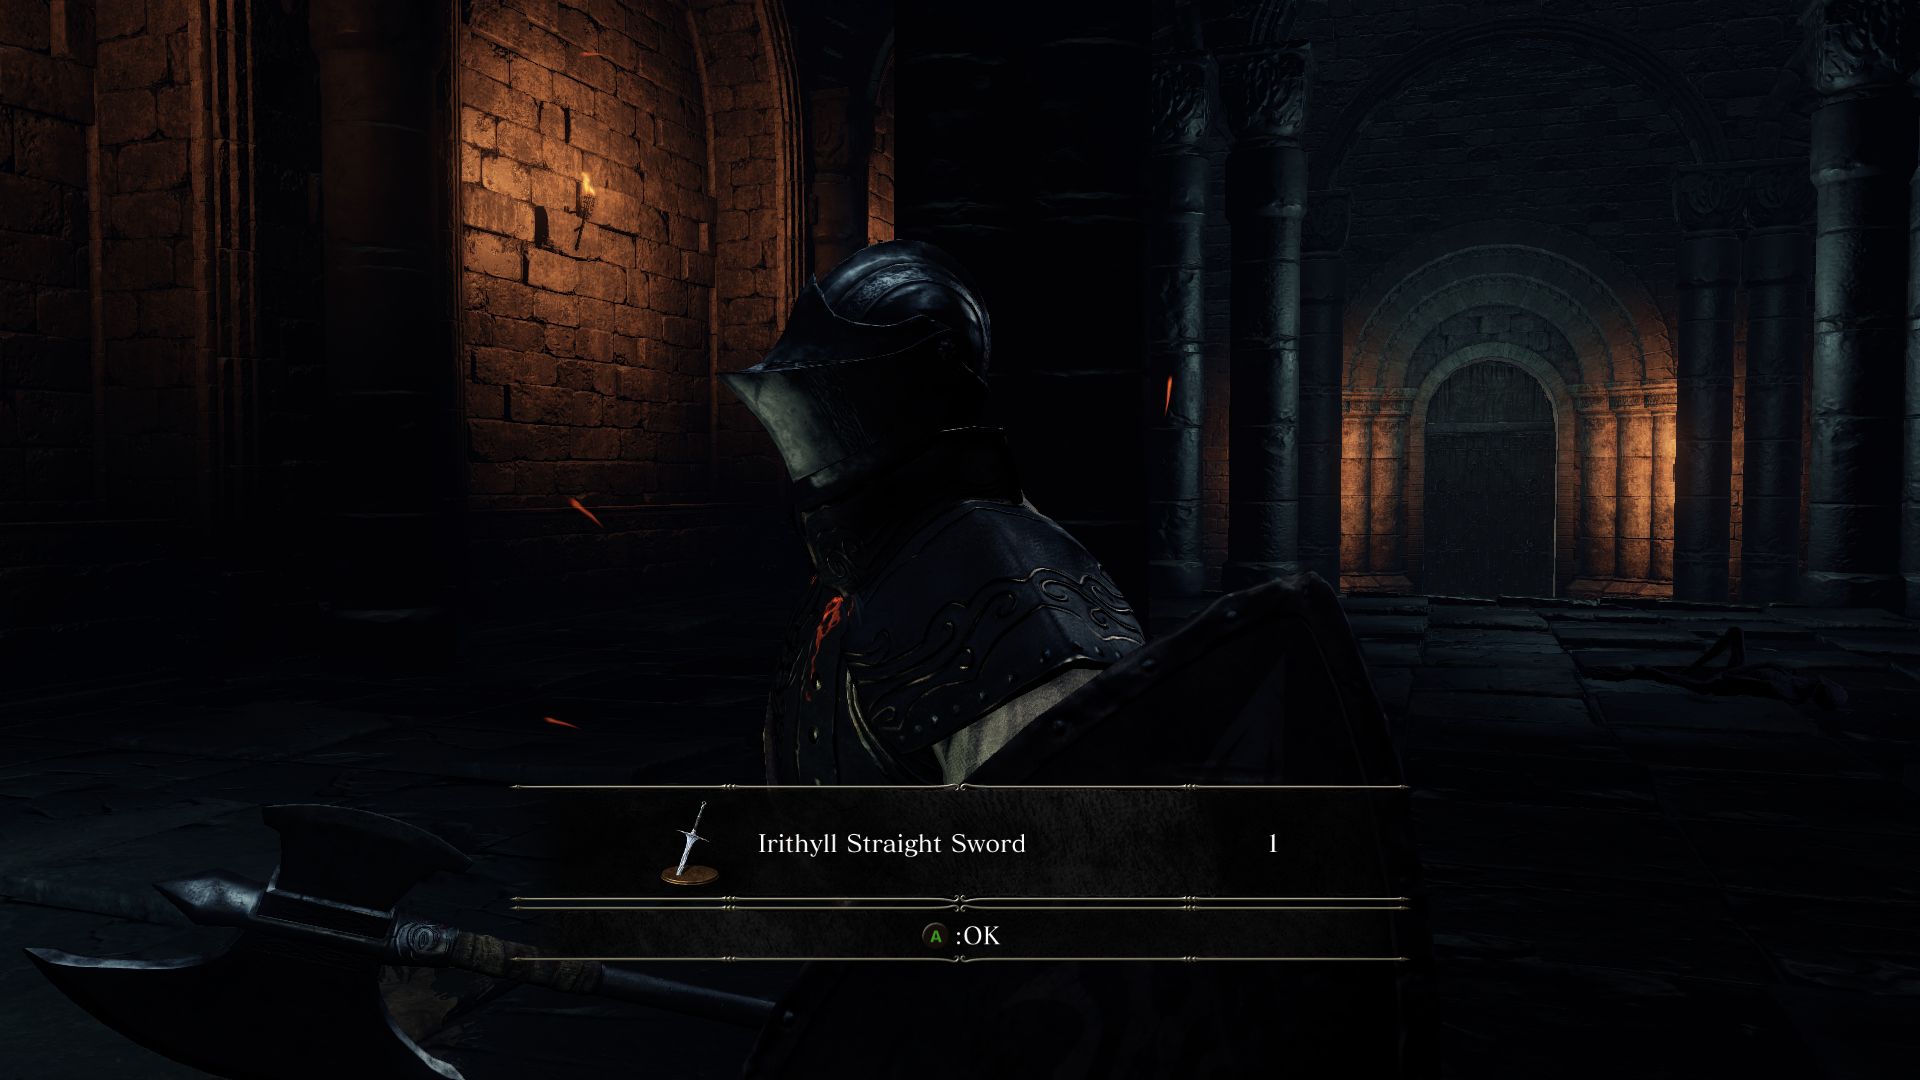
In the middle of the room you’ll find a lootable corpse which contains an Ember. But in the other side of the room awaits an Outrider Knight, a rather agile and difficult opponent who may remind you a bit of Vordt with his attacks that cause Frostbites. His attacks consist of lunges and repeated strikes, so make sure to avoid those and find an opening once he has dealt his combo. You can dodge behind him to land a few hits after he leaps at you and creates an opening. Defeating him will reward you with the Irithyll Straight Sword.
Proceed through the door after you defeat him and light the Road of Sacrifices Bonfire. As you continue down the path you’ll face a Crovian, an enemy you will encounter a lot in this area. At first glance, they will seem weak and cowering, but when you get close to them they’ll take out their wings and attack you with fast slashing strikes. They also have a tendency to jump in the air to avoid your attacks while attacking you from up there. You can dodge around their attacks and take them out once you learn their patterns. Also, when you see a Corvian, you could charge at it and take it out with some quick hits while they are in the middle of transformation. After you kill the first Corvian, you’ll find another one to the left below a ledge. You can drop down from above to take it out and loot the Shriving Stone close to it.
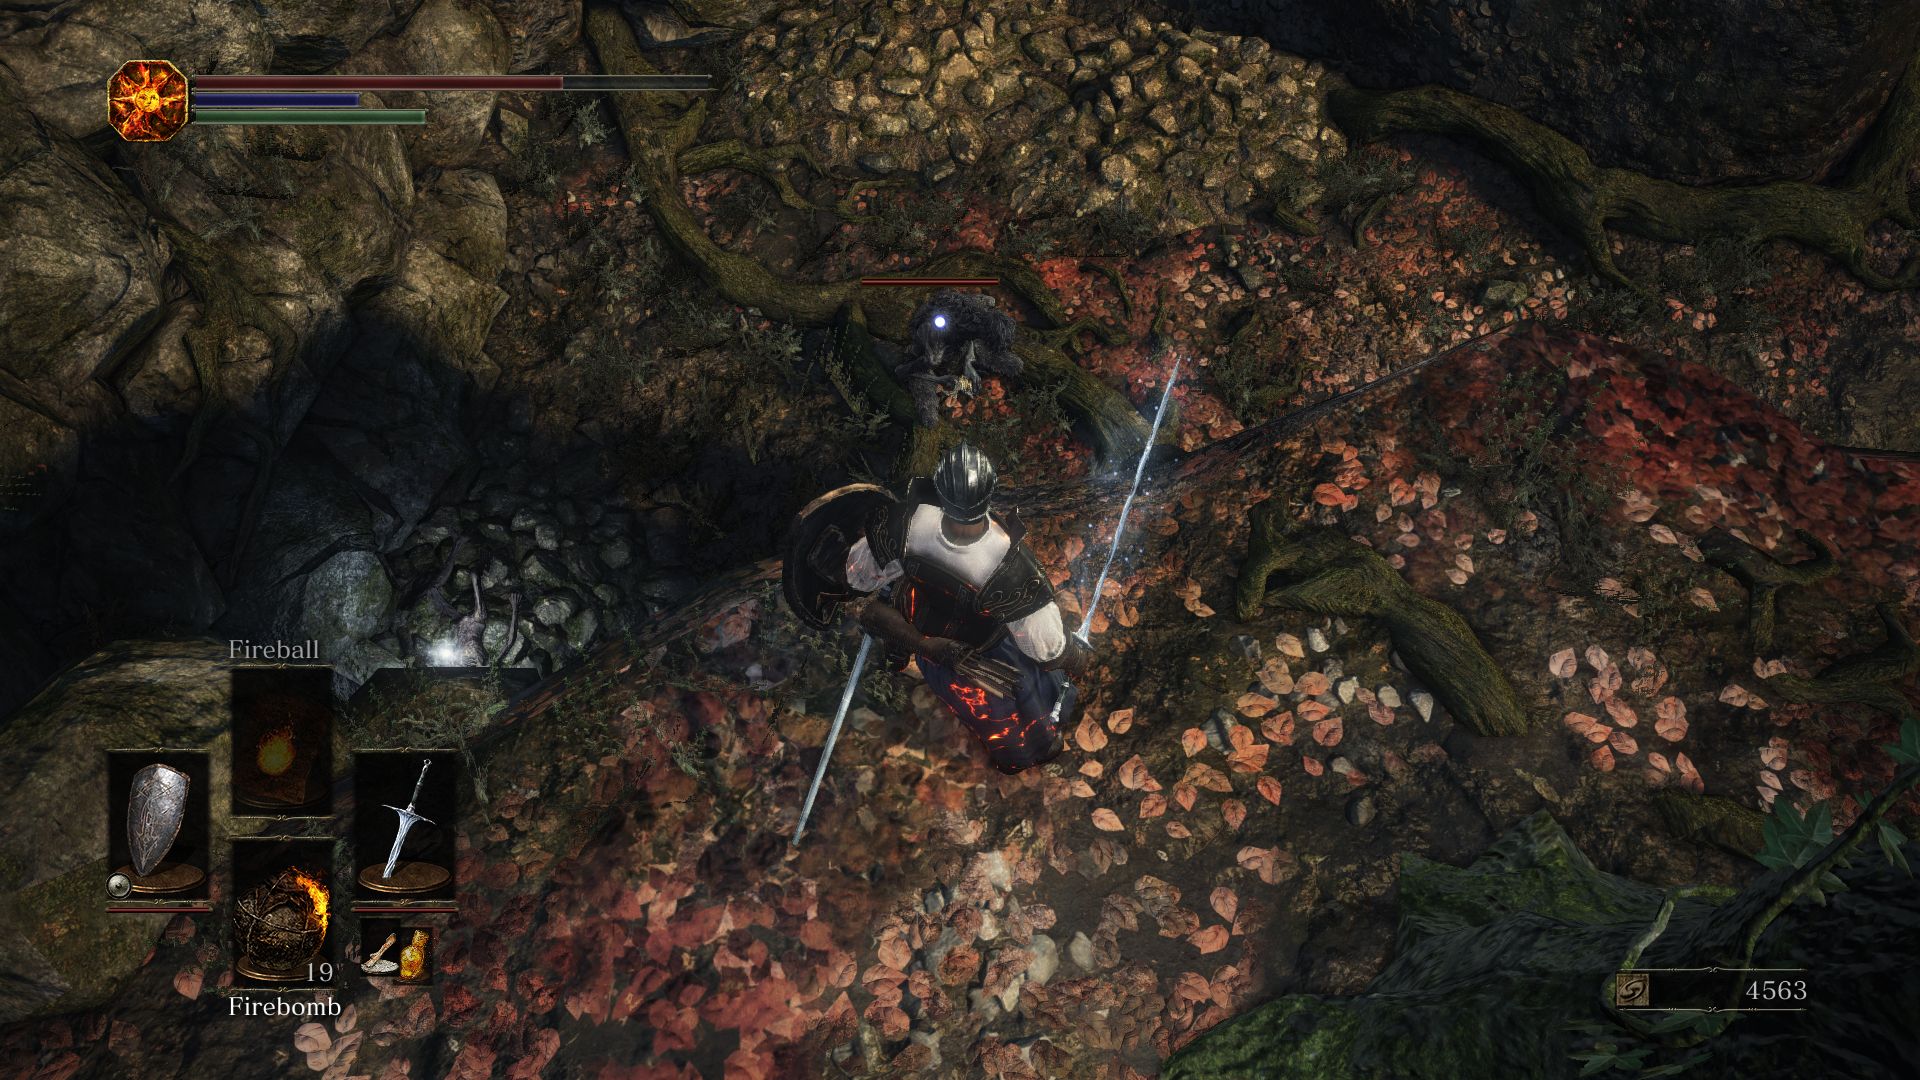
Before going to the main path, take the path on the left and you’ll come across another Corvian below a slope. Kill it and then head to the main path where you will see a toppled caravan. 2 Corvians await near the caravan, which isn’t difficult in itself. However, if you look slightly ahead to the left, there is a Corvian who looks different than the others. This is a Corvian Shaman and he has the ability to let out a piercing screech to draw all nearby Corvians to itself to transform and attack you. The Shaman also uses fire spells if you’re too close and sends out poisonous clouds, so this guy is no joking matter.
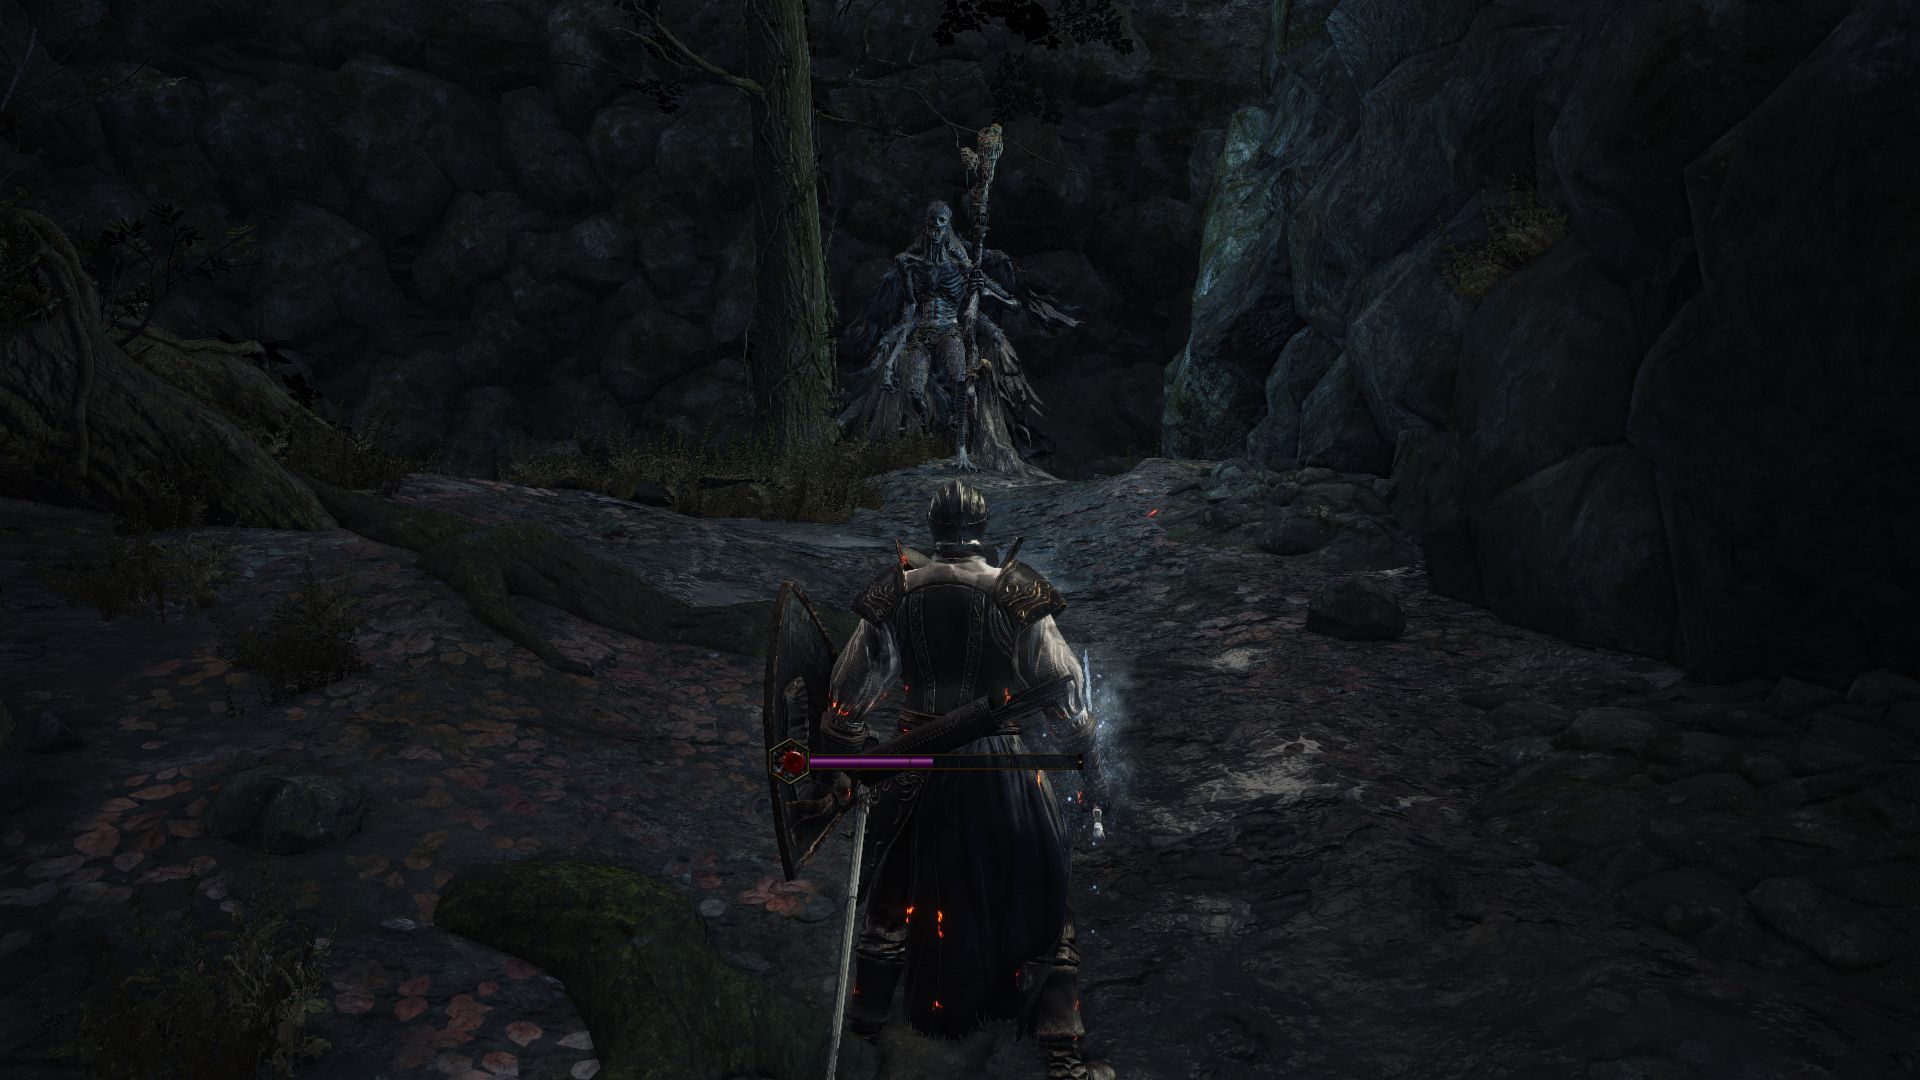
Loot the corpse by the Caravan for a Soul of an Unknown Traveler, and then charge at the 2 Corvians before they can transform. After you kill these 2, charge at the Shaman while dodging his spells and kill it too. There should be 2 more Corvians hiding in a cave behind the Shaman, so if he’s summoned those to the fight, try to maintain distance and take them out one by one, instead of taking on all 3.
After you kill the Shaman, jump down the ledge and you’ll see two branching paths. To the left and down the slope is a potentially difficult fight with a Madwoman wearing a giant hat. She can deal a lot of damage to you so be careful. Dodge around her strikes which are fairly slow and land a few hits. If you’re too far out of range, she’ll throw projectiles at you, so make sure to avoid those. Don’t let her close the distance and strike you with her combo, it could be fatal. After you take her down and get the Butcher Knife, move down the path where she had come from to loot the Brigand Armor Set, and Brigand Twindaggers.
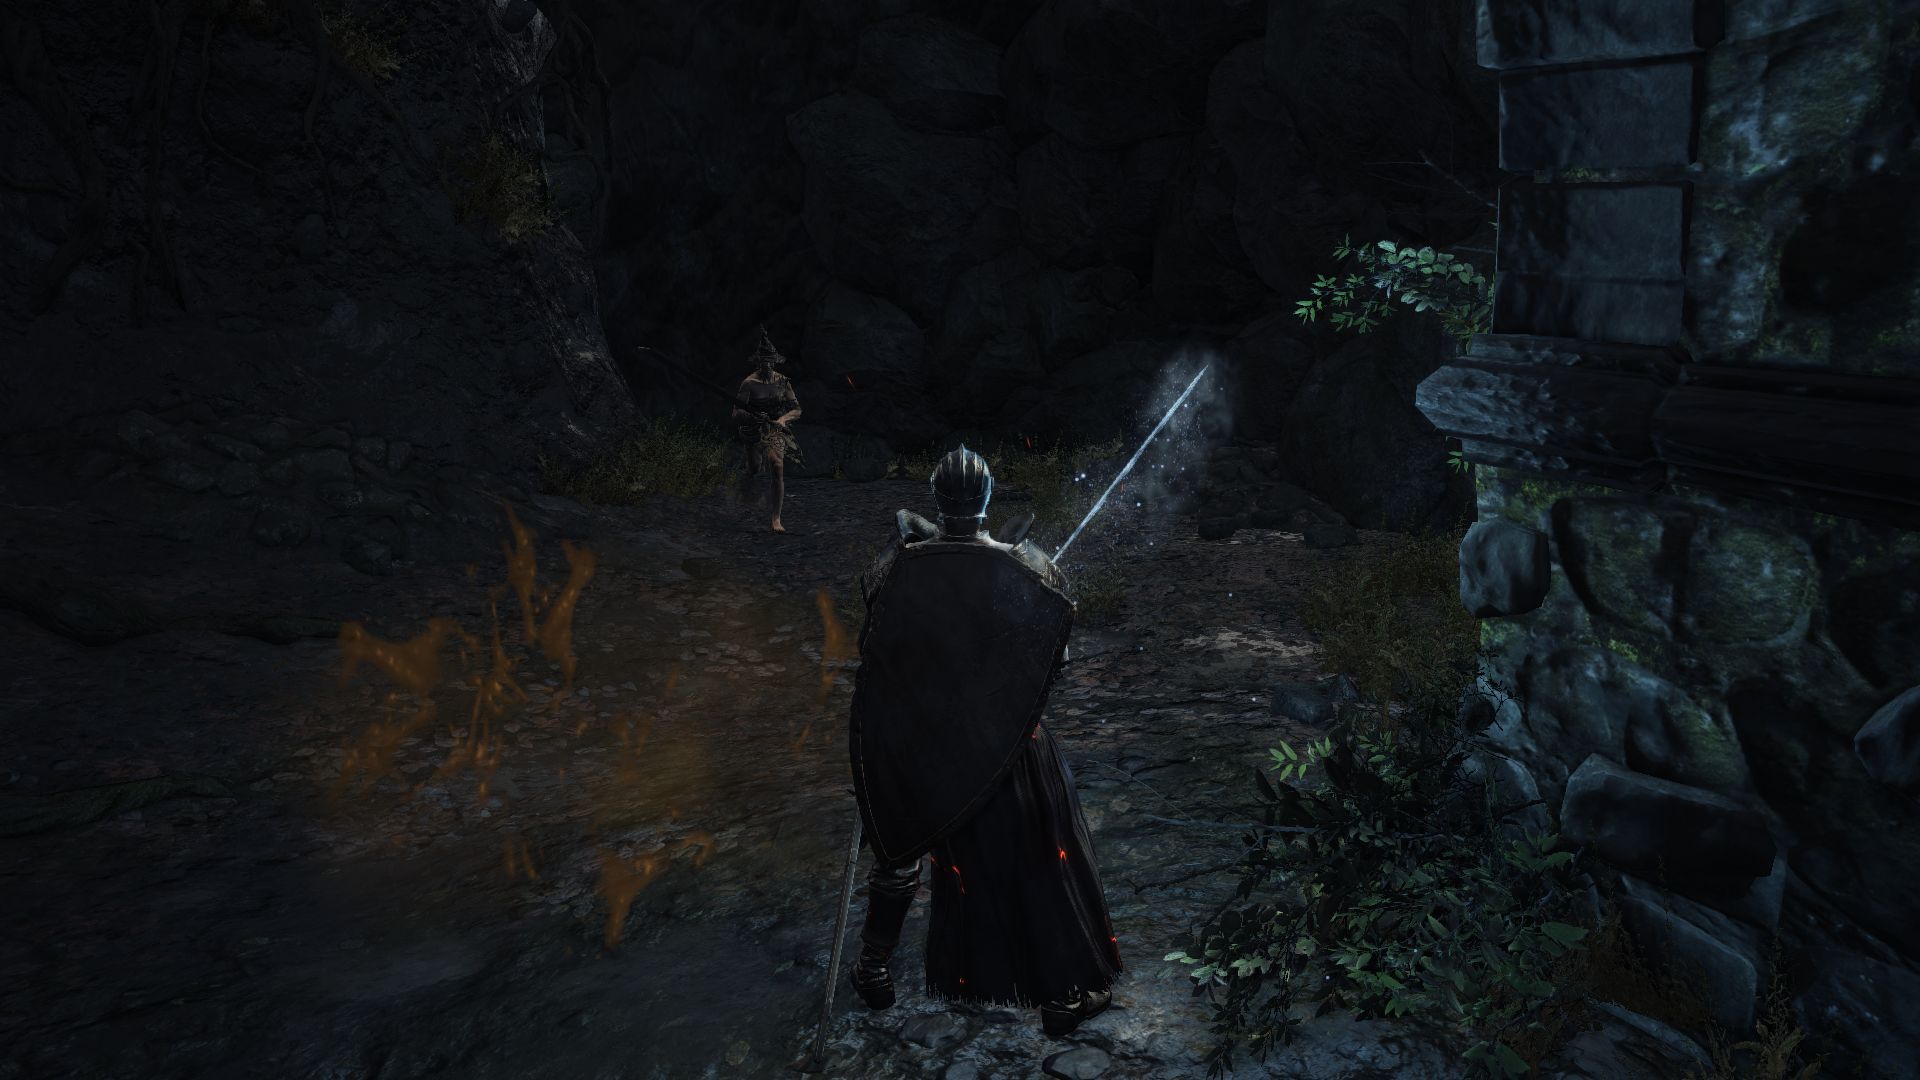
Go back to the spot you had jumped down from the ledge. You’ll see a small hill going up into a cave to the left. There should be 2 Corvians there (unless the Shaman had managed to summon them). Kill the 2 Corvians and loot the Titanite Shard.
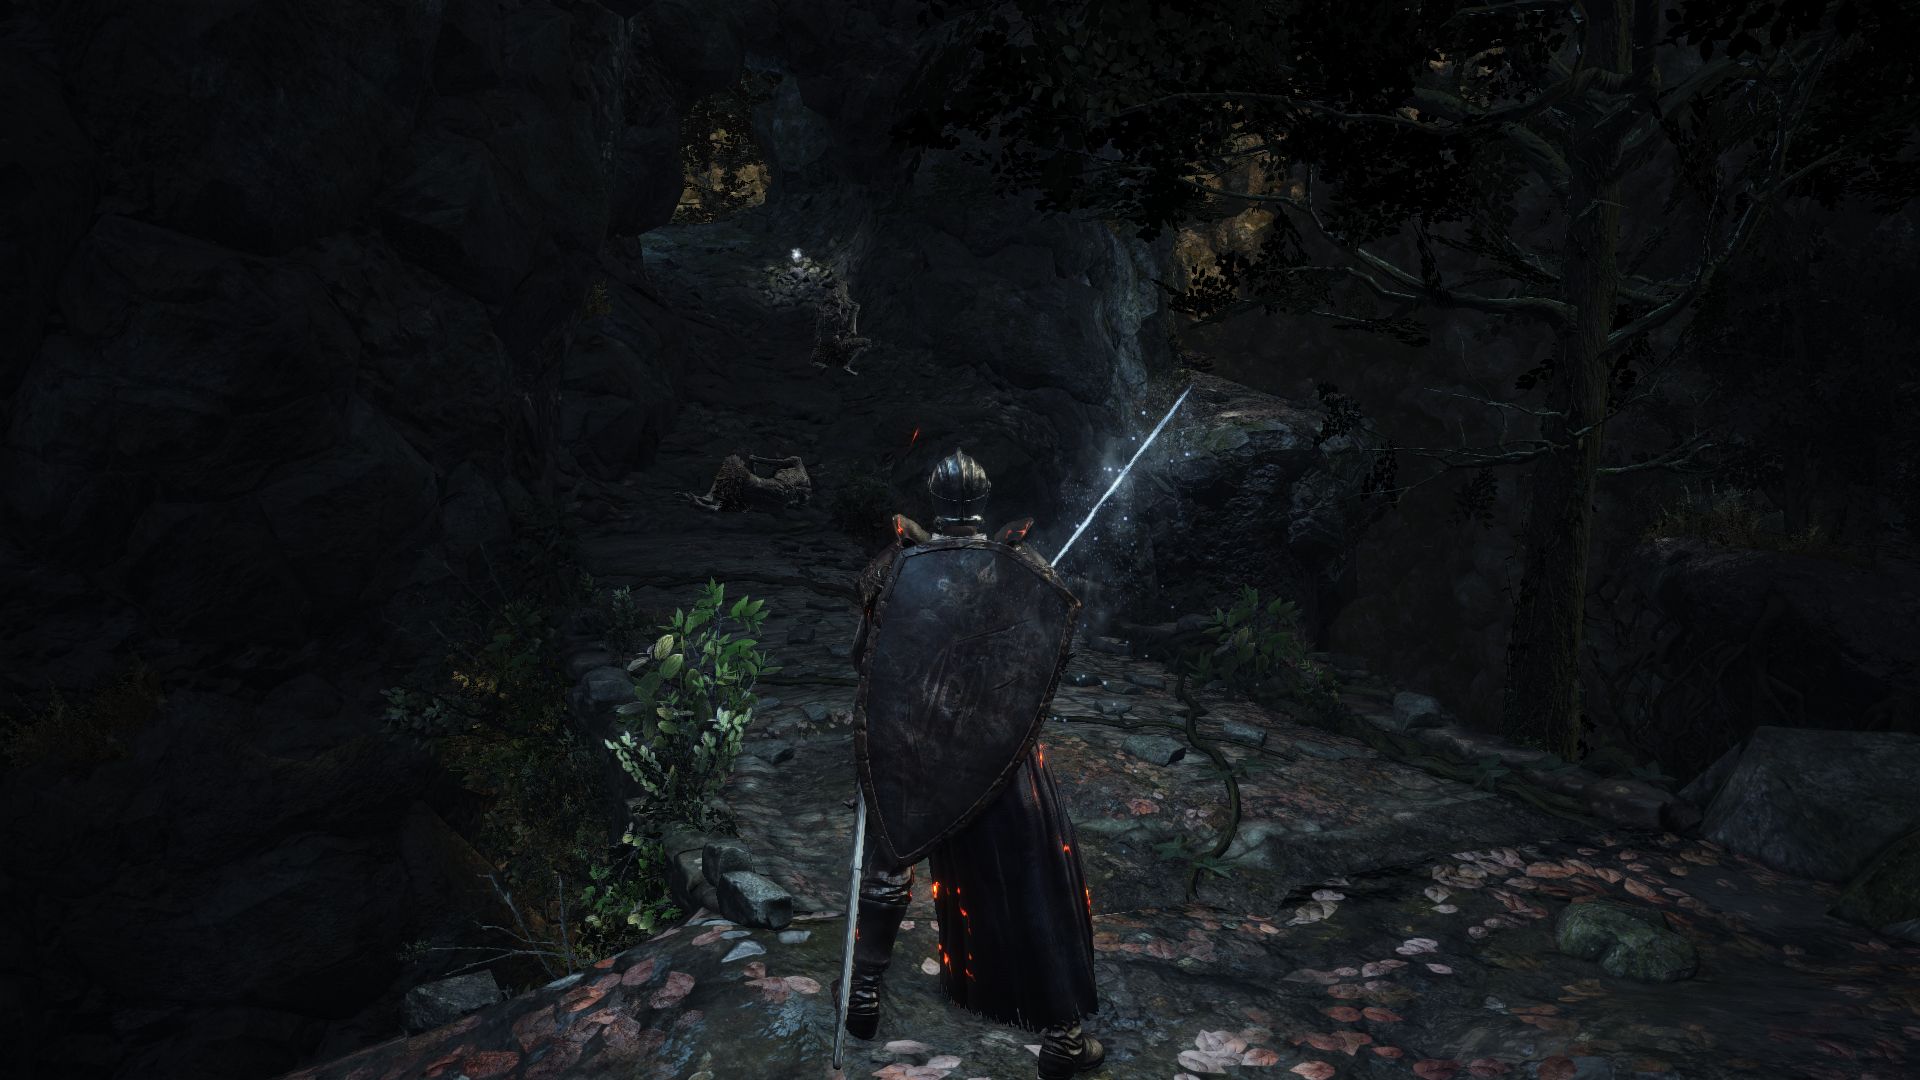
Proceed to the main path but do not charge the Corvian on the bridge yet. If you notice, there is a Corvian Shaman behind him who will summon a bunch of other Corvians to fight you. Take caution and draw out the Corvians one by one to kill them systematically. If they seem to be overwhelming you, don’t be afraid to run back to the hill so you can fight them solo. You could try to kick them off the path too.
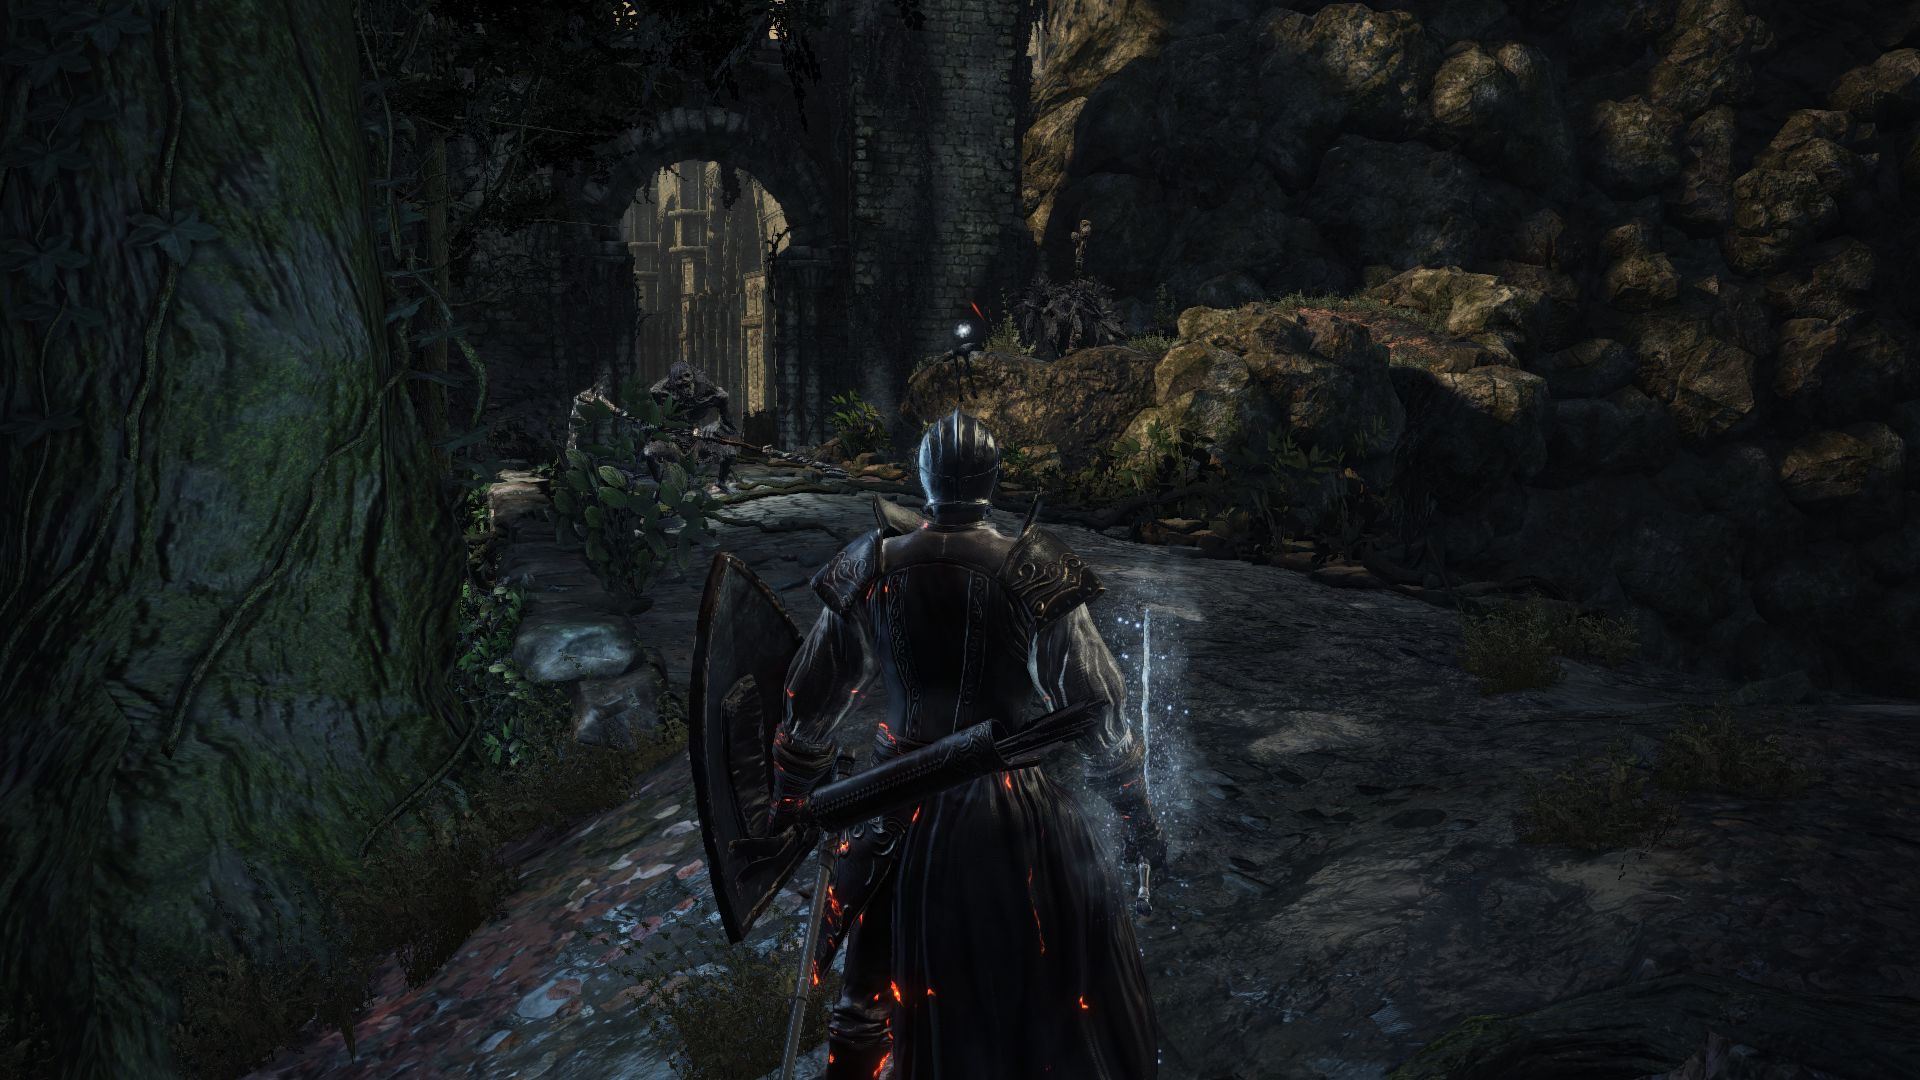
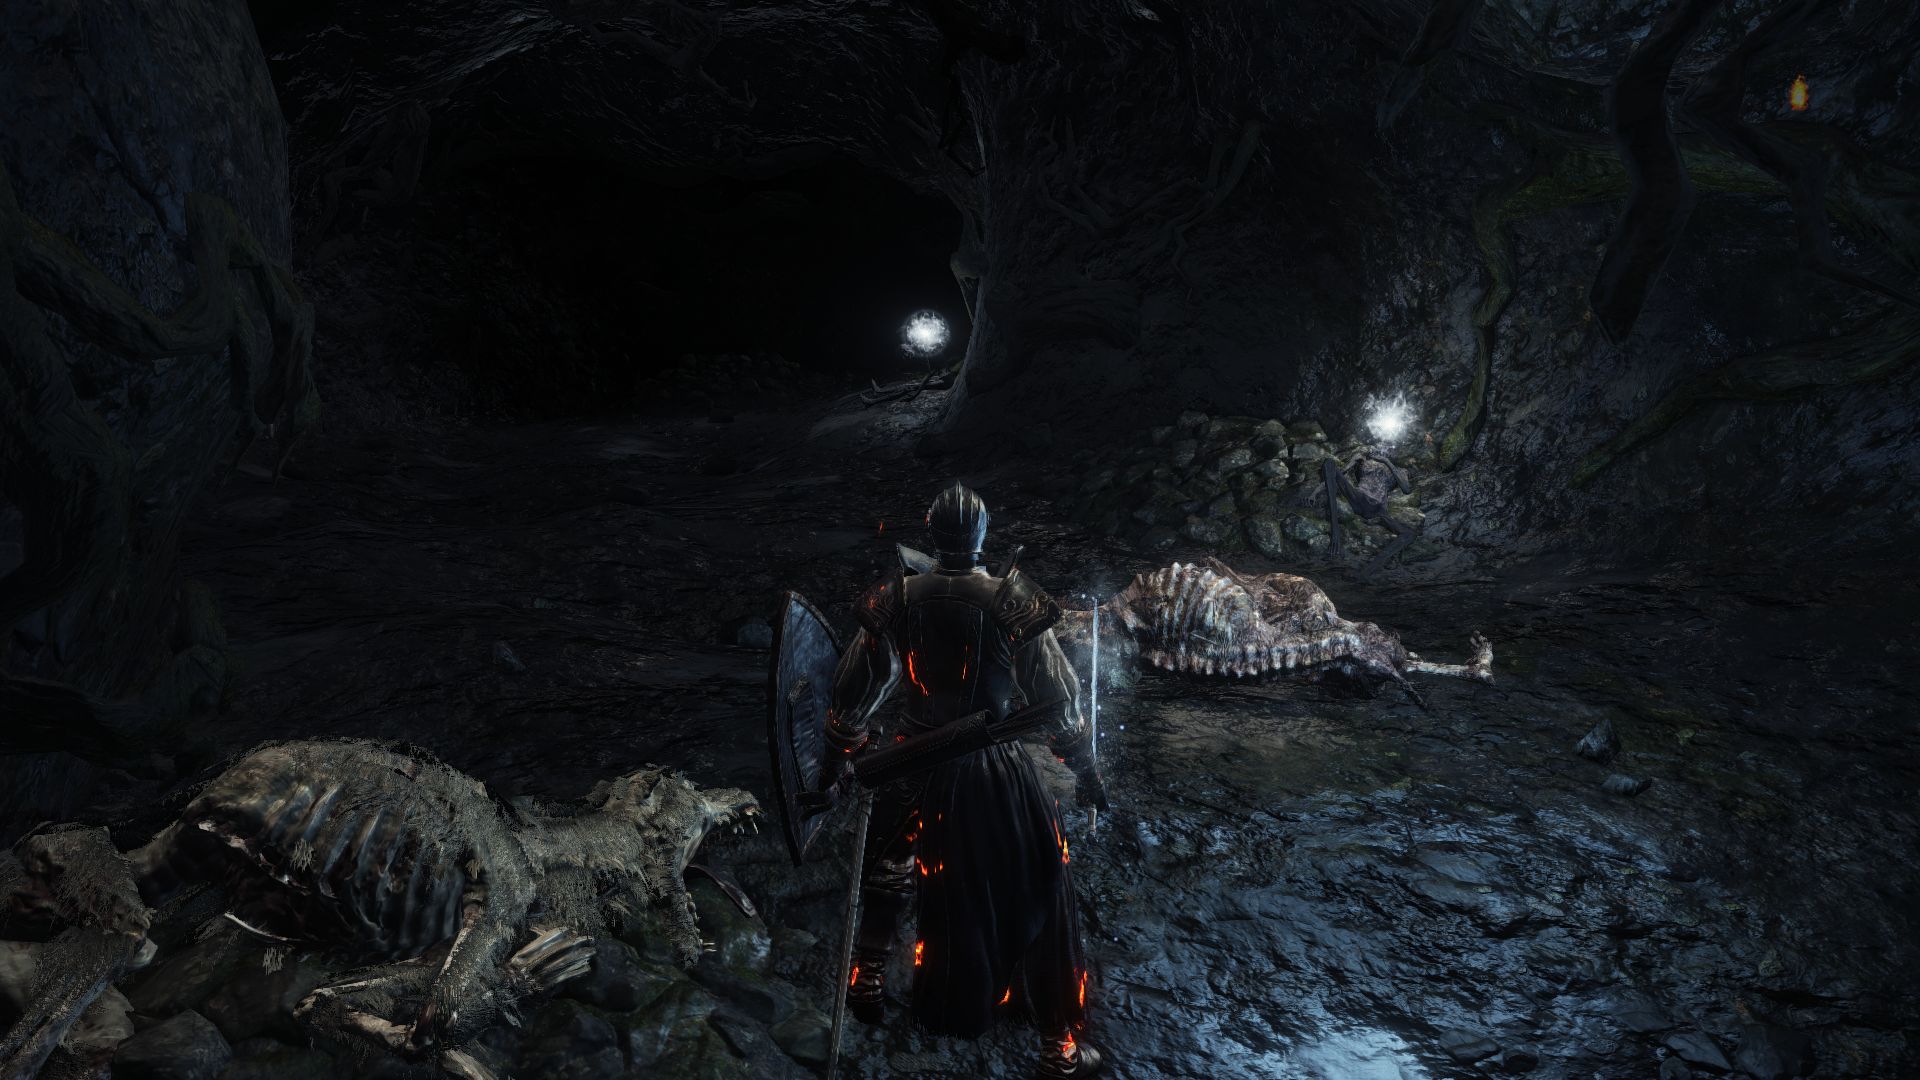
After you’ve managed to kill the Corvians on the path, go for the Shaman and kill it. Loot the Ember and head back to the start of the bridge. You’ll see that you can jump onto a lower area from the bridge. Hop down and prepare yourself for the 2 Bone Hounds lurking there. You’ll find yourself in a cave with corpses containing Morne’s Ring and a Braille Divine Tome of Carim (Take it to Irina back at Firelink Shrine). After you’ve looted the items, head up the path to find yourself in a clearing with the Halfway Fortress Bonfire.
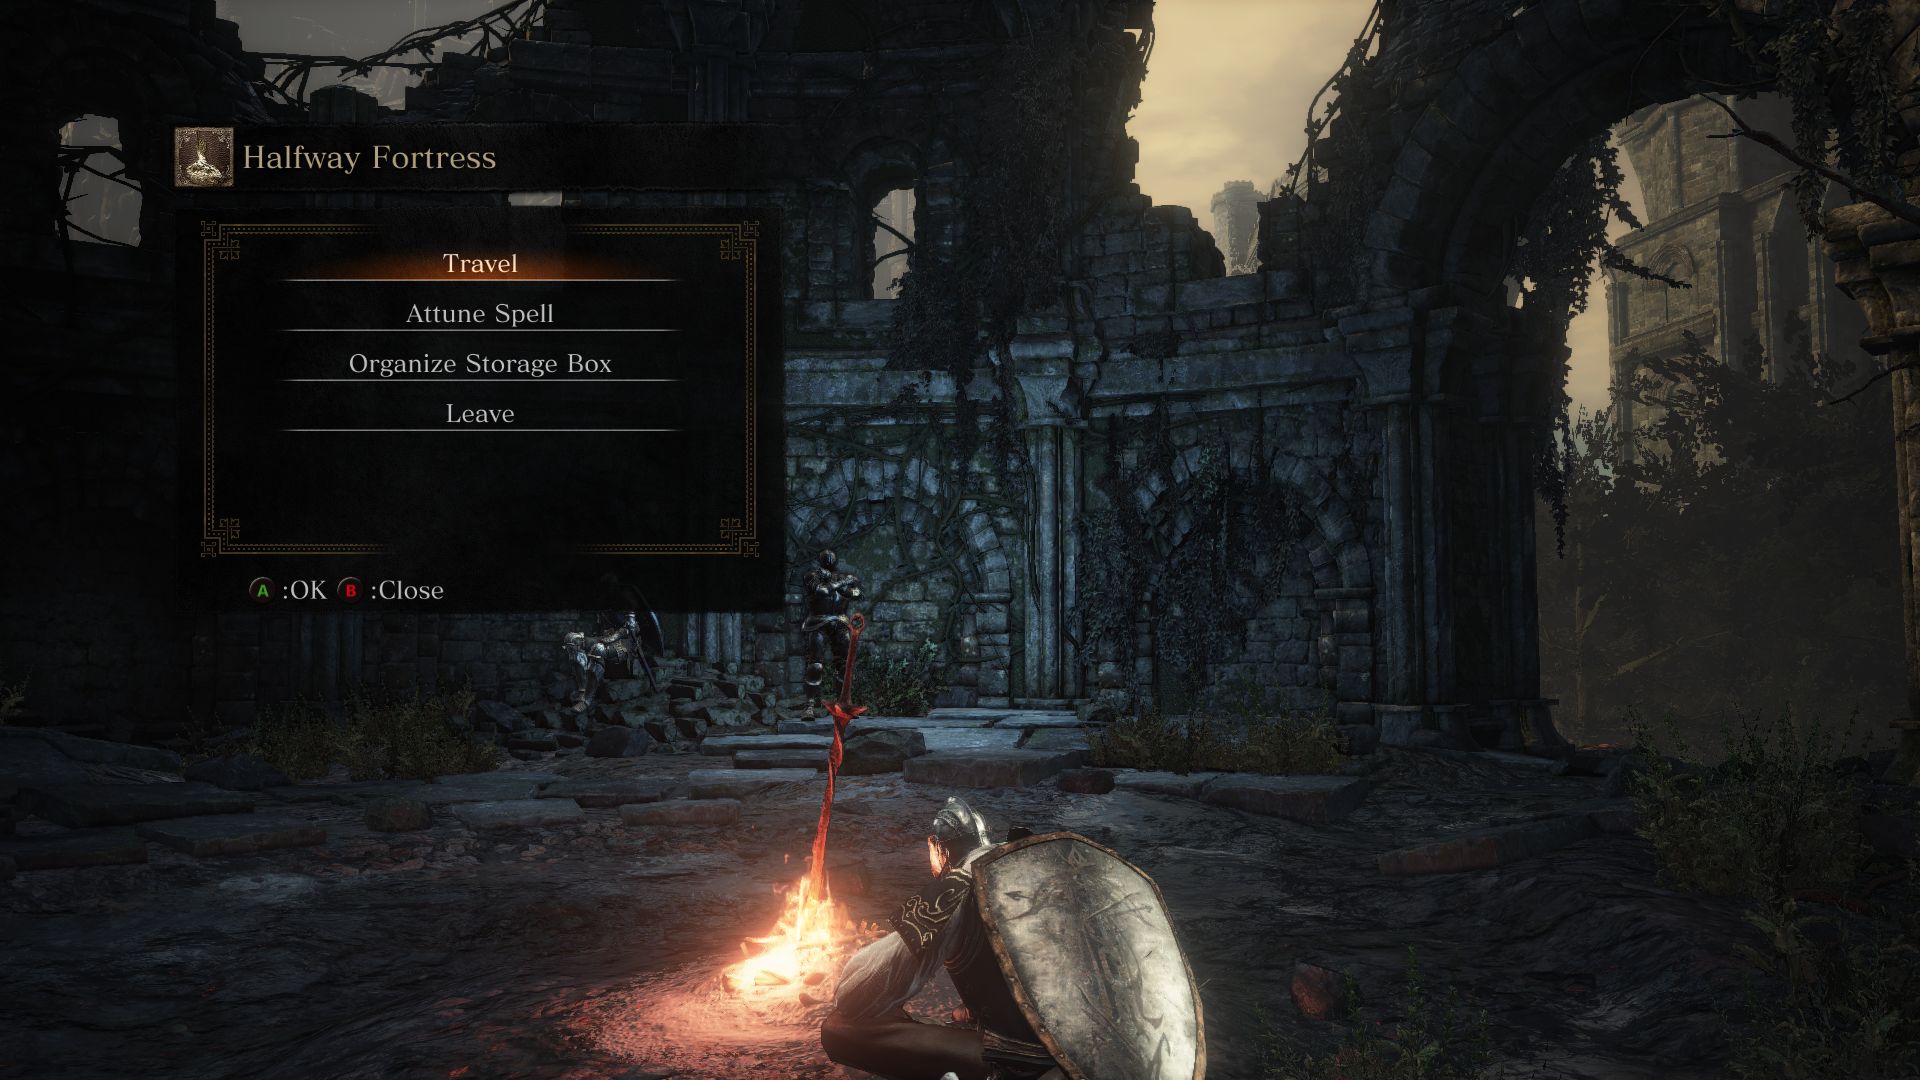
COVENANT BLUE SENTINELS: There are 2 NPCs near the bonfire. Horace the Hushed isn’t very talkative but Anri of Astora will provide interesting conversation. Talking to both of them will reward you with the Blue Sentinels Covenant insignia. This also causes Sirris of the Sunless Realms to take residence back at the Firelink Shrine.
Proceed to the other side of the Halfway Fortress and you’ll find yourself in a large swamp. This area is littered with small crabs, poisonous insects, and pike carrying Village Workers, and Hollows to name a few.
Head down the path and you’ll meet the first Village Workers. Alone, these enemies aren’t very difficult with, but as you progress in the Swamp, you’ll notice that these Workers tend to attack you in groups. They carry what appears to be logs that have been sharpened to stab you to death. Their attacks include swinging the log, stabbing forward, or smashing their weapon on the ground in front. Lucky enough, they are kind of slow, so you can maneuver around them to take them out with backstabs.
Make your way to the start of the marsh and you’ll realize that this isn’t exactly a linear path. You can go any direction from where. But let’s start by going to the curving path to the right where you will find a Bone Hound and a Villager. Take them out and loot the Titanite Shard. Before heading into the swamp, backtrack your way to the start of the winding path. You should find yourself on a ledge from where you can jump onto some lower platforms. On one of these lower platforms you’ll find a Soul of an Unknown Traveler. Jump down that platform and you’ll find a path to the right side of the swamp.
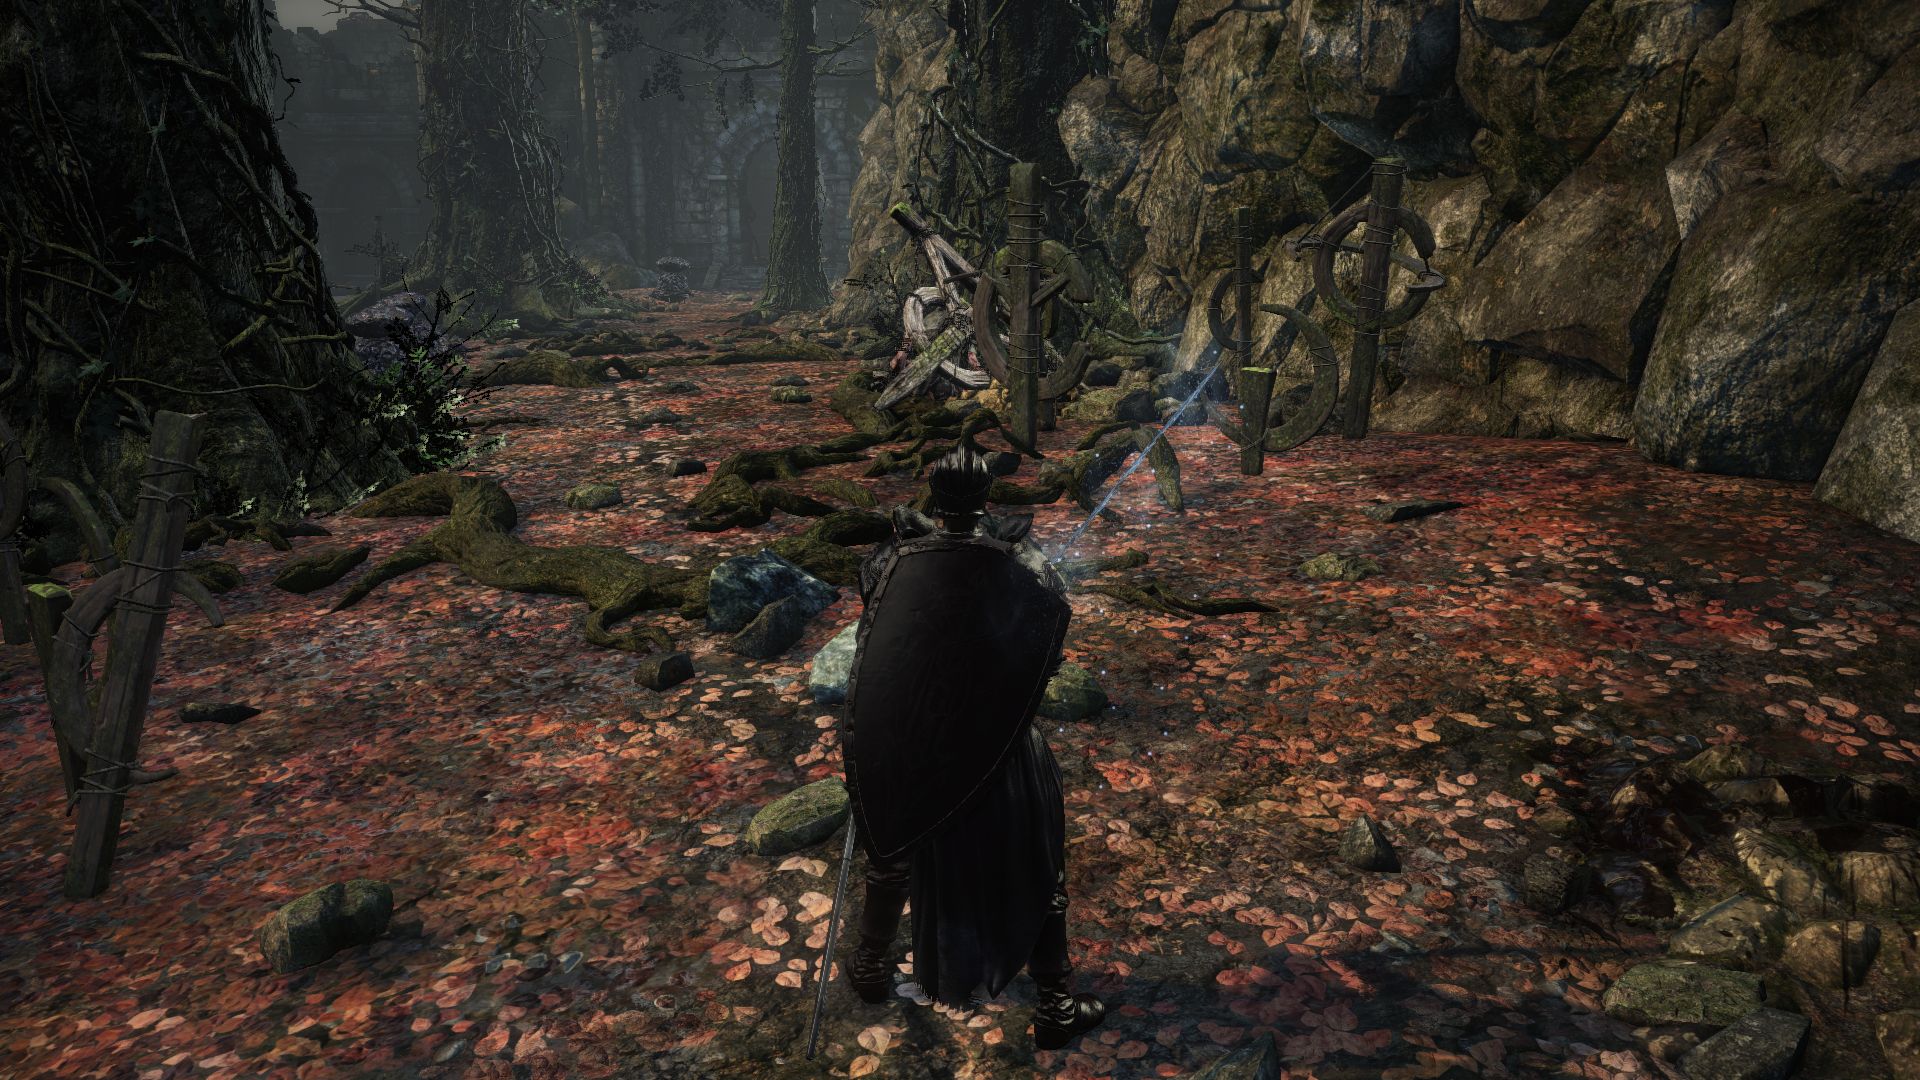
Proceed forward and you’ll find poisonous insects which are very easy to take down. Notice the crucifixes pinned on the ground. Among them, to the right, you’ll see a red-eyed enemy with a crucifix on its back. This is a Crucified Ghoul and it’s really fast. Its attacks include charging at you with its claws or biting you. The Ghoul can dodge your attacks fast and retaliate, so watch out for those. After you kill the first one, you’ll find another one hiding behind a tree up ahead.
After you kill the second Crucified Ghoul, you’ll find yourself in front of a wall. Head inside and observe the door to your right that you can’t open from this side. Look at the other direction and you’ll see an ominous looking enemy, a Black Knight, waiting down the hall. He hits really hard, but you’ll find plenty of openings in between his attacks. So maneuver well and try to land backstabs. Watch out for the uppercut attack when he drags his sword on the ground.
After the Black Knight head to the right side on the balcony to loot the Mercenery Armor Set. Go back around to find yourself at the end of the hall where you can find the Sellsword Twinblades and Farron Coals (Andre can use this to infuse your weapons). After you finish looting, head back to the start of the Marsh.
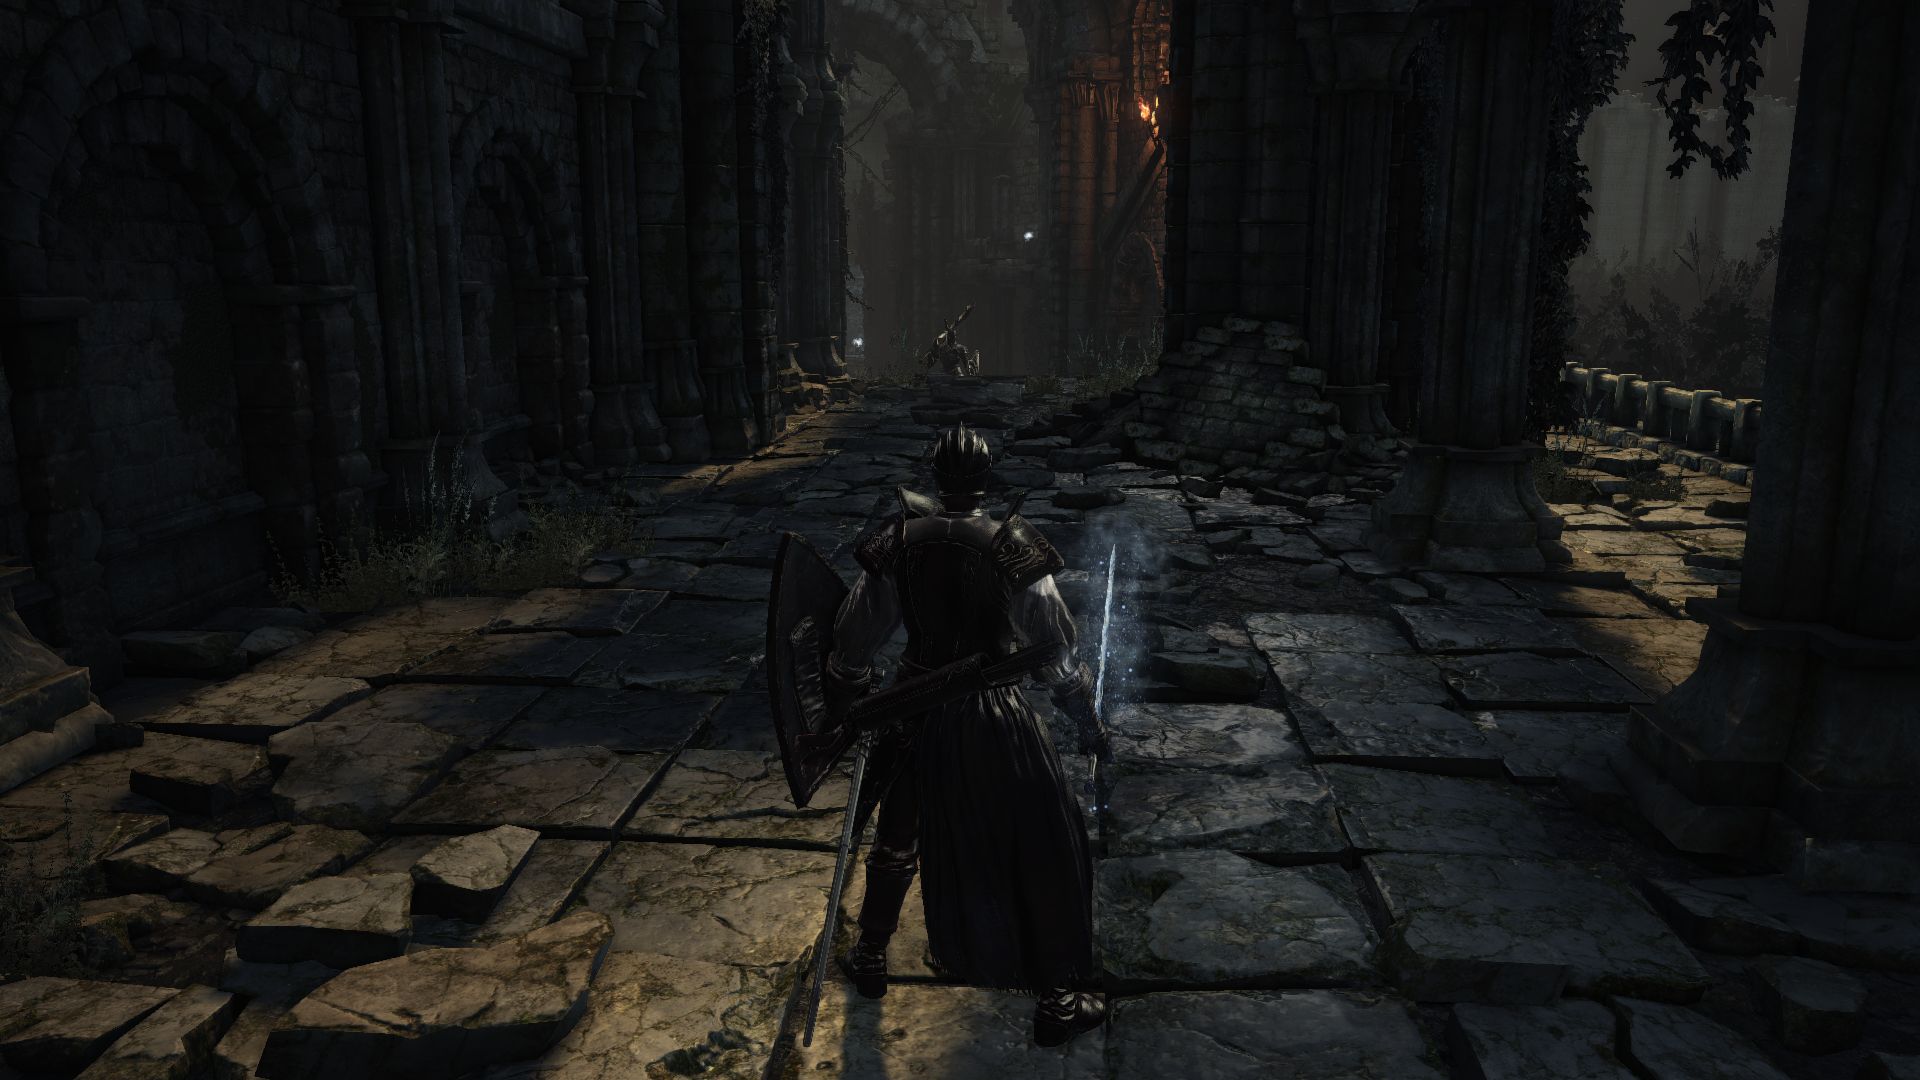
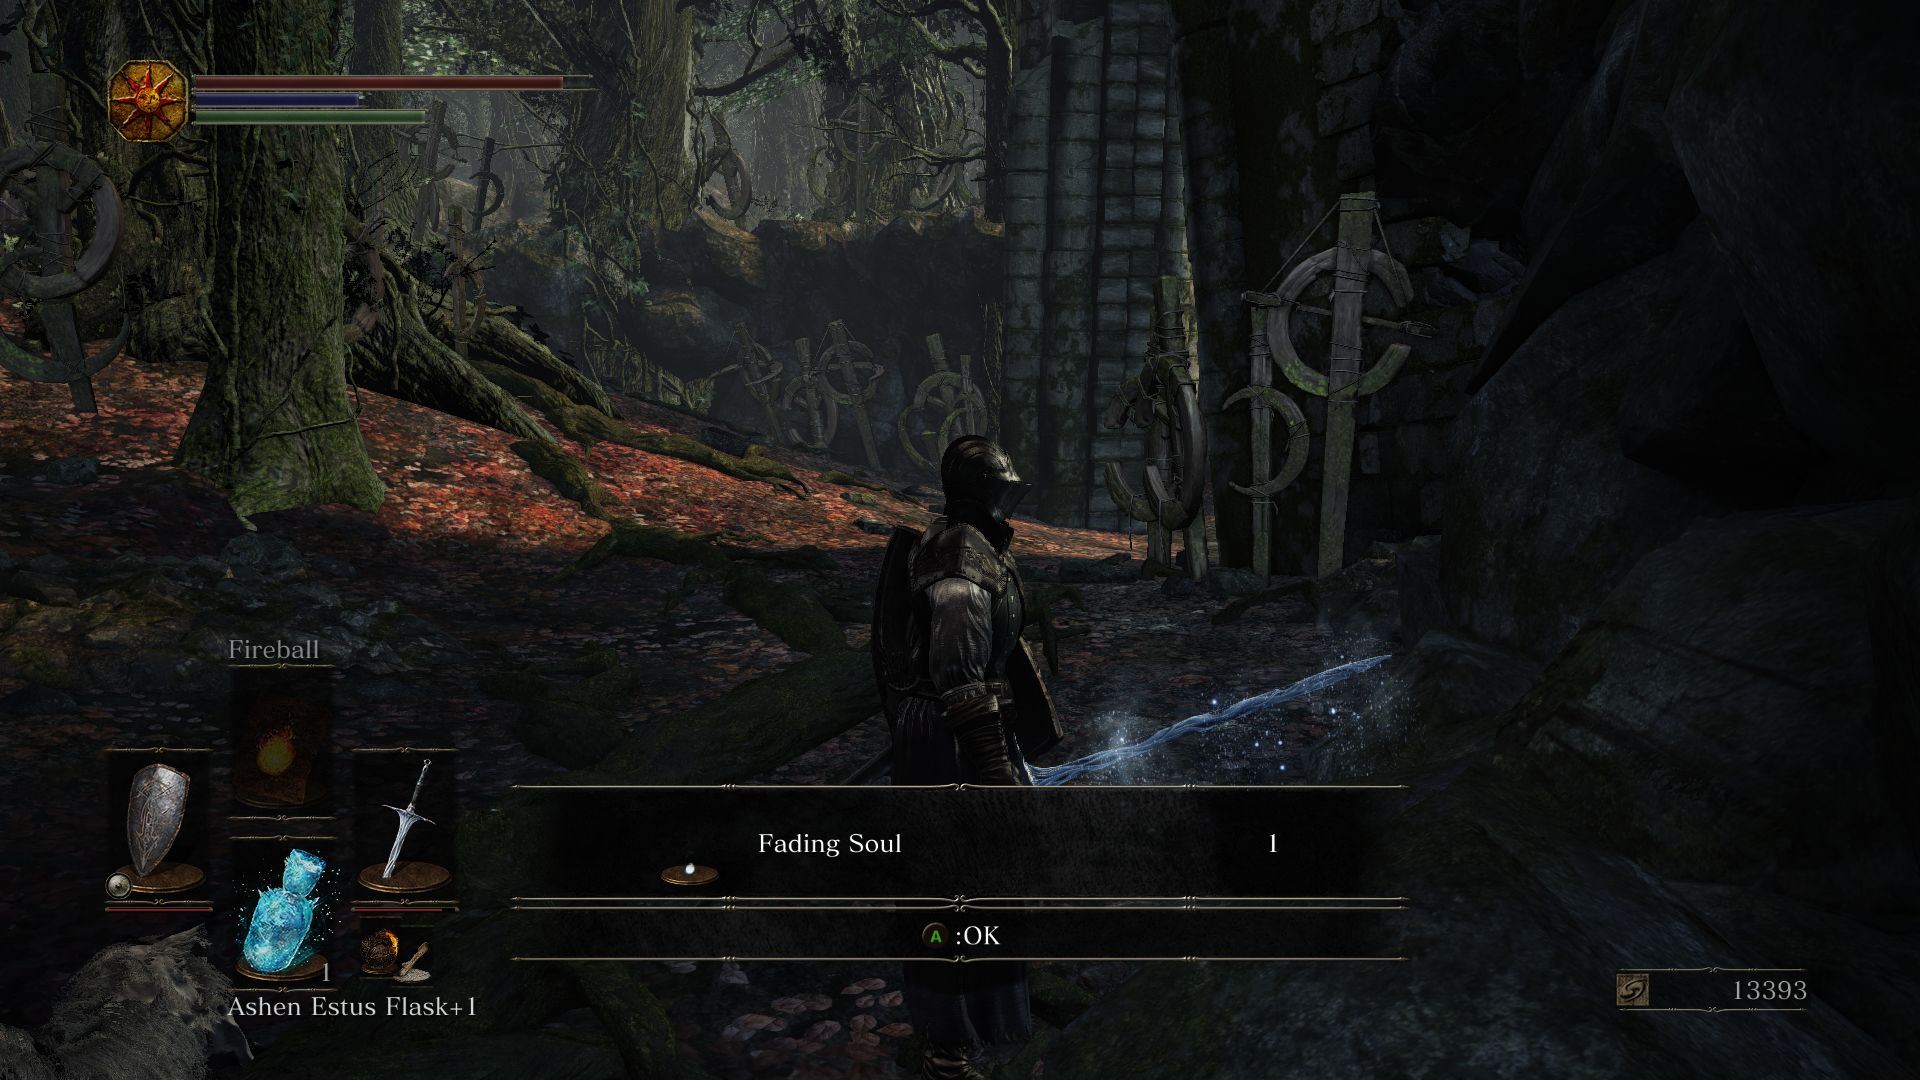
Head left as you hug the cliff wall and you’ll find yourself facing many poisonous insects and a few villagers. Kill them and loot the Titanite Shard nearby. Look a large tree close to this area where you will find another Villager. Kill him and loot the Twin Dragon Greatshield. To the left is an archway with a corpse in front of it holding a Fading Soul. Be wary at this part of the swamp, for Villagers are lurky around tree roots and may take you off guard. There is a Bone Hound ready to pounce on you near the archway as well.
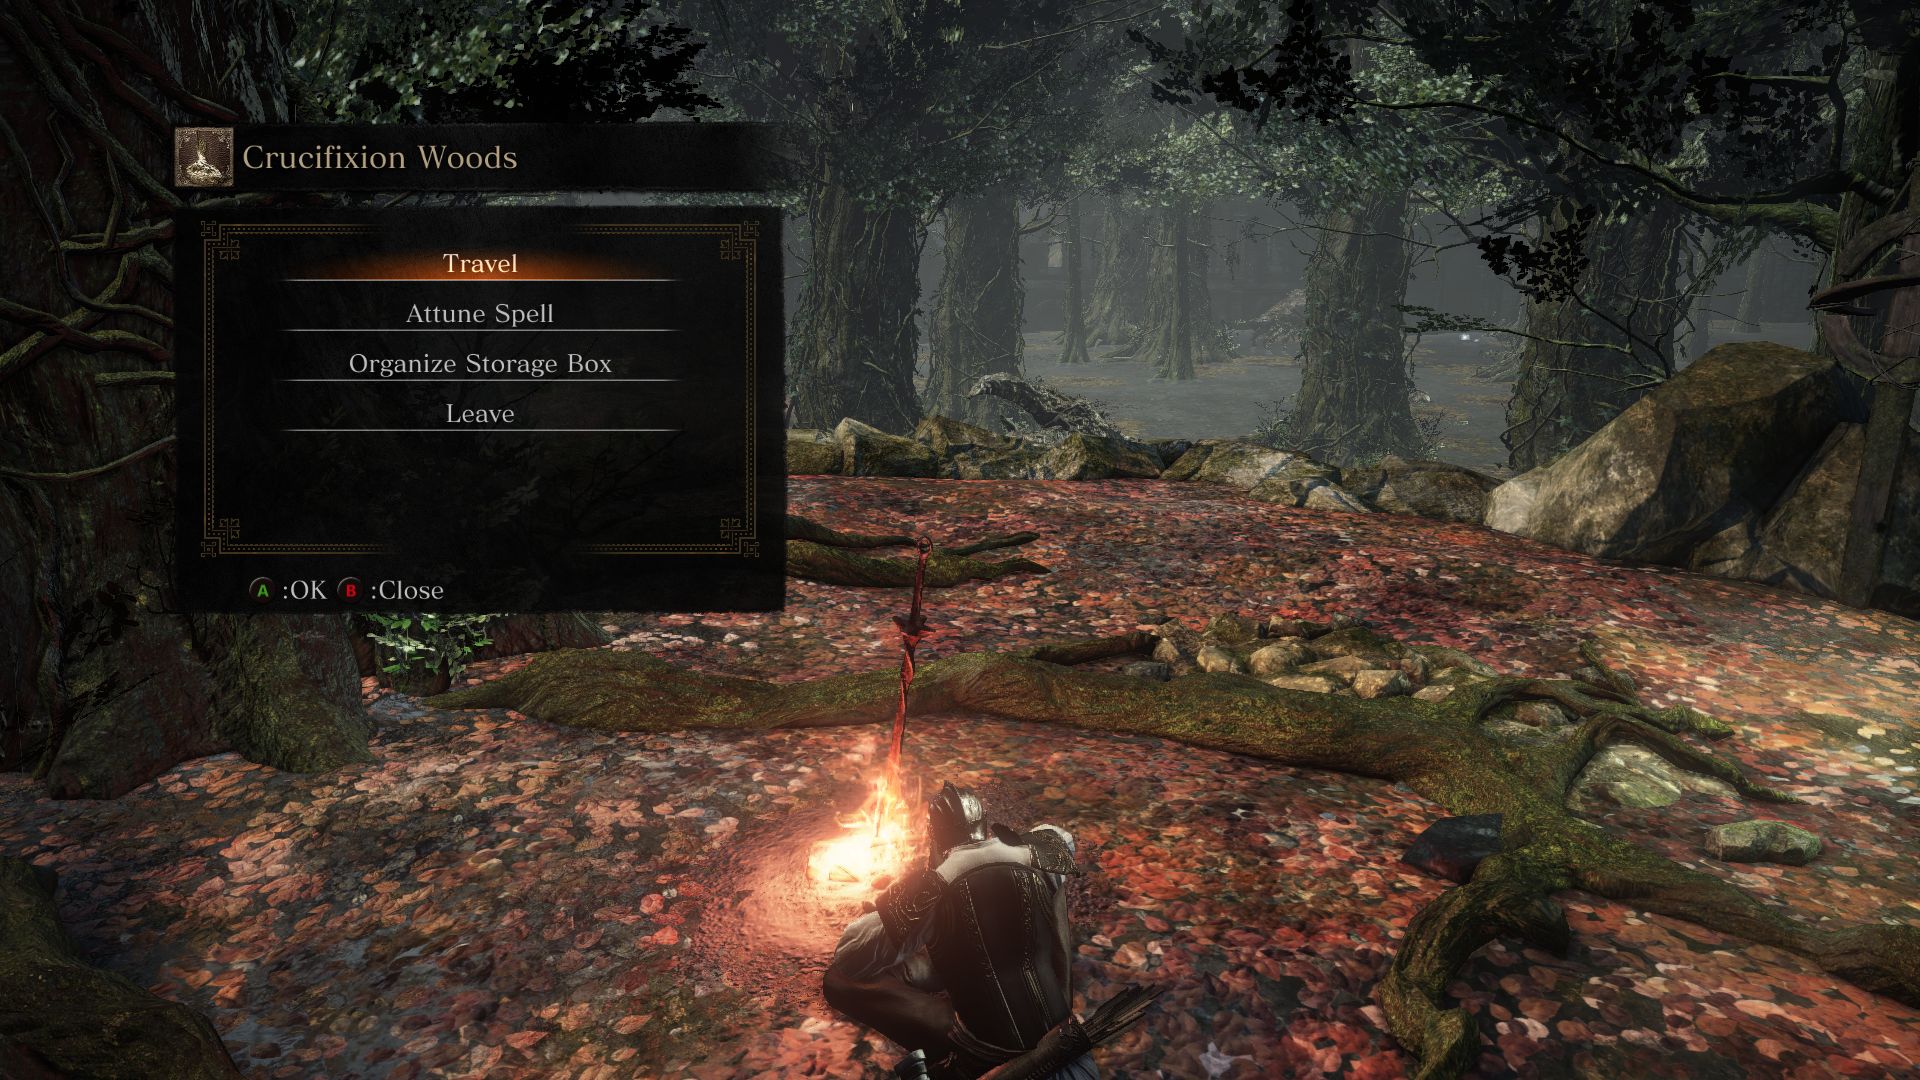
Go up the slope beyond the archway and turn right to find a clearing with the Crucifixion Woods Bonfire. From here, if you look out towards the swamp, you’ll spot a Giant Crab. If you want, you could try to kill it now. It’s a rather difficult fight, so you may want to come back to it after exploring the area a bit more.
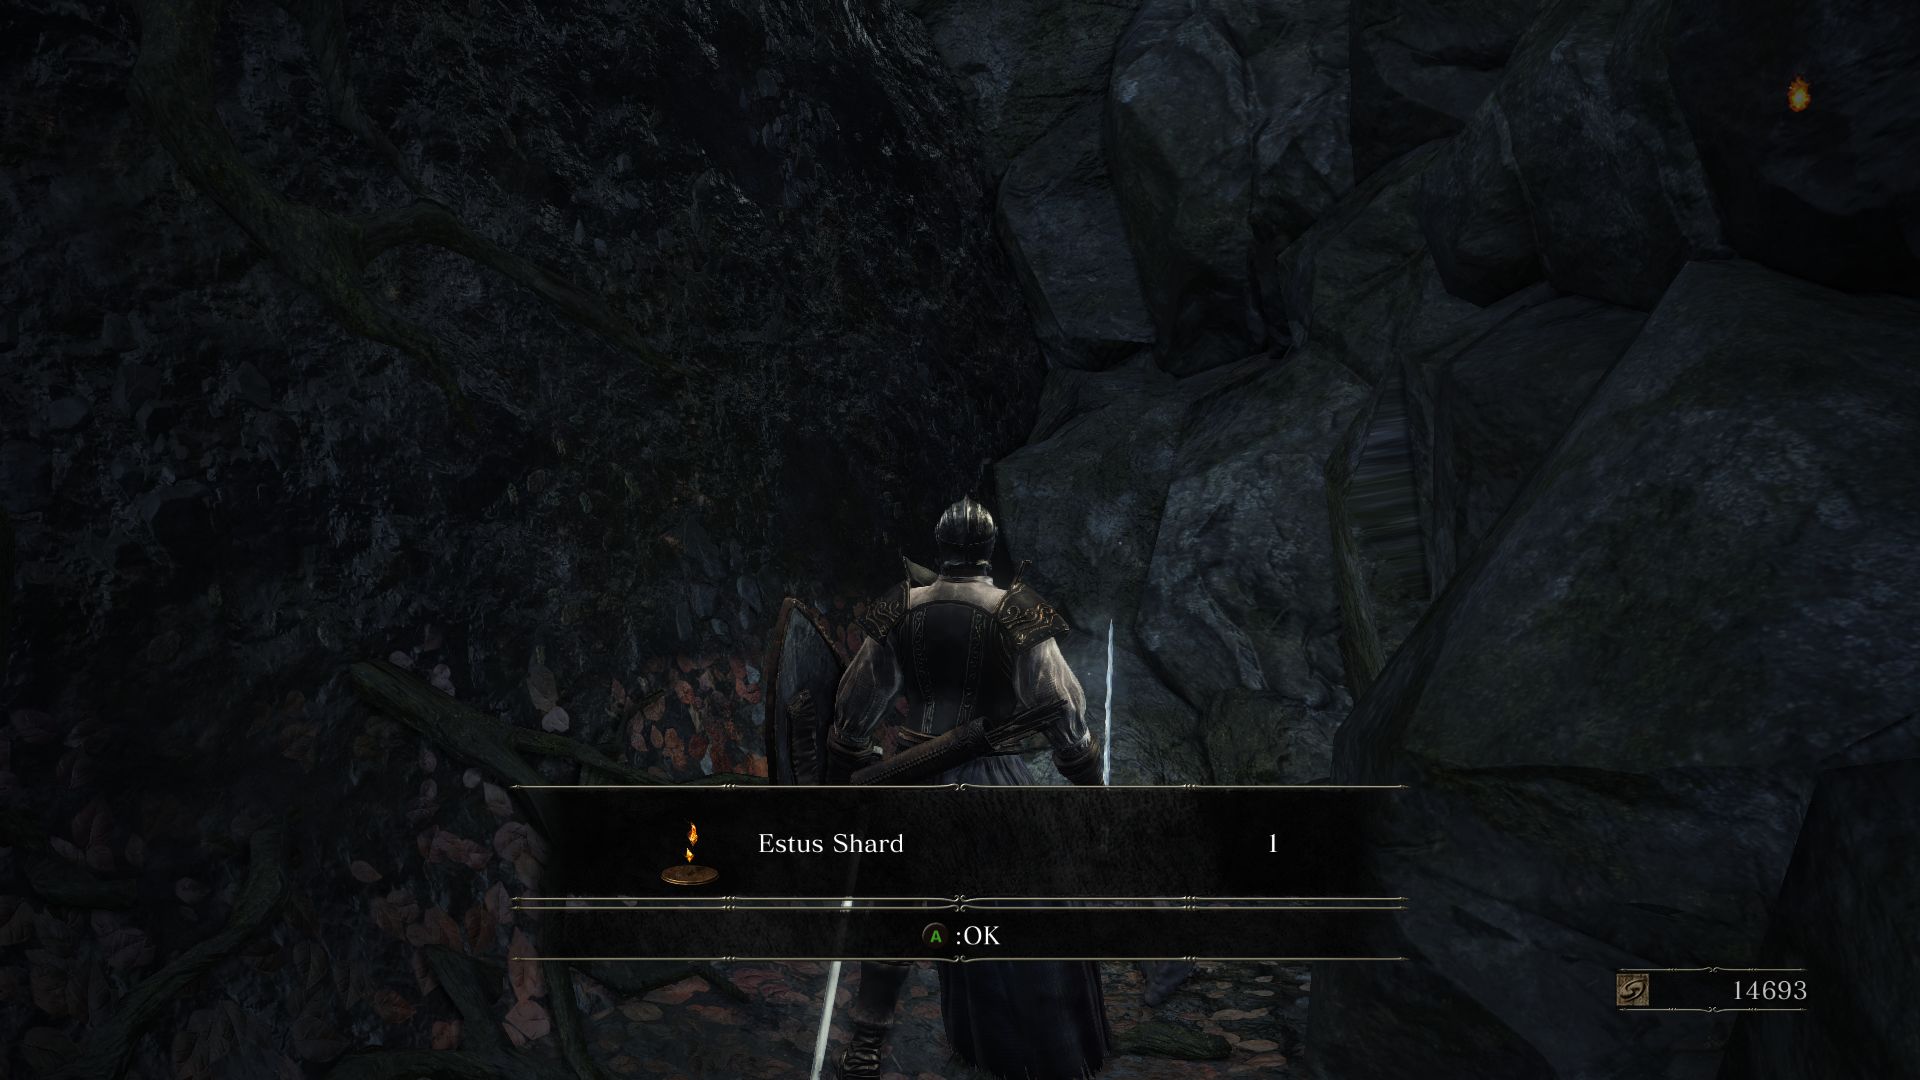
Go along the left path from the bonfire and you’ll find a small hole in the wall. Go through it to take out the 3 Village Workers there. You could drop from a ledge here, but better not to drop from here since there are 2 Crucified Ghouls up ahead. Rather, go back and head towards the right side of these ruins so you can enter that lower area. You’ll see a corpse nearby holding a Soul of an Unknown Traveler. As you approach the Ghouls, the first one will most like spot you and charge towards you. Easier to take it on by itself. Once you kill it, head towards the fire and deal with the other Crucified Ghoul here. There should be an Ember here and an Estus Shard (talk to Andre back at the Firelink Shrine for more Estus Flasks).
After clearing this area and getting your loot, you could choose to explore the Swamp. You could probably see a plethora of glowing orbs enticing you with the loot, and for good reason. But beware of the 2 Giant Crabs in the area. Despite their size, they do move fast and deal insane amount of damage with their claws. You could try to move around them and aim for the legs, this should stun them for a bit. Or you could look for an opening when they slam their claws on the ground, so that you can get some damage in on their face. You’ll have to be very careful with your retaliations. Don’t get greedy and try to land more hits than you can. Back out and look for openings. After you kill both the crabs, you’ll obtain a Great Swamp Ring.
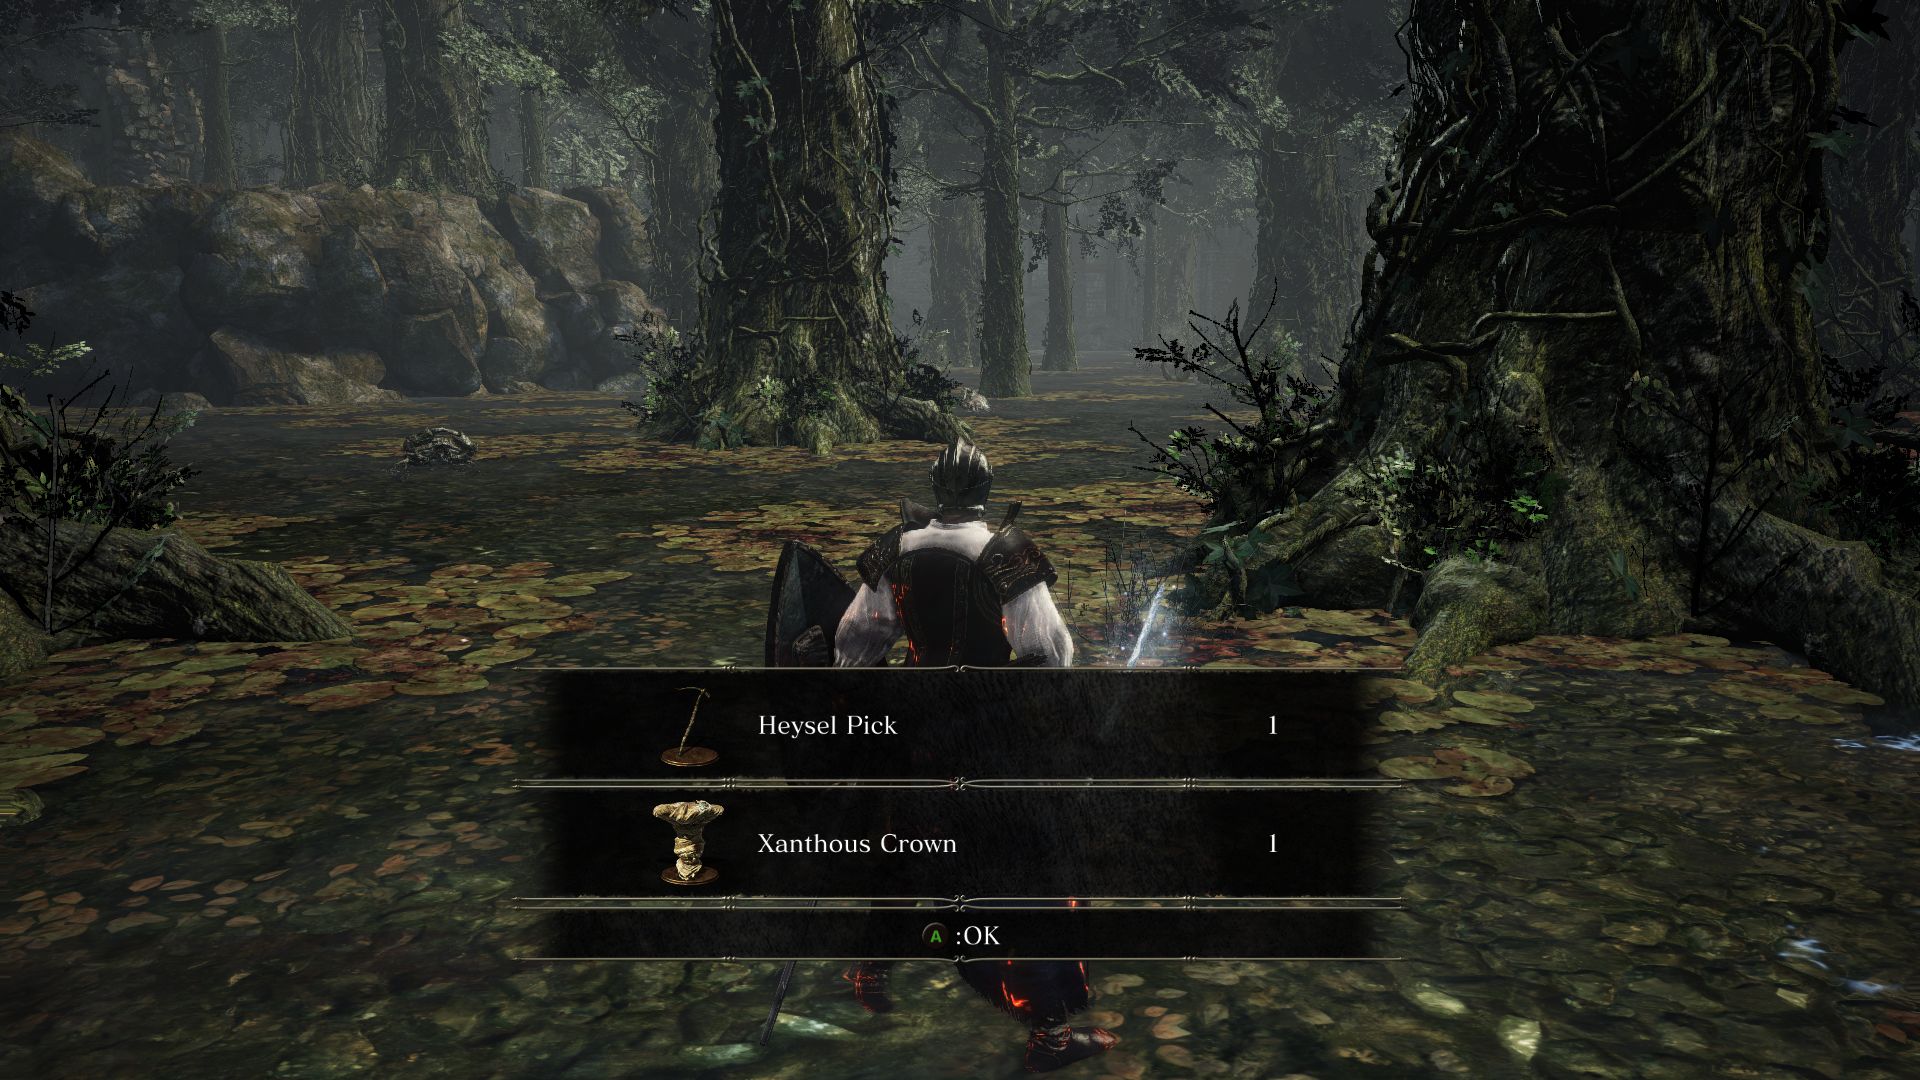
Another thing to be very careful about is the dark spirit Yellowfinger Heysel who may invade you while you are fighting the crabs. This makes things more difficult than it should be. But assuming you have defeated the crabs, it’s not too difficult to defeat Heysel. He seems rather weak when you get close to him. So dodge his spells and take him out to obtain a Heysel Pick and Xanthous Crown.
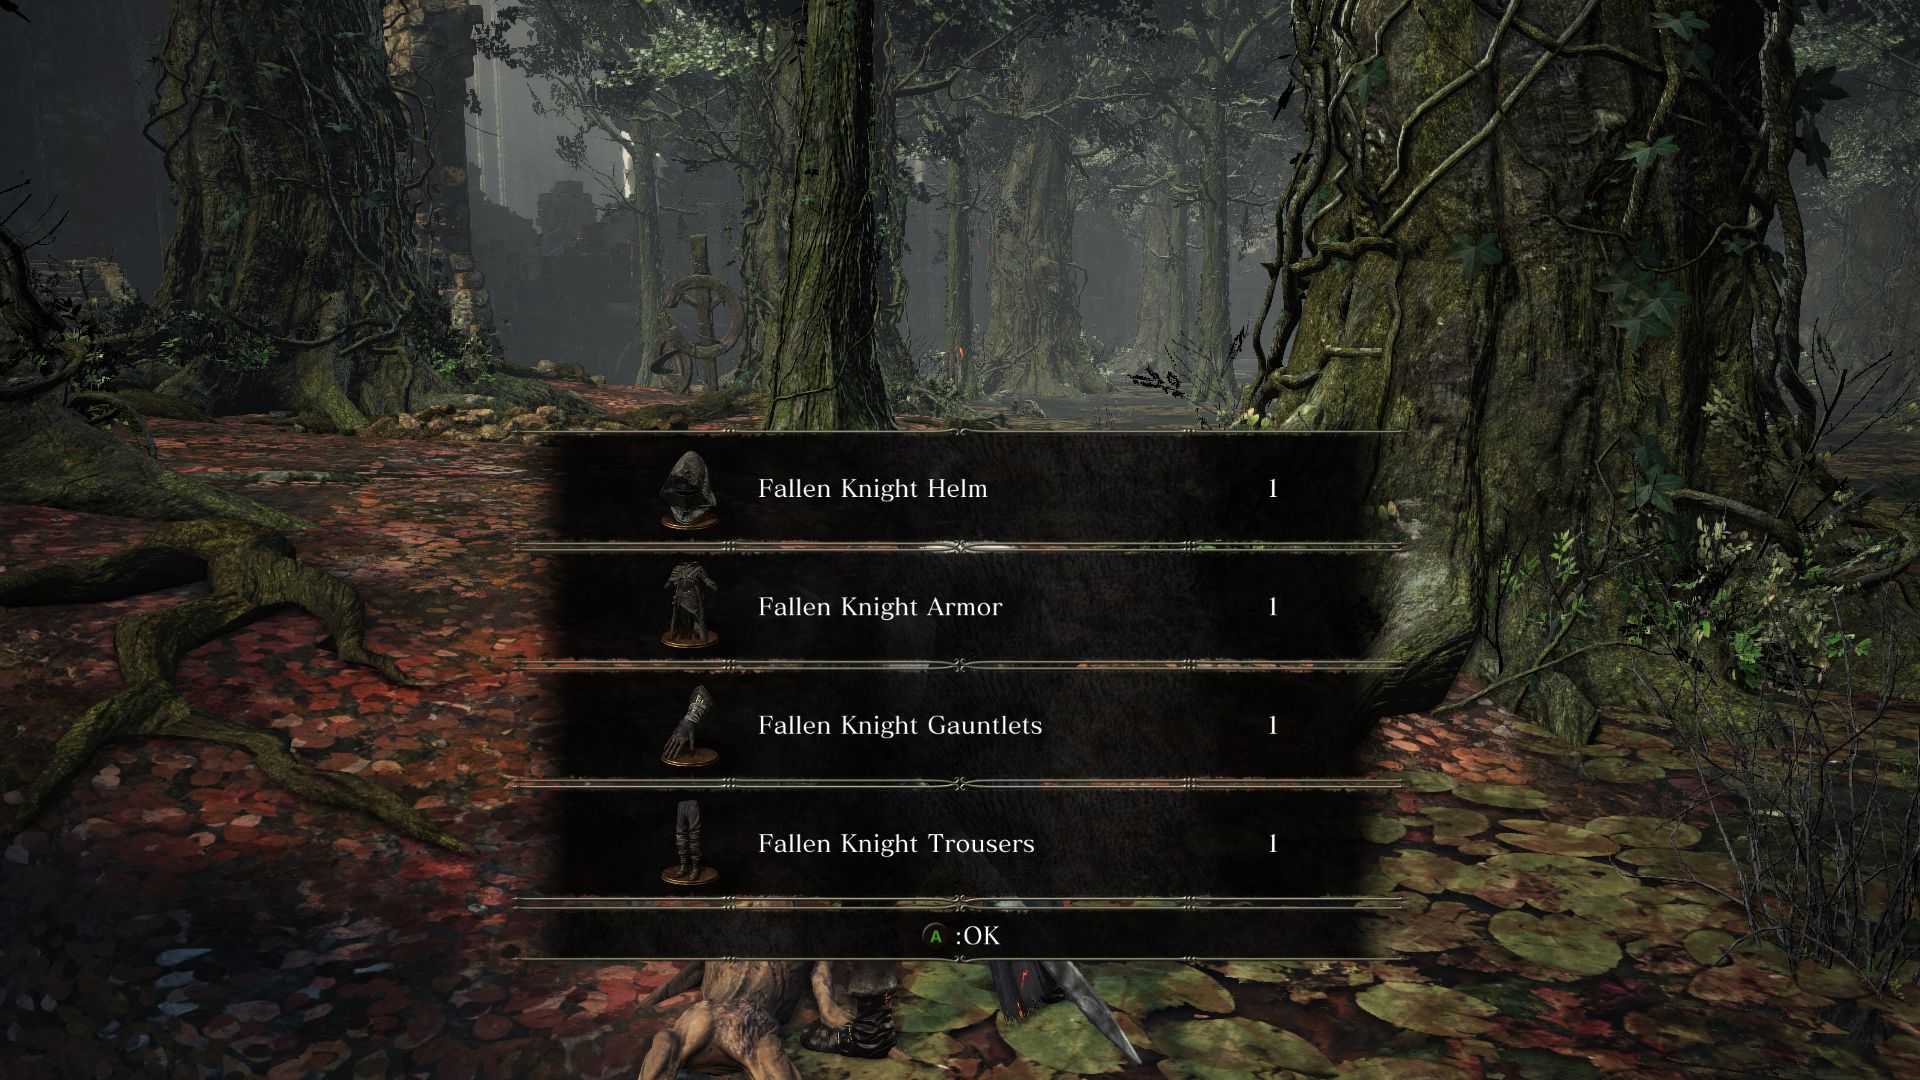
After you’ve cleared the crabs and Heysel, it’s time to look around for the loot. Close to the arch on the left side of the swamp, you’ll find a Grass Crest Shield. Move right a bit to find a Bloodred Moss Clump and 4 Green Blossom. Near the middle of the swamp you’ll find a corpse holding the Conjurator Armor Set and a Great Swamp Pyromancy Tome (talk to Cornyx back at Firelink Shrine). Close to the middle island, if you search the left side, you’ll find the Fallen Knight Armor Set. Keep moving to the left side of the swamp to find 2 Green Blossom.
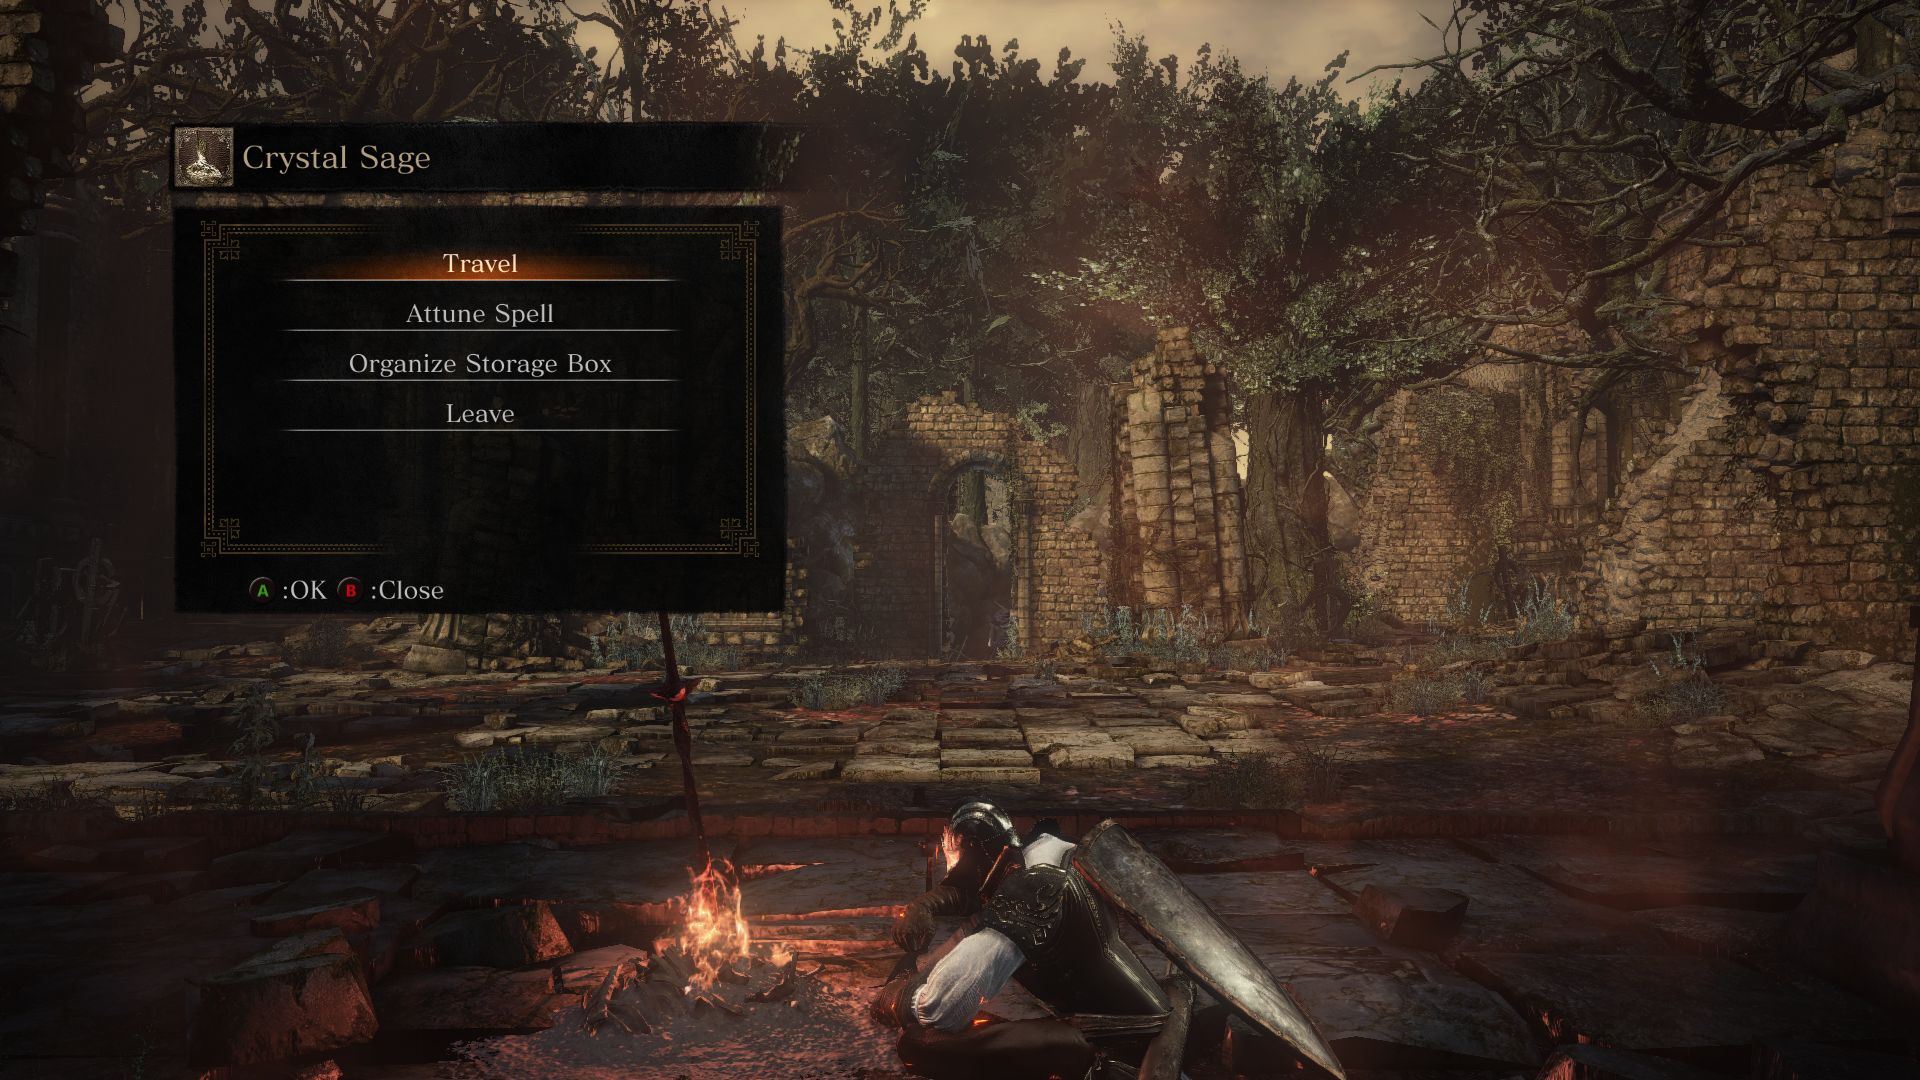
From here you can either keep going deeper into the Swamp towards Farron Keep (beware of the 2 Watchdog Knights) or head to the left side of the swamp towards Cathedral Deep. Eventually you will had to Farron Keep, but for now let’s head to Cathedral Deep (guarded by the Crystal Sage boss).
Go back to the ruins near the left side of the bonfire. You should see a hole in the wall you can go through. Don’t just rush in, because 8 Hollows wait inside, including a Watchman and a Sorcerer at the top. The Watchman holds a lantern and will start alerting the other Hollows nearby when he sees you. So, try to charge him and take him out. Don’t stay in the Sorcerer’s range. If you have to, lure the Hollows out one by one. After you’ve cleared this room, search the corpse in the room for a Heretic’s Staff.
Go upstairs and proceed through the bridge. Kill the Hollow wielding shield on the way. You’ll come to three branching paths here: avoid the middle path for a bit, because it is filled with enemies and it leads to the boss fight.
RERUITING ORBECK: Take the left path and head up the stairs to another room that overlooks the central room. You’ll find an NPC surrounded by parchments and books. This is Orbeck of Vinheim, and he can teach you sorcery, but only if your Intelligence stat is 10 or higher. Talk to him, and he’ll take residence at the Firelink Shrine.
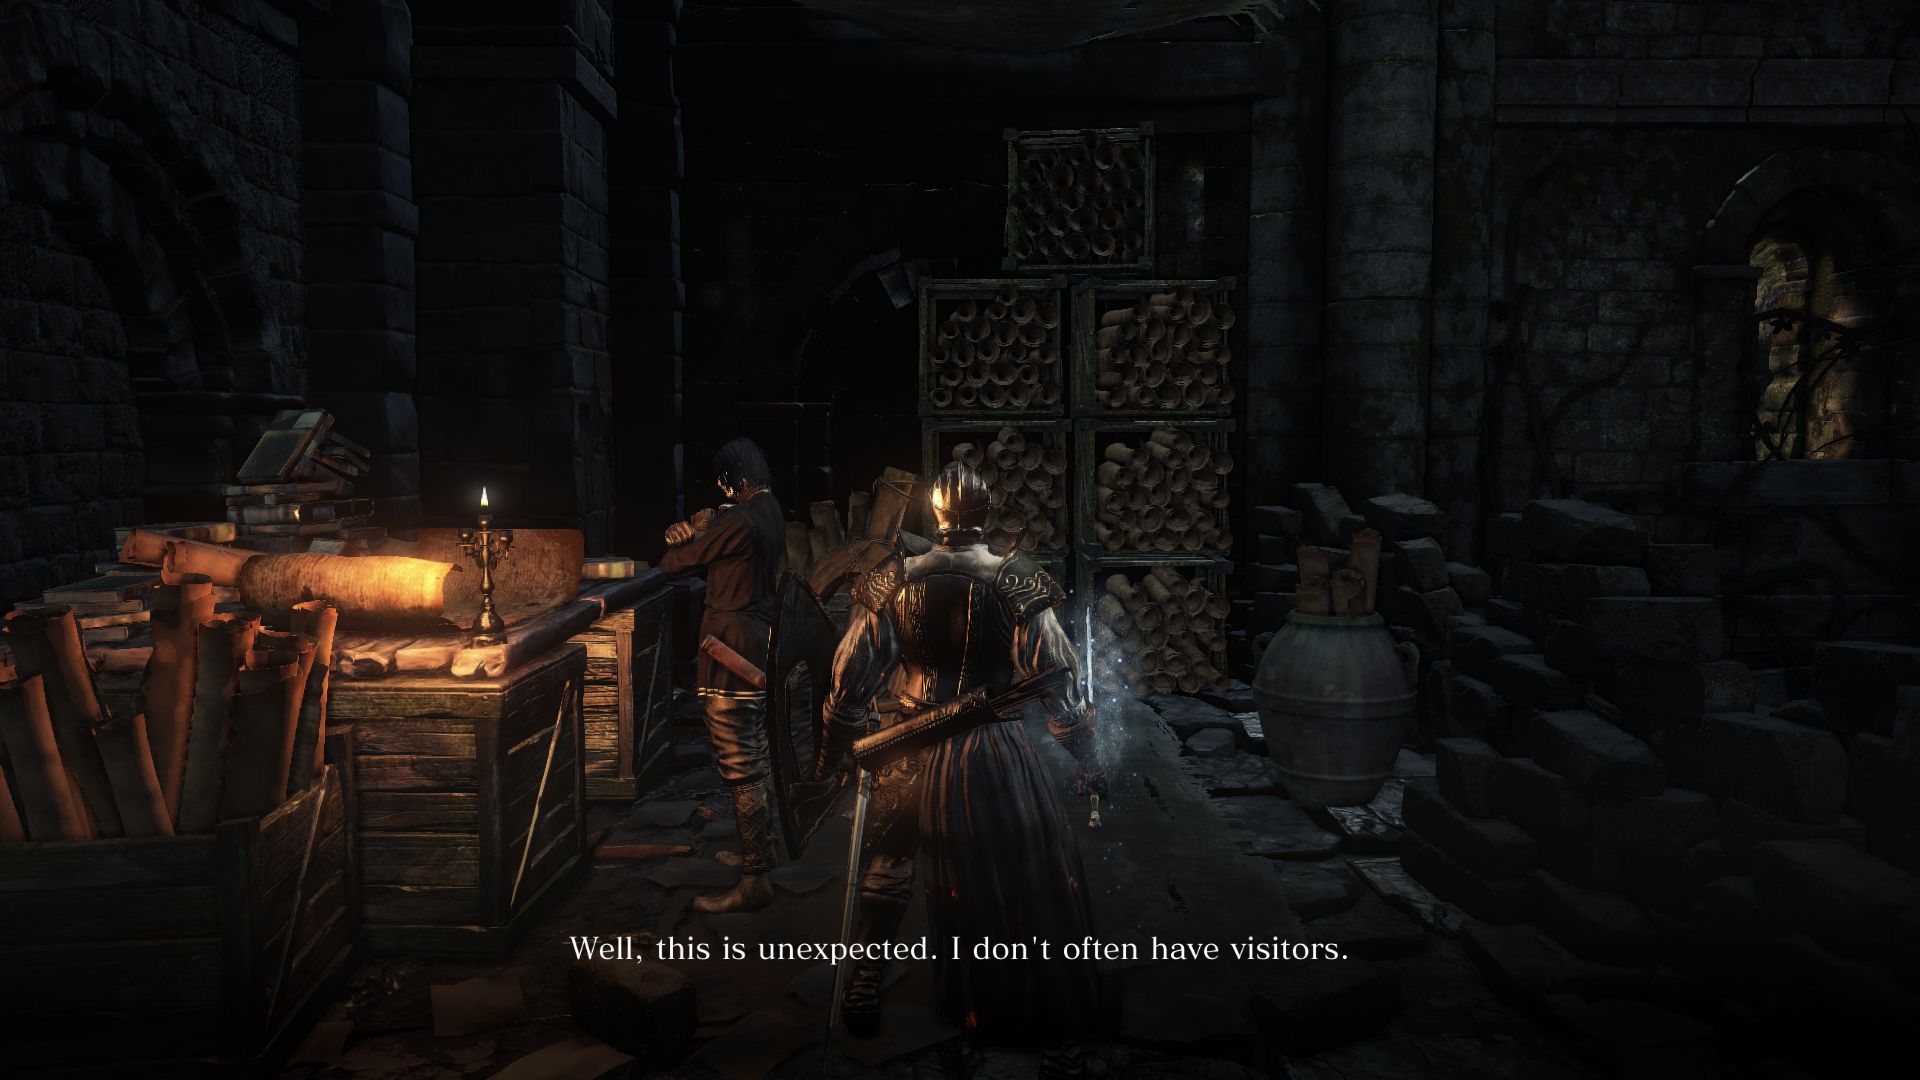
Before you go back, make sure to check the other side of the room to loot 2 Blue Bug Pellets from a corpse on broken stairs.
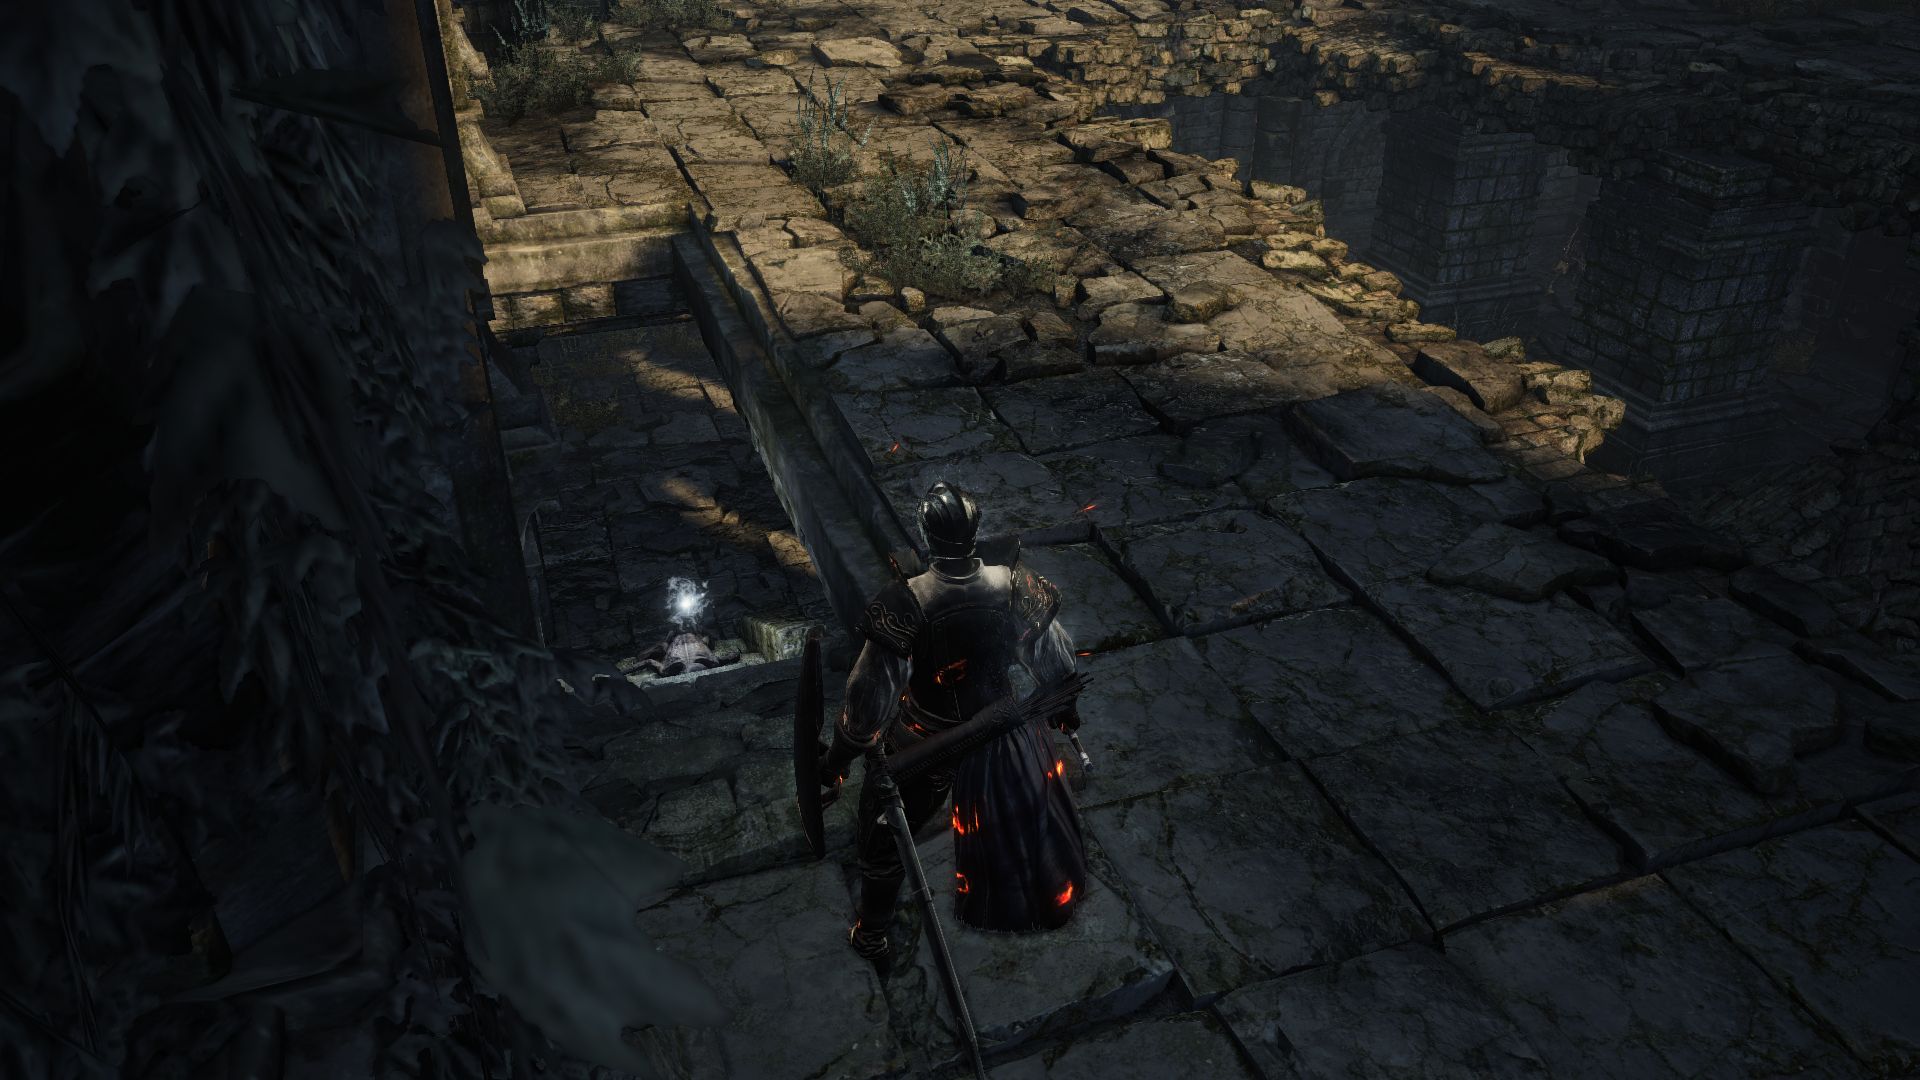
Go back to the area with the three diverging paths. Head right this time to enter a hall. Watch out for the Crystal Lizard and kill it before it disappears to obtain a Crystal Gem. Proceed along the hallway to find yourself in a small room (if you had taken the stairs from the swamp, you would have entered these ruins through this room).
Take the stairs upstairs but be prepared to fight a Sorcerer and another shield-wielding Hollow. Don’t try to take on both of them at once. You can lure the melee Hollow out of the Sorcerer’s range to take on it solo before you deal with the sorcerer.
Halfway up the stairs you’ll notice that you can walk out onto the cliffs. Proceed through the cliffside path until you find a corpse holding a Golden Falcon Shield. Head back towards the ruins through the swamp but don’t take the stairs up just yet. There’s some more loot to find.
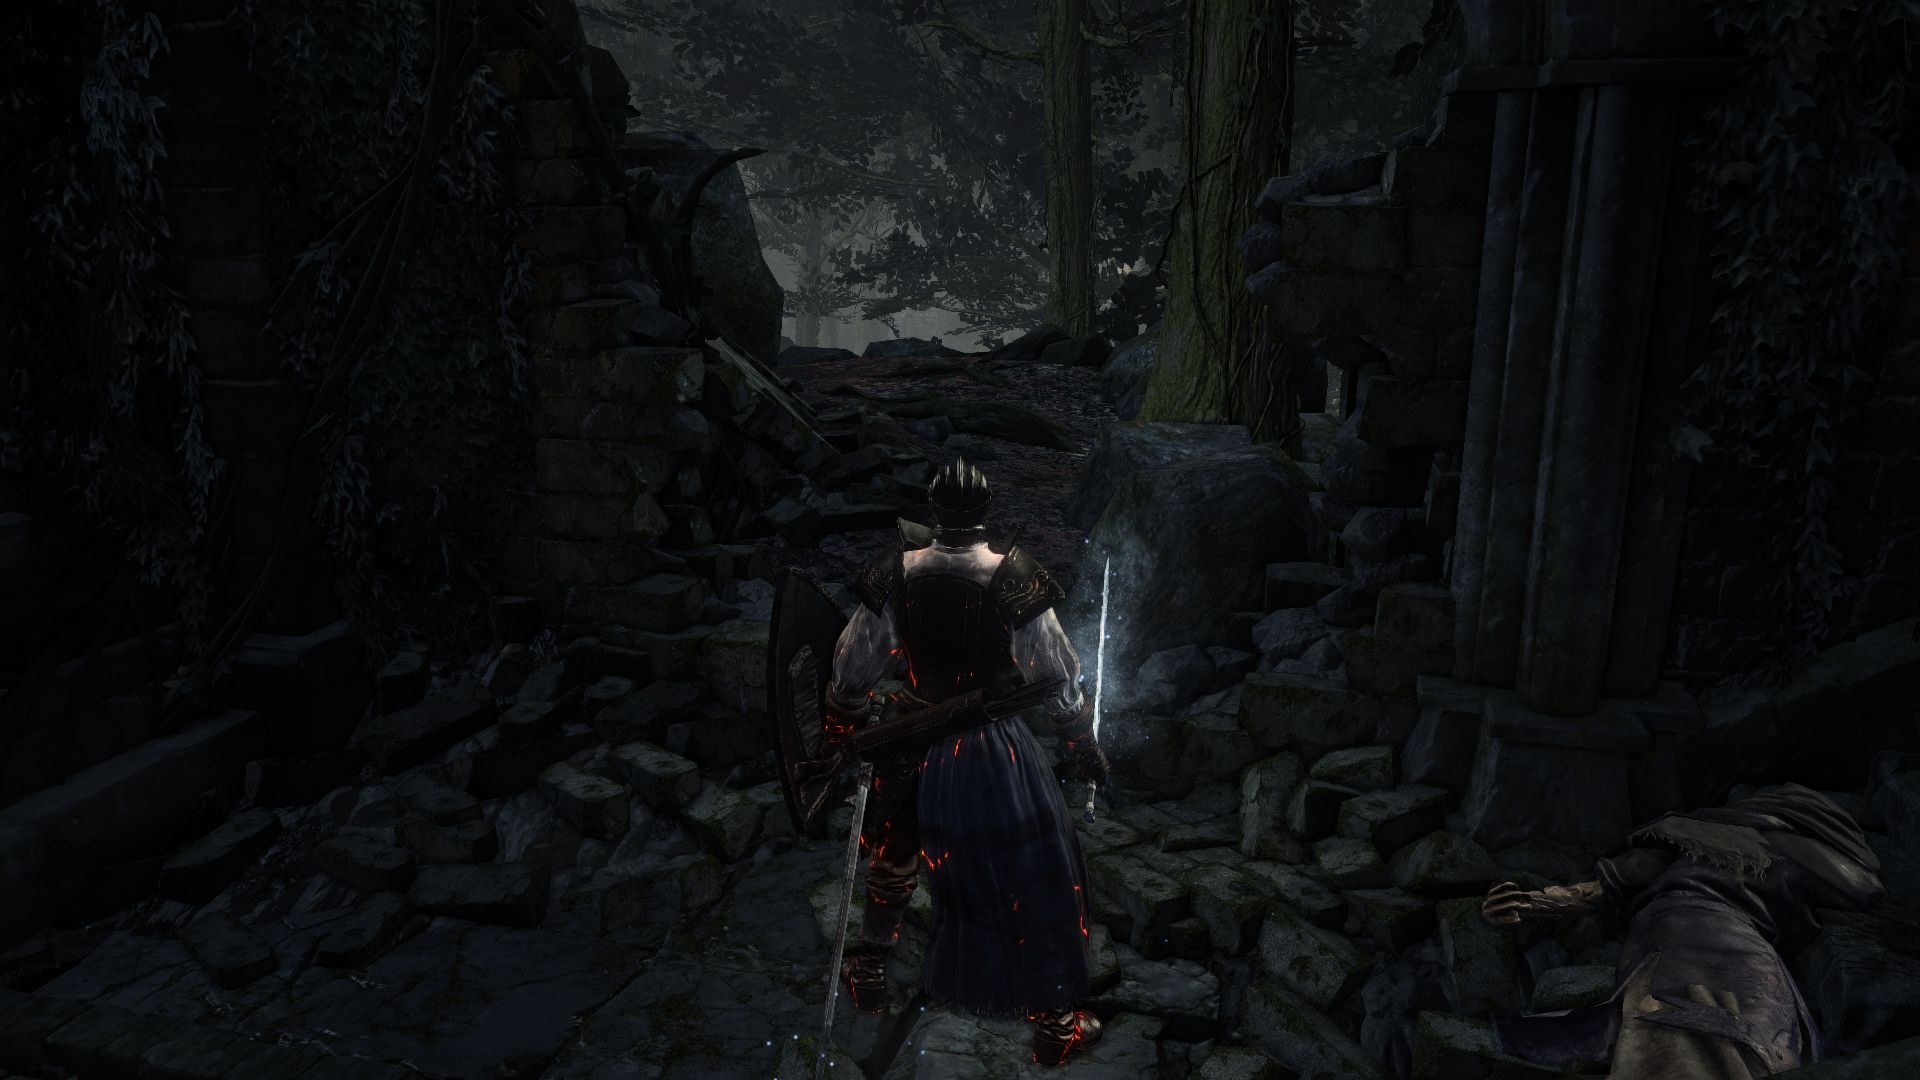
To the left side of the stairs, you’ll find a small opening under the ruins. Go inside and be prepared to fight a Crucified Ghoul waiting inside. After you take it out, loot the corpses to obtain the full Sorcerer Armor Set, and a Sage Ring.
Go back through the stairs to the room with the Sorcerer. There’s one more loot to find. Go up the stairs and you’ll notice that you can jump off onto a lower balcony from the one you are on. At the end of this lower balcony you’ll find a Ring of Sacrifice.
After clearing these areas head back to the room with the two sorcerers. Be warned, these aren’t the only enemies here. Hollows await in the room to ambush you if you just charge inside. You could try drawing the attention of the sorcerers and pull them out of the room while they are patrolling. Patiently clear the room of the sorcerers and hollows in the room, but don’t step through the hole in the floor or you’ll fall down.
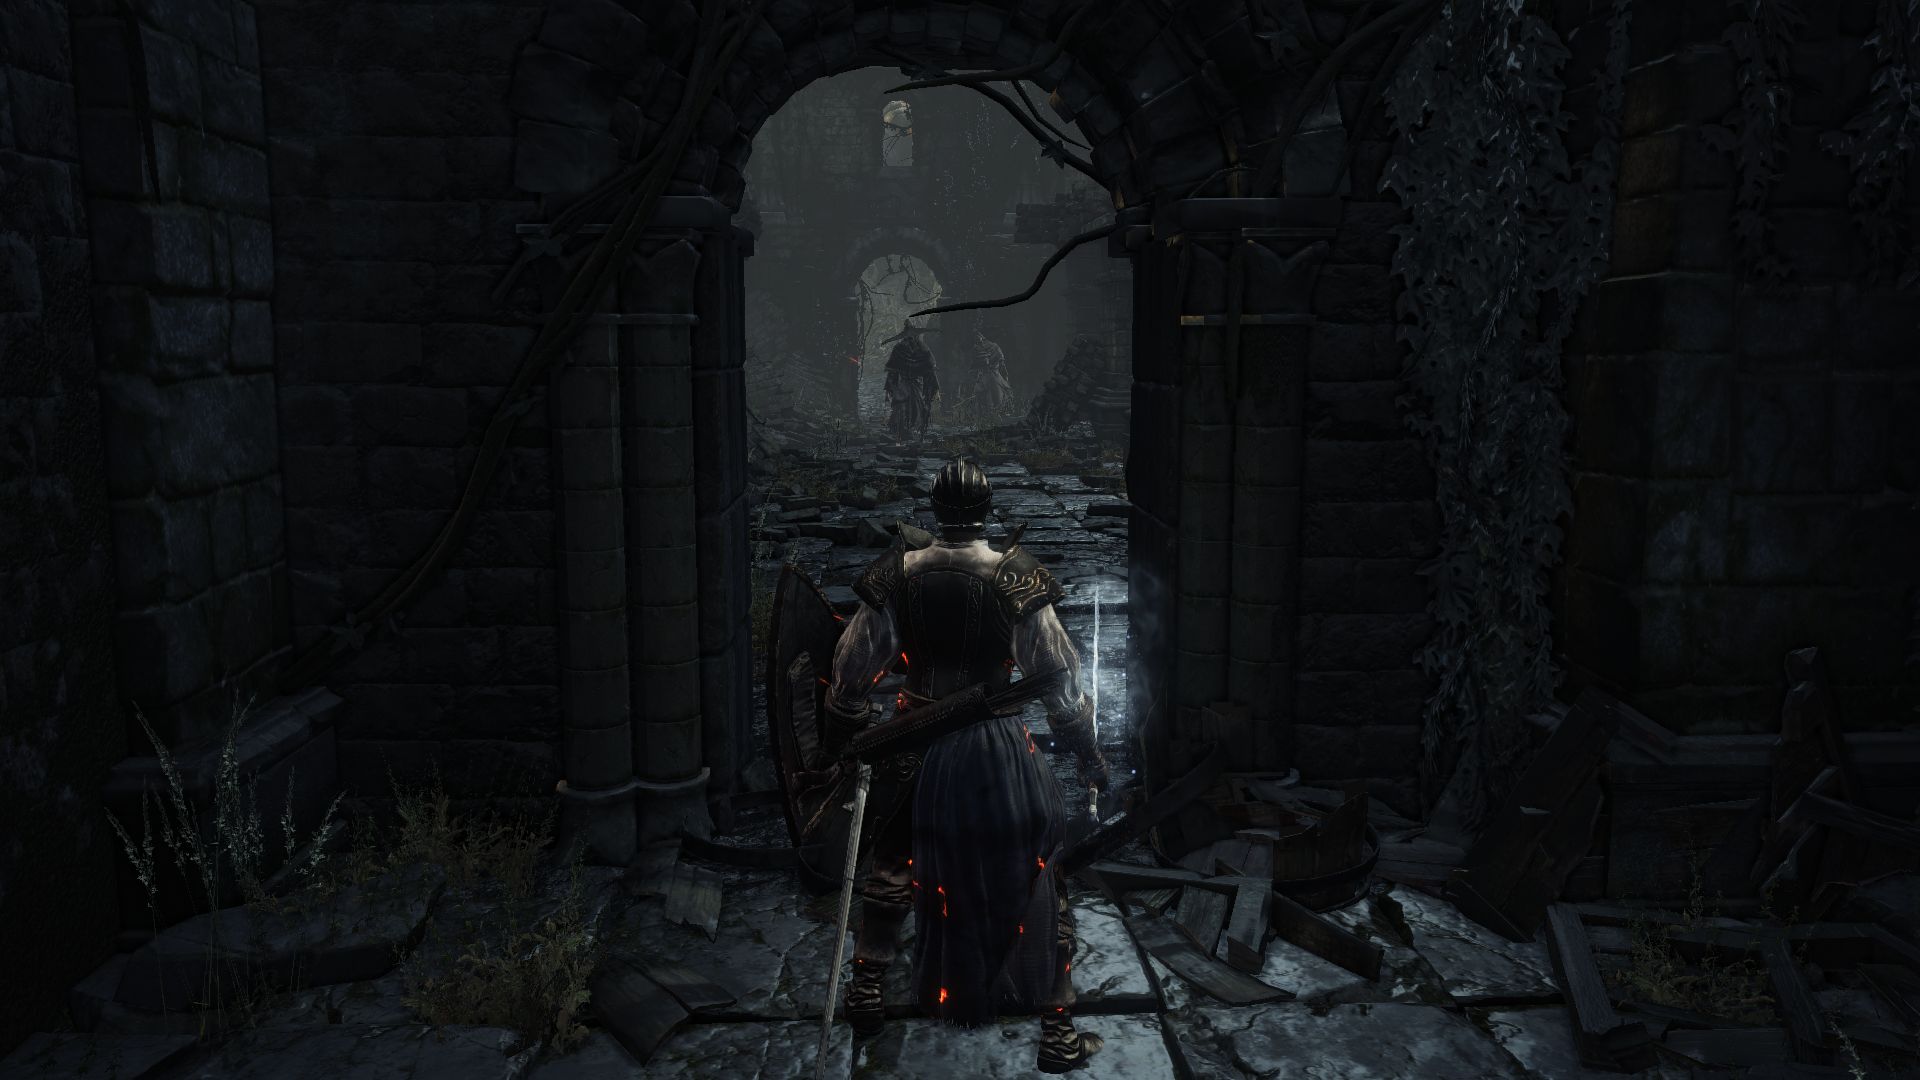
Heading through this room you’ll find yourself in a narrow path that leads to the courtyard with the Crystal Sage boss. If you have used an ember, you can look around the pillars to find a summon sign. Should you need aid, summon Eygon to come help you (if you’ve rescued Irina back at Undead Settlement).
BOSS FIGHT – CRYSTAL SAGE
The Crystal Sage is a mage boss that will shoot purple spells at you, using crystals to form an array of attacks. Luckily, there are enough pillars in the courtyard for you to hide behind to avoid some his attacks and find an opening. As a ranged/spellcaster class, you could simply hide behind the pillars and wait for an opening to attack him as many times as you can. As a melee, you have to be a bit more patient and have to maneuver a bit more than usual because of the many crystal attacks the boss performs. One trick as a melee is to rush at the boss before he can finish casting a spell.
After you damage him a few times, he’ll disappear and pop some ice crystals on the ground as he does so. Make sure you keep moving to avoid these. He’ll then reappear somewhere else on the courtyard and cast more spells. Try to rush him before he finishes casting so you can force him to disappear again. A good idea is to go to the center of the courtyard and look around to see where he will reappear next, so that you can charge him asap.
The first phase is fairly easy. He’ll use all his skills listed below, which you can maneuver around. Always keep strafing so you don’t get hit by his attacks. You can charge him before his finishes casting spells.
The second phase is where things get more difficult. He’ll spawn multiple clones all around the courtyard that use the same spells. The difference is that the clones will use blue spells instead of purple, but they hit just as hard. Good news is that the clones die to 1 hit, so if you’ve got some throwing knives or arrows, it may be wise to take the clones out before you try to engage the real boss. Do not get overwhelmed, be patient and use the pillars to your advantage. Try to rush the clones if you’re melee, or make use of ranged weapons/spells. If you’re fortunate enough to spot the real boss close to, rush that instead and damage it as many times as you can to force the boss and the clones to disappear.
Ice Crystals: The boss summons ice crystals on the ground on random locations. Watch for the icy mist popping out of the ground to figure out where the crystals will spawn. Keep moving to avoid getting hit.
Crystal Chain: A linear attack that you can avoid by hiding behind objects or dodging sideways.
Soul Darts: He’ll fire bolts at you, often in a barrage. Dodge sideways or hide behind pillars.
Homing Crystals: The boss sends out huge crystals to attack you. You can’t hide behind pillars to avoid this as they follow you around. They are slow, however, so if you’re patient, you can wait until they are close to you, then run around while strafing sideways to the boss.
Crystal Hail: The boss sends out an orb in the air above, which shoots down a Crystal Hail.
Homing Crystal Soul Mass: The boss will summon crystal shards above him. If you’re close, these shards will attack you.
Don’t stop moving, use the pillars to your advantage, and take down the boss in between his spells. After you defeat the Crystal Sage, you will be rewarded with the Soul of a Crystal Sage. Light the bonfire and be prepared to enter the Cathedral of the Deep next.
