Depending on your previous explorations, this area can be enemy heavy or almost empty of threats. If you joined the Rat King Covenant in the Grave of Saints after defeating the Rat King Vanguard, nearly every enemy in this area will completely ignore you. You can also teleport to the Grave of Saints and rejoin the covenant before starting this area to make life easy. As long as you aren't wearing the covenant ring, you will not be invaded by phantoms trying to get through the area (covenant effect). Players who aren't members of the covenant (or who bypassed most of the Grave of Saints area via the longest ladder in the pit) will not be able to take advantage of this and will have to deal with the enemies like normal in the area.
This area contains large numbers of pharro's devices as well (just like the Grave of Saints area) and most of them are useful only to covenant members trying to defeat players to progress the Rat King covenant. There are a couple of specific devices that should be used (and will be mentioned specifically). For the rest of the devices, don't waste your stones on them. The doors of Pharros are entered by defeating Scorpioness Najka in the Shaded Woods area and entering the nearby door in the boss room.

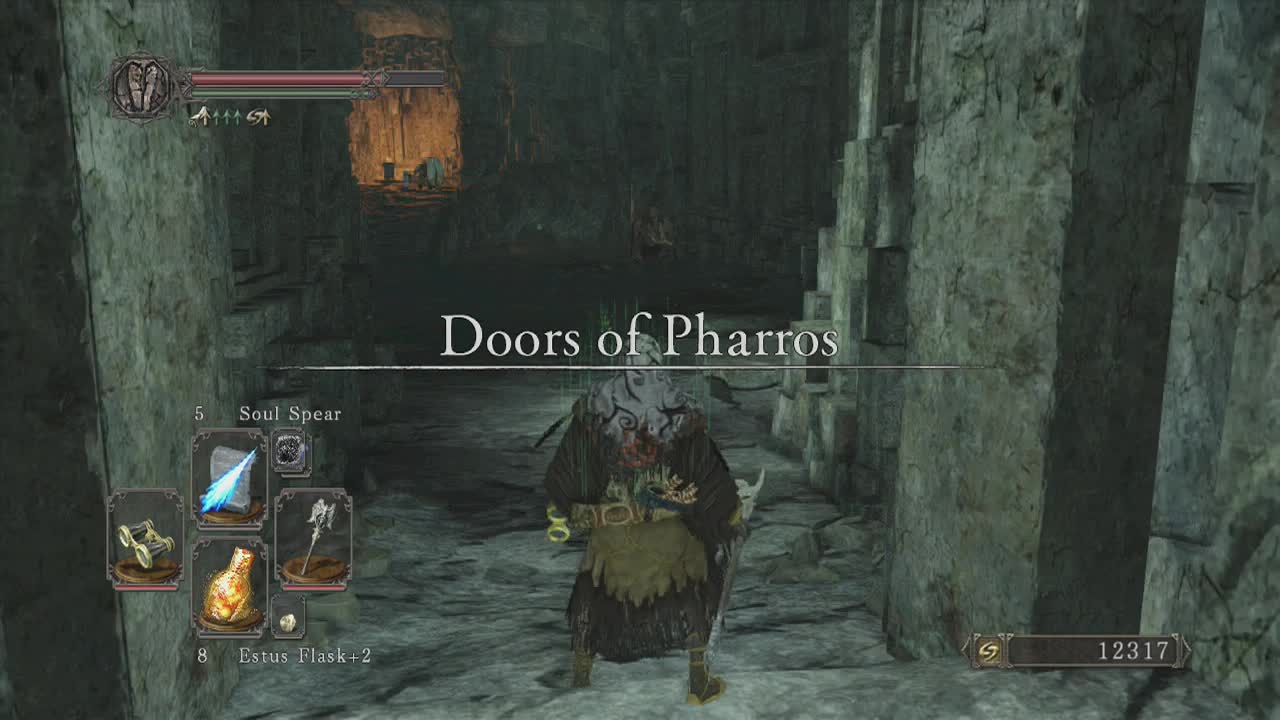
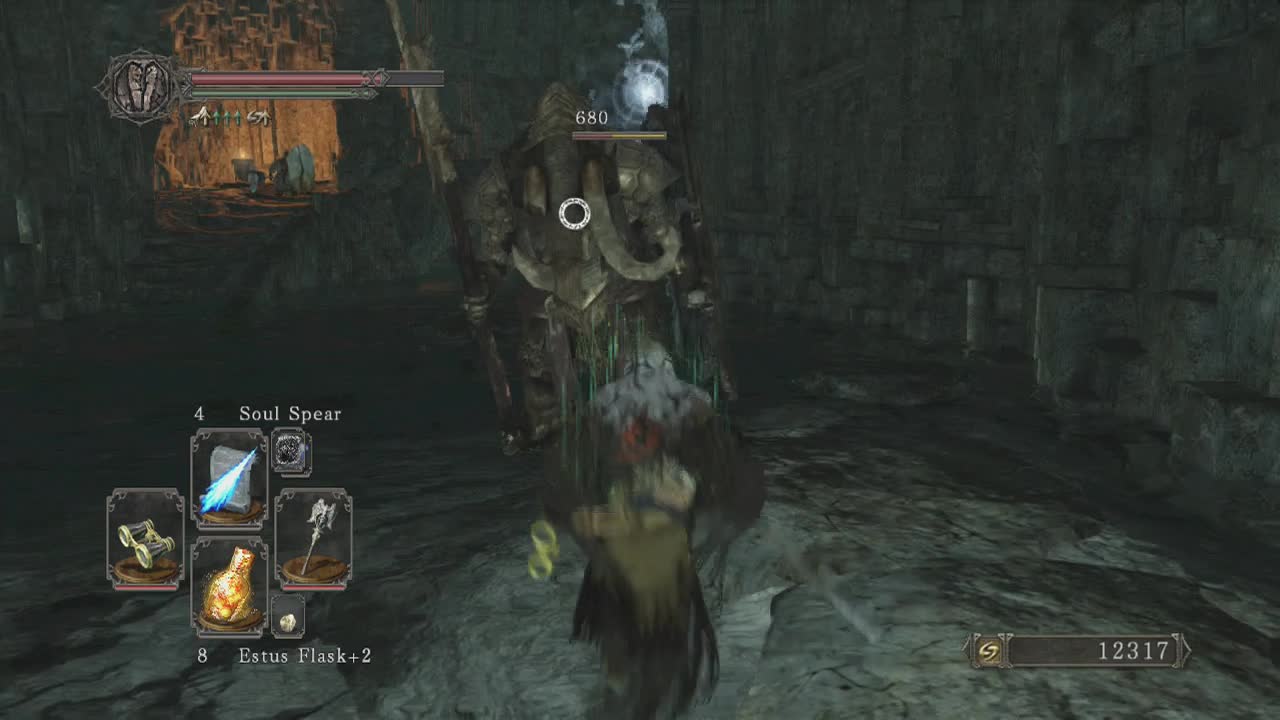
When you exit the narrow corridor linking the areas (from the shaded woods boss fight room), you will emerge into a large cavern with a layer of water covering the lower level. The water here can make dodging and avoiding enemies an issue, so remember to take it into account when engaging foes. In the room ahead of you, a Mastodon (standing in the water) and Gyrm warrior (up the stairs to the left) can be seen ahead. These enemies will always attack, even if you are part of the Rat King covenant, so be ready to deal with them. A corpse along the right wall contains Prism Stones. Just beyond this corpse is a mimic chest in corner. Kill it to receive Dark Leggings and a Black Scorpion Stinger. Head up the stairs on the left and take care of the dwarf in the left room at the top to access a chest with a Dragon Charm inside. The path to the right leads up to Gavlan (the poison item merchant) and a corpse with a Life Gem on it. Continuing up this path leads to Brightstone Cove Tseldora, which is our next destination. But if you want to explore the rest of this area read onwards (We'll be coming back to this path at the end of this section, so don't worry about missing any items along the way to the Cove).
Head back down the stairs and into the water, you should see a small cave (or gap underneath the rock) past the stairs that you can travel through. In here you will find the first bonfire of the area. Head into the next room (which is also huge) to see a mastodon waiting ahead, as well as a toxic rat slightly further on (hiding underneath the water). This is the point where the covenant members will be protected from regular enemies. If you are playing offline, you may be invaded by Bowman Guthry here as well. At the far end of this room is an Amber Herb on a body. A door on the left hand side of the room (from the way you came in) leads up to a corpse containing a Gyrm Axe and a Torch. Back down at ground level, look for an underwater pharro's device on the right side of the room (two other devices will be on the wall nearby above the waterline). Activate the underwater device and it will open to reveal a mastodon and a chest containing Santier's Spear. The other door in this room (on the right side past the underwater pharro's device door) leads to a long room with two toxic rats and a ladder on a circular structure in front of you as you enter.

At the top of the ladder, pick up the Twisted Barricade and Soul of a Proud Knight off the corpse to your left. A pair of gyrm warriors will be directly along the path ahead. Covenant members can skirt around them but non-members will need to take them out to move on. Between where the two warriors were standing (in plain sight on the back wall from the top of the ladder) is a pharro's device that can be used to open a passage below on the lower floor. Inside is a chest containing Twinkling Titanite and a Faintstone. Climb up the nearby ramp and you will drop out back on the upper level. Move along the ledge (where the second gyrm warrior was/is) to reach a trapped chest in a small alcove on the right that has a Titanite Chunk and Petrified Dragon Bone inside. Ignore the pharro's devices and keep moving along the path towards another gyrm warrior.
Make your way past the warrior, grab the Pharro's Lockstone to the left of the stairs then travel up them. In the next room, head left immediately and you should come to a small tunnel. Inside is the second bonfire of the area. A mist door nearby leads to the area boss, but it is a dead end inside. So we will finish getting the last few items in the area so we're done and can teleport away after the boss. Head back out of the tunnel and engage/ skirt around the gyrm warrior further along the path. Ignore all the pharro's devices on the wall and continue along the narrow path. At the end you should see a body with the Soul of a Brave Warrior on it as well as two nearby Gyrm Warriors. Deal with them or run away and travel back to the bonfire we just left. It's time to head through the mist door.
_________________________________________________________
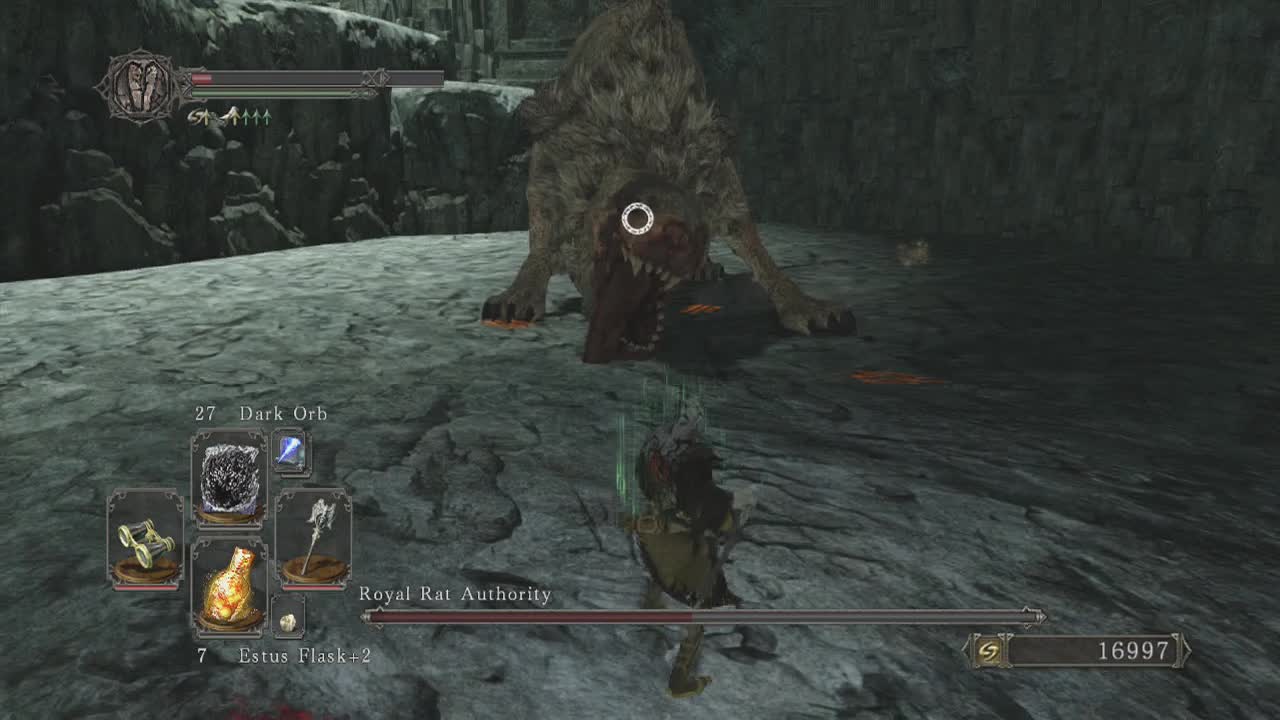
Boss: Royal Rat Authority

Personal Death Count: 8
Attacks –
Claw Slashes: If you are close in front of the boss will pull back a leg and then swipe it in an arc in front of him, followed by the other leg. Rolling backwards or forwards and under him are the best ways of dodging.
Foot Stomp: If you are positioned under his front legs, he will (relatively slowly) raise one and try to flatten you. Roll towards his back legs to avoid the attack.
Lunging Head Swing: This is the bosses most dangerous attack. He will crouch down on his front legs a short distance away (he cannot do this attack when he is too close to you) and then lunge forwards, sweeping his neck in a large arc across the area in front of him. This does serious damage and is difficult to dodge. To dodge the attack you either need perfect timing for your backwards roll or to roll towards him under the attack. Sticking underneath him is the best way to prevent this attack.
Spin Attack: The boss will turn quickly (he can do a 180 with this attack so be careful) if you are to his side or underneath him and will swipe in your direction. Moving away from him or to the other side of him will allow you to avoid this attack.
Spew Acid: At less than twenty percent health, the boss will spew out a large pool of green corrosive acid. This acid damages the player as well as the durability of equipment. Run away as soon as you see him lower his head and start to spew out the acid (it looks like he is vomiting).
People who played earlier entries in the series will get a feeling of deja vu from this battle (it is very similar to the giant wolf boss battle). Your first priority in leveling the playing field should be getting rid of the four toxic rats. Trying to dodge them and the boss at the same time is a real pain. If you get too close to them, they will move forwards and attack with the boss triggering shortly afterwards. If you land a hit on one, the boss will trigger automatically so you need to be able to take them out rapidly to confront the boss one on one from the start. Melee players will want to use a greatsword or other large swing arc weapon. The other dangerous thing about the toxic rats (if you haven't already guessed) is their ability to inflict the toxic status. This is much more dangerous than regular poison and decimates your health rapidly. Ranged characters should be able to take down at least two rats before the boss reaches you (up to all four). Casters may want to use the homing soulmass spell to ensure a free kill of one of the rats while you manually kill off the others. Casters could also use the AoE pyromancy spells (firestorm) to kill all the rats at once and potentially damage the boss at the same time (or just spam him from underneath).
The main threat of the boss is his lunging head swing attack. This attack covers a large arc and is quite fast. The best way to avoid this attack is to remain underneath the boss as much as possible (see the video to see the strategy). This prevents him using the attack unless he jumps away and if he does you can sprint towards him to resume attacking his belly. When the boss has less than twenty percent of his health remaining he will spew out a giant puddle of corrosive acid. Unlike previous corrosive liquids, this one hurts health as well as damaging equipment, so as soon as you see him rear up for this attack, sprint as far away as you can before using ranged attacks to finish him off. Melee players will need to wait for him to move out of the acid to resume the fight. Once you are able to get under his legs and deal with his minions, finishing him off should be relatively simple.
_________________________________________________________
After defeating the boss, teleport back to the first bonfire of the area and head up the nearby stairs in the first room (killing the mastodon and gyrm warrior in the room). Climb up the stairs to the right to arrive in the circular room with Gavlan again. Now climb the spiral stairs upwards in this room and a doorway should take you into a narrow hallway. At the far end will be a gyrm warrior who can throw his axes as well as attacking in melee, so you may want to pick him off with ranged attacks if you can (remember, we are back to enemies unaffected by the covenant from here on). Just ahead on the path is a crystal lizard you can kill for stones. In the next room are two enemies (one obvious gyrm warrior straight ahead and a dwarf in the small room to the right). Follow the linear path after killing the gyrm warrior until you come out in a room with vases and a broken fountain. Smash the vases to find a corpse holding a Radiant Life Gem. Travel through the nearby archway to enter Brightstone Cove Tseldora. Read on in that section to continue on.
