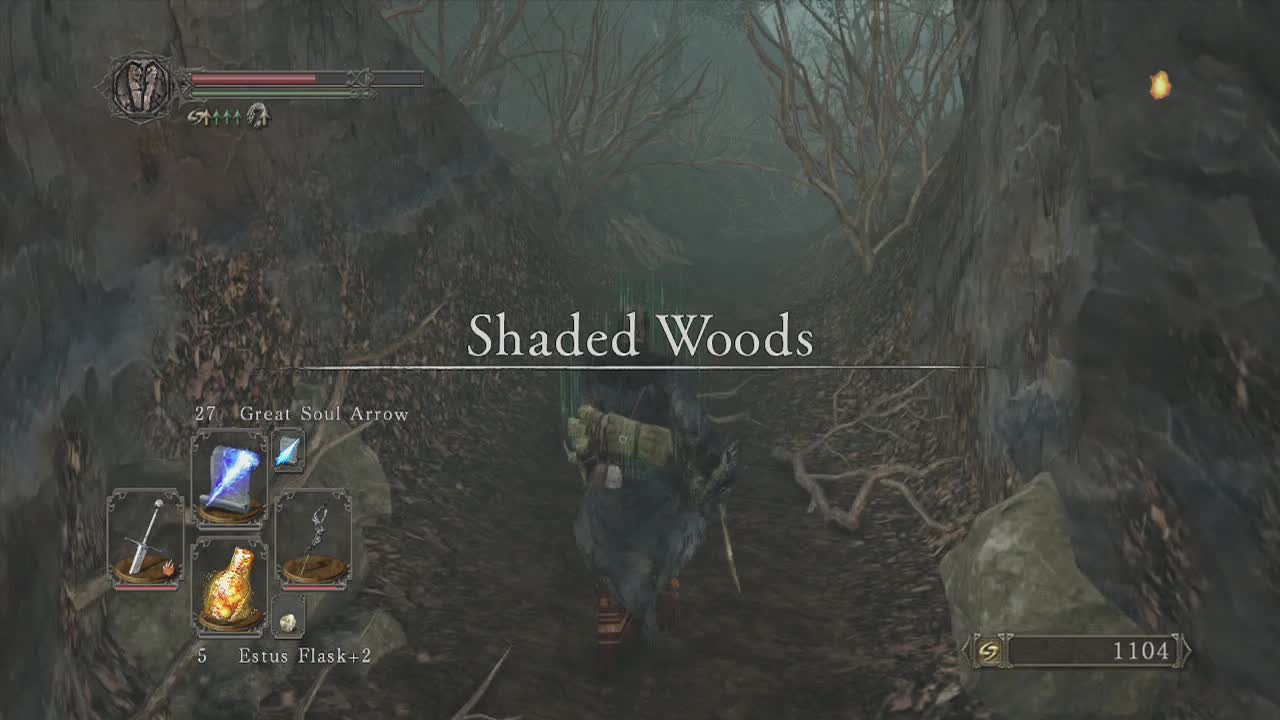
To access shaded woods, you need to have a fragrant branch of yore in your inventory. From the bonfire in Majula, head back through the gates out of the village and look to the nearby hillside for a cave entrance. Follow this path until you arrive outside again. Slightly along the path you will meet Benhart (an character who can be summoned as an NPC in several later boss fights). Further ahead in the building will be three doors, one with a switch next to it blocked by a statue holding the handle. Kill off the infected hollows in the nearby rooms (grabbing the Lloyd's Talisman off the body in the left one) before reviving Rosabeth. Rosabeth will give you a prism stone upon revival and can upgrade your pyromancy flame.
After pulling the switch to open the door, the other door at the far end will begin to close and four infected hollows as well as a basilisk (guess we know what petrified her) will arrive to ambush you (infected hollows from above, the basilisk through the now open door). You can travel through the now open door to string the enemies out slightly or circle the main room. Once they are dead, head through the now open door and enter the room to the left at the base of the stairs for a bonfire. Light it and head into the room on the right of the stairs for a chest containing an Estus Flask Shard. Climb to the top of the stairs and from there jump across to the ledge on the left. Inside the second door is an infected hollow as well as the Soul of a Proud Knight and a Human Effigy on a corpse. The other doors contain infected hollows but no more items, so you can choose to engage them or not.
Moving on, head through the door at the top of the stairs to find a forest path. Travel along it and you will reach the area change from Majula and enter Shaded Woods proper. Keep following the path until you see a corpse with an item on it and a infected hollow crouching over it. Just a little bit beyond is an infected hollow who will join the fight when you attack, so take out the crouching hollow fast and then engage the second one. Pick up the Fading Soul from the body when you are done. A short distance ahead, you will start seeing stone ruins. Advance carefully along the left wall to see the next pair of infected hollows waiting on the path ahead. Another pair of hollows will be on the ledge above to the left so lure the other two back down the path to avoid getting hit by rocks from above. Climb onto the ledge to pick up the Pharro's Lockstone from the corpse up there.
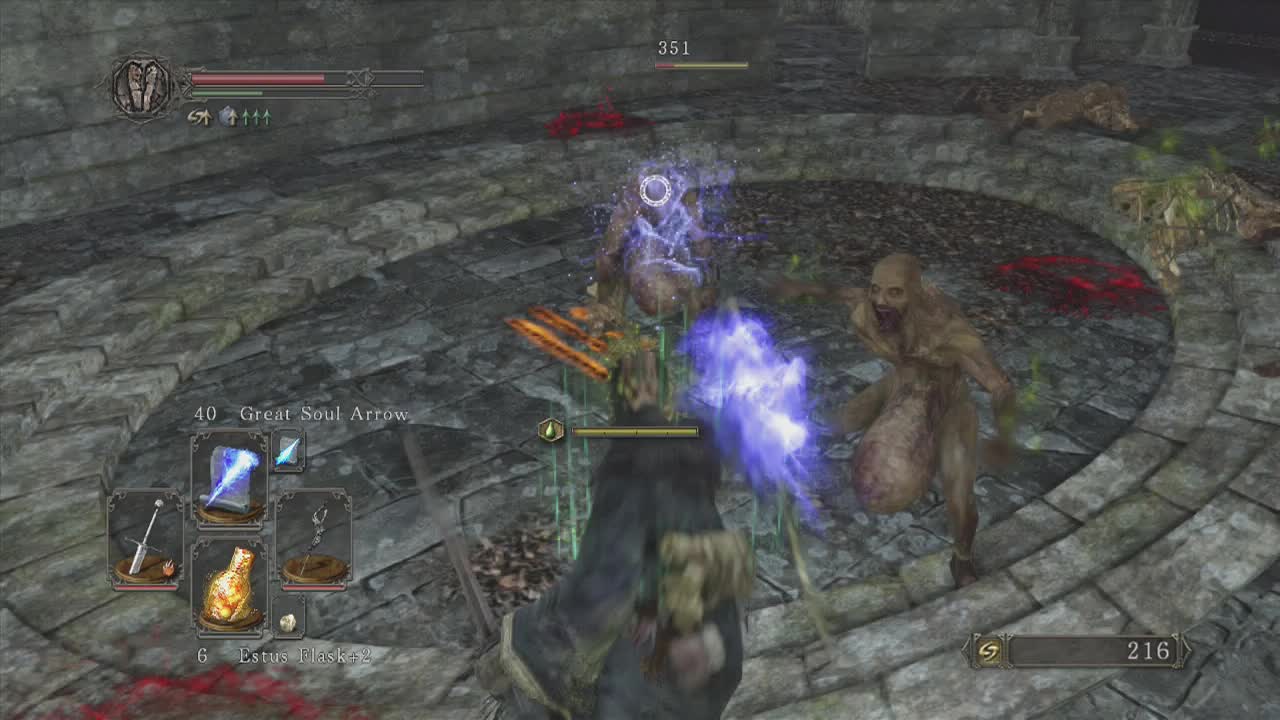
A little further along the path from here is a circular courtyard with two melee hollows and a rock throwing one who will ambush you as you approach. Back up along the path to avoid getting hit by the rocks while you deal with the melee enemies and then take down the lone rock slinger. A door on the left side of this courtyard leads to a narrow path with an infected hollow waiting inside. Pick him off and head up the stairs beyond for the second bonfire of Shaded Woods.
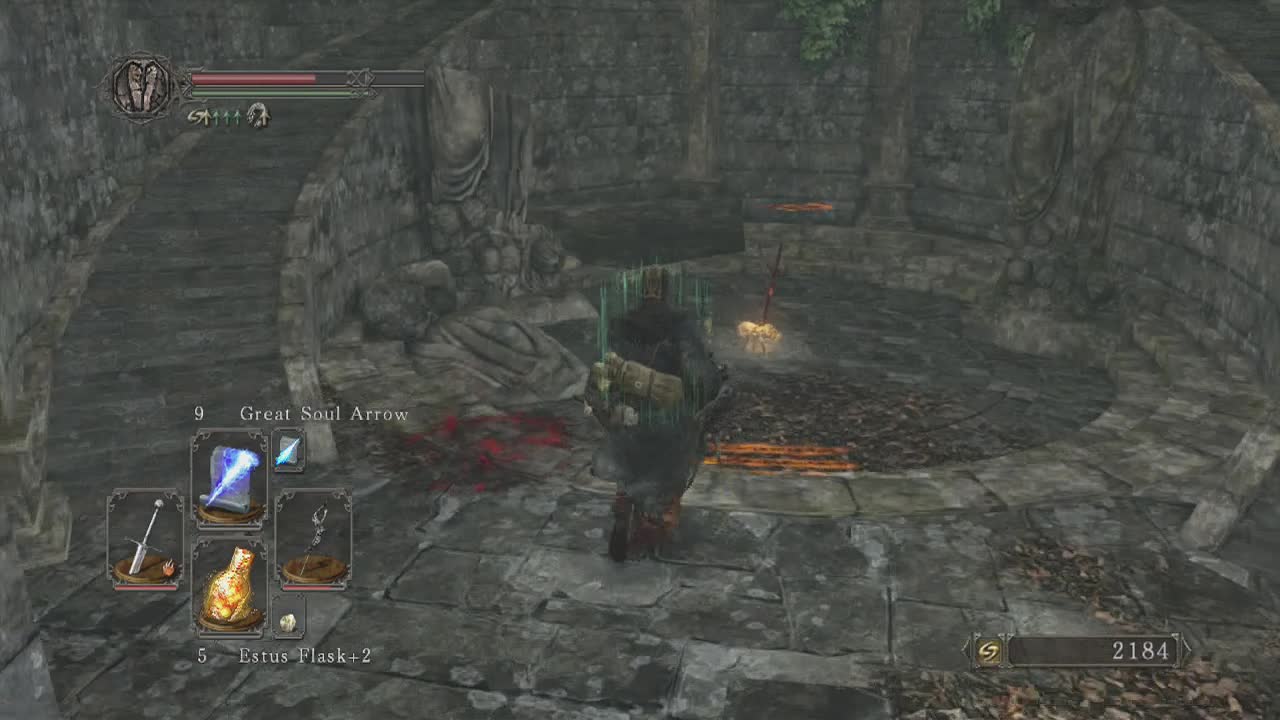
From this bonfire the path splits in three directions (at the top of the nearby staircase). I will lay out directions for all three paths in separate sections below. Players who are coming back here after obtaining the ring of the king and / or the four great souls (or the stored soul requirement) will be able to access the later areas of the game from these paths.
Left Path
Through the left door, you should see a crouched over infected hollow to your left as well as three further ahead along the path. Take out the one on the left first to prevent side attacks and then deal with the three straight ahead. Note the large circular stone tower on the left side of the path. Take a left when you reach the other side of it and kill the rock throwing infected hollow as well as the melee hollow behind it. Behind where the melee hollow was standing is a corpse danging on the edge of the cliff with a Ring of Life Protection and a Large Soul of a Proud Knight to loot.
A short distance up the path you will see one of the earlier bosses of the game masquerading as a regular enemy. The flexile sentry will be blocking the path so for those willing to take him on, you can. Read up on the boss strategy for him, found in the No-man's Wharf section. Keep in mind that you won't have the rising water level here, so rolling should be far easier. Defeat him and pick up the Twinkling Titanite he drops before moving forward. A lone infected hollow will also standing on a small path to the left and will attack when you get near, so be careful when moving forwards to gather the spoils. Where the flexile sentry was standing is a body with a Dragonslayer's Crescent Axe and a Golden Falcon Shield on it. A nice reward for the effort.
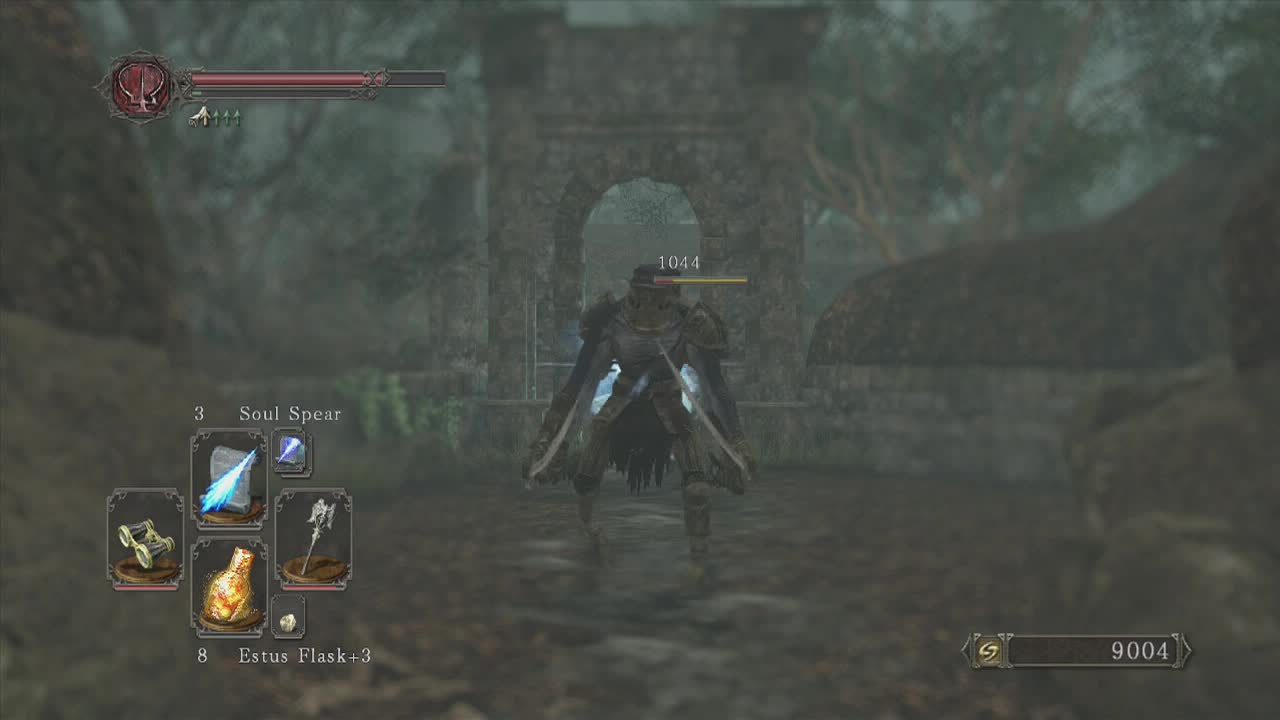
The narrow path that the infected hollow was standing on leads to the entrance to the Shrine of Winter, so read on in that section if you want to continue on in that direction.
Center Path
The path straight ahead is a short one for those without the king's ring. Travel along the linear forest trail until you come across a pool of water to your left with a body floating in it with a Red Tearstone Ring on it. If you don't have the king's ring, you may as well turn back now. For those who do, the path ahead leads to Aldia's Keep. Keep moving along the path up the hill to reach a door that can only be unlocked by wearing the king's ring. Put it on and the door will open. Walking inside, you will enter Adia's Keep. Skip to that section of the guide to continue on.
Right Path
This is the path you need to take to explore the larger area of Shaded Woods. So when you are ready, take this path. If you met Creighton earlier in Huntsman's Copse and released him at the third bonfire, he will be present and you can talk to him here. Move onwards out the door and head towards the mist. This misty area can be very dangerous (you can probably see the bloodstains everywhere) and is difficult to navigate because of the mist. The main thing that will kill you in this area are the invisible rogues who wait amongst the trees. If you have a lit torch, you can see the shadows of these enemies as they approach (giving you a little bit of warning). You can also see their outlines if you know what to look for but they are very hard to spot when you are moving. They cannot be locked onto, thus making them a pain to battle. One thing you can take advantage off is that these ghosts do not infinitely respawn. Kill between ten or twelve of them and they will no longer spawn. This leaves you free to explore the mist area in peace. The mist area itself is circular so traveling all the way around will lead you back to where you started. The main points of interest in the area are situated at the points of a compass. S is the entrance, W is Vengarl's head, N is the exit to the mist area and E has a chest and a lethal drop if you fall off the cliff here. These locations are explained in more detail below.
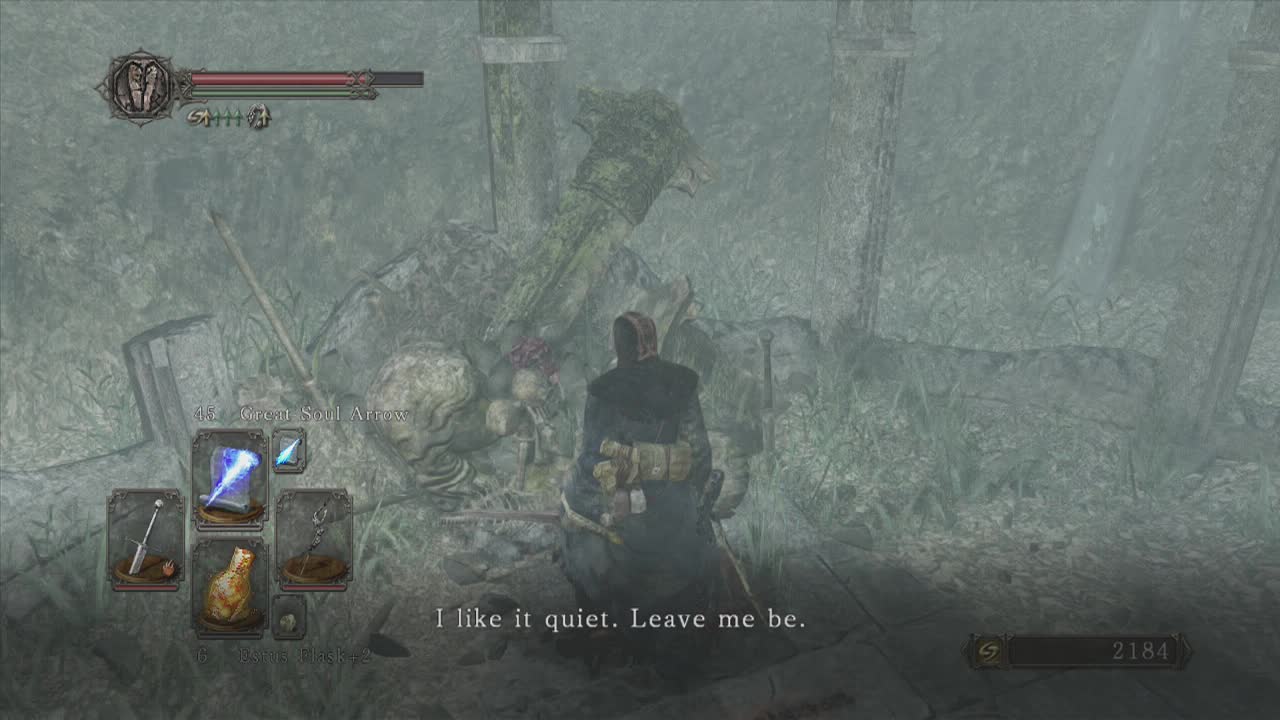
To begin with, keep moving along the left wall (west) while looking around to spot a body with a Soul of a Proud Knight and a Human Effigy to pick up. Keep moving along the wall until you reach a path that travels upwards. At the top is a small area with crumbling ruins. Approach the bones here to find an NPC by the name of Vengarl (his head). Talk to him to receive his helmet (you can return here after defeating his body at the primal bonfire in the Lord's Private Chamber – after defeating the Duke's Dear Freja. He will then sell you some equipment). In this same small area, move around the ruined stone wall here to find a Fire Seed to pick up.
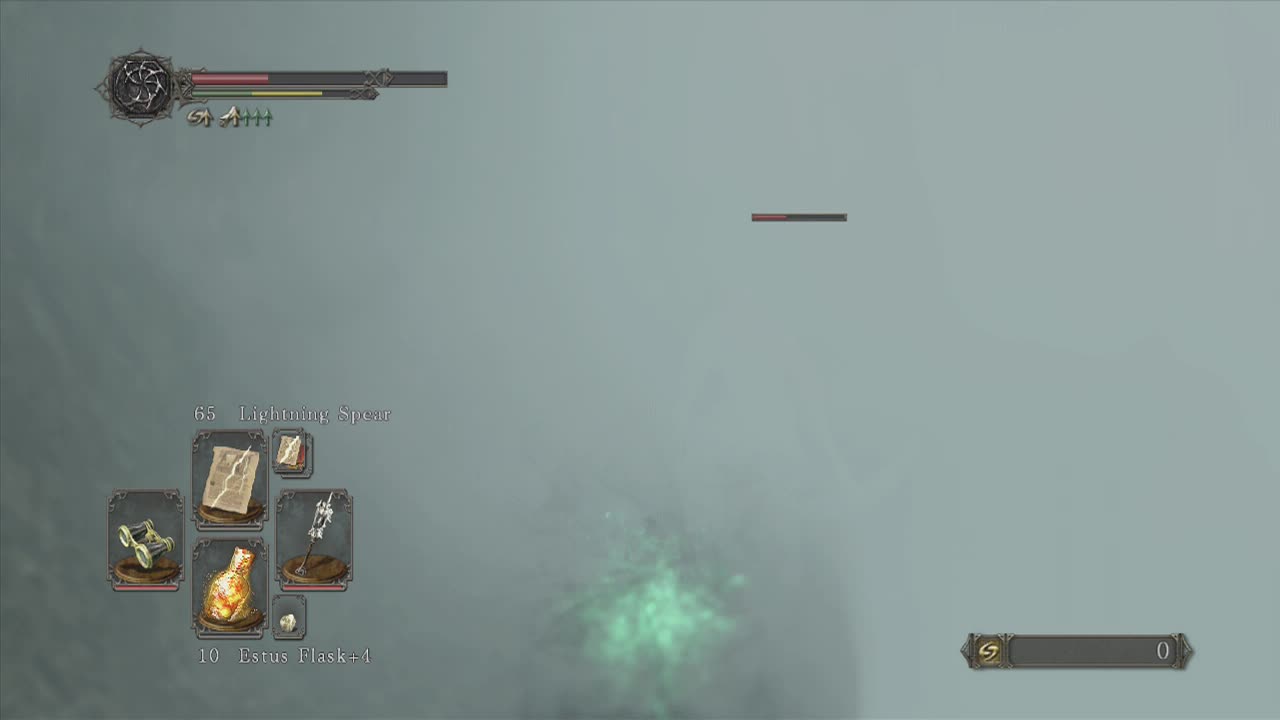
Move back down the hill, looking for a nearby body containing the Soul of a Nameless Soldier and a Radiant Life Gem. You can continue traveling along the wall here to reach the exit point of the mist area (a path that leads up and out of the mist), or you can return to the starting area (by walking back along the wall) to gather the rest of the items in the area. In the mist at the center of the area is a body with the Soul of a Nameless Soldier and an Amber Herb on it, as well as a chest with a Clear Bluestone Ring +1 in it nearby. Players may want to kill off the ghosts before attempting to get these items as during the chest opening animation you are a sitting duck. A curse urn near the chest can act as a locator if you are having trouble (although you will probably want to smash it before looking around. The picture below shows one of the invisible ghosts for those wanting to know what they look like (ironically). It is holding a crossbow and is directly underneath the health bar on the right side of the image. Look carefully (kinda like a magic eye puzzle isn't it?).
Follow the right wall this time. A corpse will appear on your path shortly containing Lloyd's Talismans. Further along is a small path leading upwards. This leads up to a chest containing the Old Sun Ring. A little further on (past the cliff edge area is another path that leads up to a chest. Be careful here if you haven't stopped the ghosts spawning as they like chasing players up here. Turn around when you reach the chest and engage any following ghosts (you should be able to see their outline up here a bit better). When you are done, open the chest to pick up the Chloranthy Ring +1. If you have everything in the area, head back down to the wall and follow it once more until you reach the path leading up and out of the mist.
Head up the hill out of the mist and climb the stairs at the end. A small ledge at the top will have a door you can enter. Head inside and climb the first ramp. Before climbing the second, look underneath the slab acting as a ramp here to find the final bonfire of this area. Climb up the ramp now that the bonfire is active to spot a corpse that holds a Radiant Life Gem. Head back down to the bonfire floor and hug the right side. You can actually jump across to the ledge to the right of the bridge you are standing on (the large structure containing the bonfire is in fact a huge bridge). Aim towards the curse urn (so you can smash it quickly upon landing) and jump across the gap. On this new ledge, head left to pick up the Soul of a Brave Warrior and Firebombs from the body.

On the other end of the ledge near the one way tree spanning the gap to the bridge is a petrified lion warrior. He holds the Fang Key (dropping it upon death, which allows you to rescue the Weaponsmith Ornifex later in this area) but can only be killed once revived by a fragrant branch of yore. If you have one to spare you may want to use it for this (unless you plan to get the Lion Mage Armour set later on in this area which is great for casters. This requires a branch as well). The downside of reviving him is that he will back attack you as you cross the bridge every time you rest at the bonfire until his respawn limit is reached. Casters will have difficulty killing these enemies as well as they have one of the highest magic defense totals for regular enemies in the game. Oh, and he also inflicts curse with his attacks. Make your decision and retrieve the key if you wish.
Travel up to the top floor again and look to the left side of the bridge to see a smaller broken stone bridge below. You can actually leap through the window of the floor below to land on this bridge. This will save you from wasting a fragrant branch of yore on the nearby lion when you land. Jump out the window onto the bridge to access this small area. From the small bridge, look towards the lion warrior and then left to the building. Inside in the second small room is a basilisk and a body with the Soul of a Brave Warrior and a Twilight Herb. Return to the small stone bridge and look down off the end of it to see a doorway and ledge straight across (past a small split in the bridge). Jump across the gap here and open the chest inside for a Black Knight Halberd. The door next to this will allow you to jump to the ledge to arrive back at the ledge on the right of the bridge. Travel back up and across the tree bridge to reach the bonfire once more.
Back on the main bridge structure (bonfire level), head along looking for a ramp downwards on the left side of the main walkway. Down below is a chest containing Magic Bolts. Climb back up the ramp and continue towards the far end of the bridge. When you pass under the upper level on the far side, look up to spot a curse urn. You can either shatter it or run past it. Past the urn is an arch leading out into the open. This is one of the most dangerous spots for casters. There are three lion warriors nearby (one in plain sight to the left, another inside the building to the right of the first and a third next to the giant basilisk on the right side of the ramp you are standing on). They will all congregate when one is attacked, so the best strategy is to lure them back down to the bridge to take them on. Soul spear can more than one of them at once when they bunch up. Melee fighters won't really have much of a problem as your attacks won't be impeded by high defenses, but the same strategy works for them as well.

From where the second lion warrior was hiding (look at the image above to see the exact spot), ranged characters can attack the giant basilisk with impunity. It will not respawn so in subsequent visits it is only the lion warriors you need to worry about. Melee characters will have to engage it directly, avoiding its petrifying gas and melee attacks. When the immediate area is clear of threats, head back towards the ramp and walk over to the nearby mostly intact stone building. Just past the building is a body containing a Flame Butterfly and a Torch.
Before heading in, head to the right side where the first lion warrior was standing and use a ranged attack (if you can) to smash the curse vase visible inside. Head around the outer wall and sprint through the doorway to the stairs just beyond (there are two curse vases here – three if you didn't destroy one through the hole in the wall, one downstairs and one on the level above), descend them quickly and destroy the curse jar down here. This should stop the status effect and allow you to explore in peace.
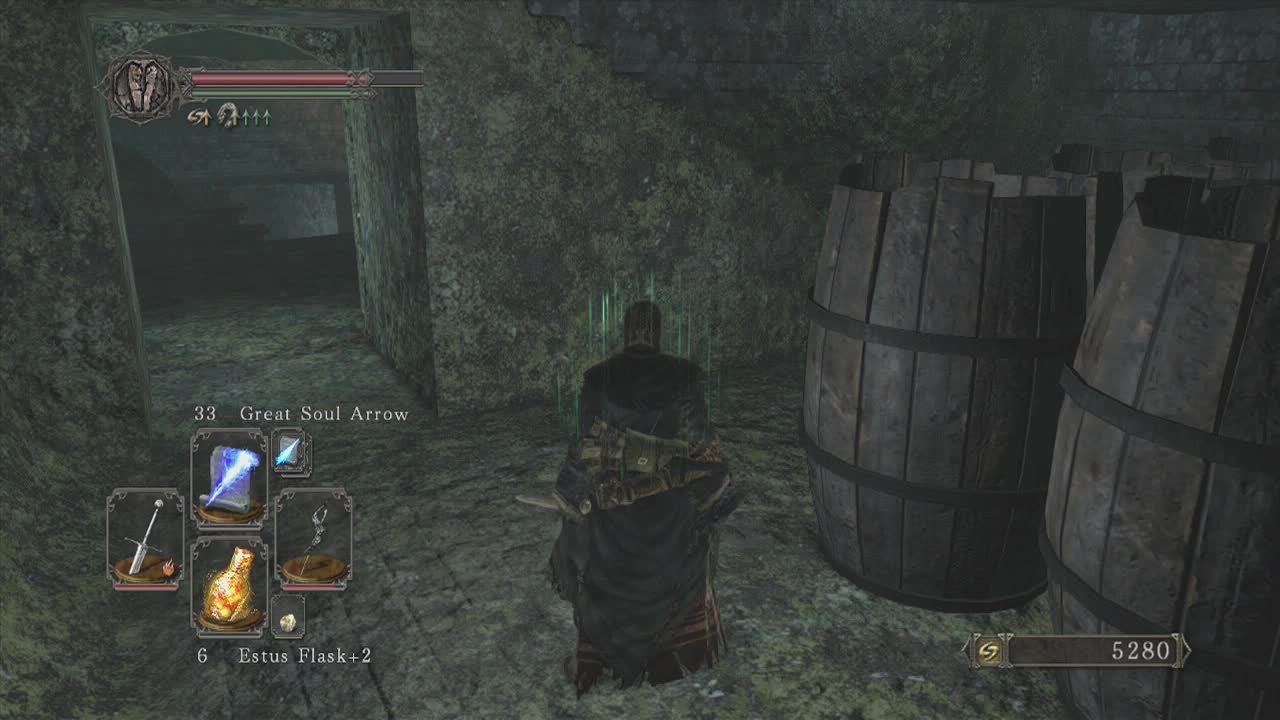
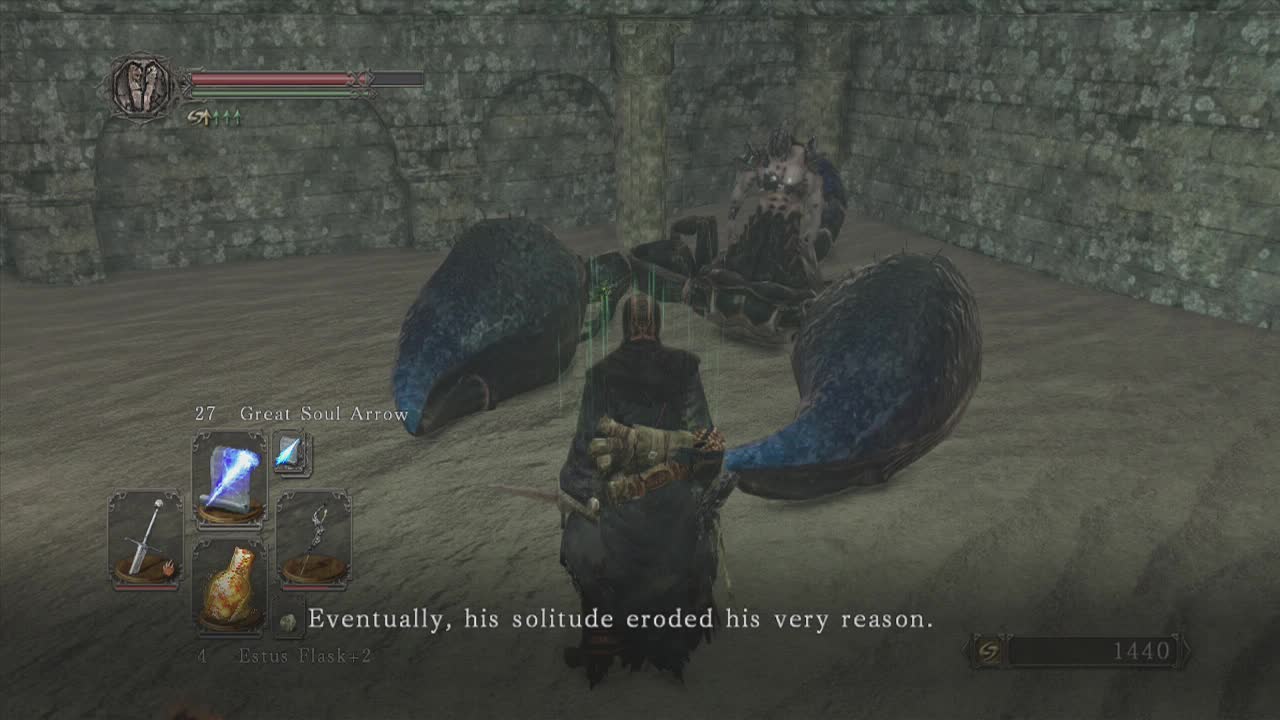
The barrels in this room can be destroyed to find a corpse holding onto a Soul of a Brave Warrior and a Pharro's Lockstone. A nearby doorway in the room leads to a larger open room with sand filling the lower area below. You will see the NPC Tark the Manscorpion below (a large blue half human-scorpion hybrid), don't kill him. No matter how intimidating he looks. Take the left path here (don't drop down) to find a blue crystal lizard. Nearby in the same section is a chest containing a Dark Scythe. There are curse vases here, so smash them if you need to. When you are done, drop down to the sand below.
If you have the ring of whispers (purchased from sweet shalquoir the cat in Majula) you can talk to him and enlist his help as a summon in this area's boss fight. He will also tell you a story about how he and his partner were created. When you defeat the boss of this area, you can return to Tark and he will give you a Fragrant Brach of Yore and the warmup guesture (even if you didn't summon him for the battle). On the other side of the room next to the stairs is another door you can travel through. A lion warrior will be around the corner here, so if you need room make sure to lure him back towards the sand room. In the room just beyond is a corpse with a Torch on it and a door leading back outside. Outside is a petrified lion warrior who isn't worth wasting a branch on (as we have already cleared out the area beyond). Head back inside and return to the ramp at the end of the bridge where we first engaged the three lion warriors.
Past where the giant basilisk was are some stone ruins (not towards the lion warrior standing guard, towards the left instead. Here you can find some stairs that lead up to a copse holding a Pharro's Lockstone and the Soul of a Proud Knight. A lion warrior will be hiding behind a wall nearby, so be careful not to accidentally trigger him when climbing up to look for the item. In the ruined building the second lion warrior was in initially, there is a chest containing a Human Effigy and Bleeding Serum. Back at the top of the ramp, look for an upper entrance to the bridge next to the ramp. This will take you to the upper level with the curse urn. A chest here contains a Petrified Dragon Bone and a Titanite Chunk. Once you are done with the item collecting. Return to where the giant basilisk was standing.
From here you should be able to see a lion warrior standing nearby next to another stone building. To his right against the wall is a pair of curse vases you may want to destroy before engaging him. Before approaching him or the nearby corpse (with the item) be aware that there is a large pit trap waiting to be triggered. This drops you down to a basilisk ambush and a cave filled with corrosive liquid. I will describe that path below for those who get caught in the trap or want to explore it. When you drop down, at least two of the four basilisks will attack you. Be very wary of the yellow liquid pools on the floor here as it will eat through your equipment's durability in a matter of seconds. Once you've cleared out the four basilisks (and picked up the Twinkling Titanite from the corpse in one of their rooms), open the wooden door at the end you fell through (with the Fang Key) to meet Weaponsmith Ornifex, a giant bird headed smith. Why not? Don't kill her (I seem to be saying that a lot lately). Talk to her and she will tell you to meet her at her house. You won't get to her "house" which is in Brightstone Cove Tseldora for a while yet, so don't worry about that for now. Pick up the Estus Flask shard from the corpse nearby. Turn around and follow the linear path (avoiding the yellow pools) until you exit via a hole in the wall at the top of a small ramp. This will drop you out on the ledge to the right of the large bridge. Head up the tree bridge to reach the bonfire and then work your way back to where we were before the pit incident happened.
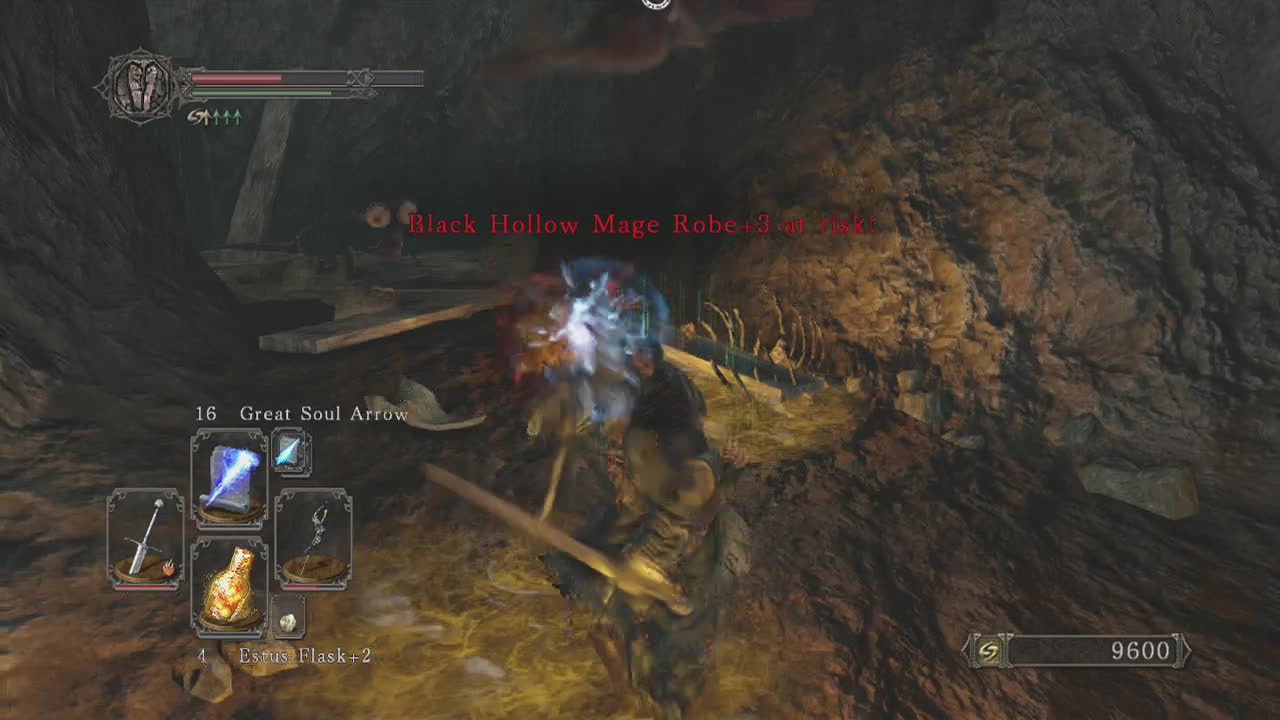
Back at the lion warrior, deal with him (making sure to avoid the newly open pit) and hug the cliff to grab the Life Gem off the body. A second lion warrior will be standing in the open just ahead, so target him next. Now, the building on the right has a petrified lion warrior blocking access to the Lion Mage Armour set (one of the best available for casters at this point of the game, as it increases casting speed) as well as a Fragrant Branch of Yore (essentially giving this to you for free). Make sure to destroy the curse vases here to avoid the status. Nearby is a large stone gateway. If you walk past it's right entrance along the wall here, a pit will open up below you. This will allow you to meet Grandahl for the second time (once you meet him three times you will be able to join a new covenant). You can also acquire Homing Soulmass from the chest here. Drop down from the ledge and head up the nearby ramp, then across the tree bridge (you should know the drill by now).
Make your way back to the ruined gateway we just left and climb the stairs in the tower on the right. This leads up to a corpse with Skeptic's Spice and the Soul of a Brave Warrior. Head back down and walk through the gateway. Head up the rising path beyond to spot a huge mist door. This leads to the area boss, so make sure you are ready before entering (it's a long way from the bonfire, I know).
_________________________________________________________
Boss: Scorpioness Najka
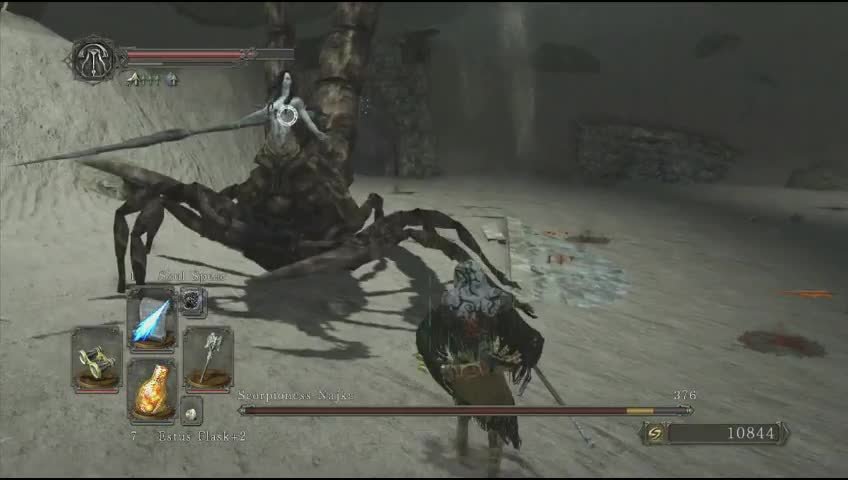
Personal Death Count: 3
Attacks –
Burrow: She will burrow into the ground. Head to the small patch of ground that you can see that is not covered in the dirt. It will look like a small patch of stone slab. This is the only part of the ground that she cannot hit you. You can track where she is by the dust patches moving on the ground. If you stay on the slab, she will wander around for a while and then emerge. Her emerge can be quite close to the slab, so while staying on them, keep to the other side of where she is. If you are not on the slab, she can emerge beneath you, and will deal a lot of damage and will knock you prone. After she emerges in either case, she will sit there for a few seconds, giving you ample time to get in a few attacks.
Claw Swipes: She will lean to the side, and then swing that side claw at you. Sometimes she will swing more than once. When she does this attack, the spear swinging to the side may be more obvious than the claw. Dodge away to avoid.
Homing Crystal Soulmass: She will raise her arm in an arc over her head, summoning five glowing orbs around her head. While doing this, you can get in a few attacks. Once summoned, they will stay with her until she gets close to you. Once she is close to you, they will automatically fire off, meaning that you will have to avoid them and whatever attack she does on you. When you are close enough, two will fire one after another. Then a brief pause before the last three will fire at once. Dodge to the side to avoid.
Homing Soul Shards: She will raise her arm above her head and her hand will glow. After a couple of seconds, a barrage of soul shards will launch up and home towards you. These shards are actually quite fast. Dodge to the side before they hit to avoid.
Spear Thrust: She will lean back and then thrust her spear in your direction. This has a fairly long range. Dodge away to avoid.
Tail Slam: If attacking her from behind, she will raise her tail and slam it down behind her a couple of times. Dodge to the side to avoid.
Tail Stabs: She will lean back and then stab each tail down one after the other. This may inflict poison. After the attack, she will sit there for a few seconds, to allow you to get some attacks in. Dodge away to avoid.
Tail Stab (Double): She will stand there for a bit, raising her arms and claws ready to attack, and then slam down both tails in front of her. If she hits you, she will grab you and inflict the toxic status as well as damage. After the attack, she will sit there for a while letting you hit her. Dodge away to avoid.
Tail Swipe: She will bring her tails down to the ground, and start to curl up. She will then swipe her tails in a huge arc in your direction. The wind up for this attack takes quite a while, so there should be ample time to get away (unless there is a Homing Crystal Soulmass to distract you from it, as you can see in the video). Dodge away to avoid.
To make the fight easier, you can summon Manscorpion Tark (how to obtain him can be found earlier in this section of the guide). The summon sign is on the ground just outside the mist gate if you have completed the requirements. Players with high mobility and magic defense can use that to thier advantage by staying as far away as possible while pelting her with ranged attacks (this will cause her to cast spells quite often which should give you more time to strike back). She is weak to fire attacks, so ranged characters should consider using pyromancy or fire arrows to bring her down easier.
Slower melee based characters will want to stick close to her to bait her melee attacks thus preventing her from casting sorceries. When she burrows into the ground, move towards the piece of stone in the middle of the area (straight ahead from the mist door). Make sure you stay on the far side of it away from her as she is burrowing (as she hits a decent area when emerging). There is also a corpse on top of the dead tree to the left as you enter the mist door containing a Flame Butterfly. You will need to have her attack the tree to knock it down if you want the item.
Overall, she is relatively easy to deal with as long as you use the strategy specified for your build. She is easier than most of the bosses you have faced already but it might take an attempt or two to get her movements and attack timing down before you defeat her.
_________________________________________________________
After defeating the boss, return back to manscorpion Tark from earlier to recieve your free item (Fragrant Branch of Yore) . To progress, return to the boss area and head through the nearby doorway into the long hall that leads to the Doors of Pharros. Read on in that section to continue the guide.
