This quest immediately follows the City of the Sun quest. Head North, following your waypoint, until you reach the Ruins. Pick up the Ropecaster and Modification Coil that your mysterious benefactor has left for you, then head into the Ruins. There are a bunch of Eclipse immediately at the entrance as well as a couple of Corrupted Watchers. Use your Focus to scan around and tag all the enemies, then move in. A Watcher patrols the entrance, so be aware. Use the long grass to silent strike it if you can.
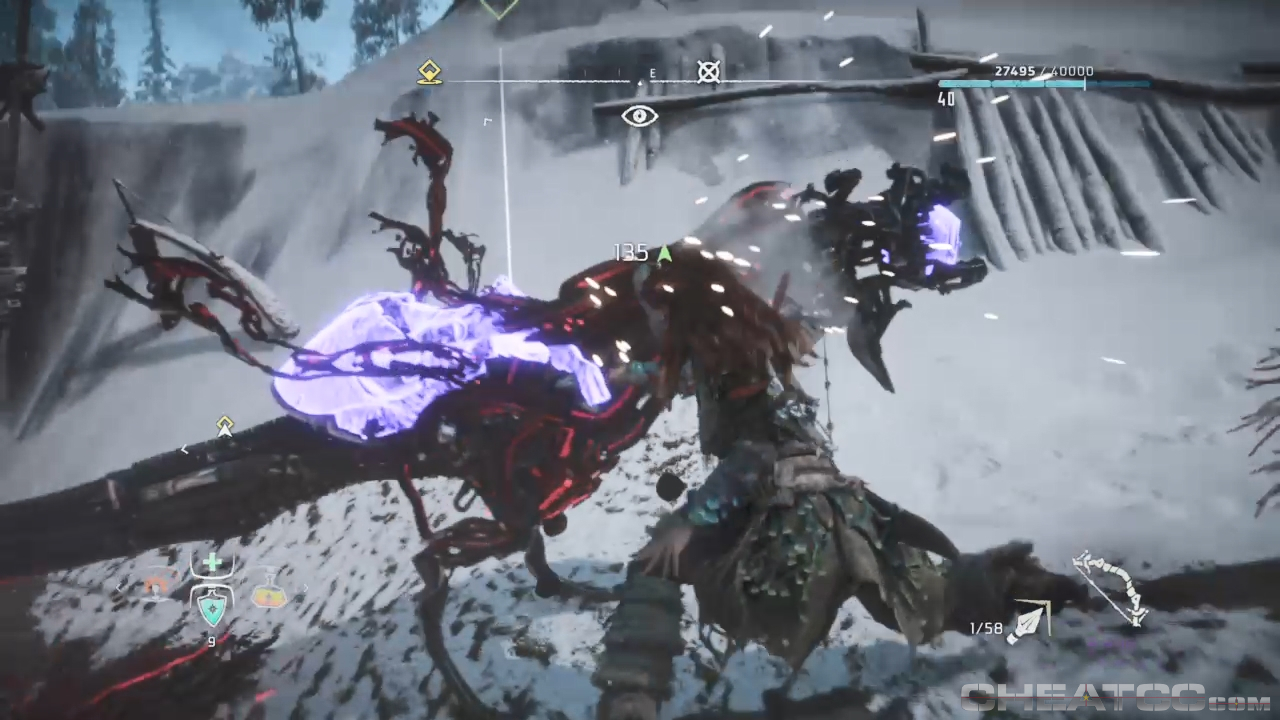
None of the Eclipse are Elite, so just take them out in whatever way you want. The guys with blaze canisters on their backs can act as convenient walking bombs if you hit the canisters with a Fire arrow. Once these guys are down, head for the next area where there are more Eclipse soldiers and Corrupted Watchers, as well as a Corrupter itself. Our advice would be to take out the Watcher first, then start on the Corrupter, the mop up the human enemies.

Once you’ve cleared the area, follow your waypoint marker over to the climbable cliff face, scale that then follow the path around. Make sure you grab the Thunderheads Ancient Vessel from the debris pile while you do this. When you reach the next open area, drop down and a cutscene will start. Once you’re back in control, you’ll be having to fight a Deathbringer, albeit one that can’t move except from rotating its turret. Scan it for weakpoints, of which there are a few, then plan your attack. You can just rush in, but there are a lot of enemies here, and you’re likely to get overwhelmed. Try to take out as many enemies, especially the Corrupted Watchers, as you can before engaging the Deathbringer. Luckily it’s already heavily damaged which makes your job easier. Target the turrets and heat sinks with your most powerful weapon and it should go down pretty quickly. One thing to remember though is to keep moving. Standing still vs a Deathbringer is, well, death.
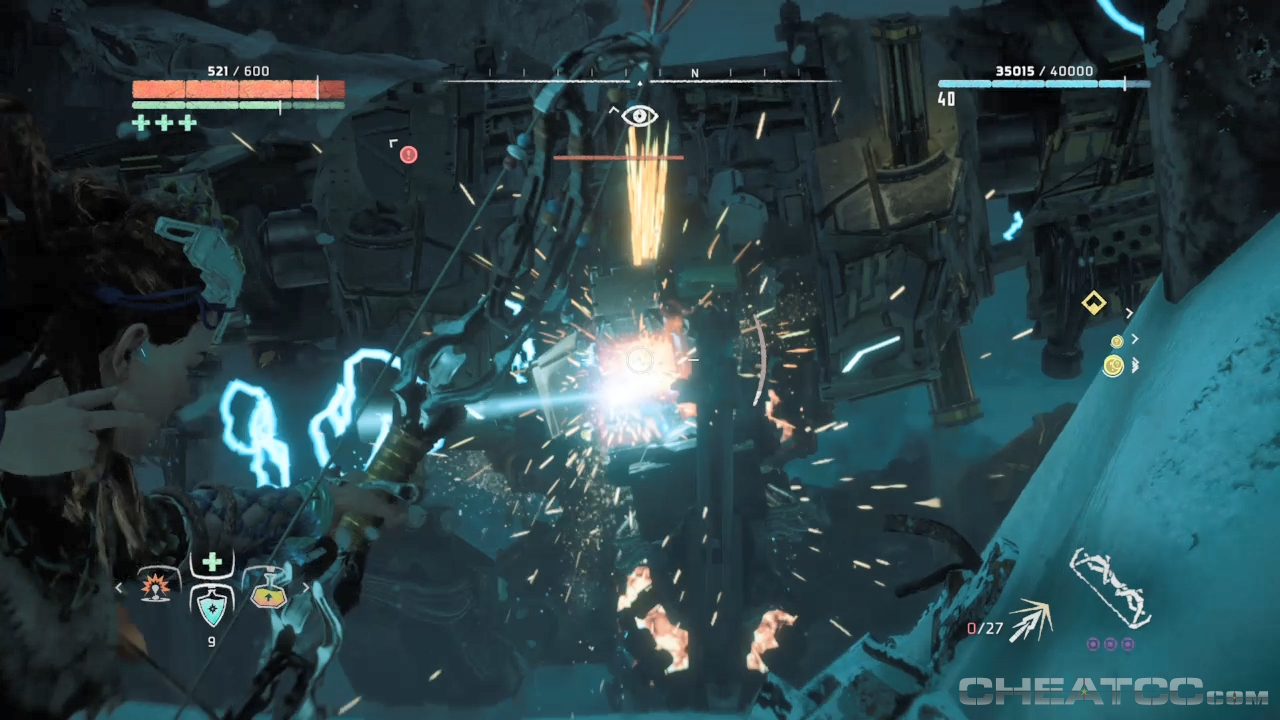
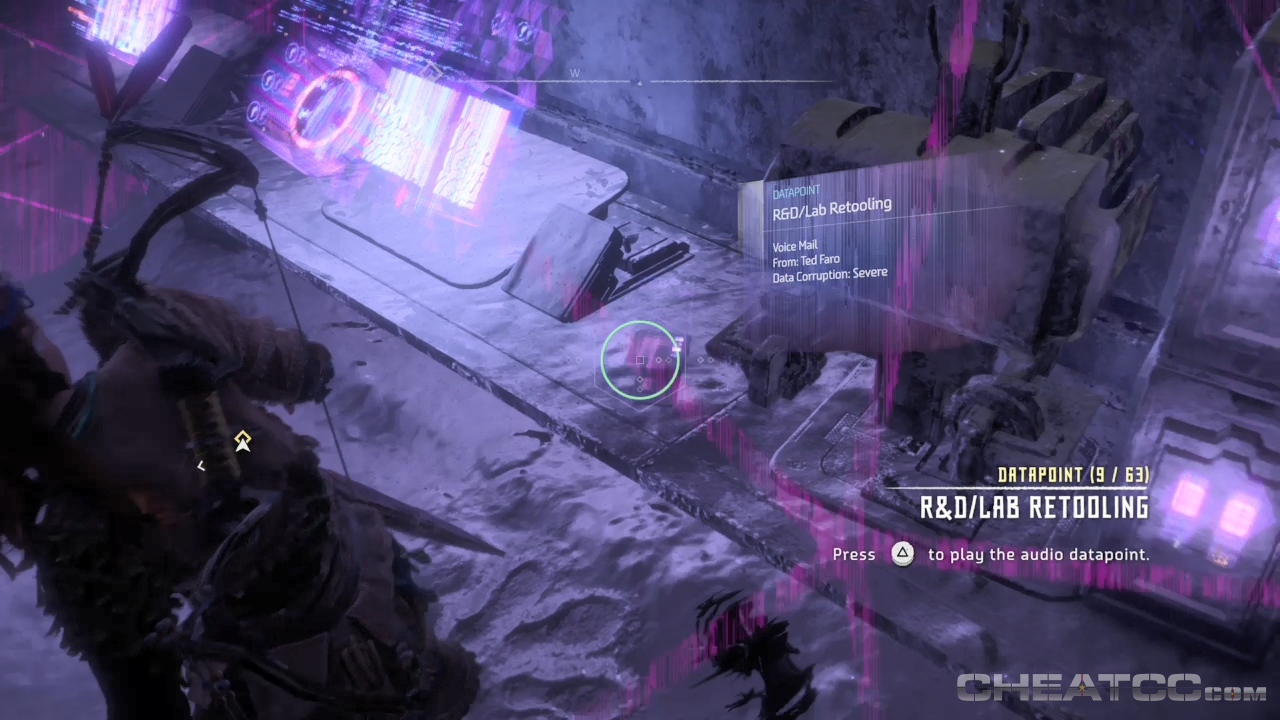
Once the Deathbringer is down, mop up the rest of the enemies then search the body of the Eclipse Officer to find their Focus and trigger a cutscene. When you’re back in control, head for the entrance and squeeze through the rubble to trigger another cutscene. Back in control once more follow your waypoint through the Ruins. Make sure to investigate every room, even if it’s not immediately on your route, as many of them contain Datapoints that will not only fill out the backstory, but also bring you closer to 100% completion.
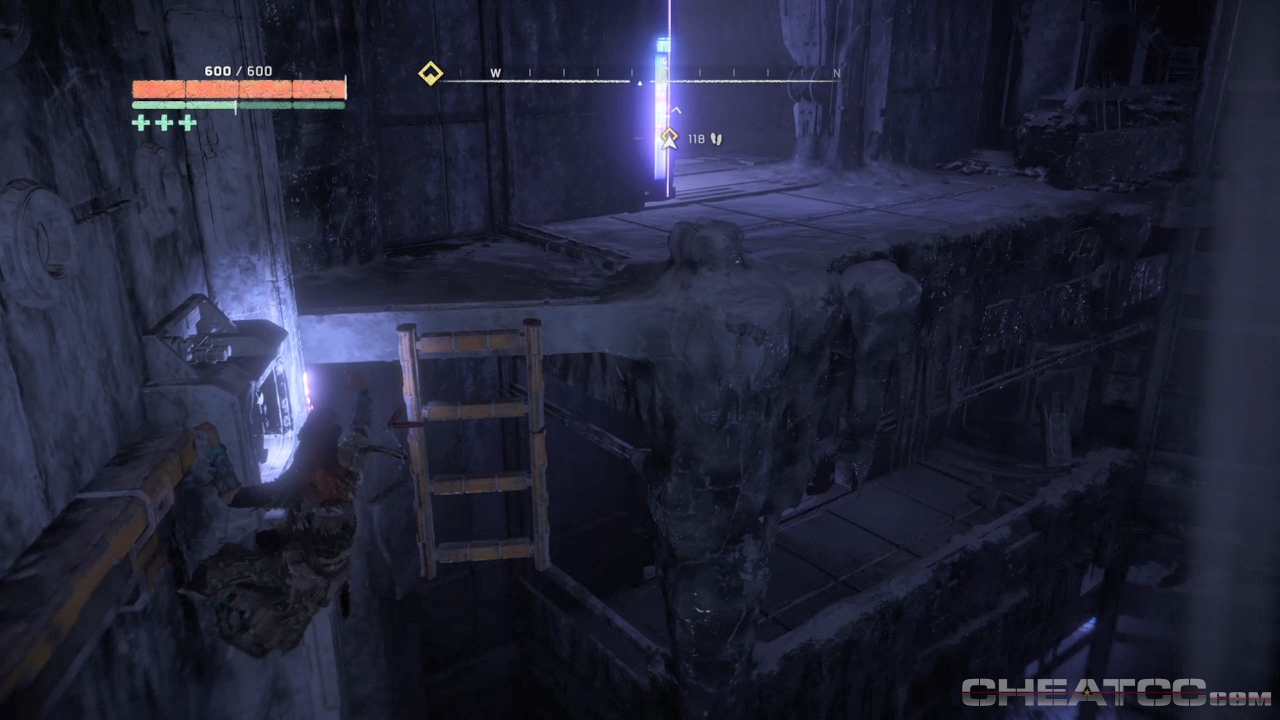
Follow your waypoint upstairs and through the corridors until you come out on a walkway that collapses. This will provide you with a route back up should you fall during the climbing segment coming up. Climb up the ladder to your left, then jump up to the series of ledges and follow them around to the right until you reach the platform on the other side.
Climb up and head through but don’t follow your waypoint just yet. Investigate the three open rooms for more datapoints. One of the rooms will also have info on the Faro robots that is very interesting. When you’re ready, go to the lift shaft and climb up it. When you come out the top, there’s a supply crate, then even more climbing. Keep following your waypoint up. The route is pretty simple to find as there’s only really one way to go, usefully. There will be a point where you are climbing a lift shaft up and can either go right or carry on up the shaft. This choice makes no real difference as you will end up in the exact same place. So go whichever way you want.
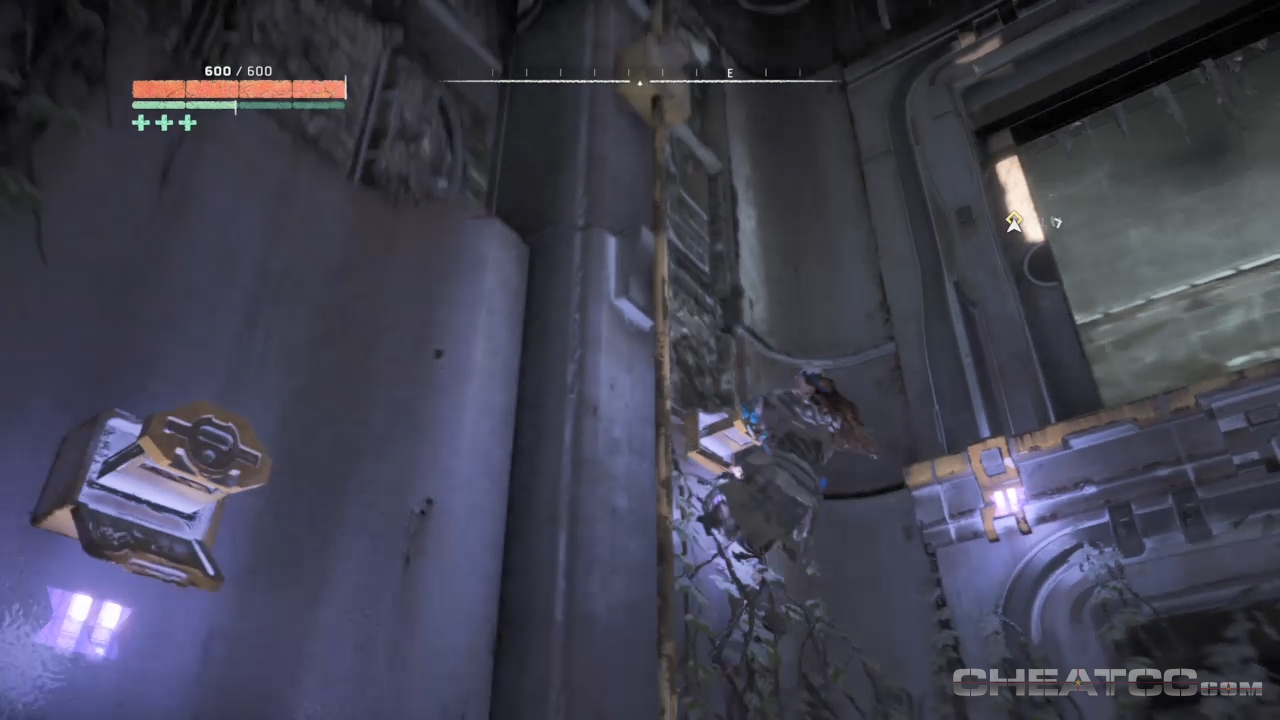
Climb up another small series of holds and you’ll come out in Faro’s office. Examine the databank which will unlock the first holo datapoint. Watch that, then the other two that are unlocked as you watch.

Once it’s over, and before you leave, climb up the spire to the right of the door to find another Power Cell. Rappel back down then head for the lift. A cutscene will trigger, and you’ll learn the name of your mysterious companion, Sylens, and that’s the quest over.
