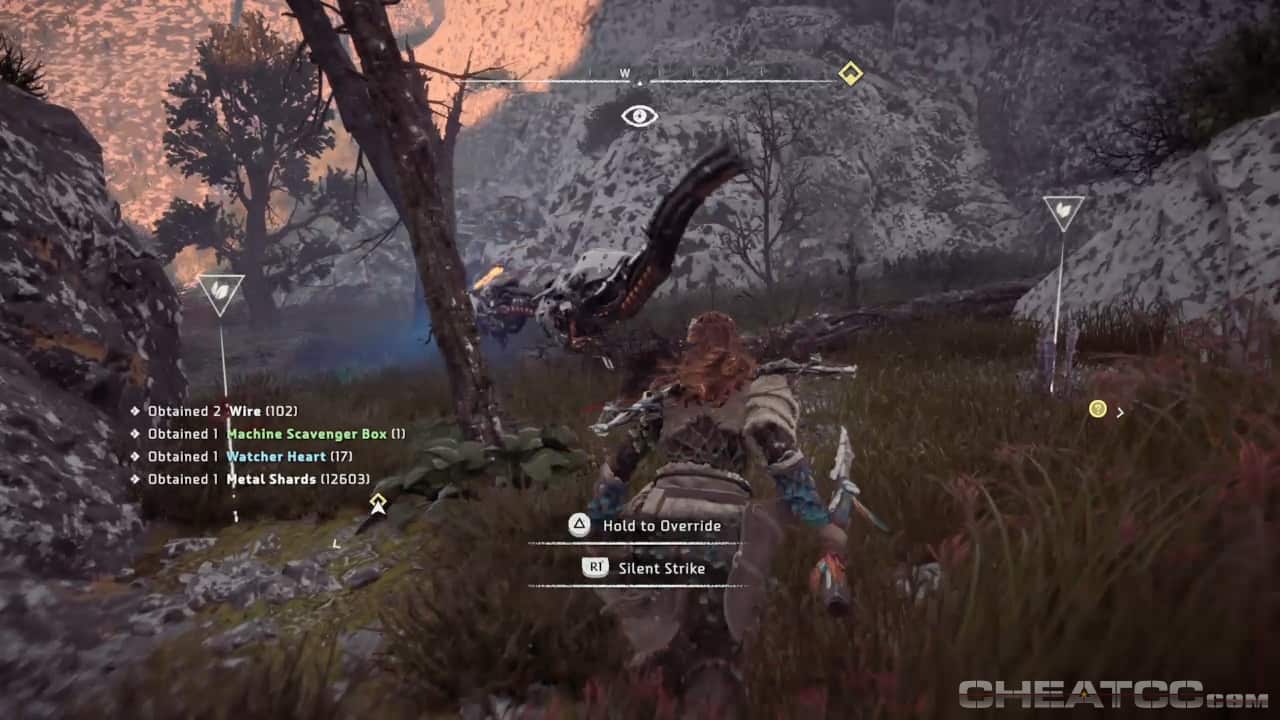
Make your way to Bitter Climb then ascend up the cliffside once you get there. Once you get to the top, you’ll be on a plateau that has Watchers and Stalkers patrolling around, directly in your path. It’s up to you whether you want to fight them or not, but if you decide not to, try sweeping left and around them to avoid conflict.

Keep following your waypoint to the cliffside then climb up again to the next level. Here there will be Glinthawks and Ravagers patrolling, so more difficult to avoid, but not impossible. Again, sweeping to the left works to avoid conflict. If you decide to fight, your best bet is to try to break of a Ravager turret or two then let loose on the Machines as they try to attack you.
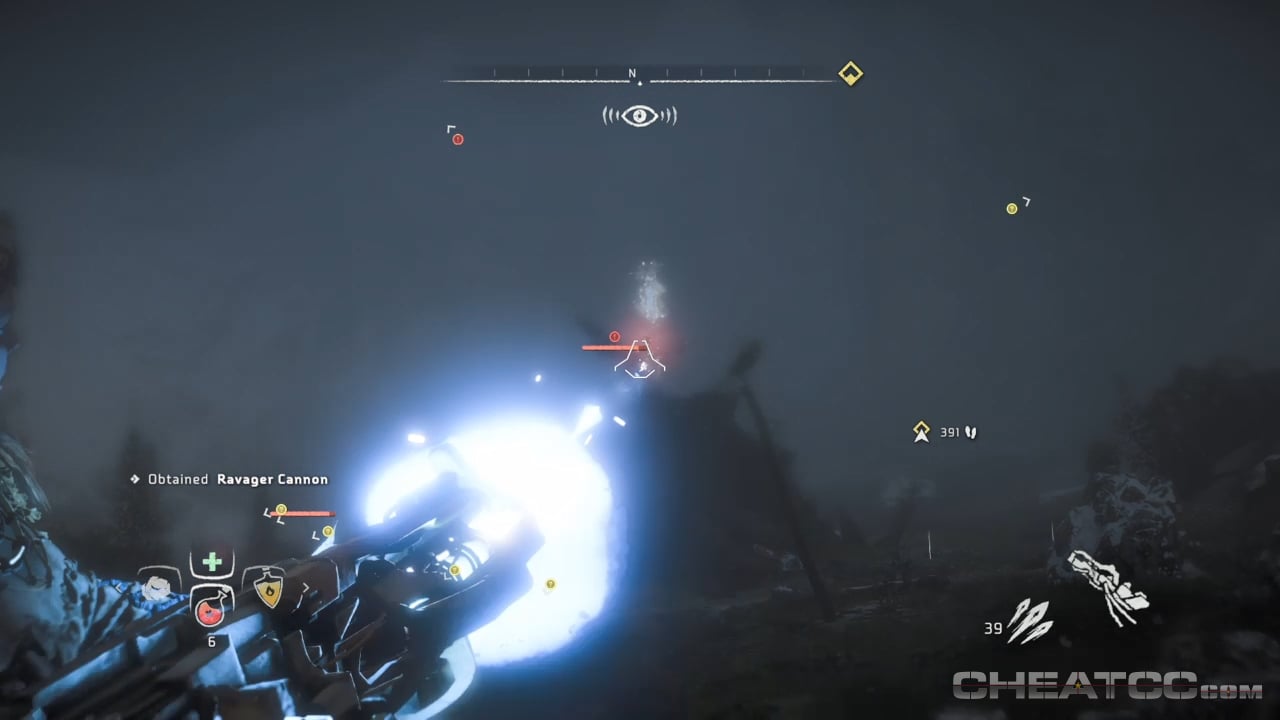
Again, follow your waypoint to the cliff and climb up to the next level. When you get to the top there will be a short cutscene, then you’ll have to fight a Stormbird. These guys are possibly the hardest Machine to fight in the game due to their being both maneuverable, tough, and hard hitting. If you have the Tearblaster cannon from the Hunting Lodge, now’s a good time to use it to tear off various parts and reduce the Machine’s ability to hurt you.

If you don’t have the Tearblaster, your best bet is racking up multiple Tearblast arrows on it, then when it comes down close enough, hit it with the Ropecaster to tie it down so you can hit its weakpoints more easily. Once it’s roped down, covering it in Sticky Bombs is a completely valid way to deal some good damage. However you go about it, bring the bird down. When it’s dead, follow your waypoint along the path until you get to the crater, where a short cutscene will play.

Back in control, climb up the route that Sylense has put in place until you get to his workshop, then have a chat with him. Once it’s over, go to the door and get it to scan you then head inside. Once again, keep your eyes open for Datapoints as you follow your waypoint through the facility. Drop down the lift shaft then head out to the open patch where there’s a rappel point, but don’t use it. Go left and climb up the cliff there and head inside the open door to find another power cell.
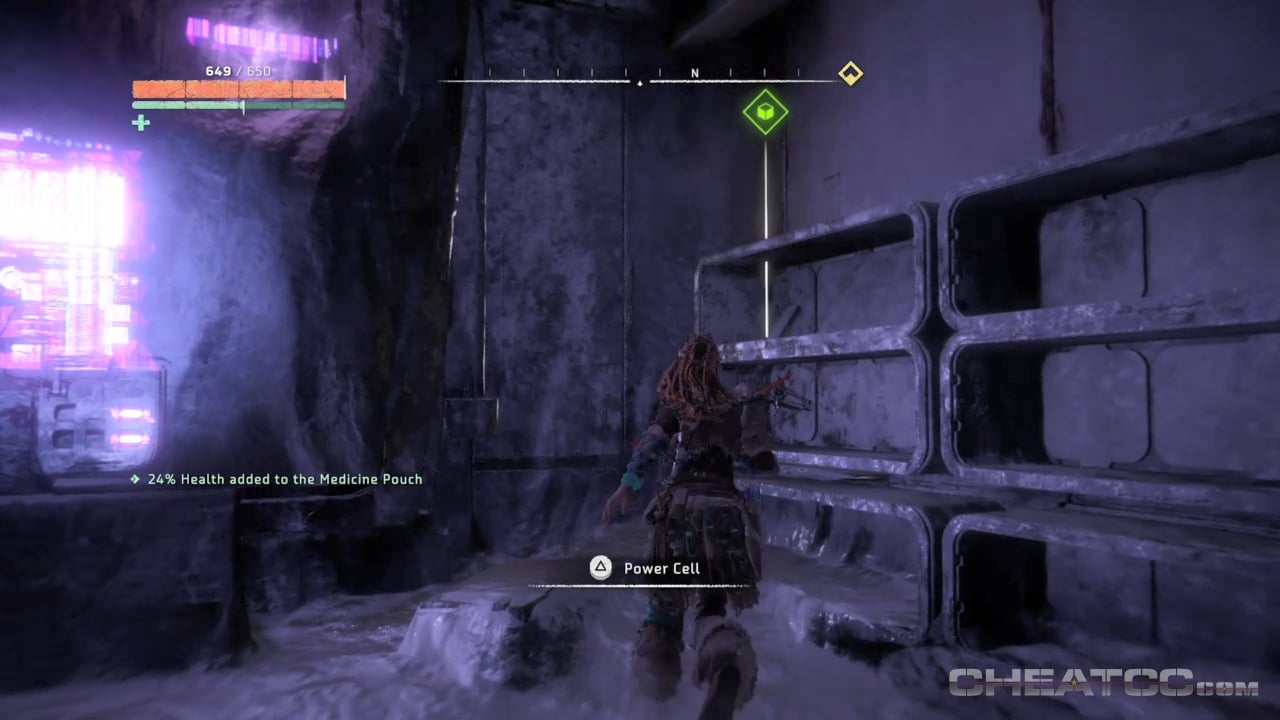
When you have it, return to the point you came out and head right over the precariously hanging bridge section then head back into the facility. Climb up the lift shaft then move through the facility. Again, multiple datapoints to grab here, so explore everything. Keep going up the stairs and through into Elisabet’s room where a short cutscene will trigger. Scan the journals, then climb up the cliff and keep going until you get to the Shrine.
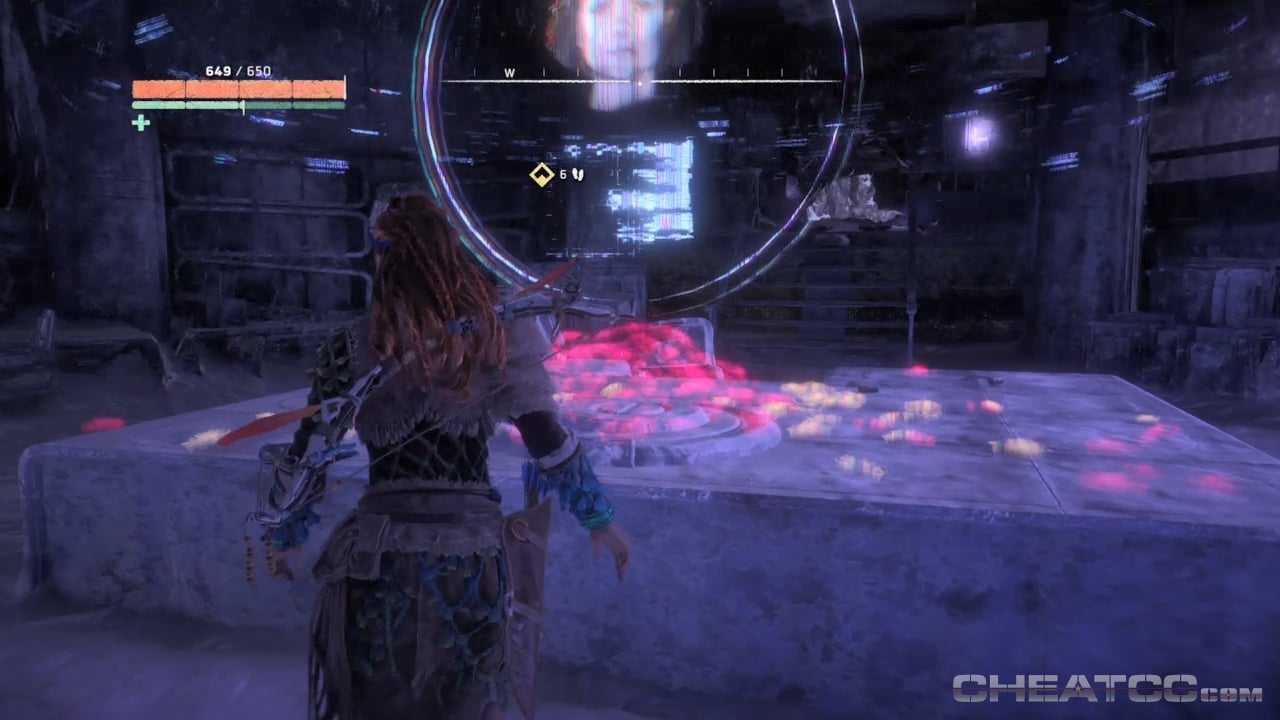
Examine it to start the holoprojector, then once it’s done, pick up the datapoints then talk to Sylense. When that’s over, follow your waypoint further into the facility and climb up another lift shaft and back outside. Take a right and leap across the gap to the cliffside and climb up. Keep going up, making sure you grab the two Faro logs along the way then head to the door. After the cutscene head inside and start the holo projector.
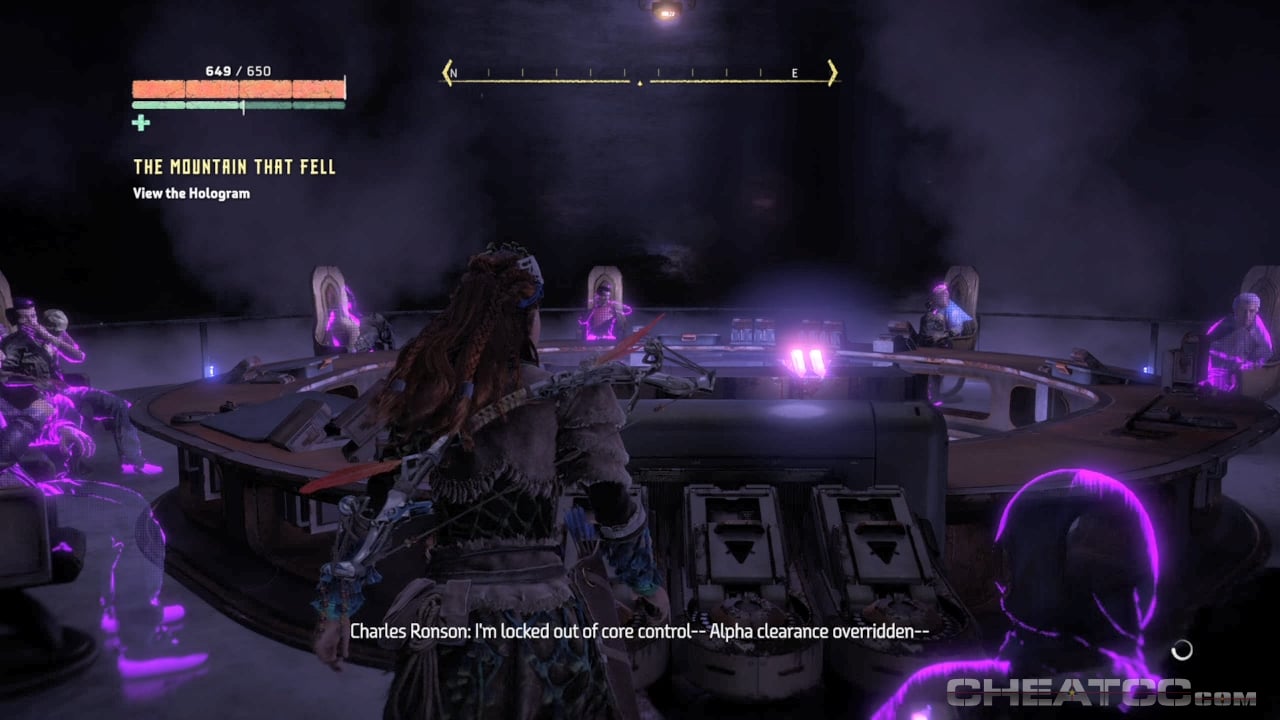
Once it’s over, talk to Sylense again then back to following your waypoint. Go back outside, take a right, then zipline back to the point you were at before then climb back up the facility to Sylense’s workshop. When you get there, talk to him again and that’s the quest complete.
