
Route 66
Escort
The famed highway turned smuggling bay, Route 66 is a winding map filled with chokepoints and backways, as well as elevated locations peppered throughout that offer a range of tactical possibility. Come for the sights, leaves because McCree won't stop telling you what time it is.
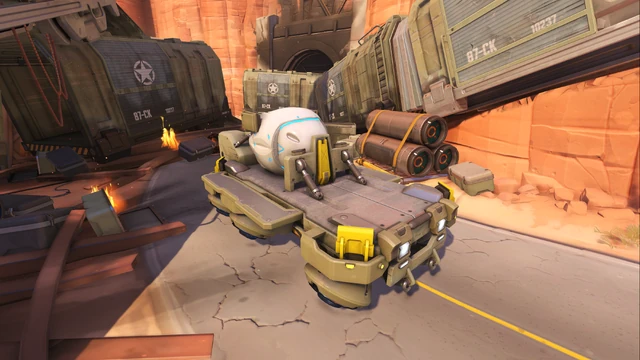

The opening area is separated into two distinct segments, the opening crashed train and the bar. In the first section, the defending team should use a Bastion at the end of the crashed train to the left of the gate, as this provides a deep field of view and easy pickings as the attacking team begins their escort. Close range fire from tanks is also useful here, but a well-placed Soldier: 76 is also a great choice for providing sustained fire. The wreckage to the right of the gate is a wonderful defense mechanism for attackers, as it provides cover as you make your away around to flank and attack the defending team. The second area is the bar, Big Earl's and the defending team must make use of the high roof of the bar to hold the attackers back. They will be forced to either use the tunnels to the left of the starting gate or the main pathway underneath the arch. Both will be within view of the roof, so focusing your fire can prove immensely powerful for slowing the enemies progress. To counter this as the attackers, you should use characters with a traversal ability, Heroes like Reaper, Tracer, Winston, and Pharah, can circumvent this chokepoint and disrupt the defenders while the rest of the team pushes through with a Reinhardt providing cover.

The street section of the map that follows the first checkpoint is far more malleable in terms of strategy, as the narrow streets and varying elevated points will force you to be constantly moving. This is a skirmishers paradise, and will surely be a constant struggle overflowing with eliminations. It's best to move in teams and use at least one of both the Tank, and Support class. The defending team can also use Torbjörn to great effect here, as placing a turret on the platform of the first building can prove immensely powerful given its elevation, and it's clear views of both opening sections of the streets. It's imperative that both teams watch for snipers, and use the opposing sniping spots to their advantage. Pharah can be incredibly useful here, as her mobility and concussive blast can force the snipers from the safety of their bird's nest.
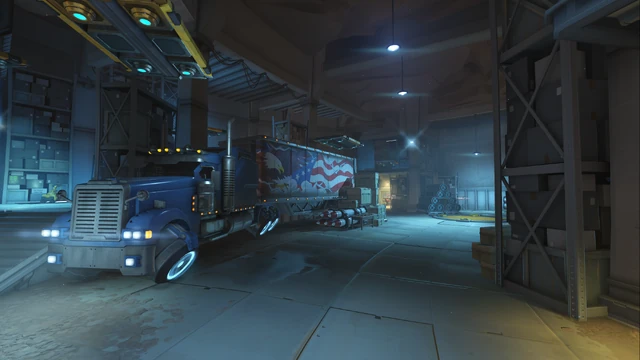
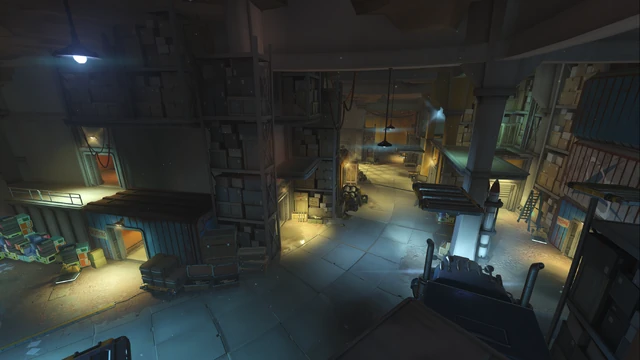
The final step in this map is a claustrophobic manufacturing warehouse that makes use of moving platforms. These platforms can be a powerful flanking measure or a moving platform for Bastions bullet-hell Sentry form or Torbjörn's Turret. An aggressive team on either side can make use of the winding paths that interconnect the main pathway to flank enemies and a close to medium range strategy with a focus on mobility can be extremely effective. As the attacking team, it's best to divide the team and have a portion move forward to pick off enemies while the other stays with the payload, navigating it through the path. The defense will want to take advantage of the various flanks, as well as the large truck to use for navigation. Again this section allows for more variability in strategy, but either way, it's paramount that a team makes use of at least one Tank, and one Support Hero.
That's all there is to say on Route 66, but for more tips on Escort, head over to our Escort Wiki page!