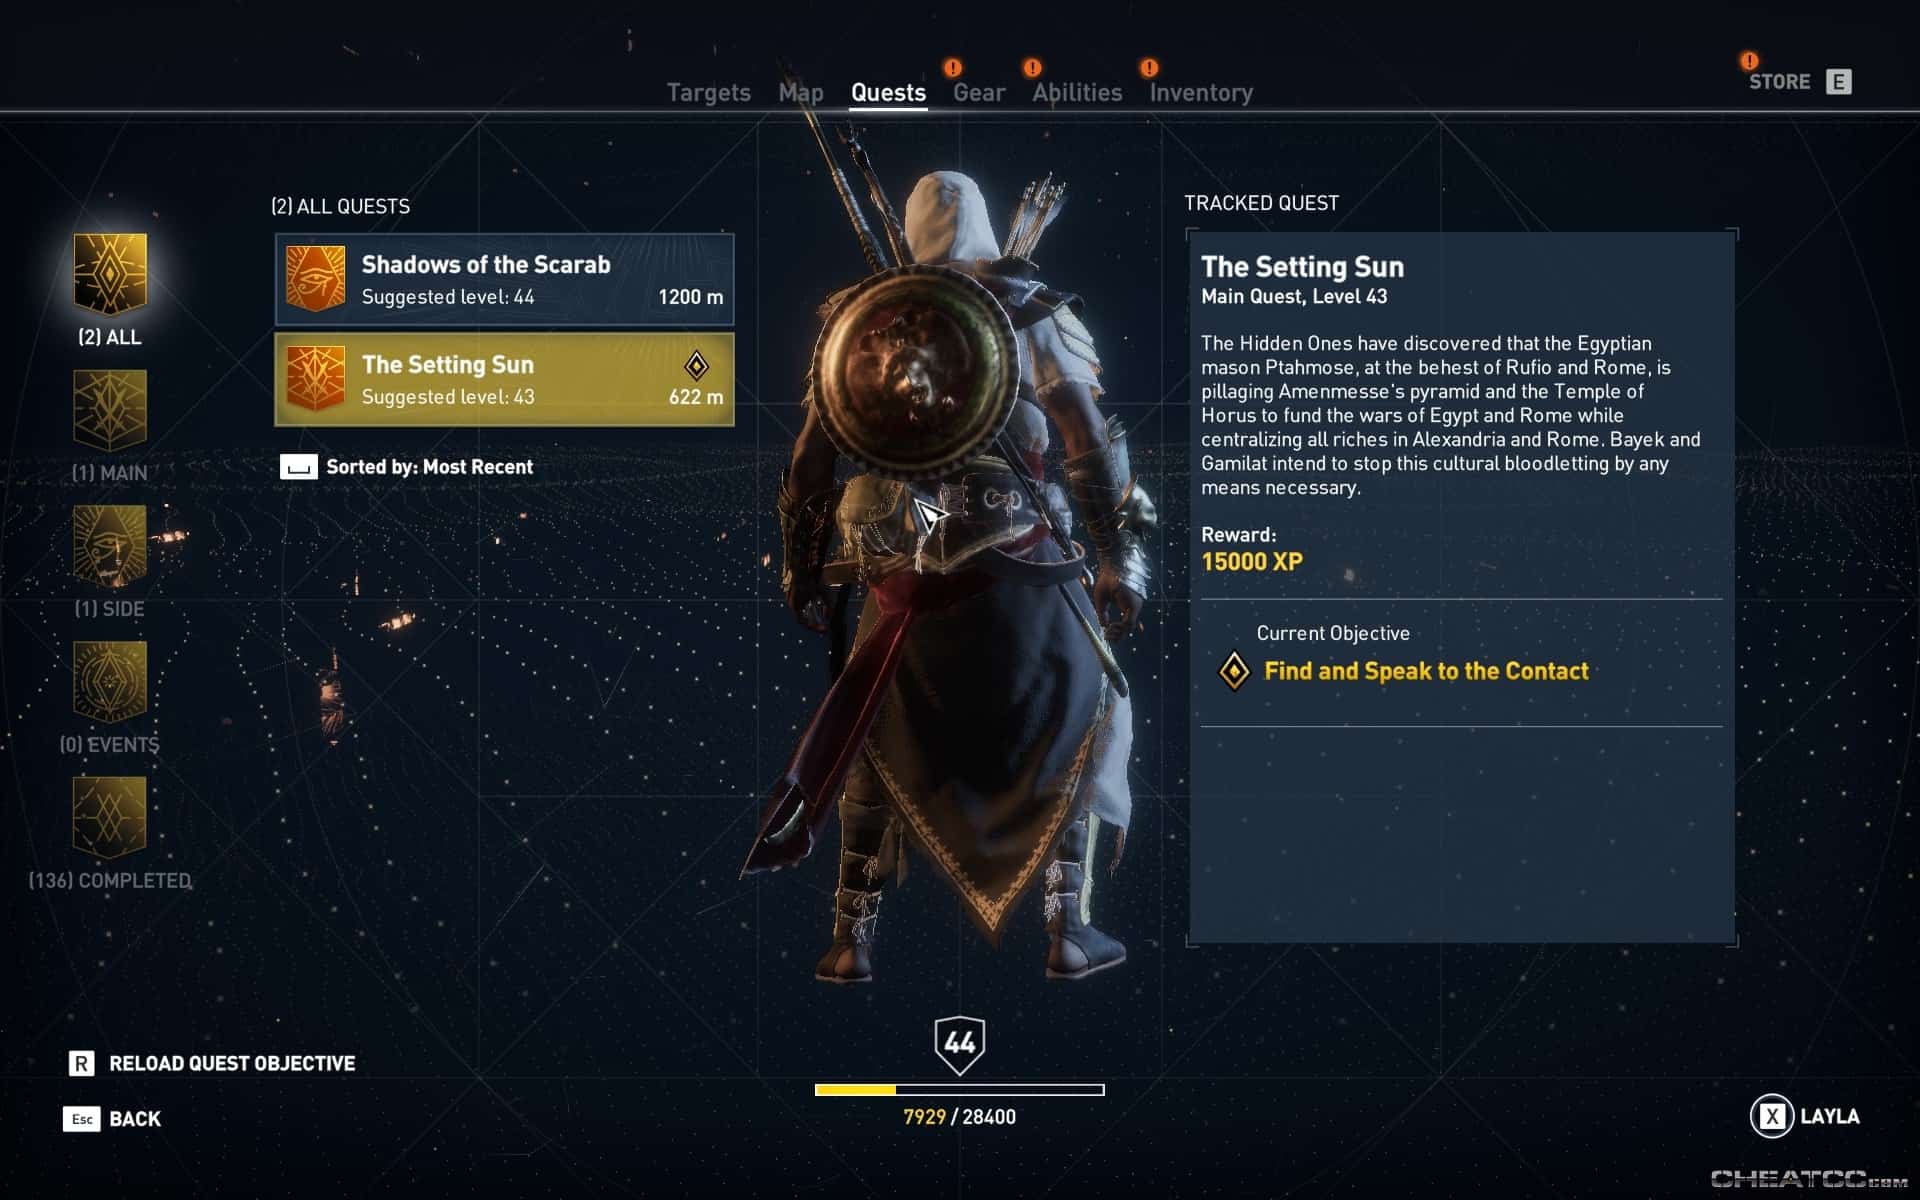
The Setting Sun

Find your contact for this story mission on the western side of the pyramid that's under deconstruction.
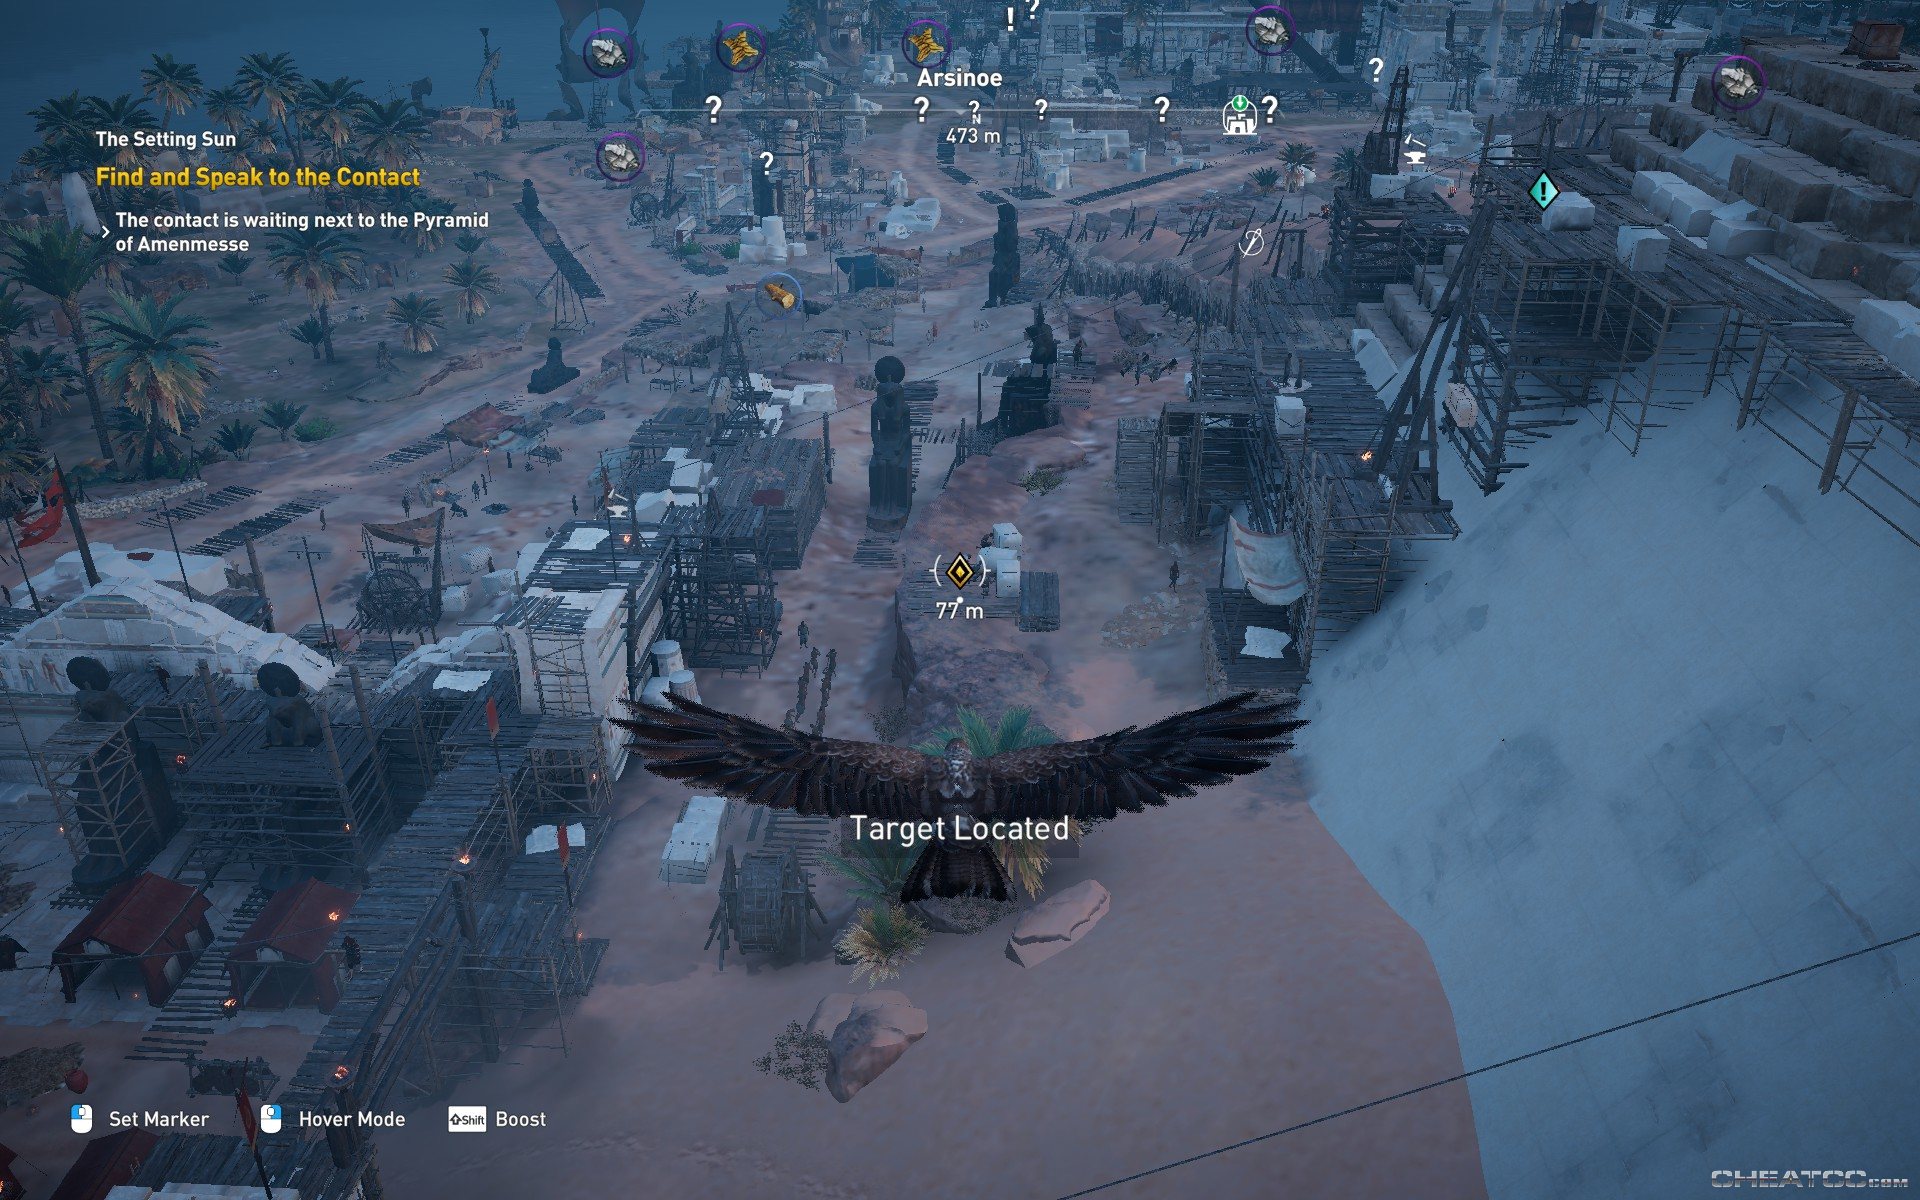
He'll give the lowdown on your current target.
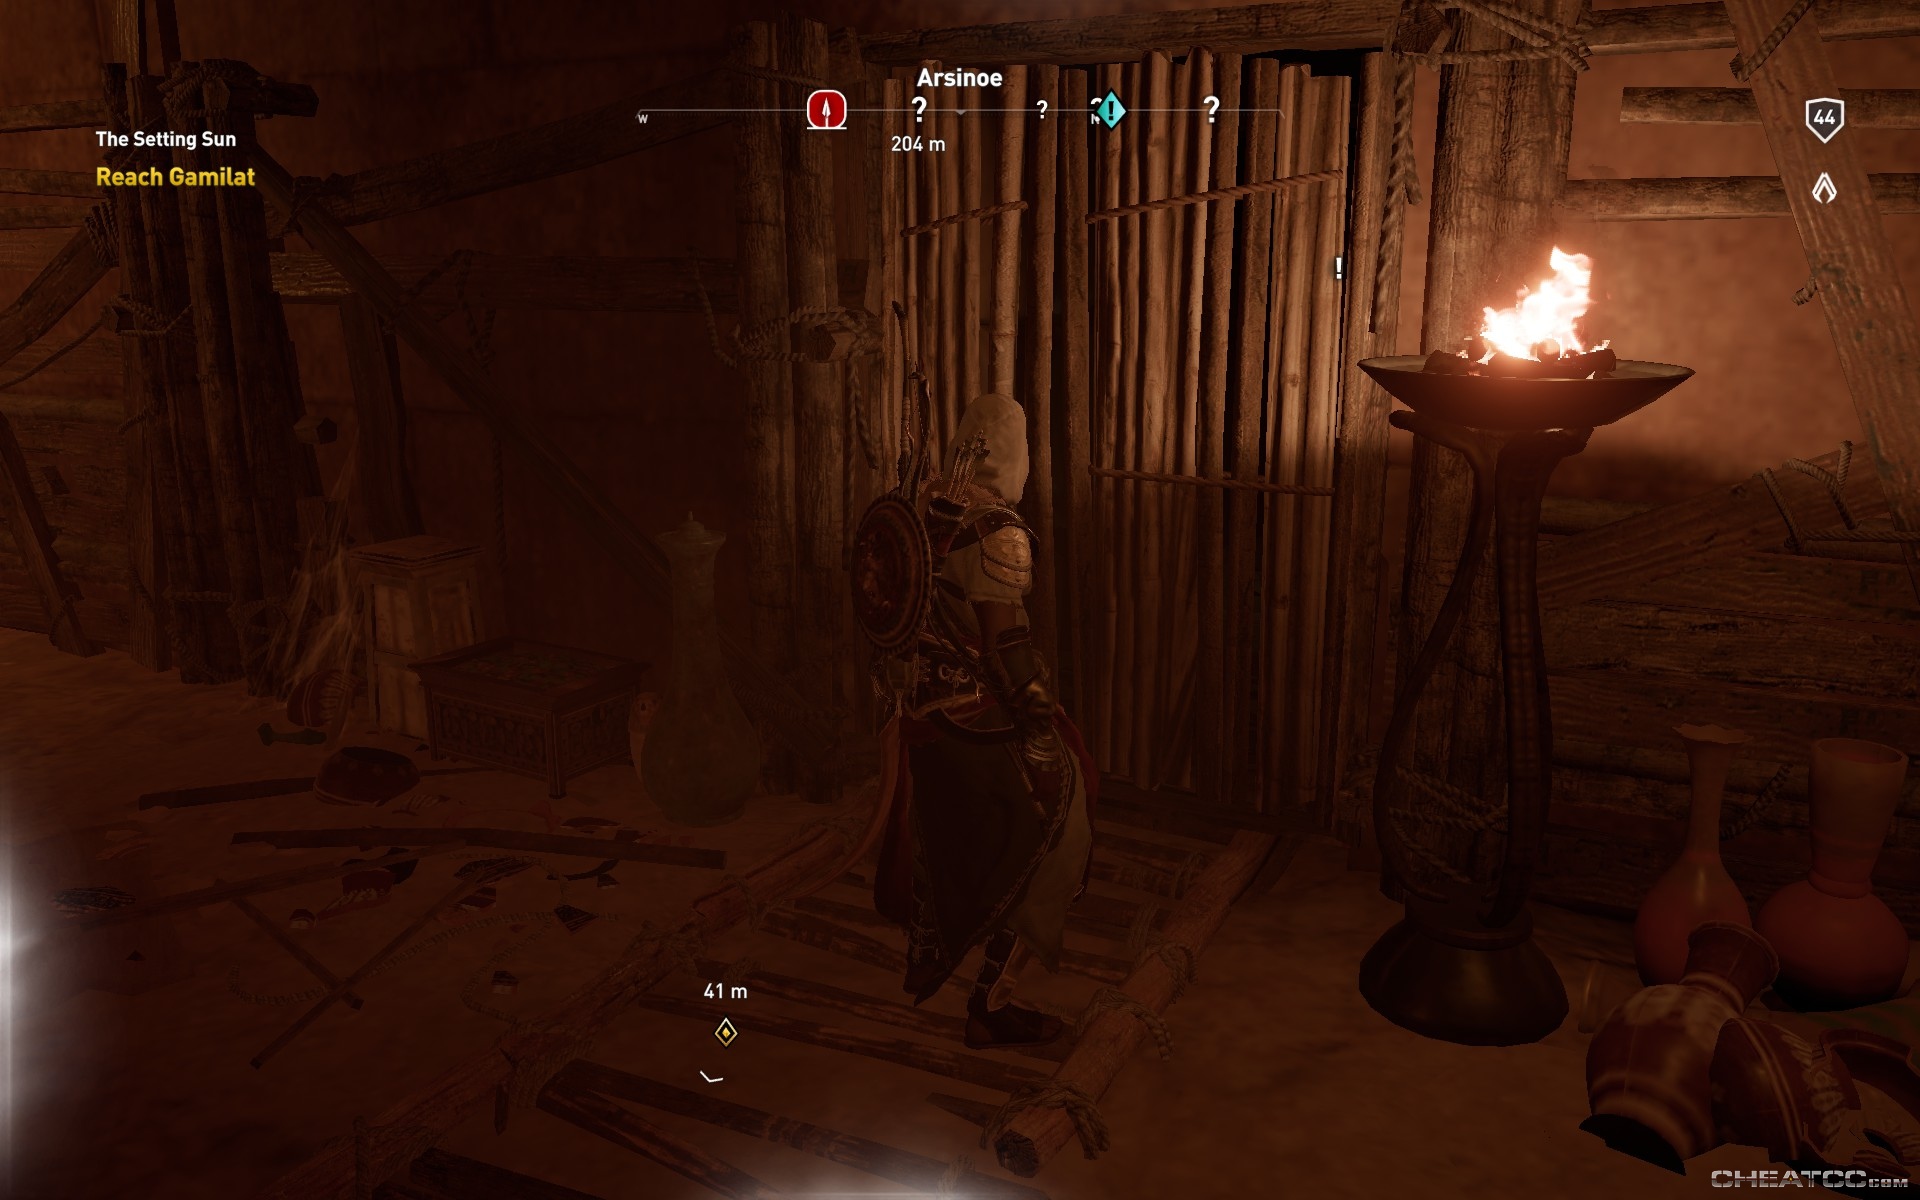
Ignore the garrison of soldiers up top- instead break right for the south side of the pyramid, and enter the not-very-hidden passage there.

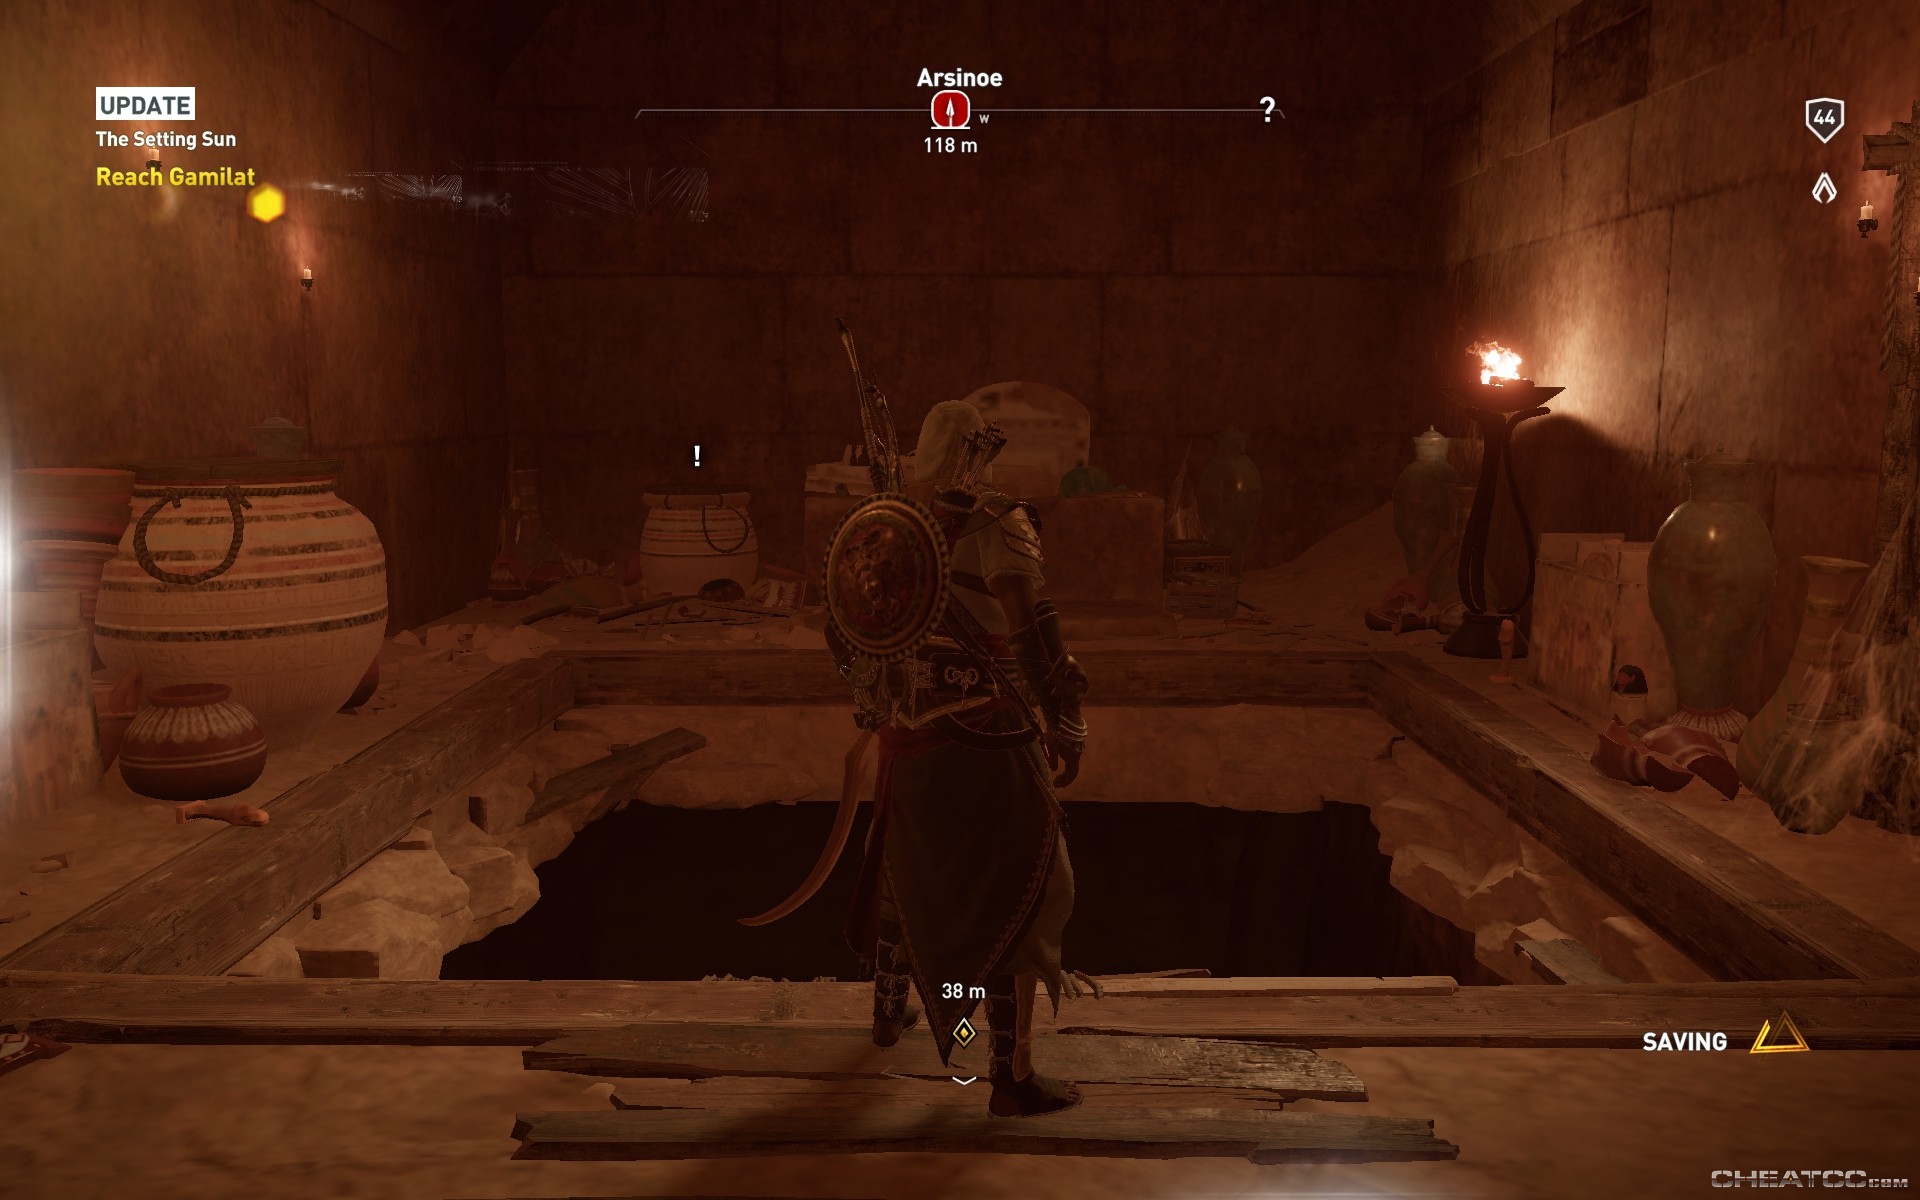
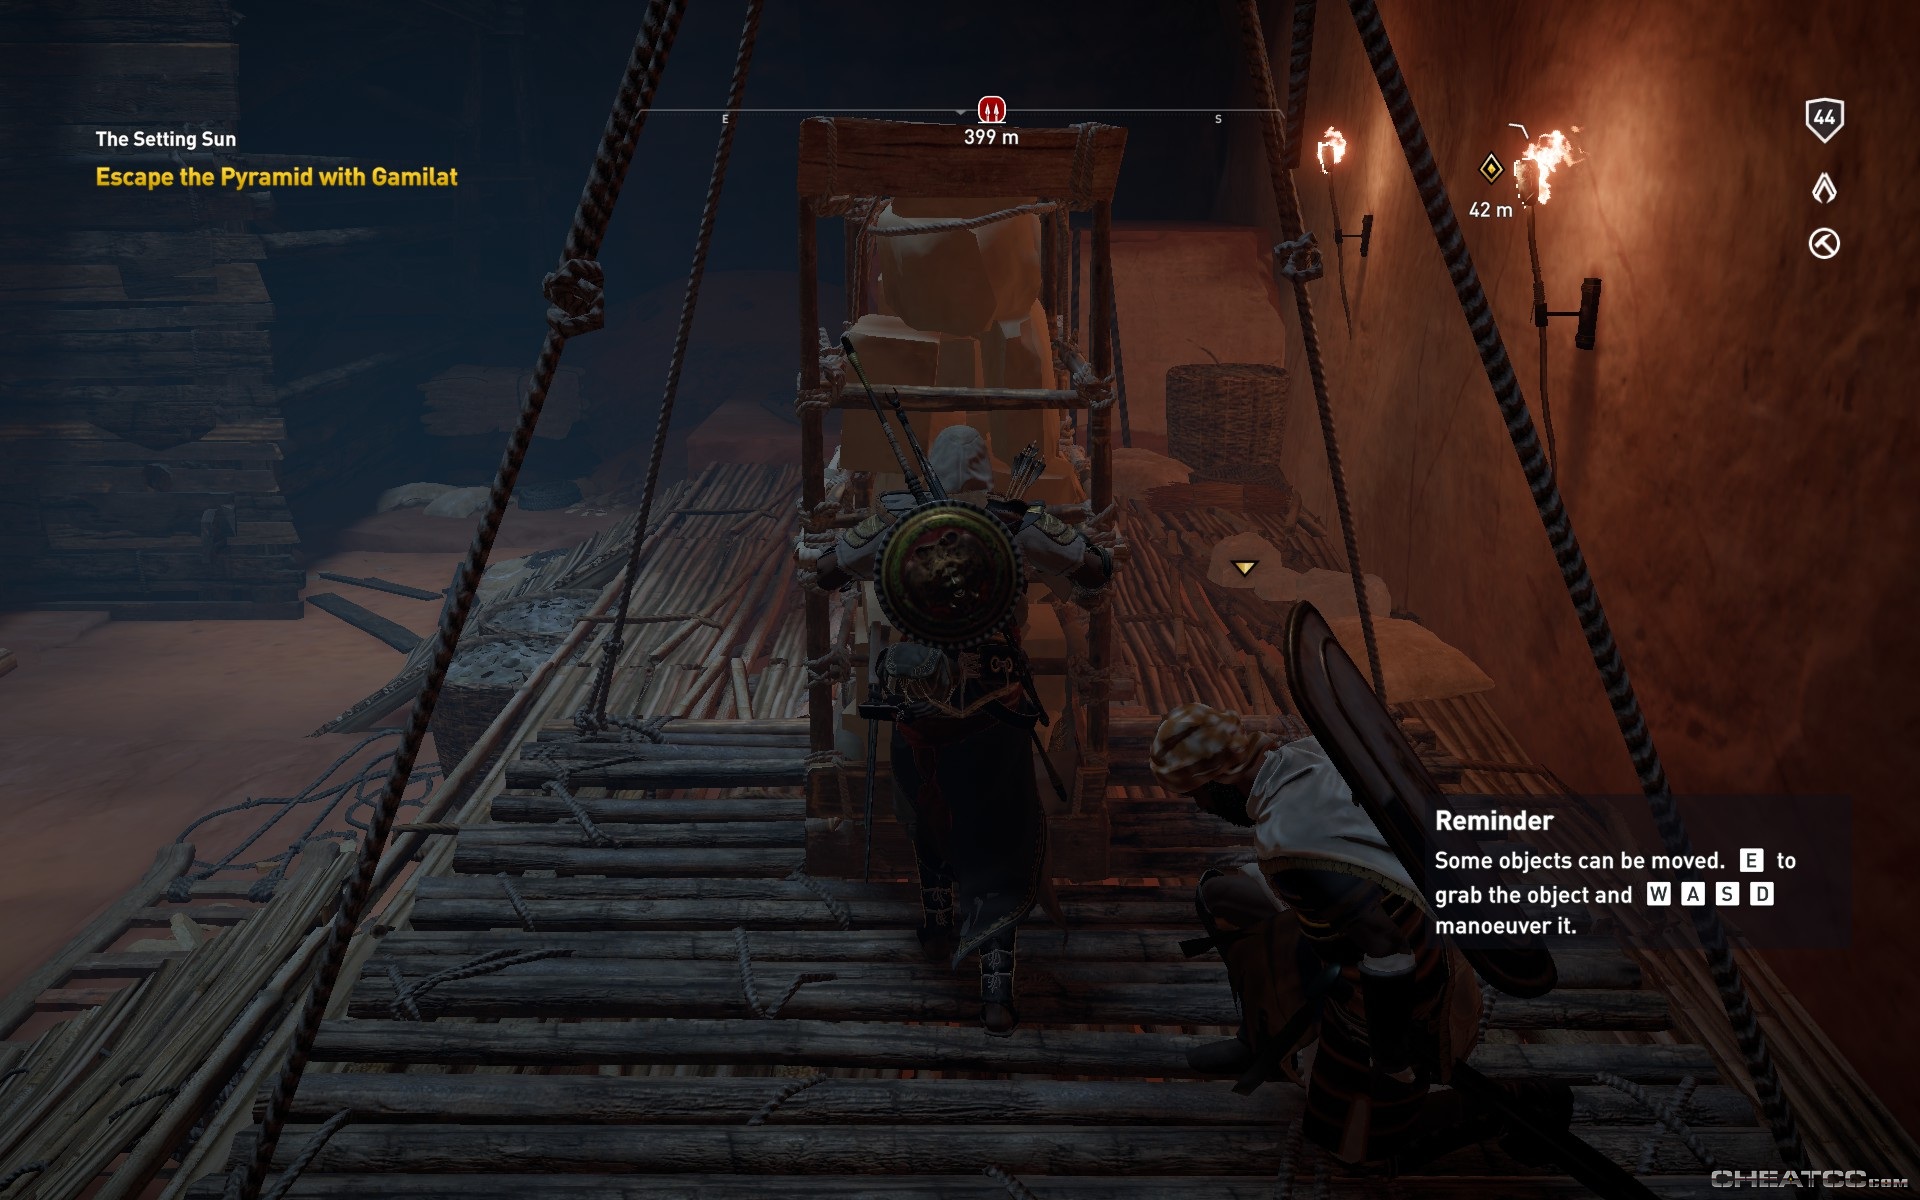
Follow the passage in to a room with a large stone casket, where Gamilat will, in cutscene, get himself dropped down a giant pit.
Before following him, you may want to break though the wooden panel in the north wall- it'll lead to a treasure room behind a breakable wall. Nothing unique, and you can always come back for it later, but as long as you're here…
When ready, drop through the hole Gamilat made to join him in an underground grotto.
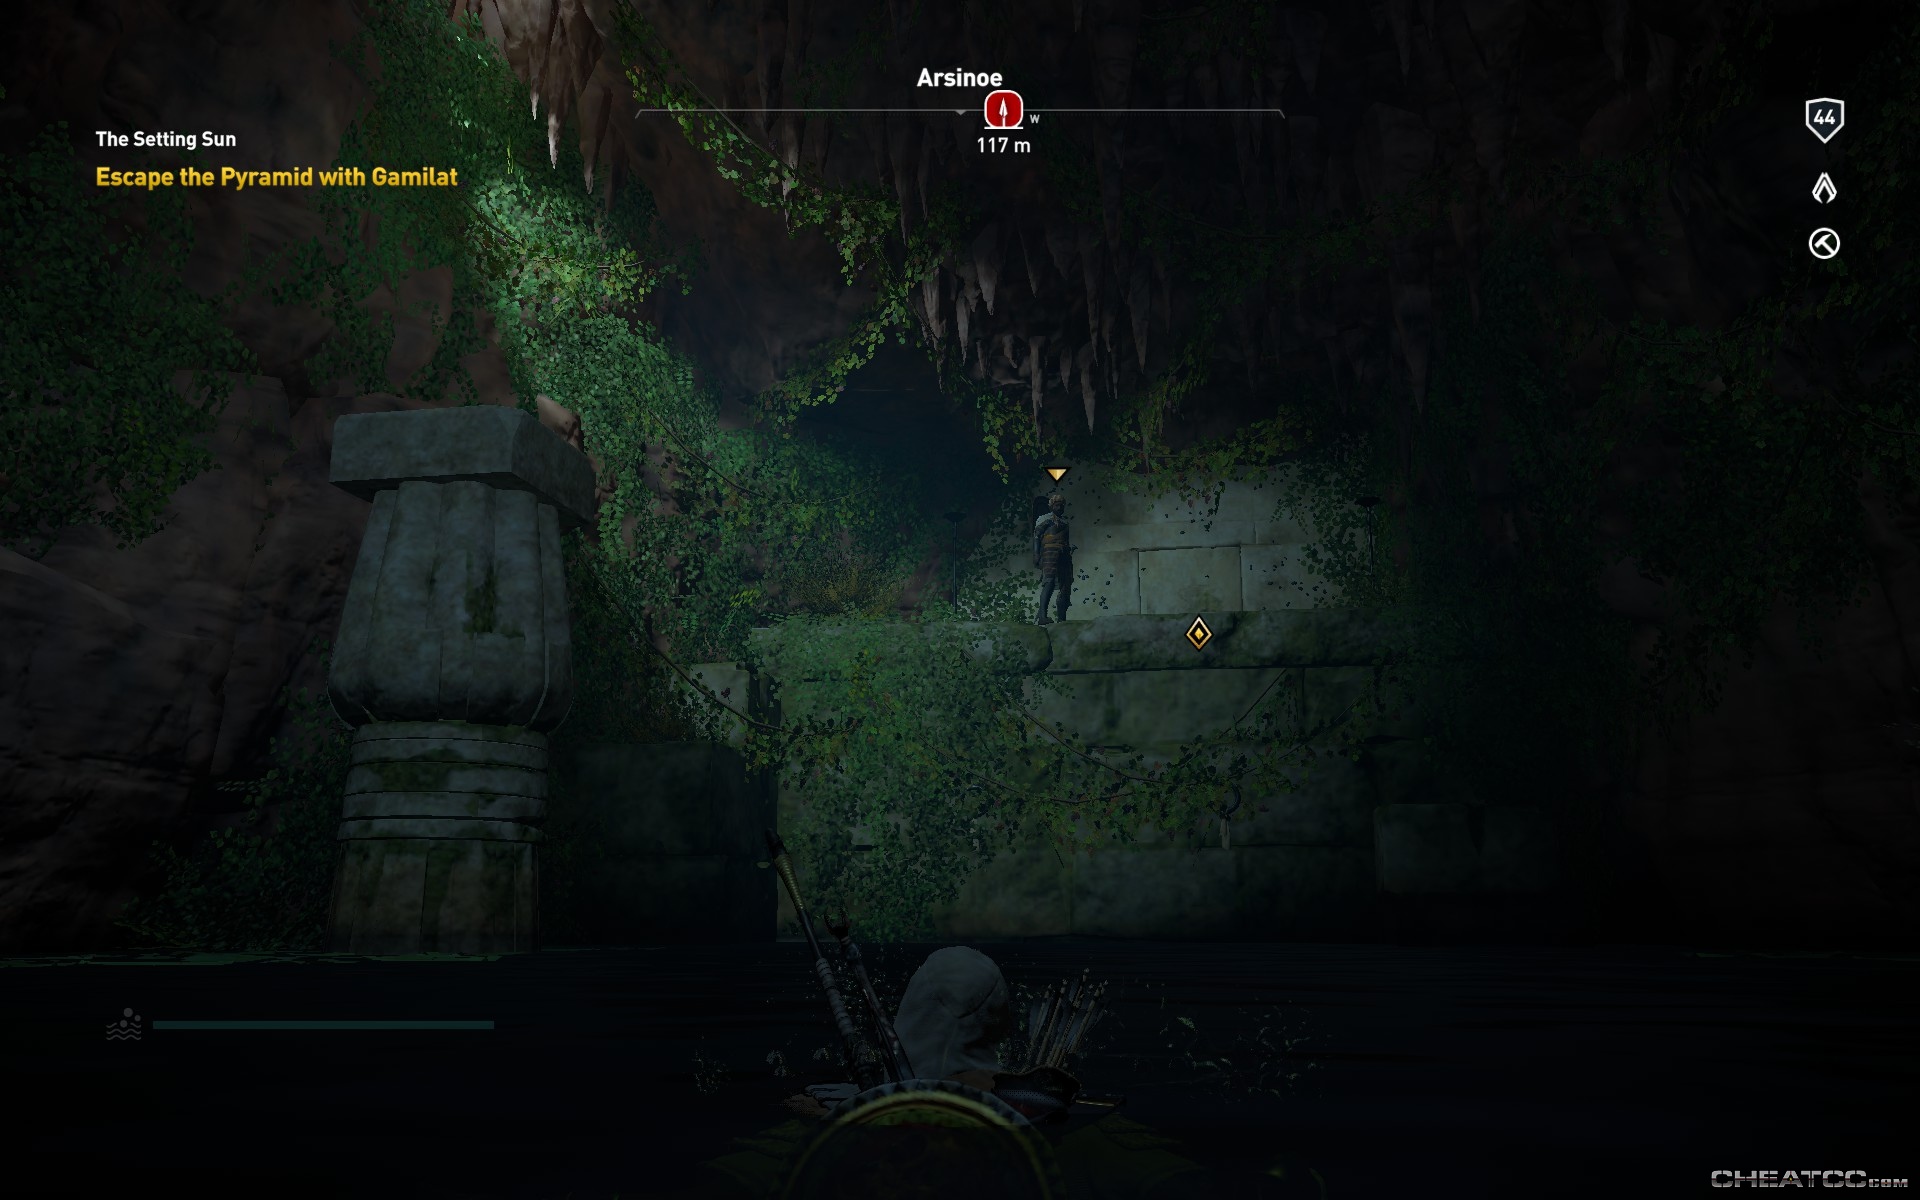
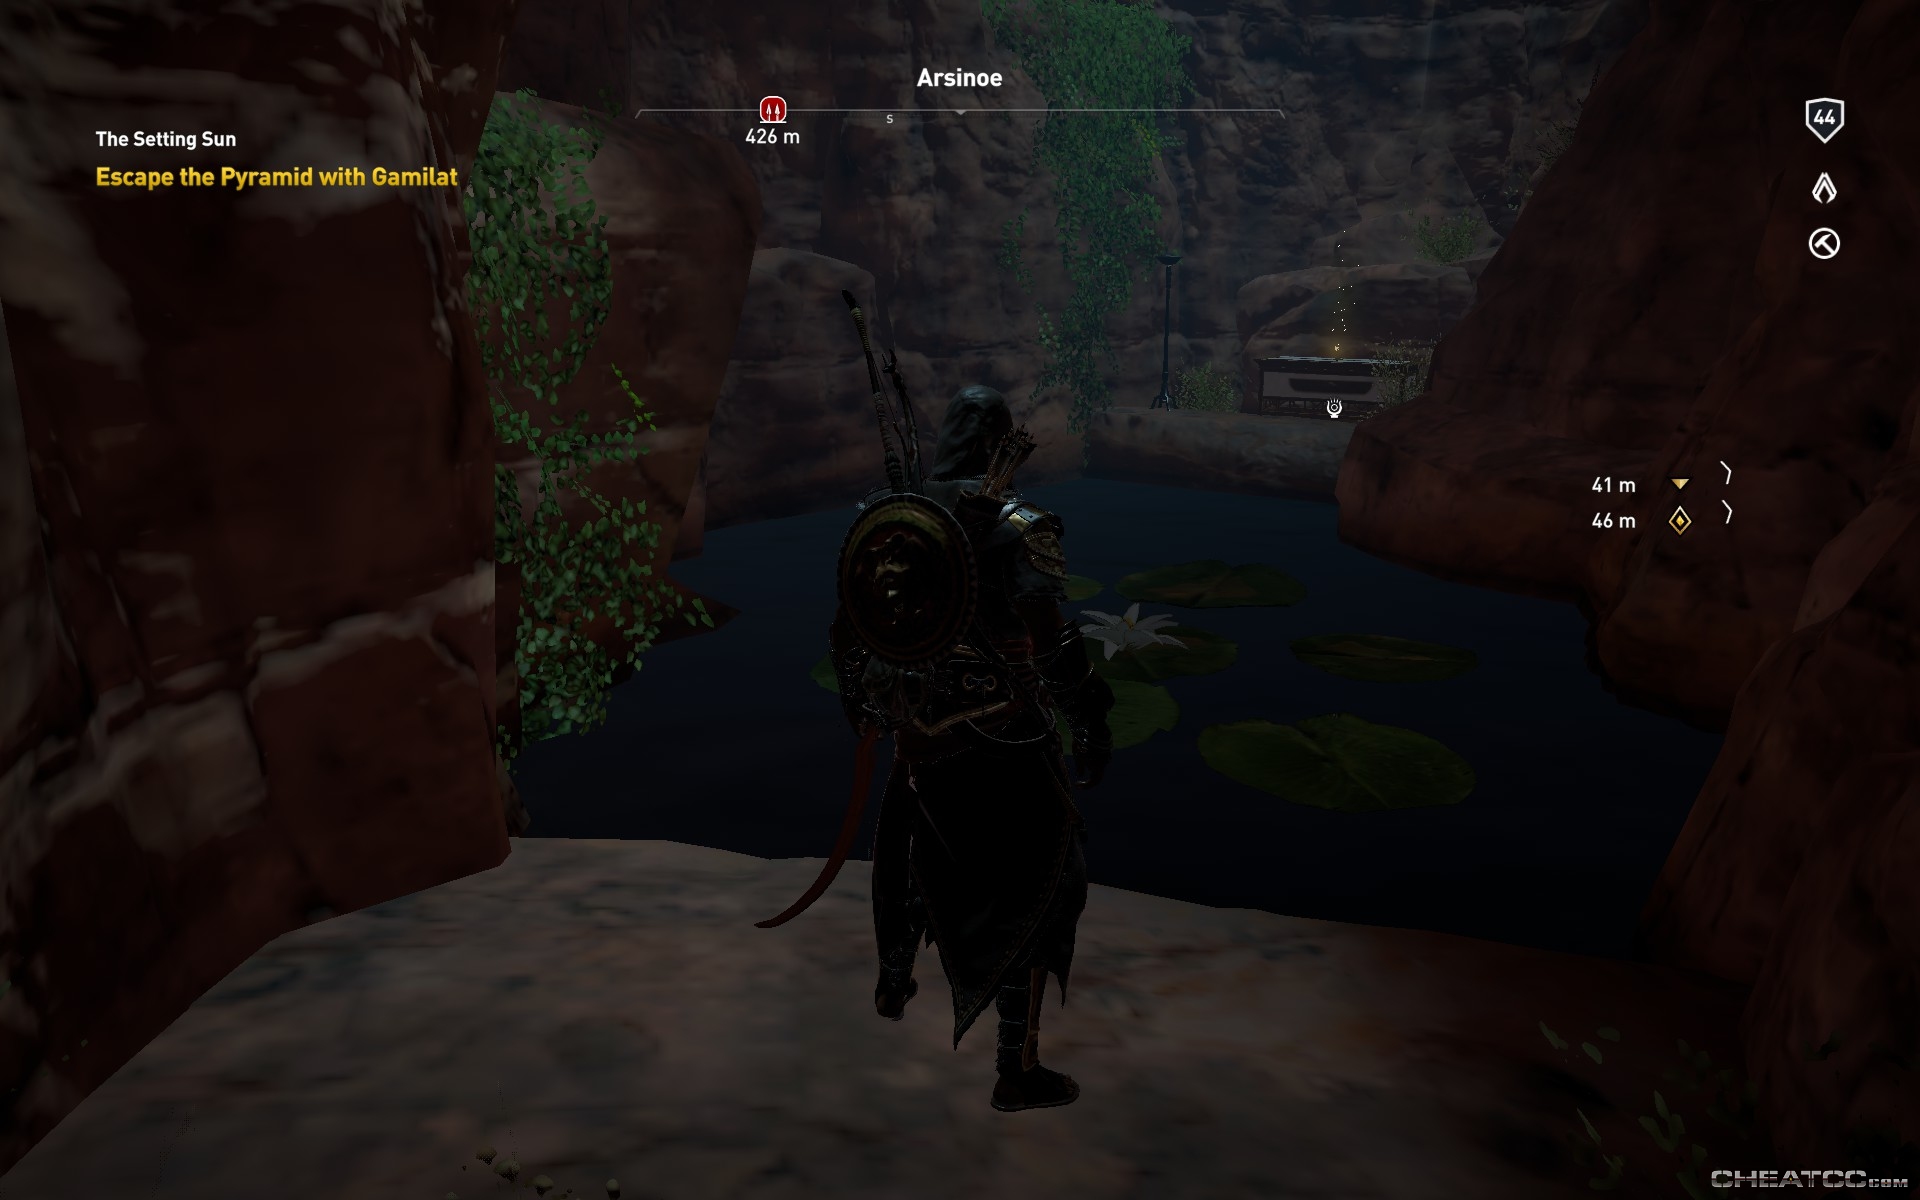
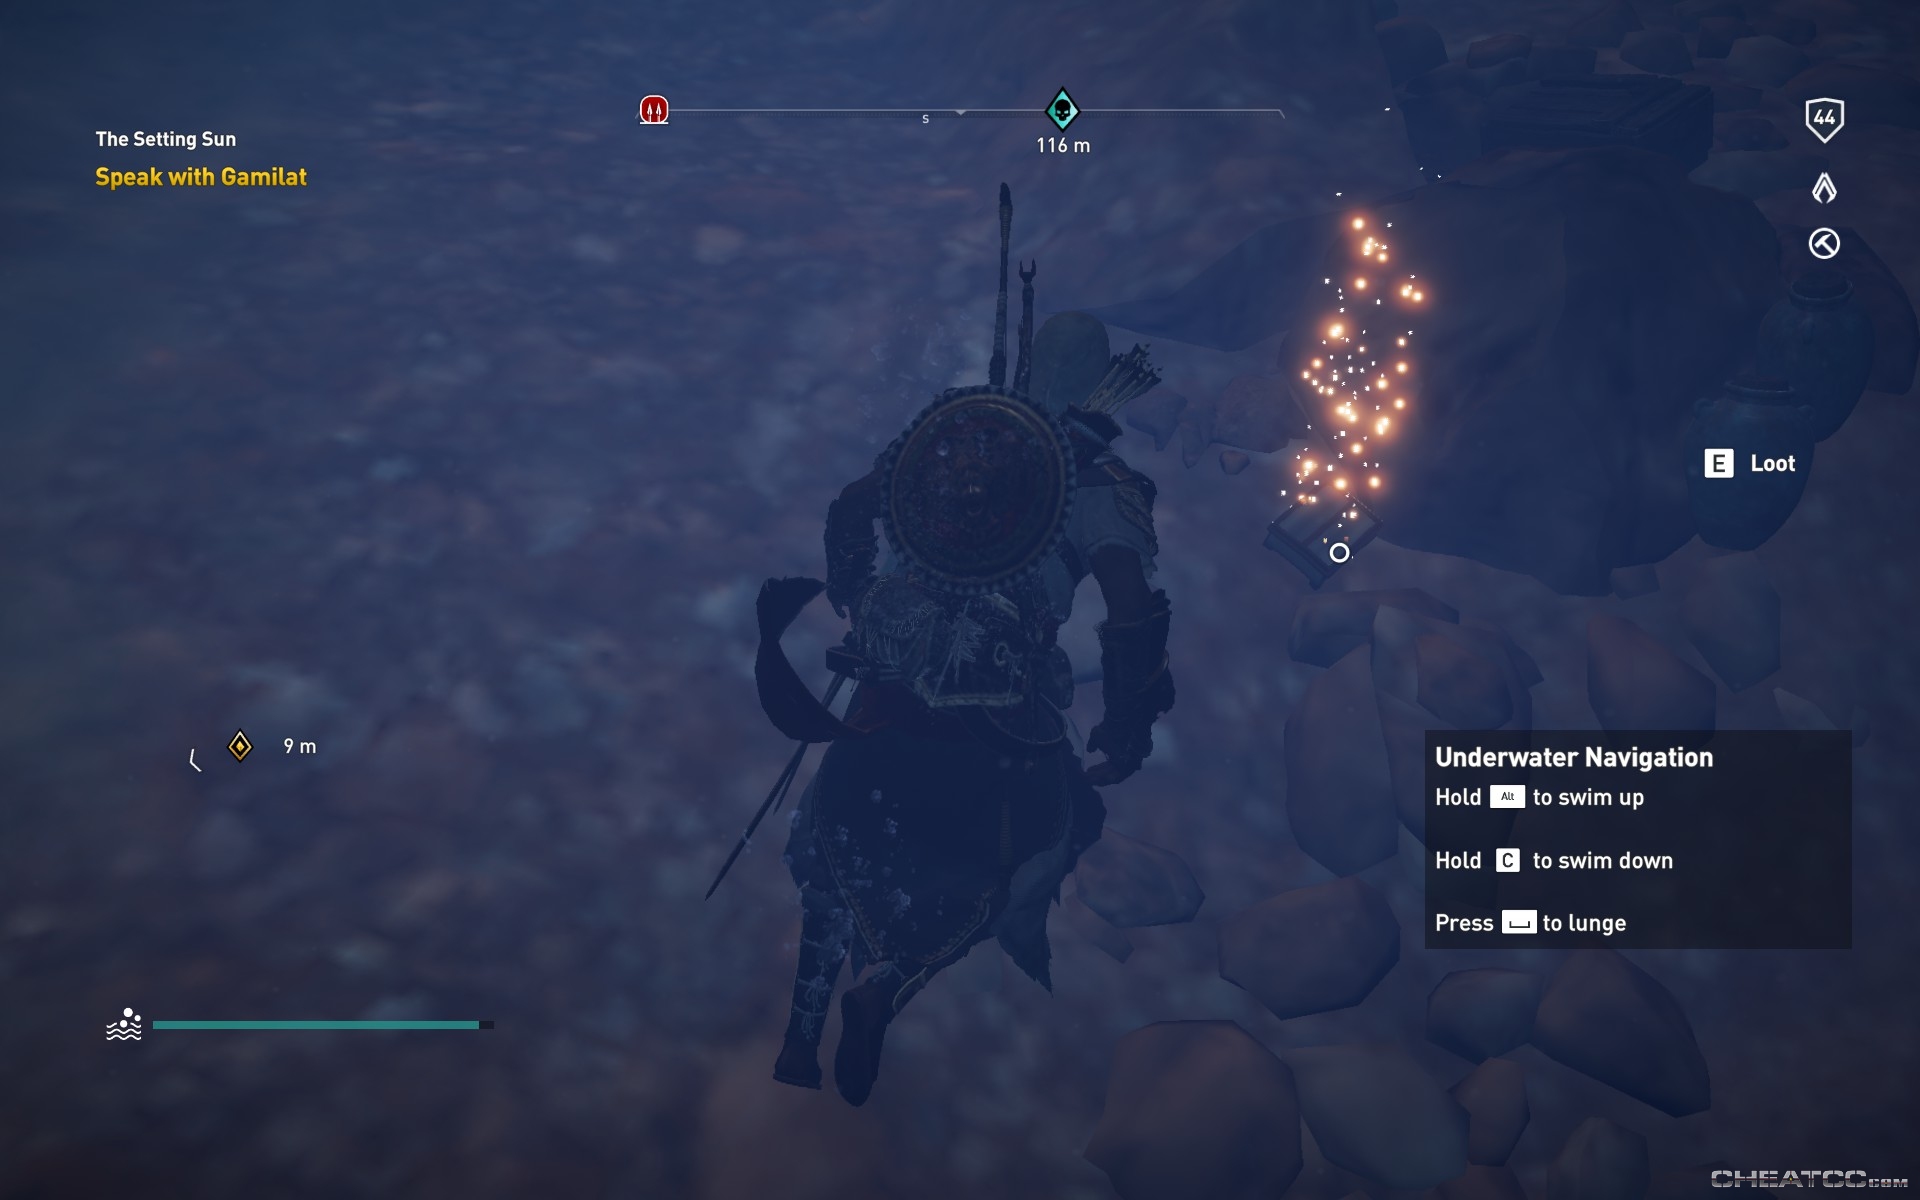
He advises you search for treasure, and you can if you want- there are a number of lootable items below the water, and an actual (though uncounted) treasure to the south. You can reach it by swimming thtrough an underwater tunnel, or climbing up the ledge on the south wall.
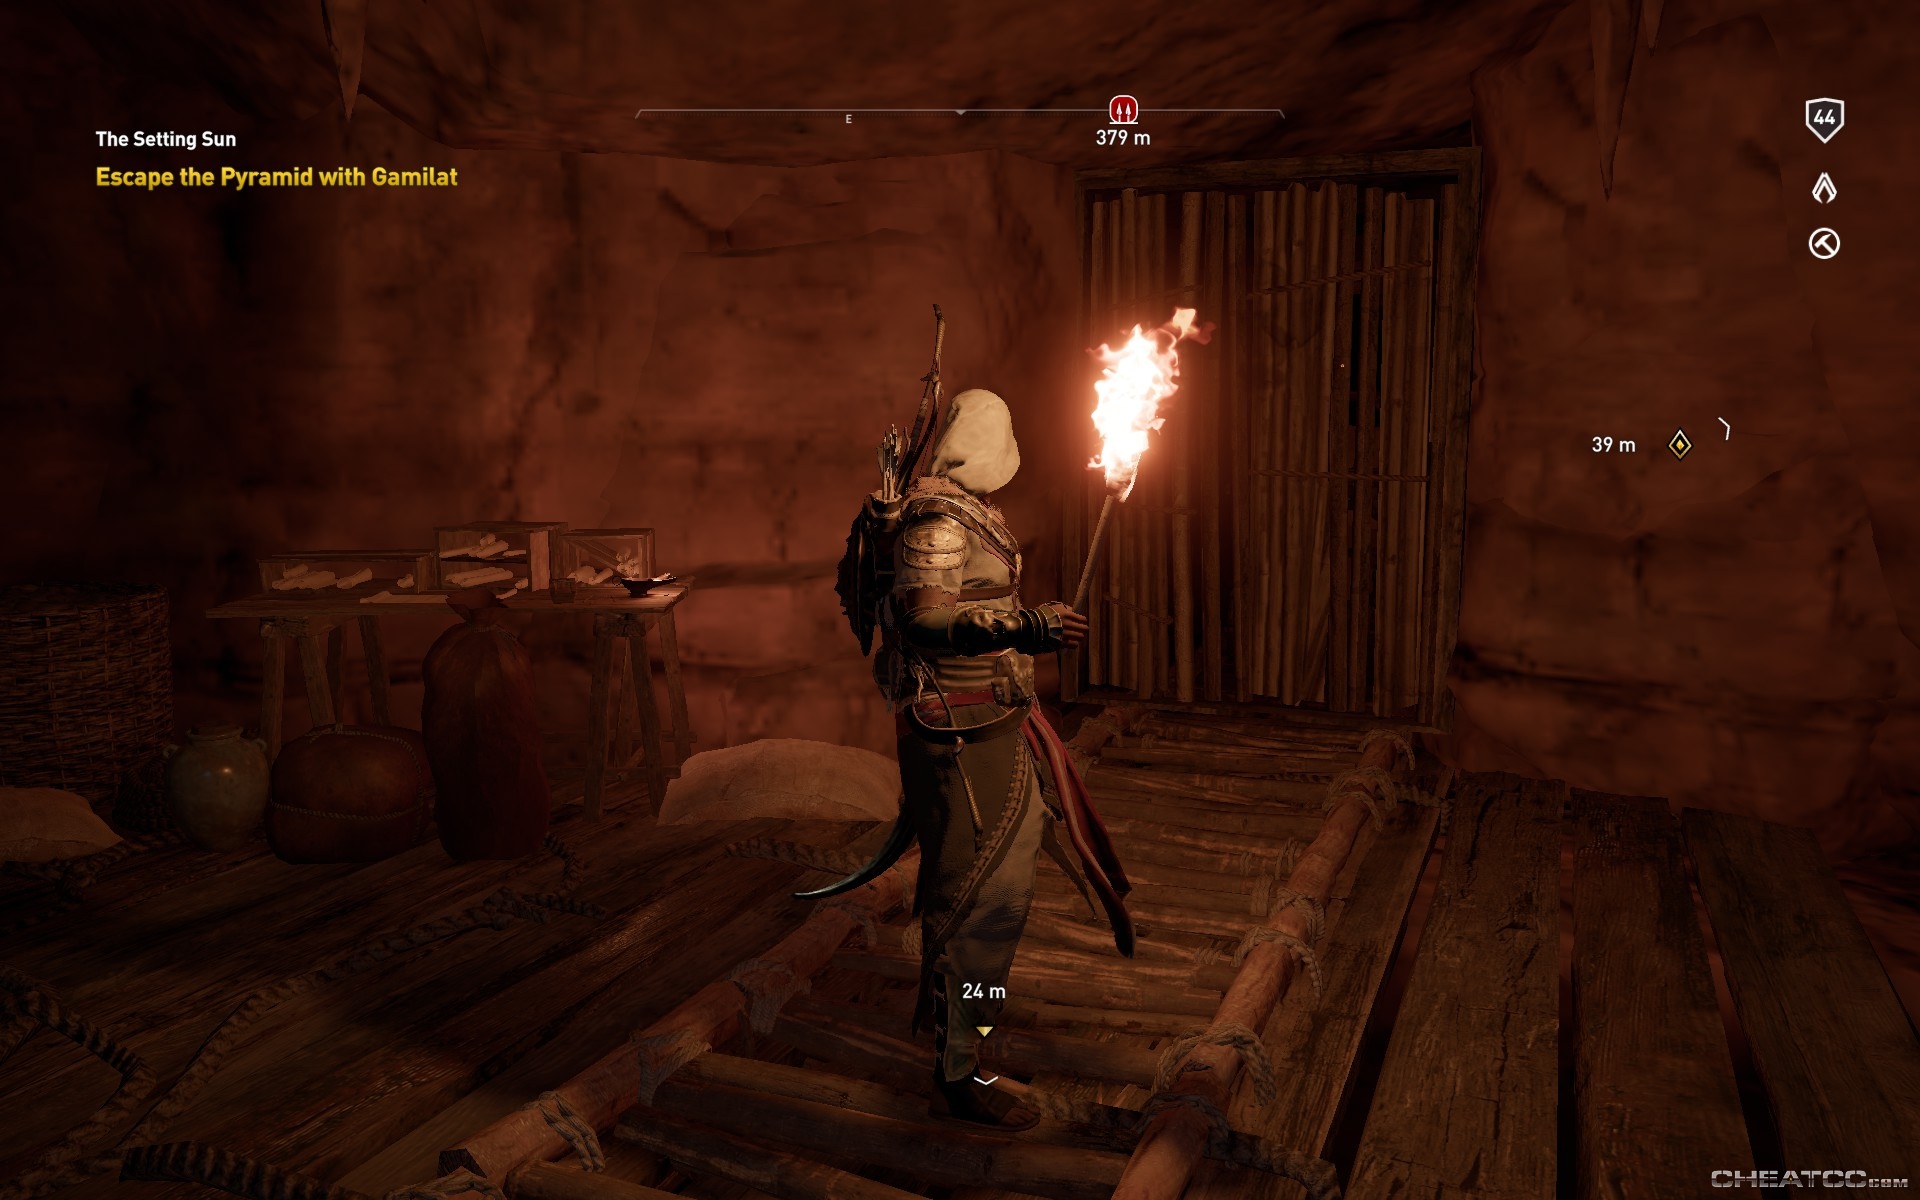
When ready, join Gamilat and press through the scarab wall.

This next chamber contains the first of two elevator puzzles.
The first step here is to stand or hang from the upper platform. This will lower it enough for Gamilat to get on it.

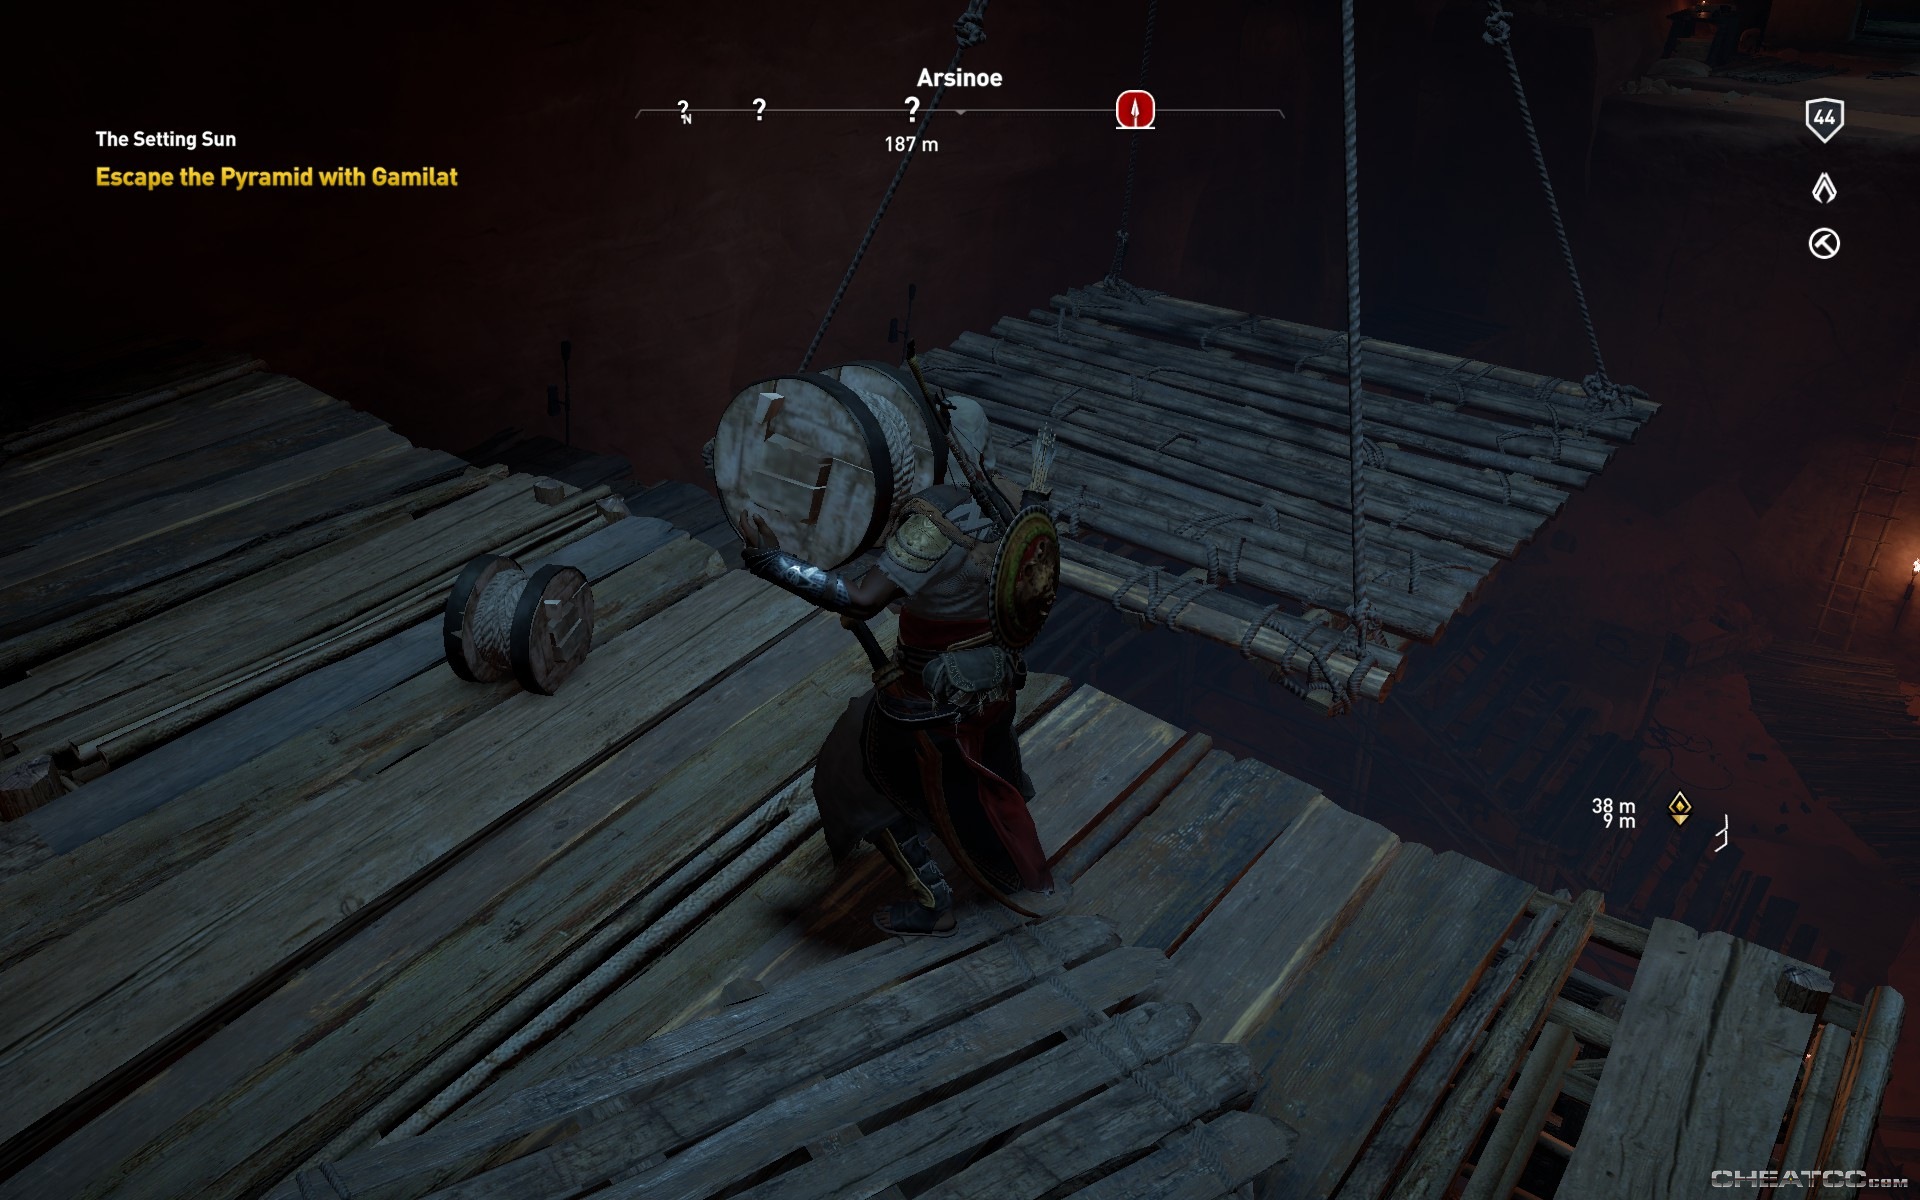
Now carry rope spindles to the lower platform. You'll need three, plus Bayek's own body weight, but there are more than three spindles in the room, and your Animus scan will hilight them for you.
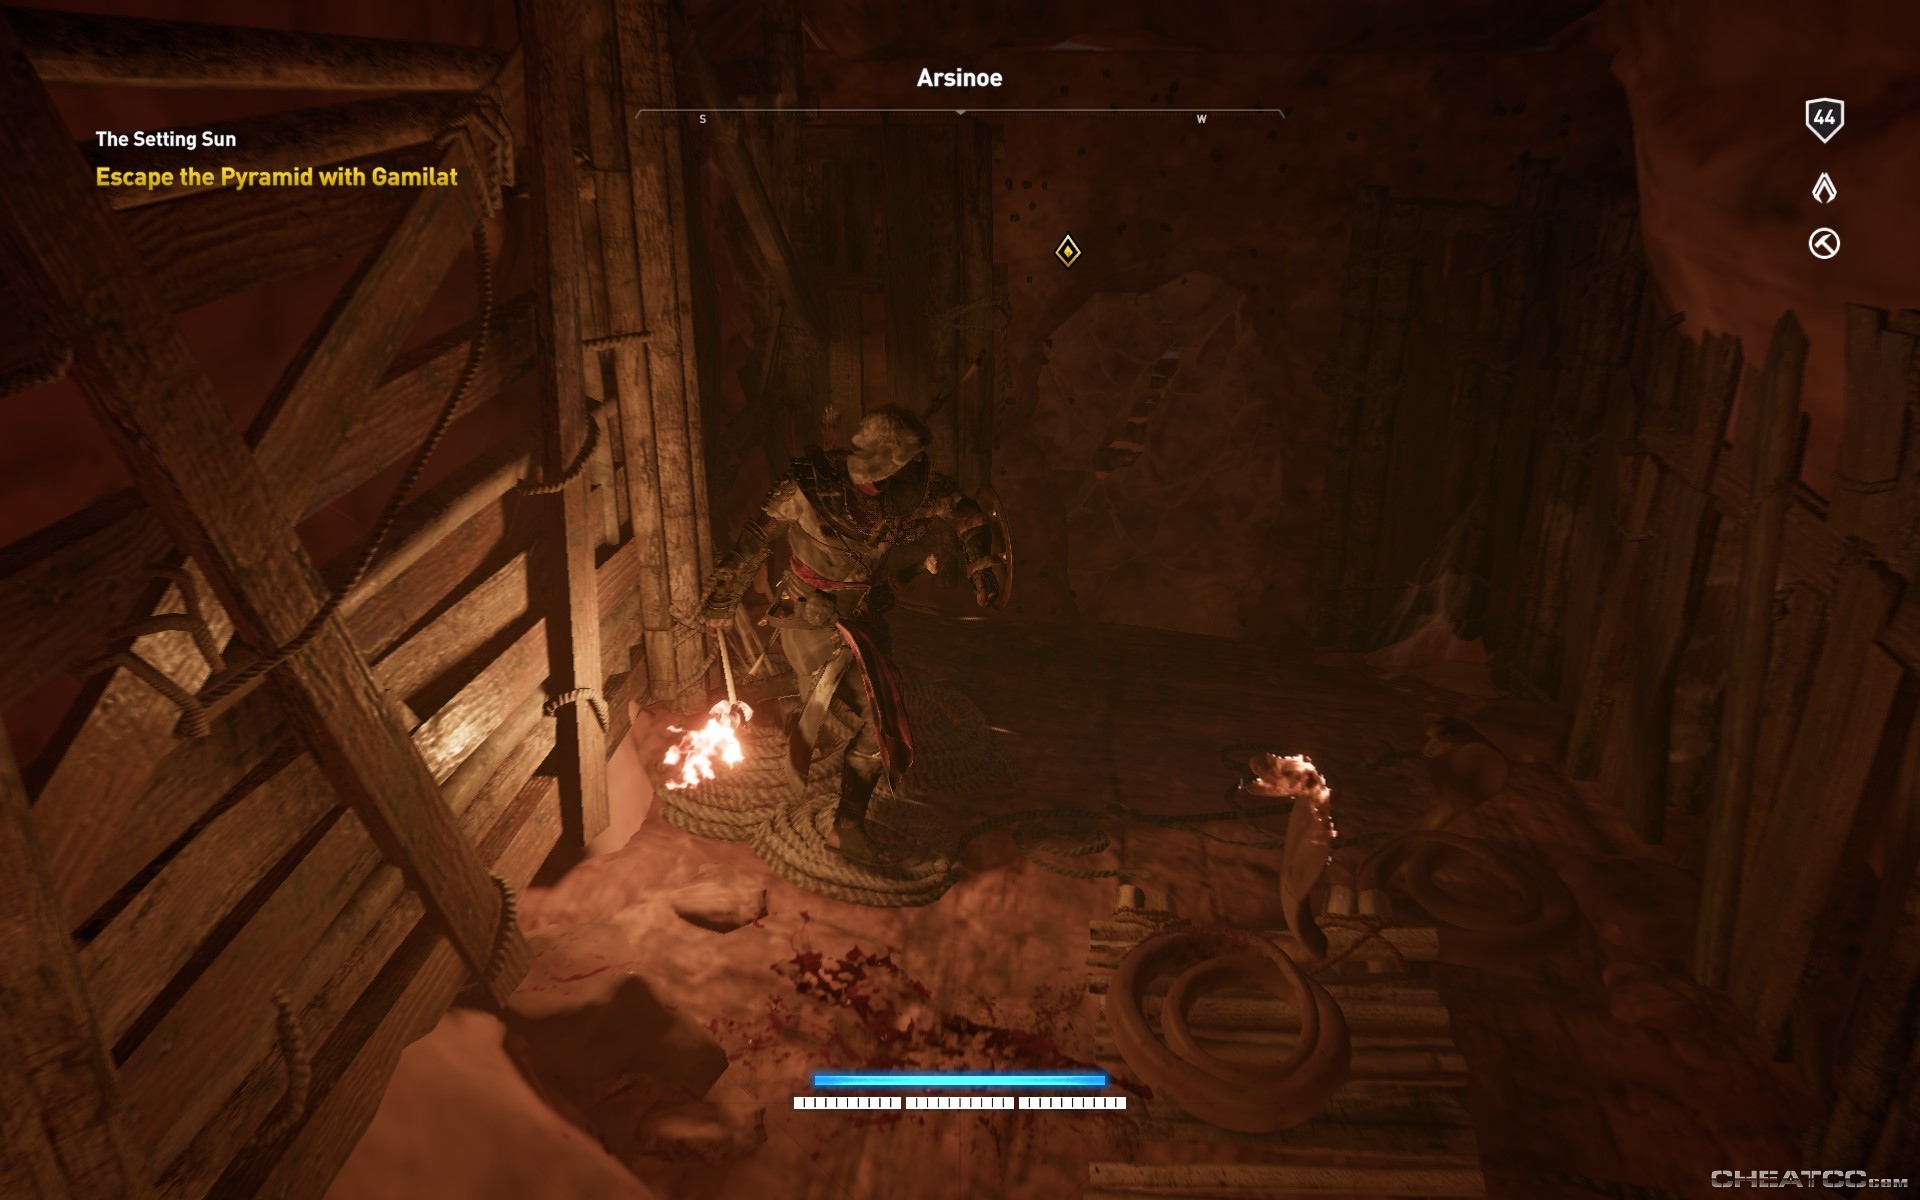
When Gamilat has reached the top (and he'll yell when he has) follow him up, then along the passage. Watch for snakes.
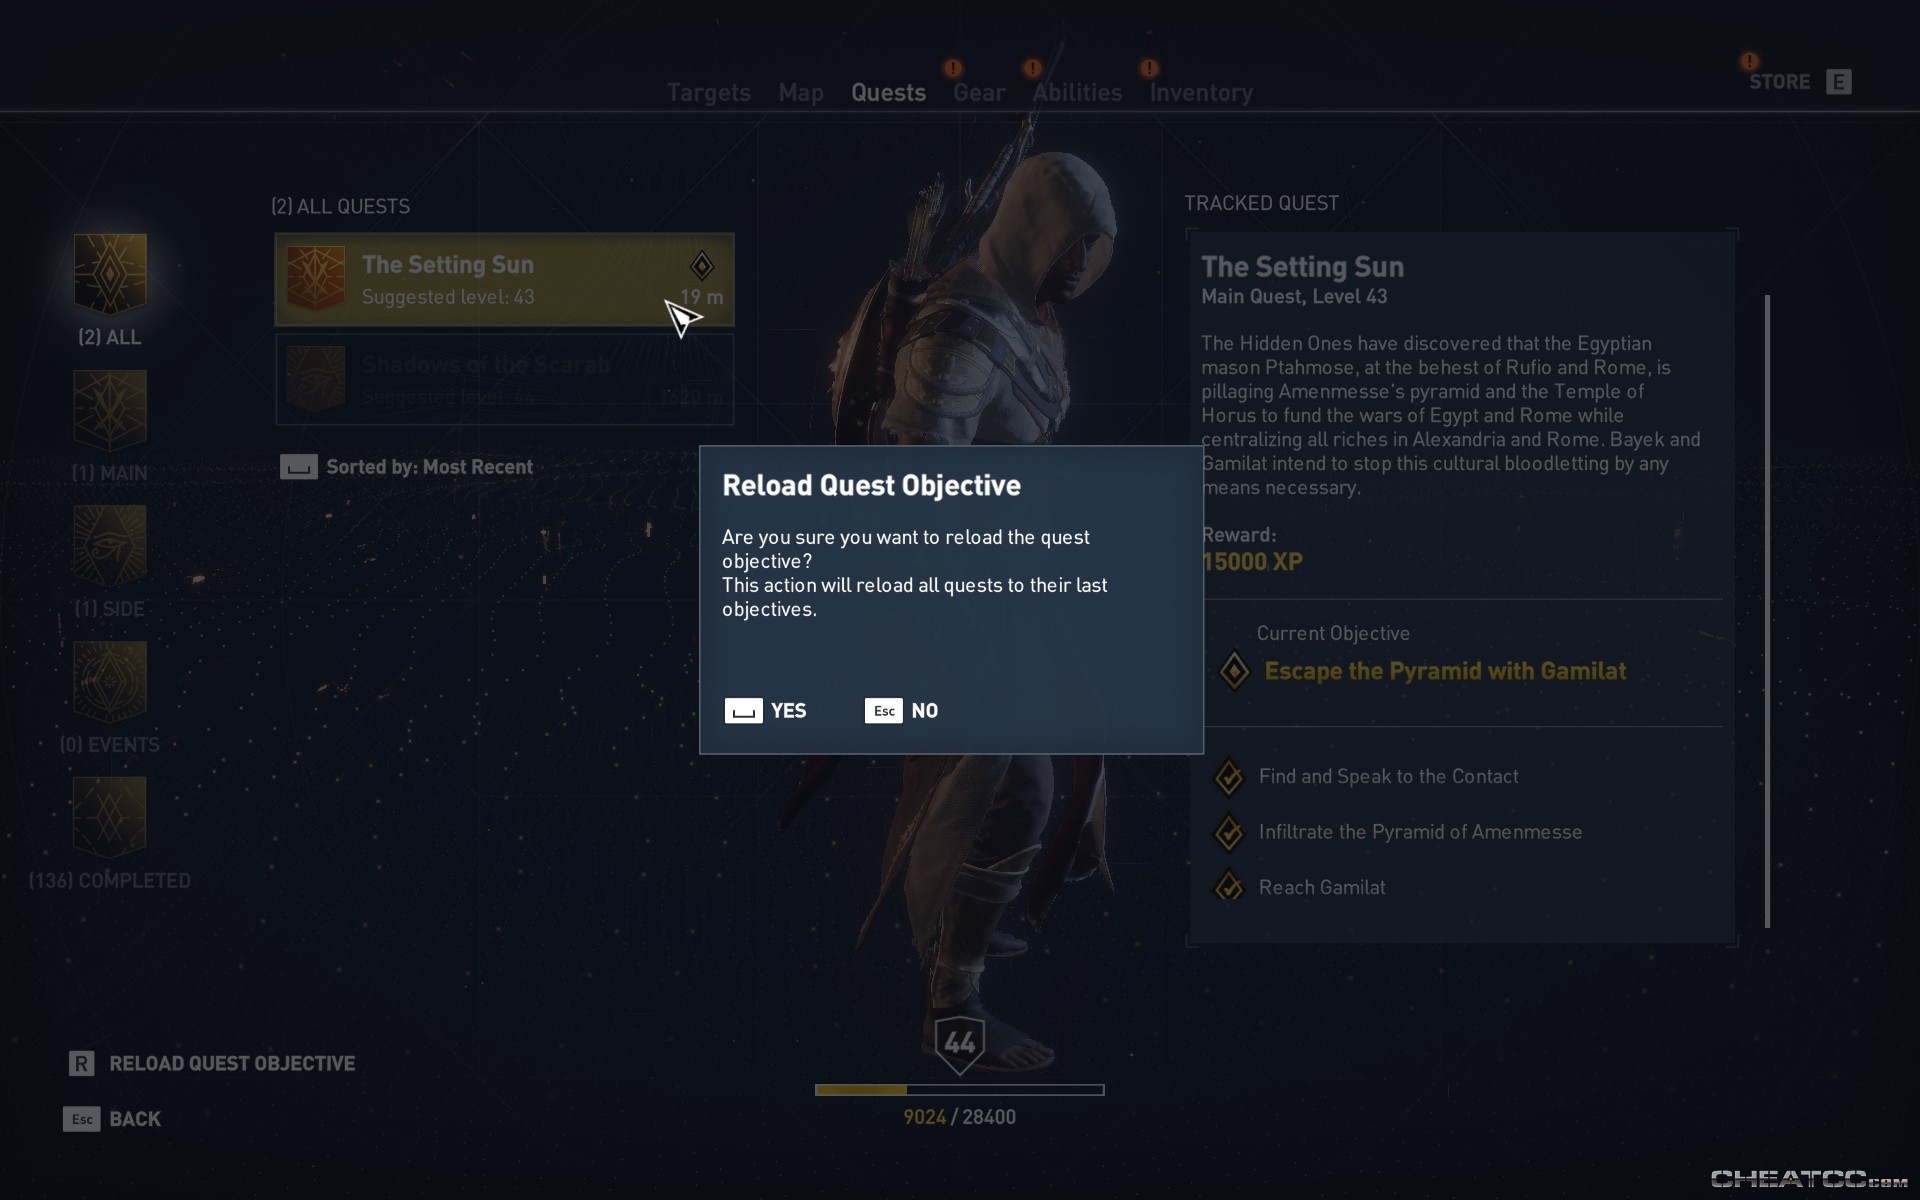
Smash through a breakable wall into the second elevator puzzle. This one is a little glitched, however. When you enter the room, Gamilar will make straight for an elevator platform. There *should* be a giant pushable weigth right next to him. If there isn't, the game has glitched.
In that case, reload objective via the Quest screen to start the room fresh.
Do this until the giant box of rocks appears on the platform.

Now you can push that weight of the platform to raise it slightly, and lower the upper platform slightly.
Now climb up the central wooden scaffolding (the one now aligned to the upper elevator platform), and smash through the wooden panel at the end of the track there.
Behind it is another (albeit smaller) push-weight. Push it onto the elevator.

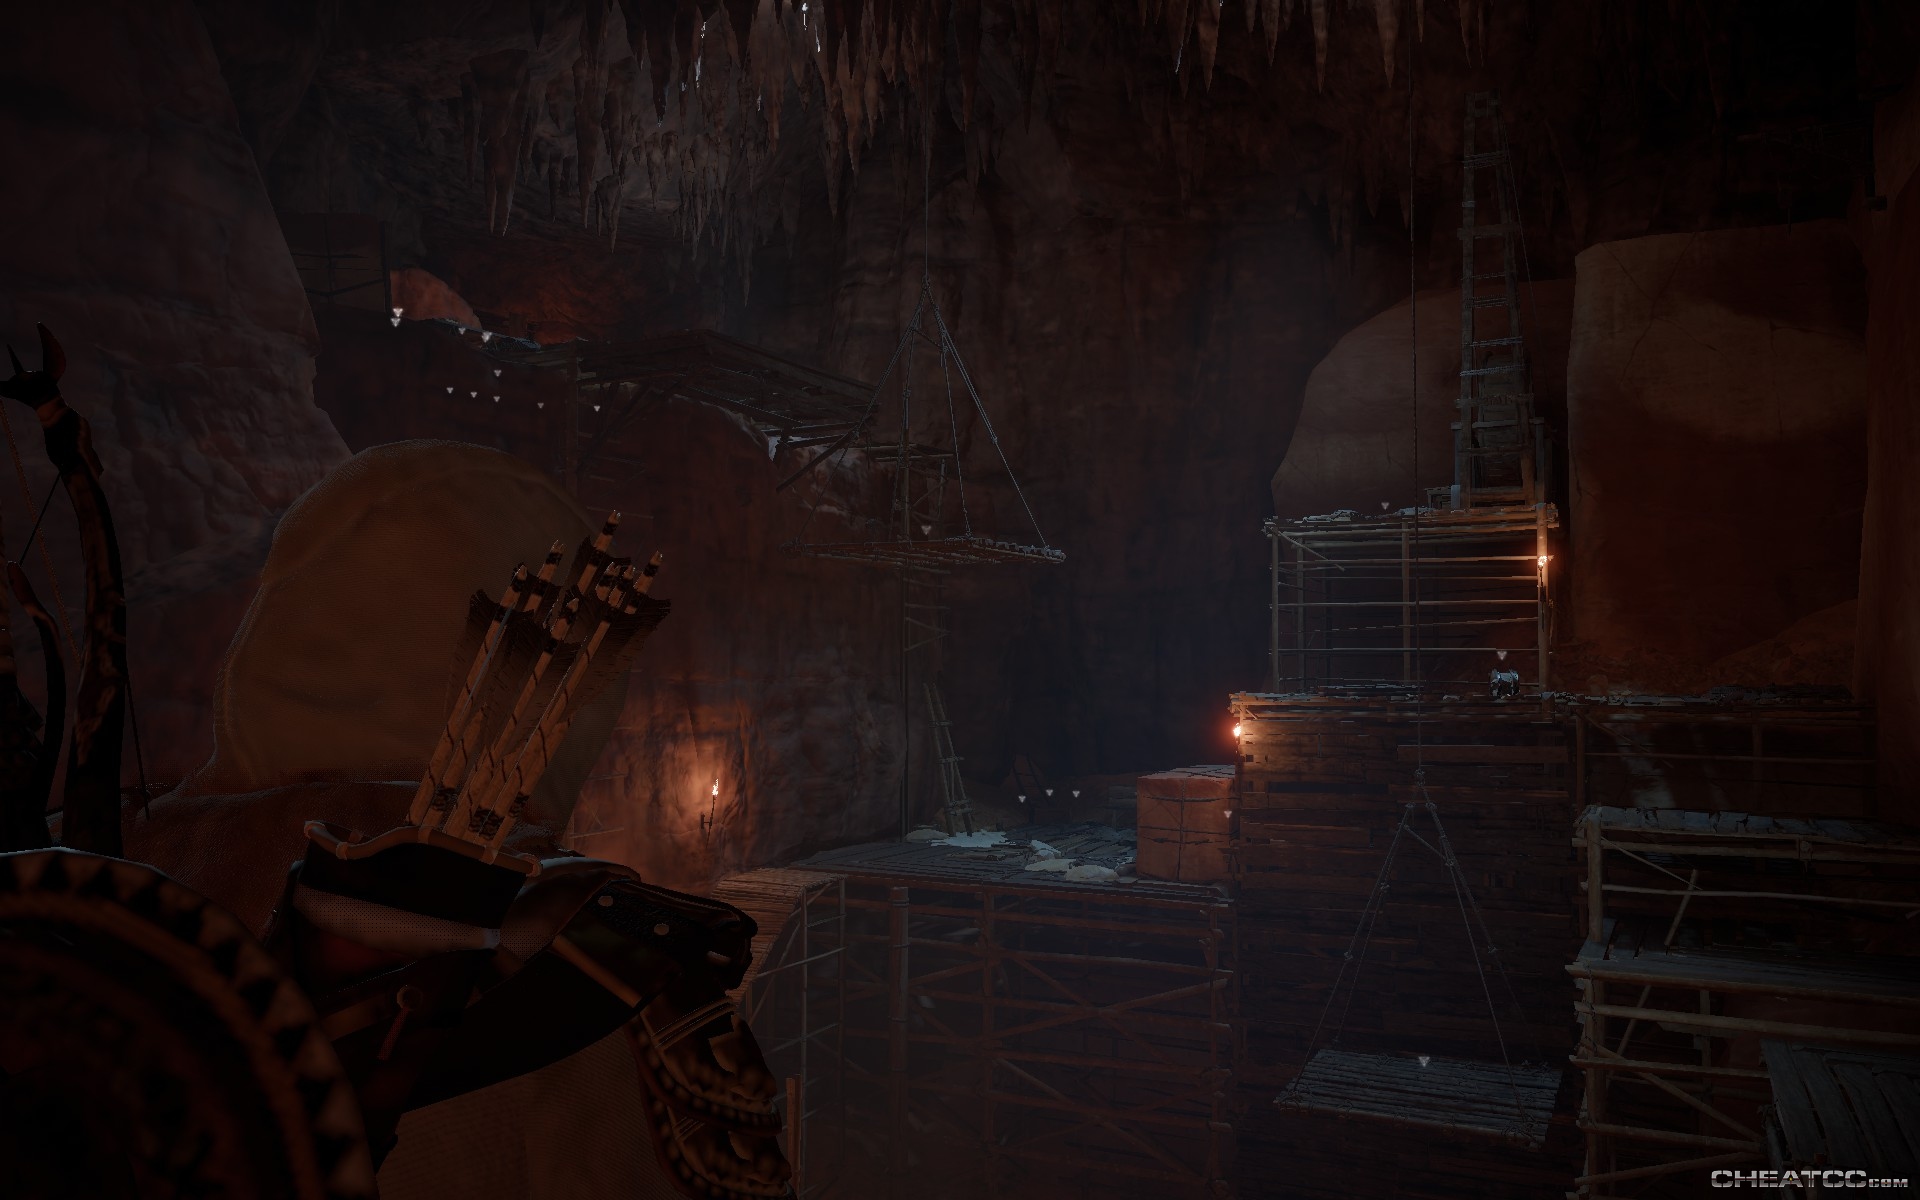
Join Gamilat up top in a scroll-room. This scroll will be important later.

In the meantime, you have a small cavern to clear of bandits. There are several arrow refills here, so a series of headshots is an efficient means of tidying up.
![]()
There are no special objective items in the camp, though there are some carbon crystal in the water (as a note on an upper platform indicates), as well are more mundane loot.
When you're done, talk to Gamilat, who will give you the Scroll of Thoth, which starts the Shards from a Star side quest.

Gamilat will take his leave, but you still have a stonemason to stonemurder. Take a boat out of the cave, and follow your marker north to the Vilicus Castra.
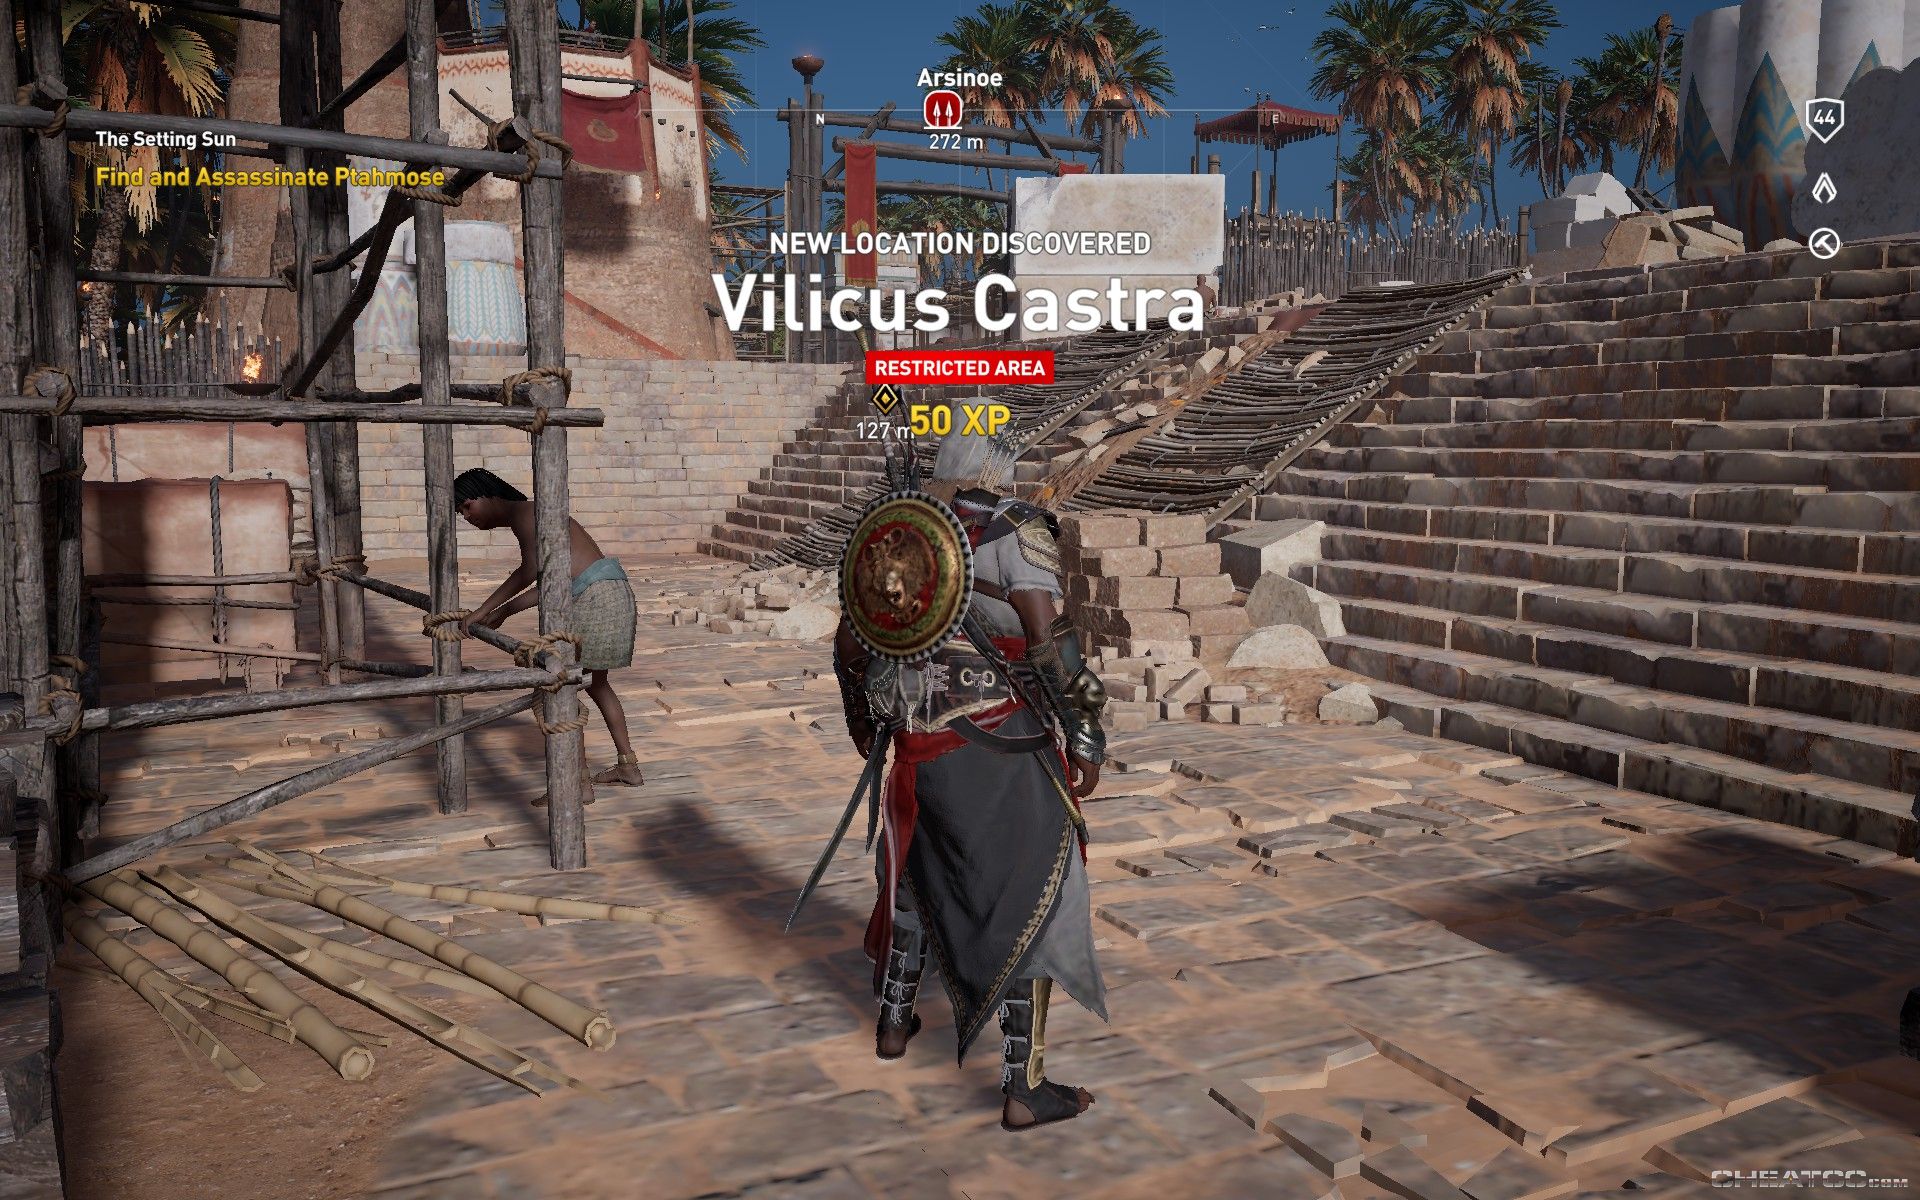
The open plan of the fort makes it easy to infiltrate, but the northeast corner is particularly vulnerable.
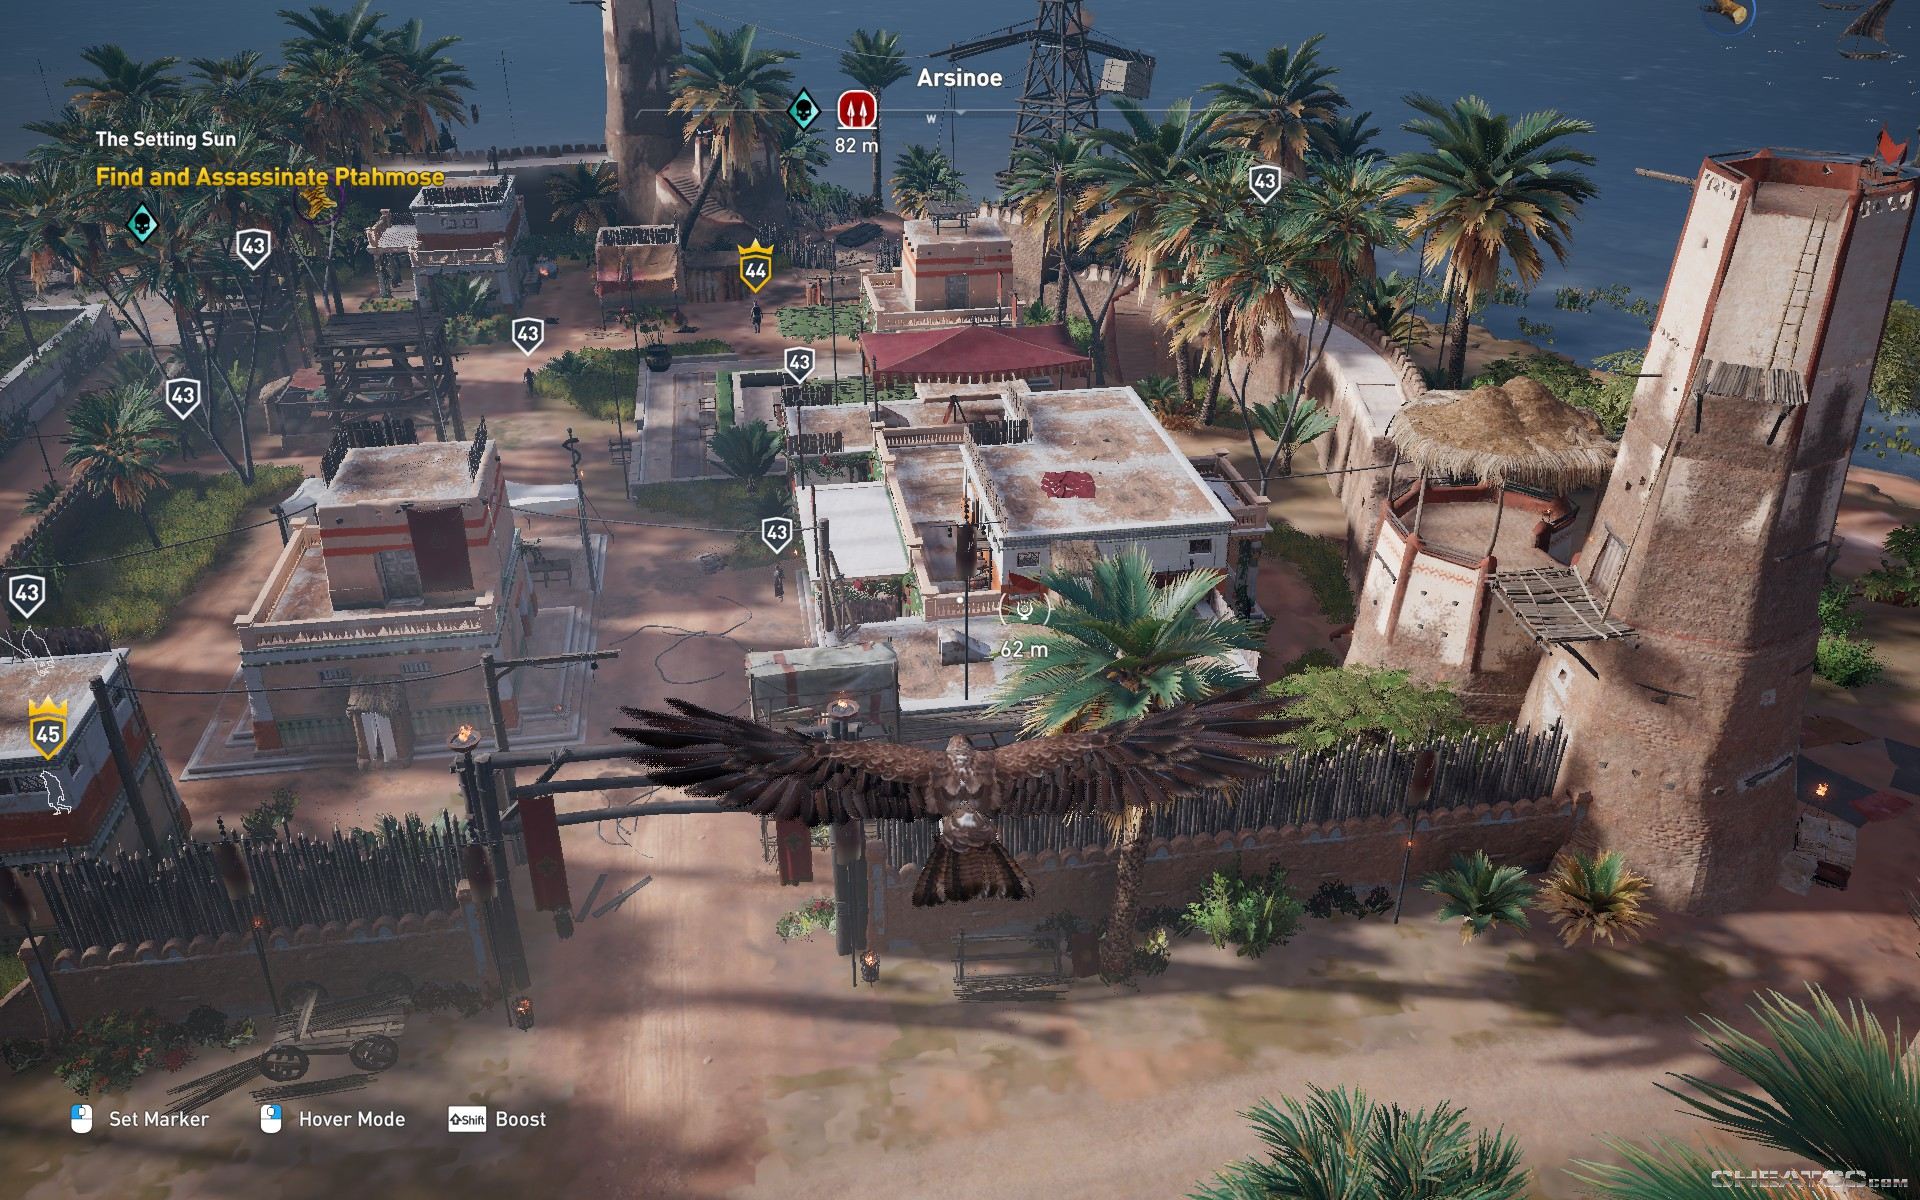
Apart from the easy access to watchtower and rooftops, there's a gap in the wall right where the fort commander goes for his pee breaks.

Assassinate him first, then sneak or snipe anyone in a watchtower.

This should give you some room to sneak or snipe the base captain, in the northwest corner of the fort.

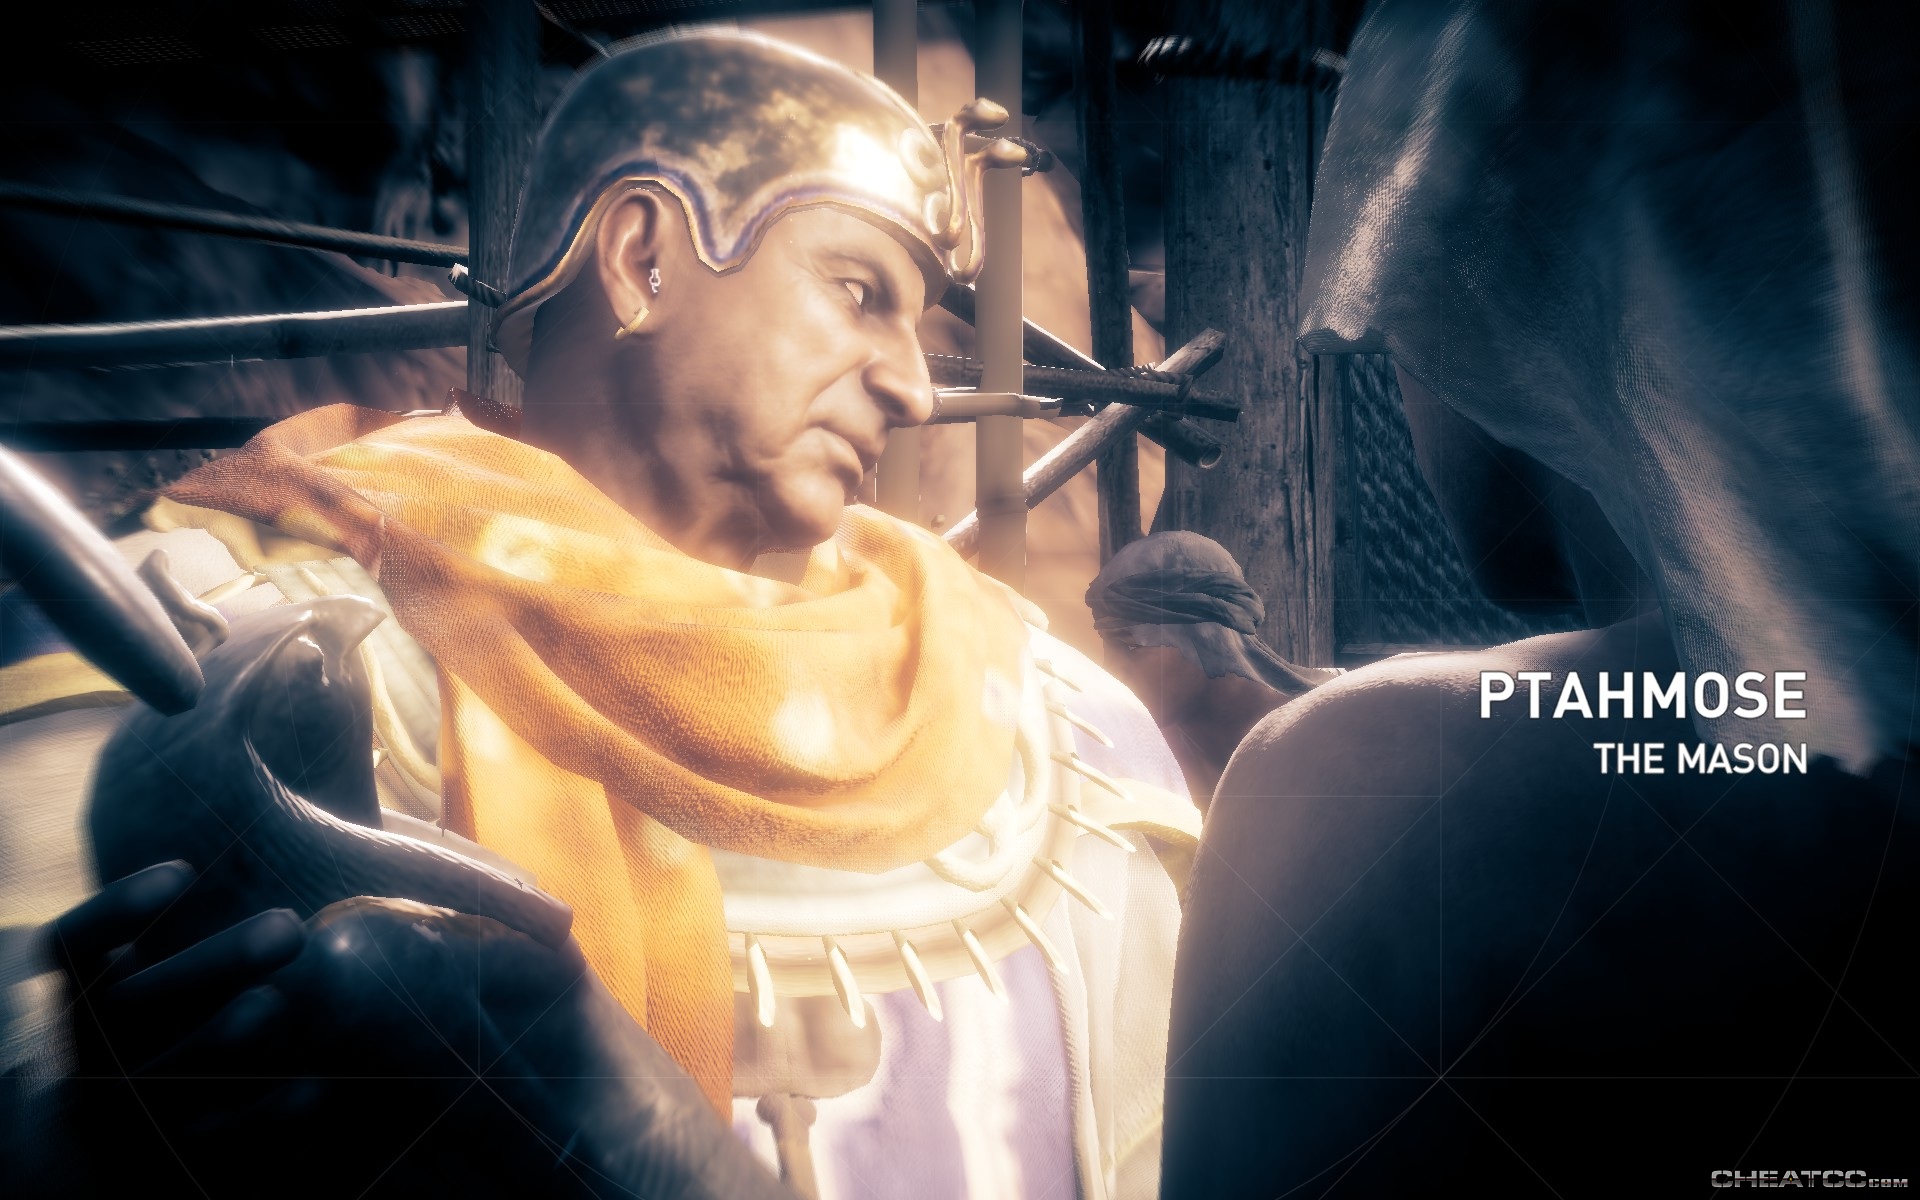
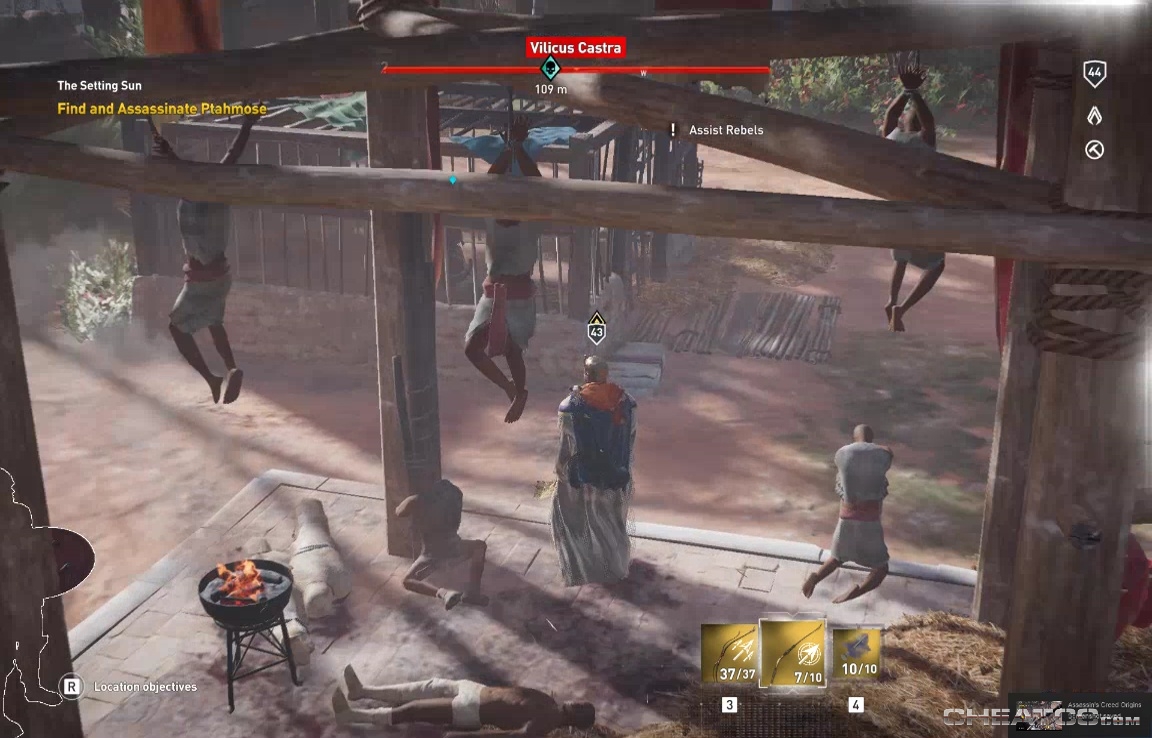
Which leaves you with Ptahmose himself, surrounded by guards, and beating up prisoners in the northern courtyard.

Guard placement makes pure stealth tricky (though you can pull it with some chain assasinations). Sniping works well (it always does), and the entire platform is covered with oilj ars and flammable hay, though it's not clear whether this harms the prisoners or not (no matter what you do, they all seem unrescuable by the time you reach them).
Regardless of how you kill the mason, confirming the kill ends the mission.
