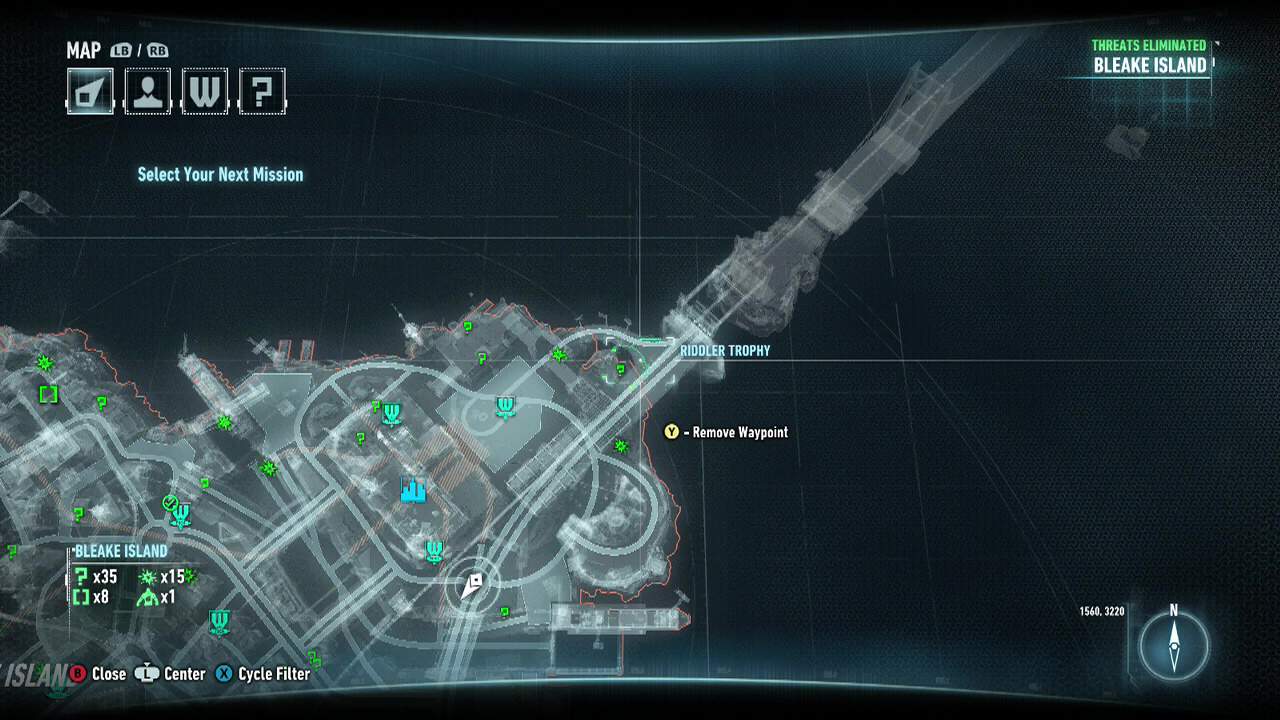
COLLECTIBLES: Bleake Island
Riddle: Equipment needed – Method

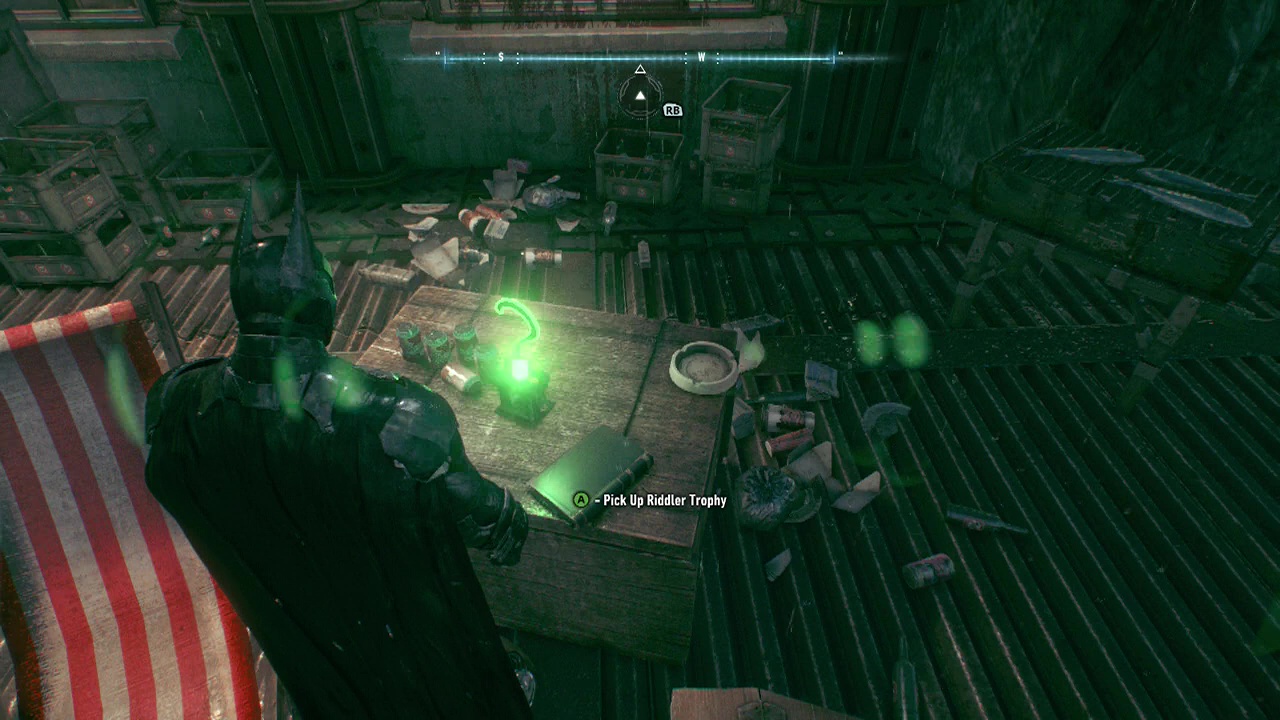
Riddler Trophy 1: Head to the location and pick up the trophy.
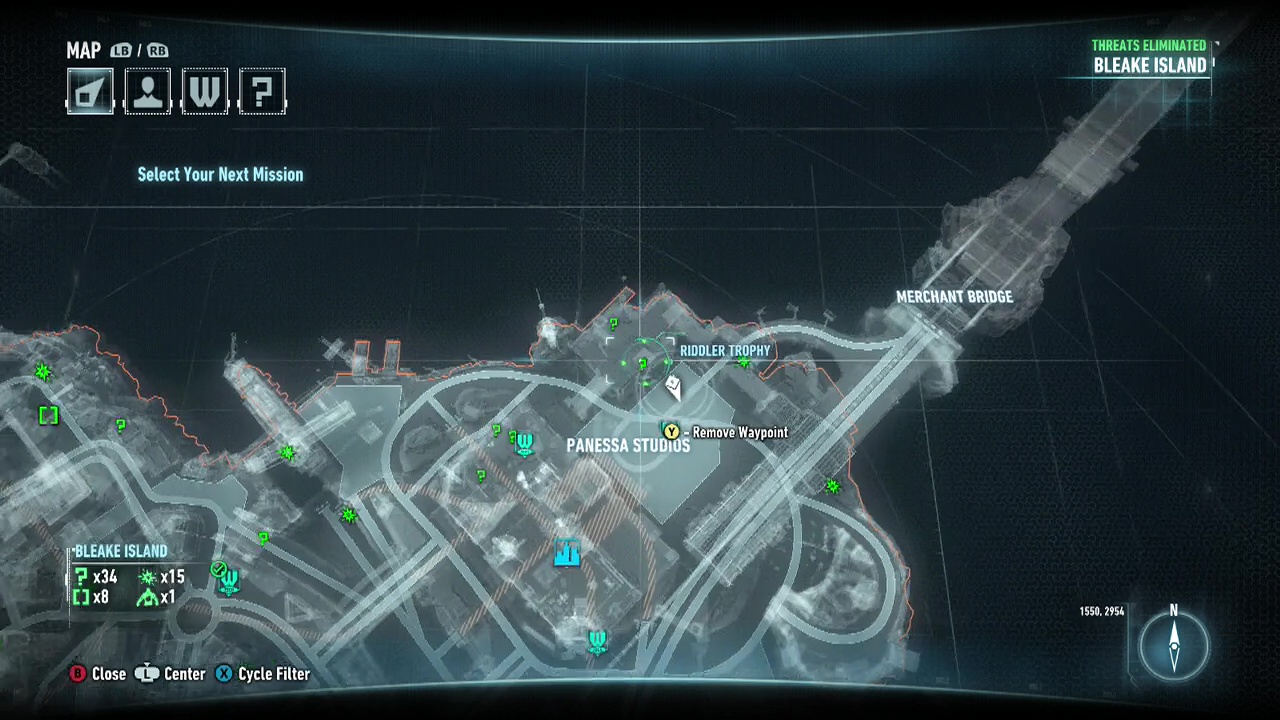
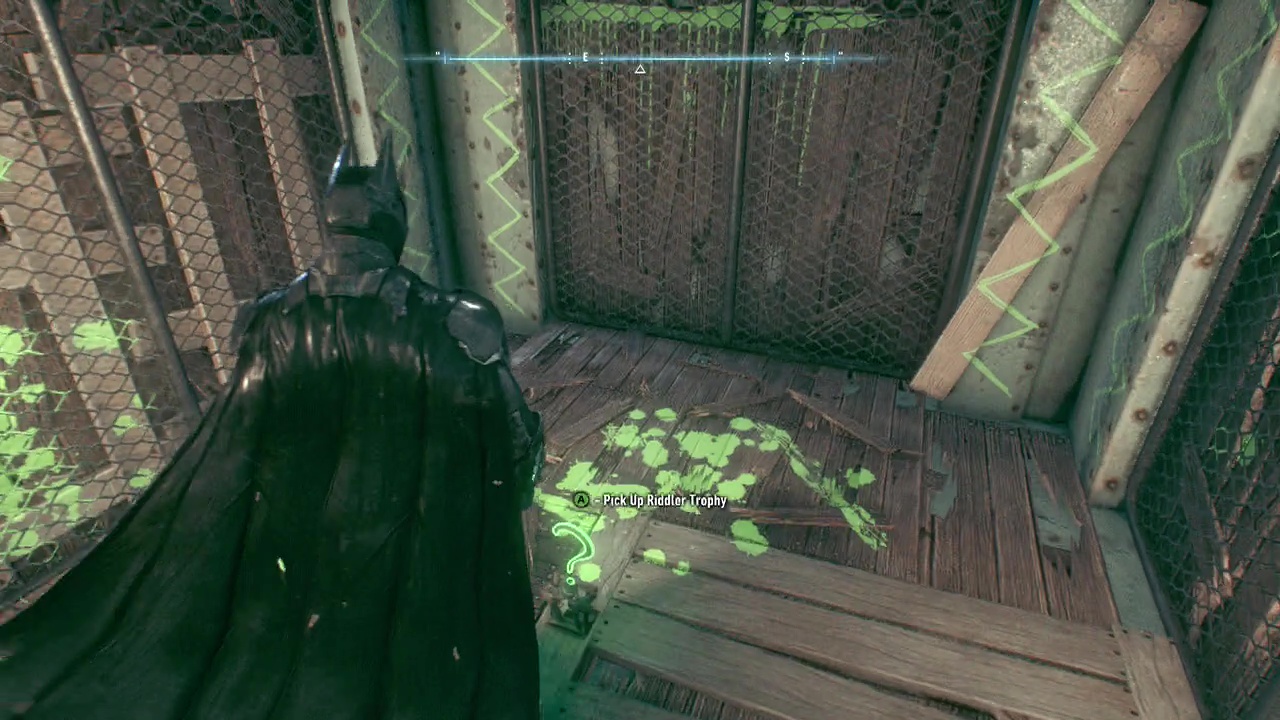
Riddler Trophy 2: Batmobile – Use the batmobile to shoot the cracked wall from street level. Then head in and collect the trophy.
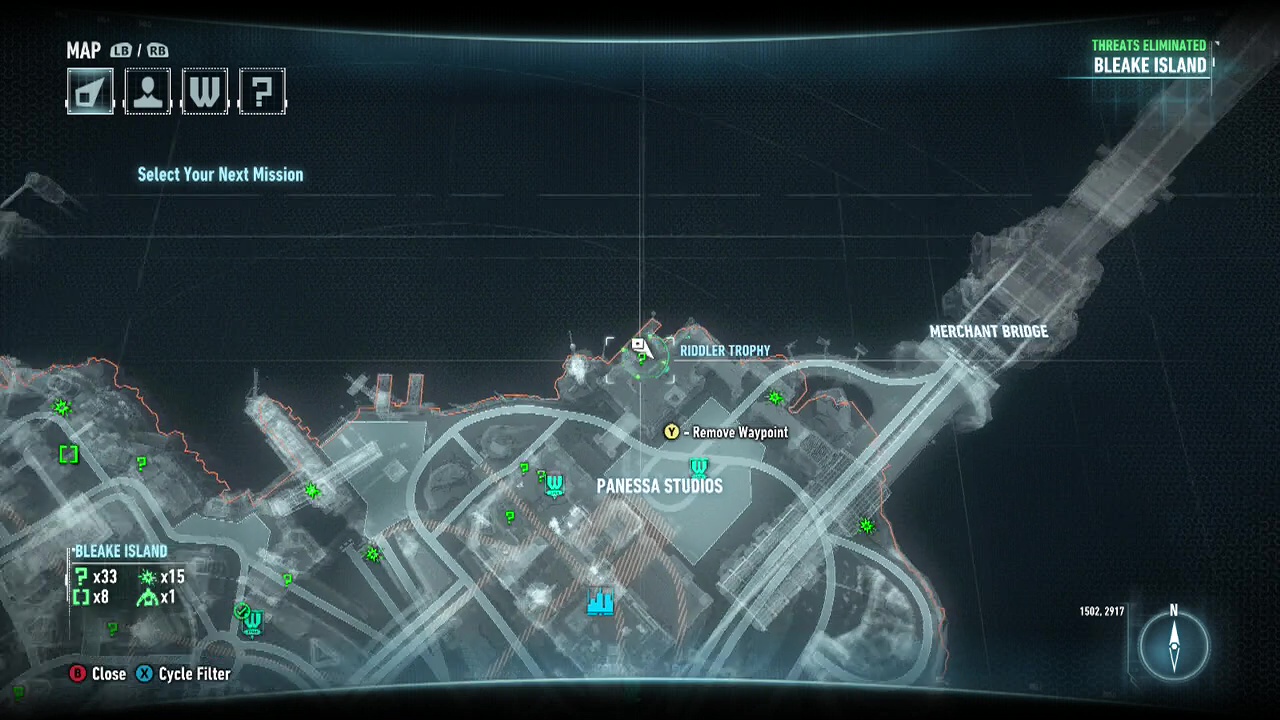
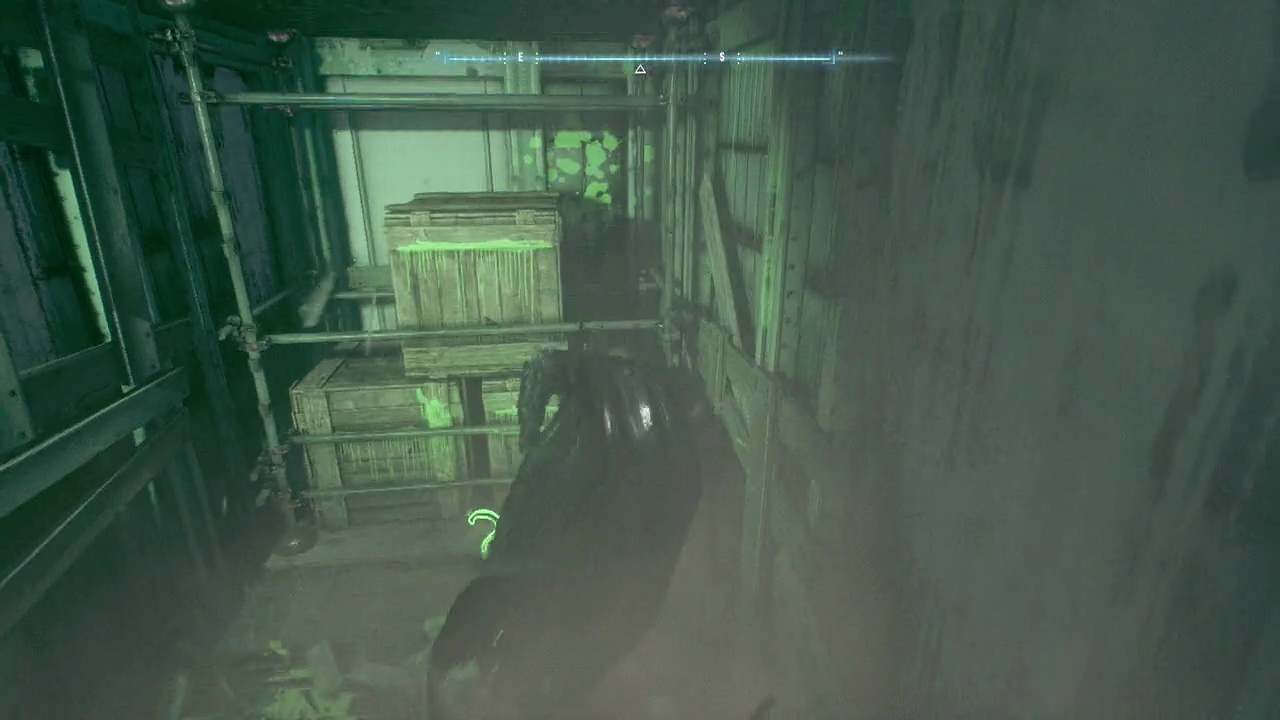
Riddler Trophy 3: Glide down and fly through the obstacle to break it. Acquire the trophy.
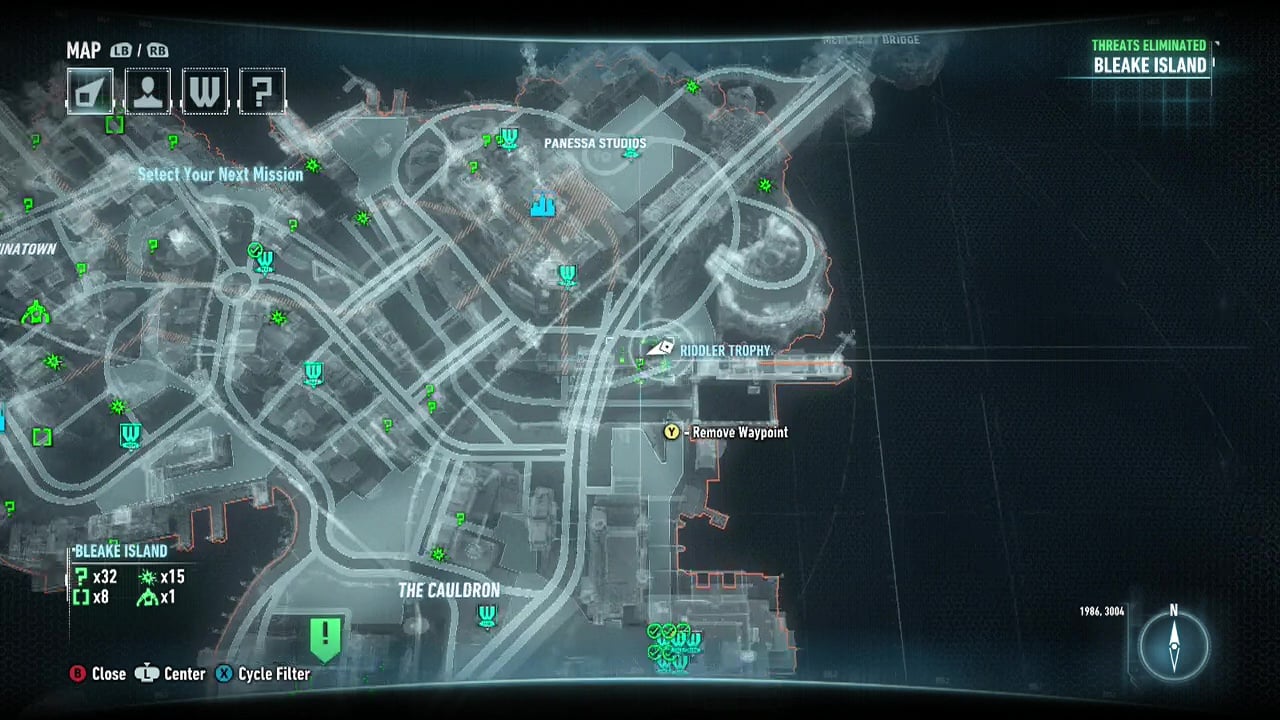
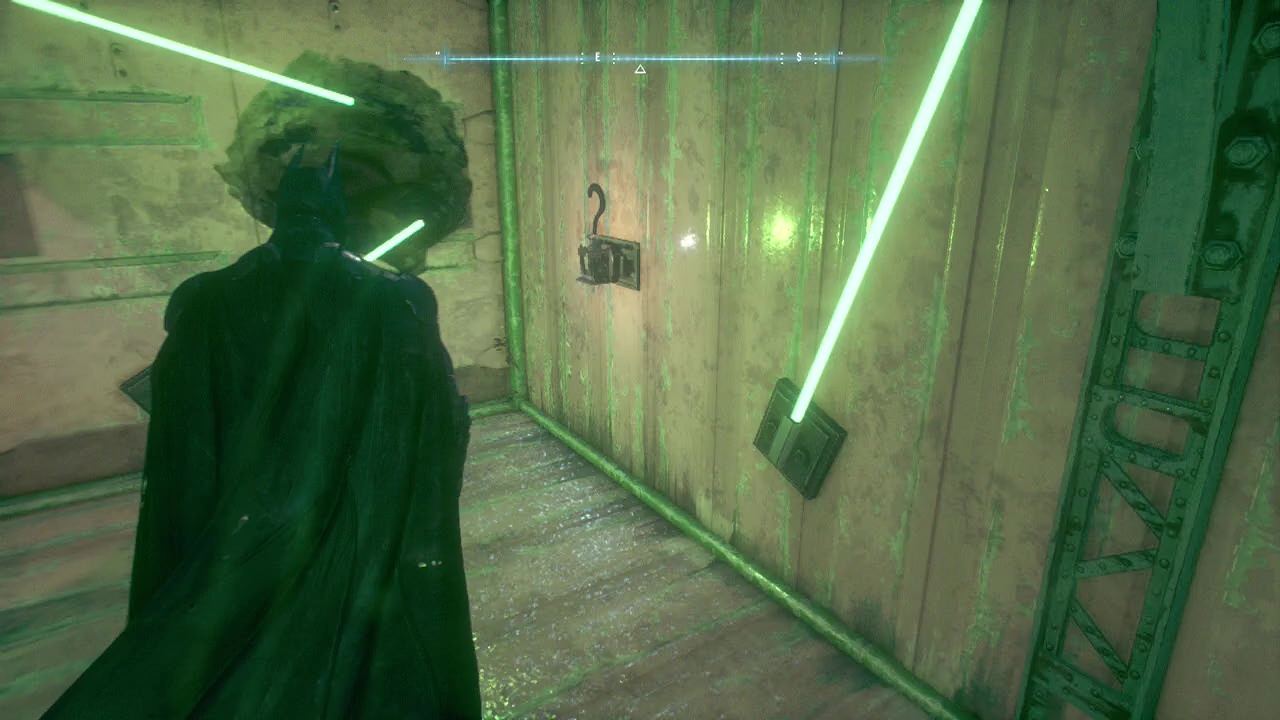
Riddler Trophy 4: Batmobile, Power Winch, Explosive Gel – Use the Power Winch on the Batmobile to pull out the bar. Then exit the Batmobile and place some Explosive Gel on the bar you just pulled out. Release the Power Winch to release the bar back inside, and blow up the gel to stopthe steam. Then use the Batslide (run and then press Crouch) to get inside to obtain the trophy. You will need to time this fairly well for it to work. Then Batslide back out.
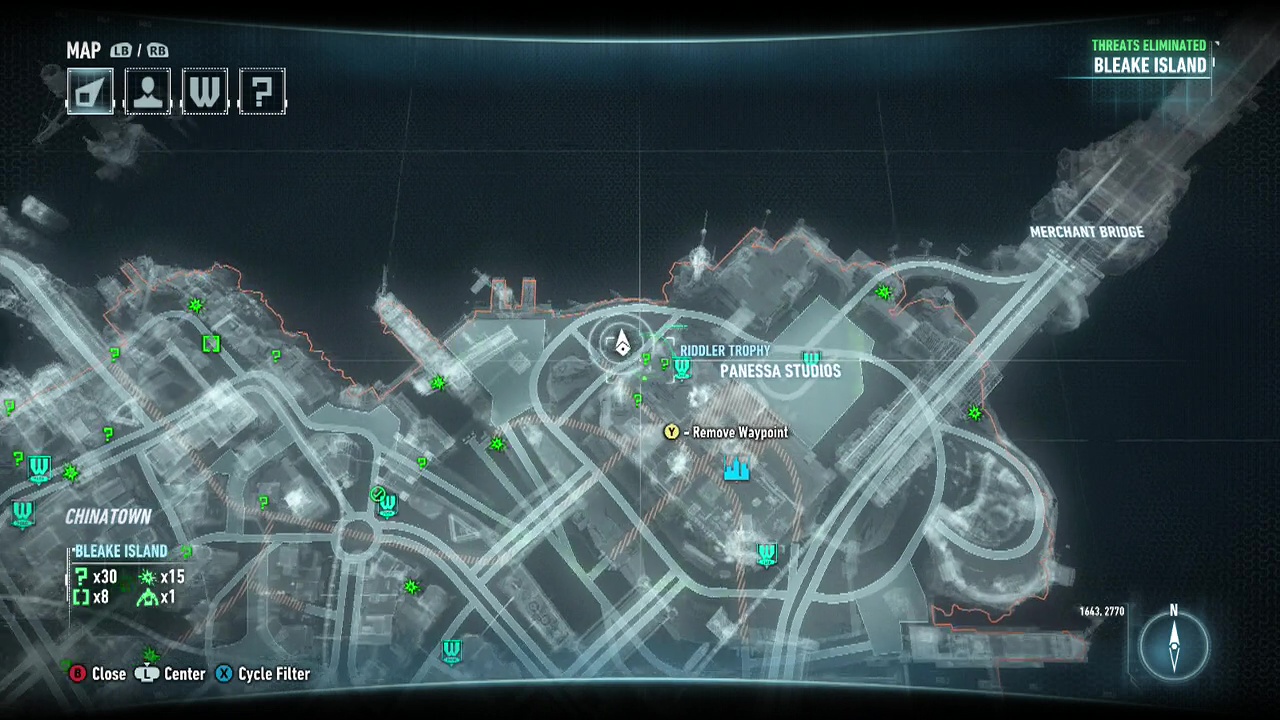
Note: Screenshot error, the actual riddle location is right next to the one shown
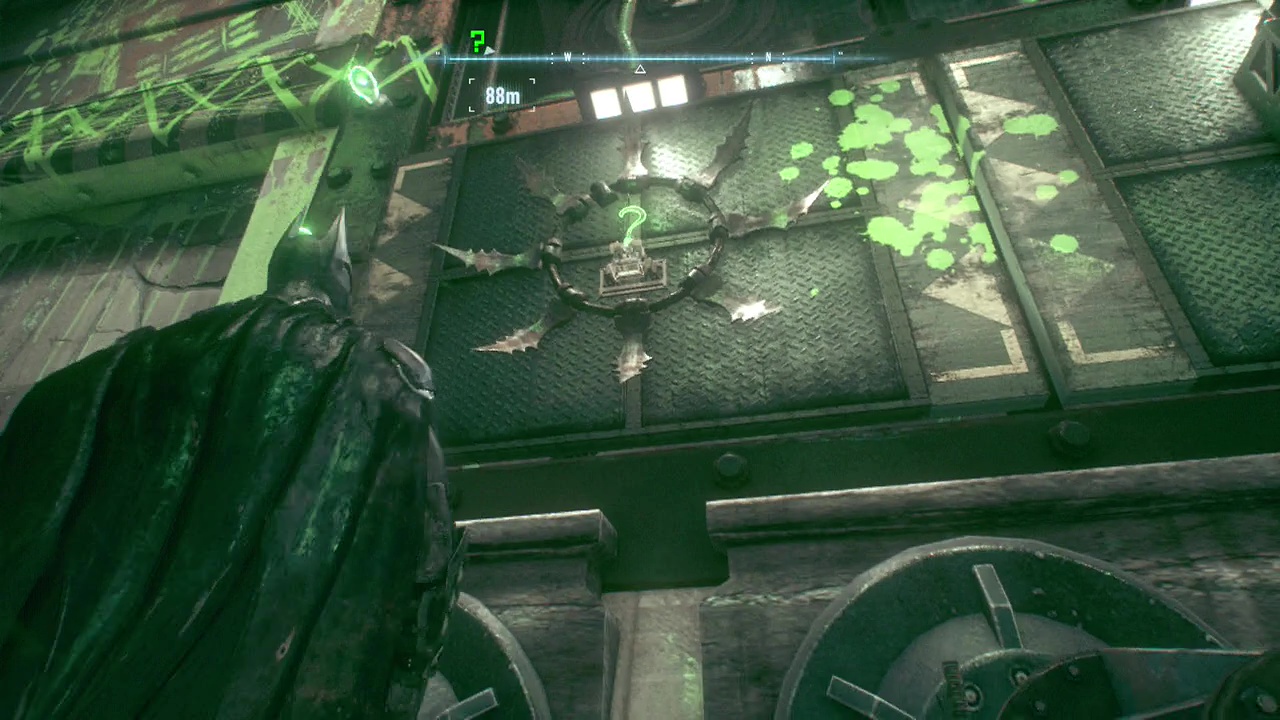
Riddler Trophy 5: Batmobile, Power Winch, EMP Secondary Weapon (Will eventually get as story progresses, even if you don't pick it early) – Use the Power Winch to charge your Batmobile Secondary Weapon. Once charged, use the EMP to disable the forcefield. While there are other ways to get and stay above the forcefield, the only way for it to work is to activate the line launcher while gliding, after ejecting yourself from the Batmobile. The forcefield won't reappear to kill you, so you can try multiple times without worry. The button combination for the line launcher will show while you are gliding. Once you are safely above the forcefield, wait until the forcefield reappears and you can interact with the Question Marks. Use the Batarang on the dots of the question marks to disable the forcefield and reveal the trophy.

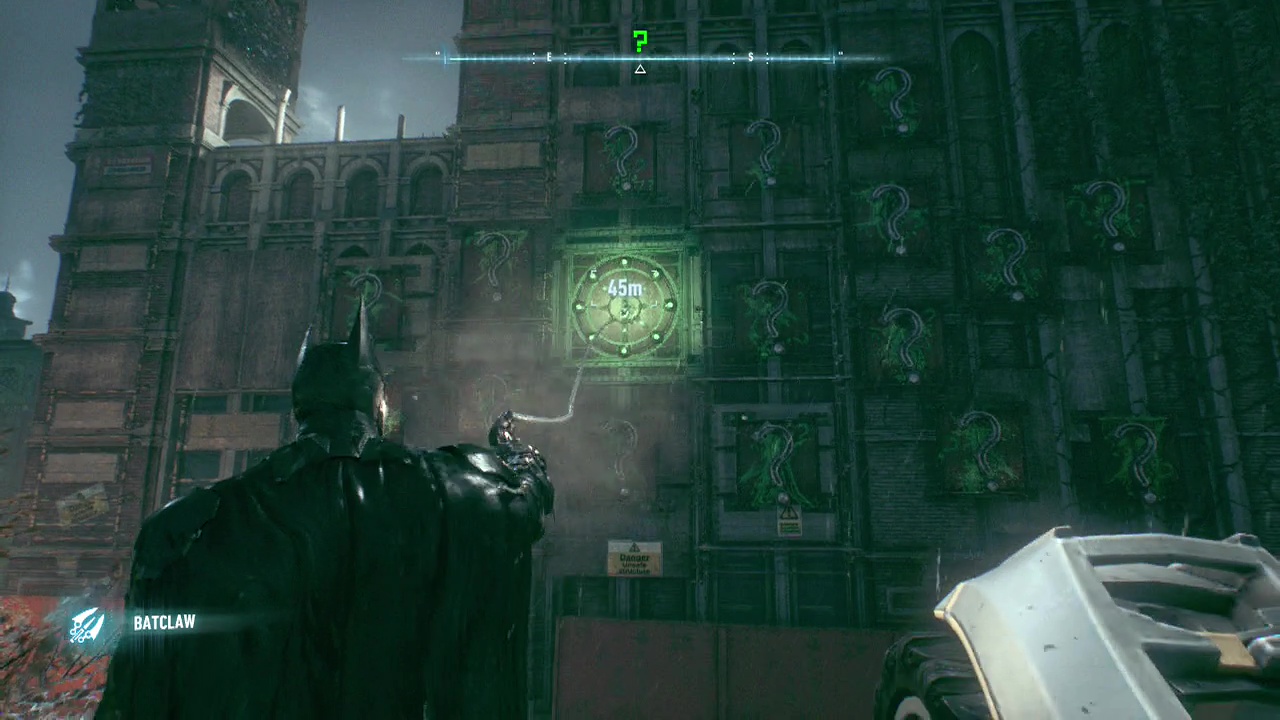
Riddler Trophy 6: Batmobile, Batclaw – Drive the Batmobile onto the plate and shoot the glowing question marks as they appear. Once the trophy is available, use the Batclaw to grab it.
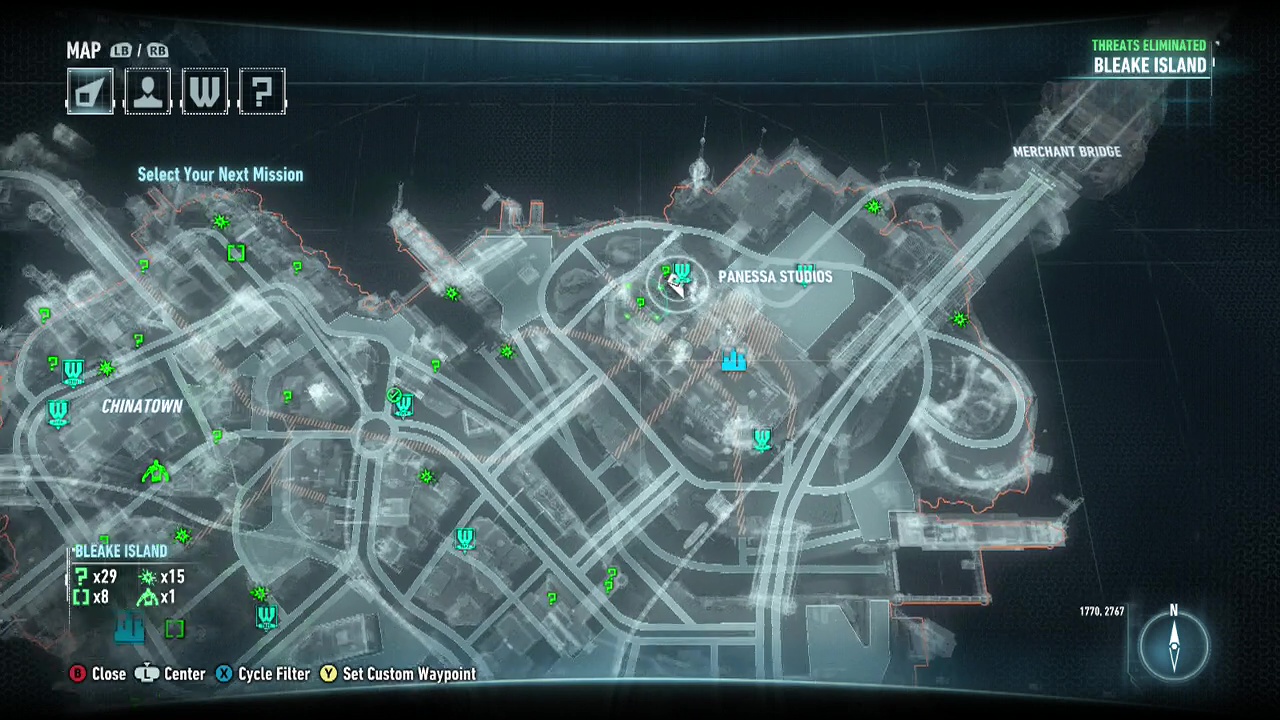
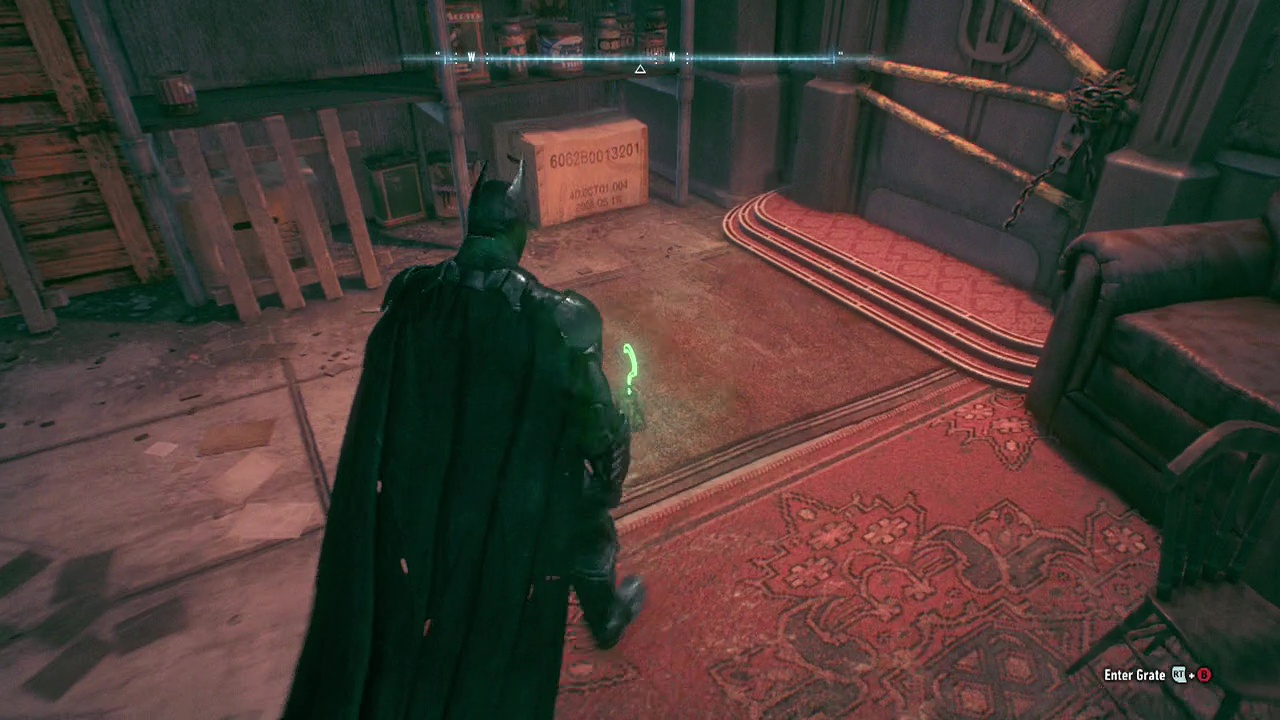
Riddler Trophy 7: Find the trophy and pick it up. You may need to do such complicated things as crouching through the vent.
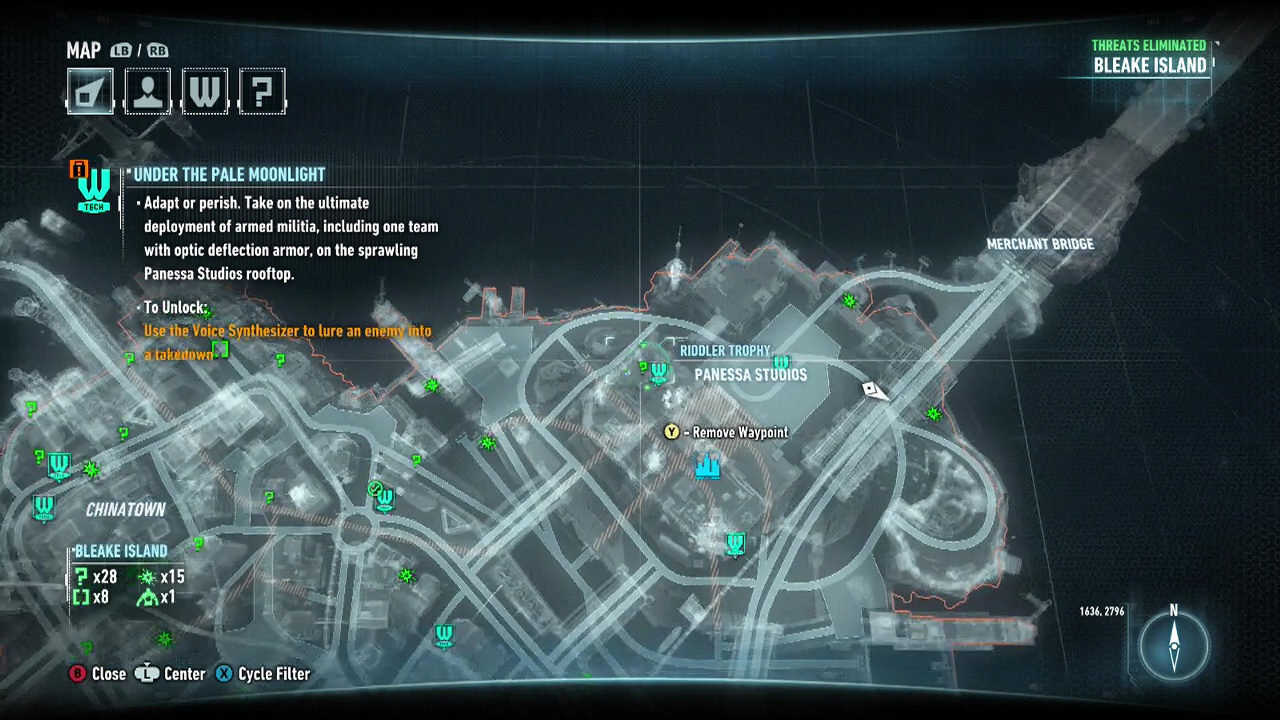
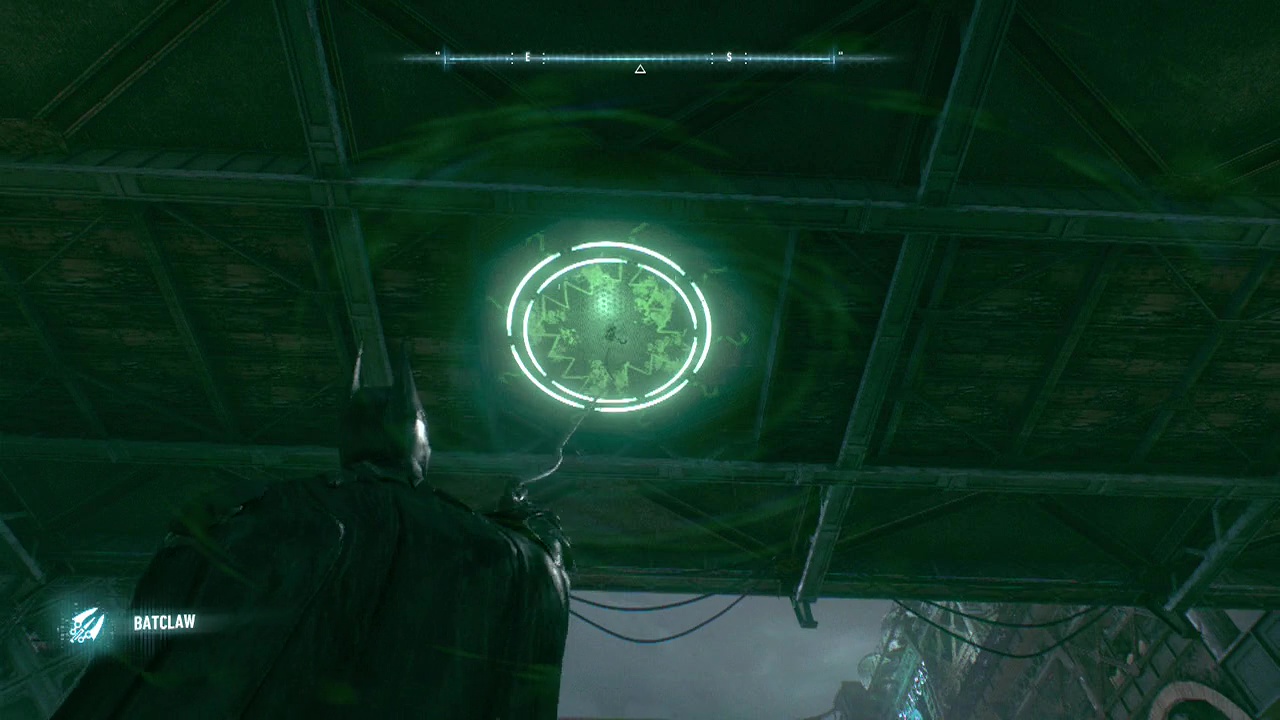
Riddler Trophy 8: Batmobile, Power Winch, Forensic Scanner, Batclaw – Head up to where the start point is (see the video for how to get up). Use the forensic scanner to start a Riddler trail. You will need to scan each one before the next appears (including the ones down the side of the building). Follow the trail until you find the trophy in a ceiling. Use the Batclaw to liberate it.
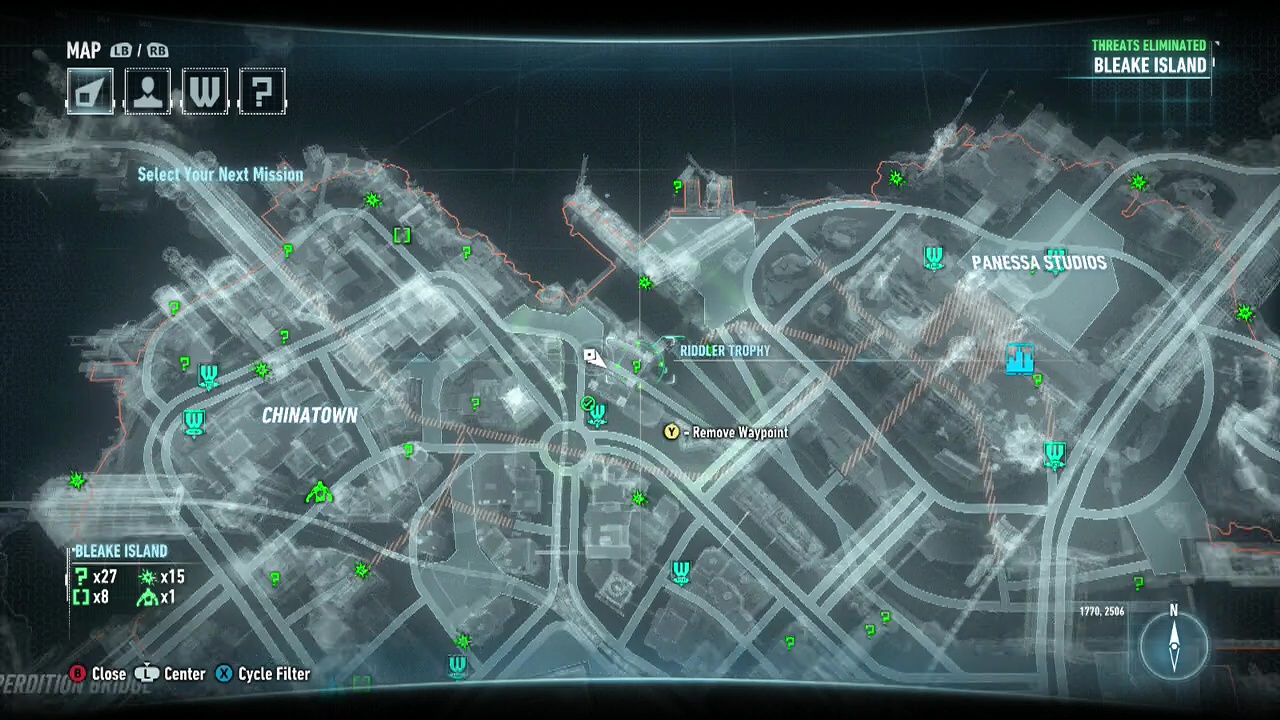
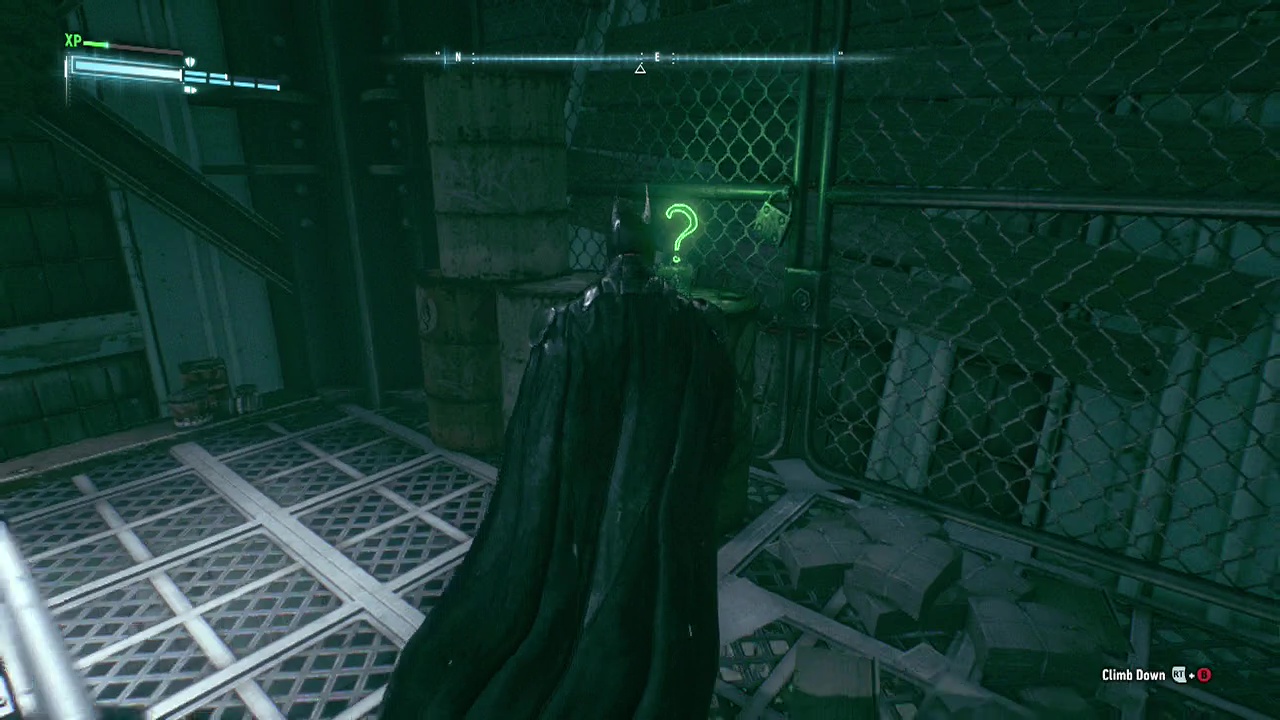
Riddler Trophy 9: Head to the location inside the building and get the trophy.
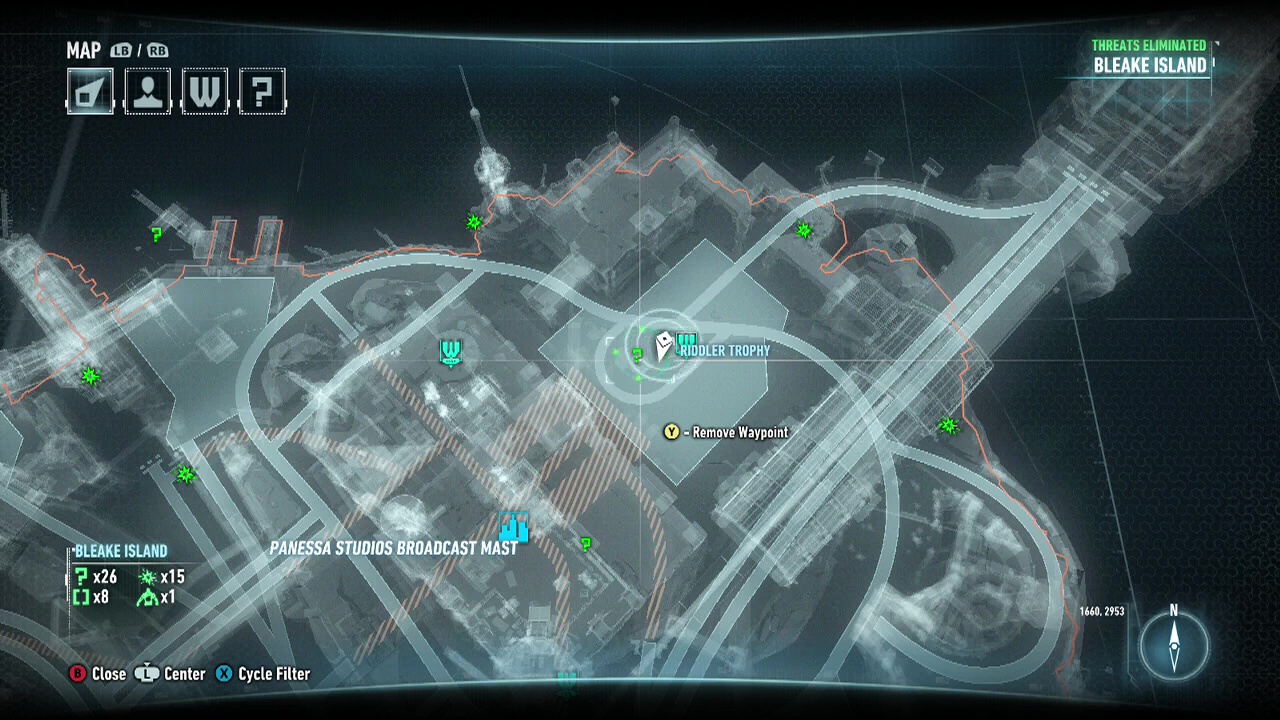
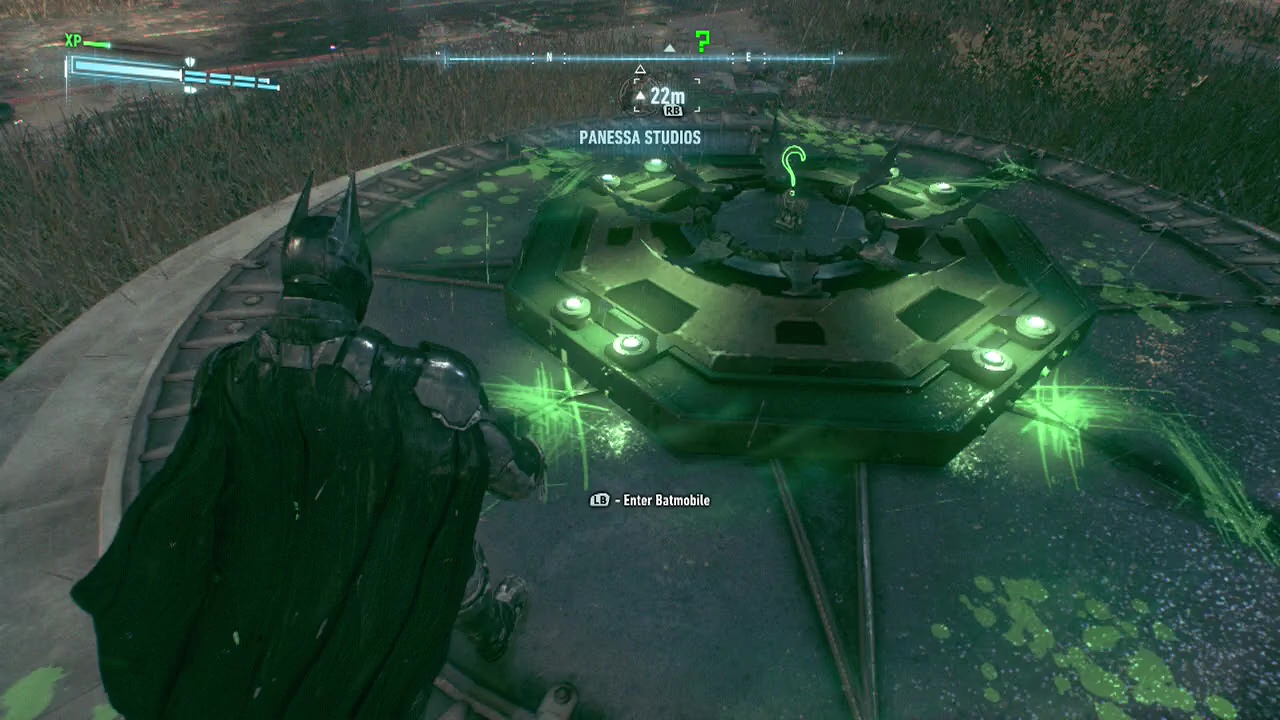
Riddler Trophy 10: Batmobile, Power Winch – Use the Power Winch to rotate the shield so that the gap is in front of a question mark. Then shoot the question mark. Repeat for each level up. Collect trophy.
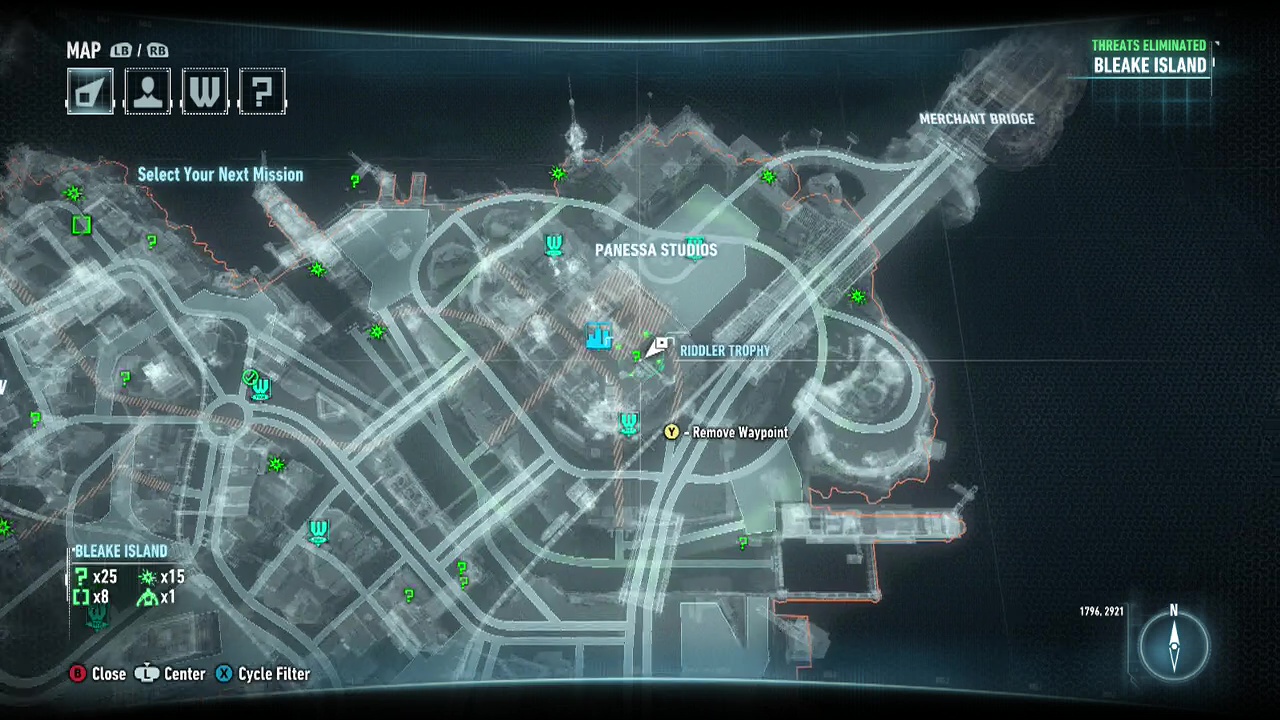
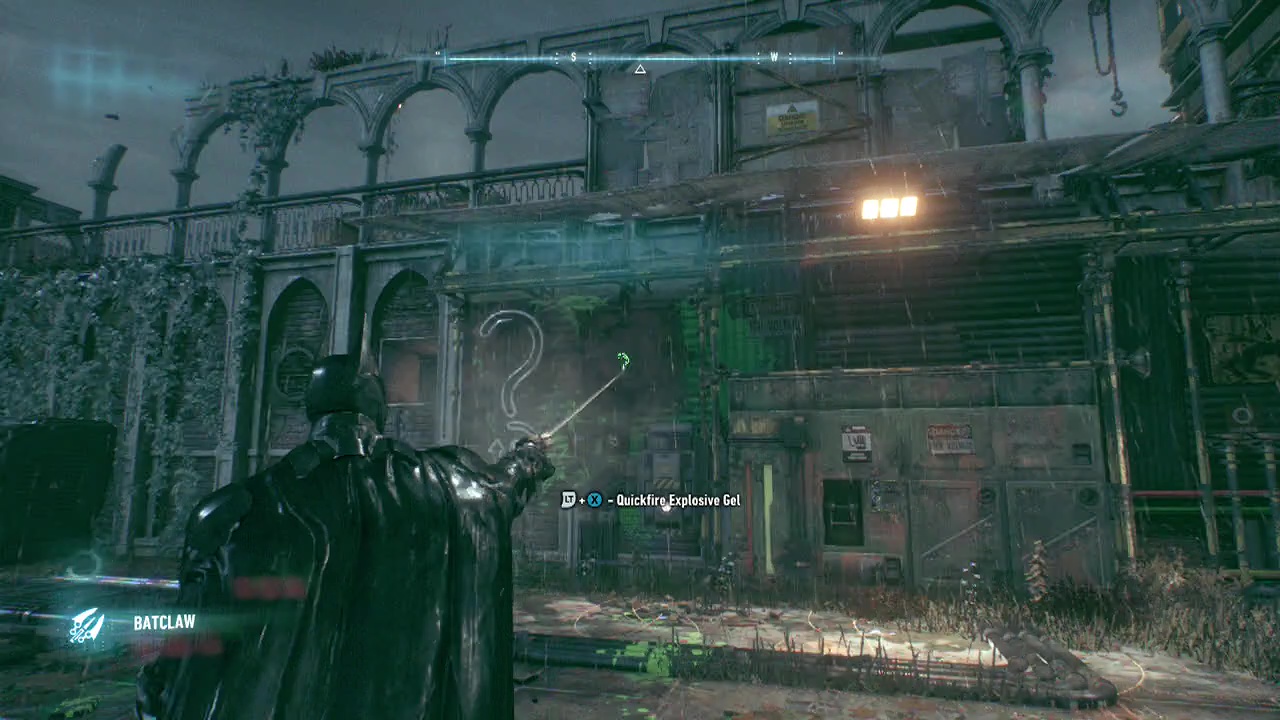
Riddler Trophy 11: Voice Synthesizer OR Freeze Bomb, Batclaw – There are multiple ways of doing this. The Freeze Bomb is more amusing as Riddler assumes you did it the other way. Using the Voice Synthesiser, destroy a robot (including this one) and pick up the chip. This will allow you to control the robots in the future. Use it on the robot (if you have destroyed it to get the chip, when it respawns – leave and come back), and get it to stand on one pressure pad while you stand on the other. Use the Batclaw to get the trophy. For the Freeze Bomb method, as soon as you stand on a pad, the robot will attack you. While it is attacking, get it to stand on a pressure pad, and throw a freeze bomb at it. This will keep it in place while you stand on the other pad, and use the Batclaw to obtain your trophy.
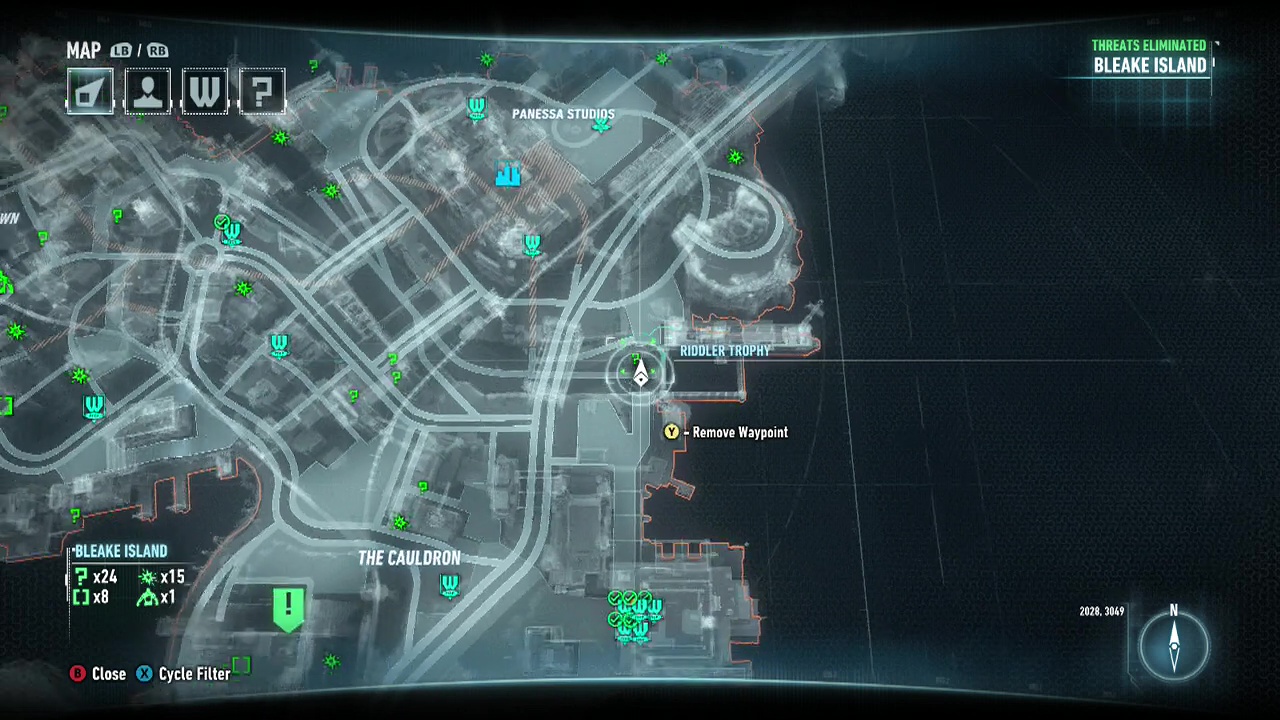
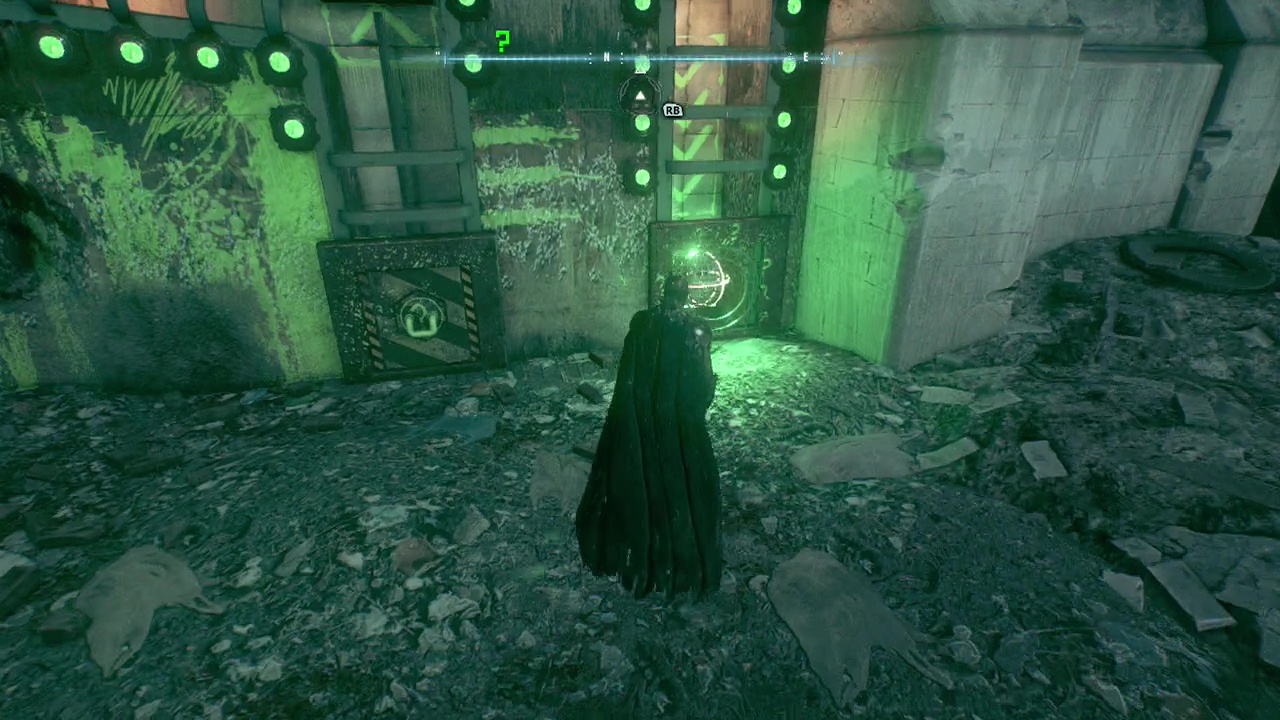
Riddler Trophy 12: Batmobile, Power Winch – Use the Power Winch to pull lower the mechanism, and release it gently. If you do it too much, it will just move around the left path. If you do it correctly, it will fall back down where it went up, and down the path to the right. Collect trophy.
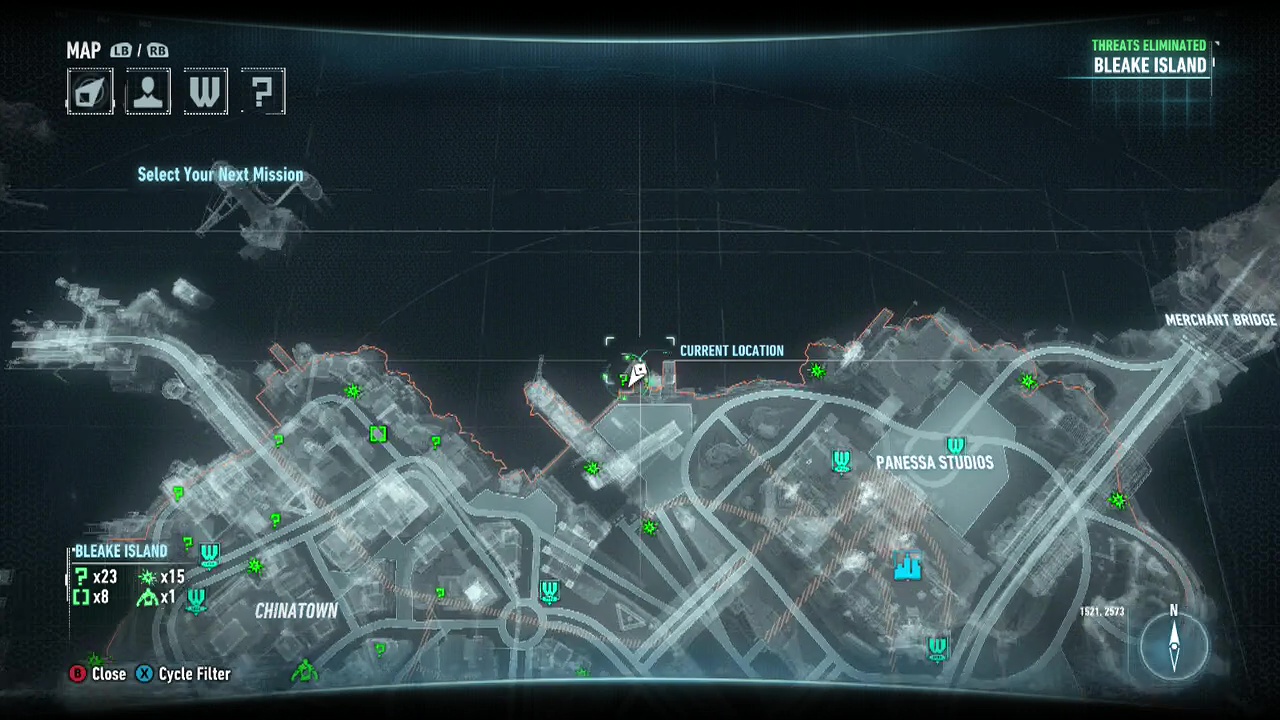
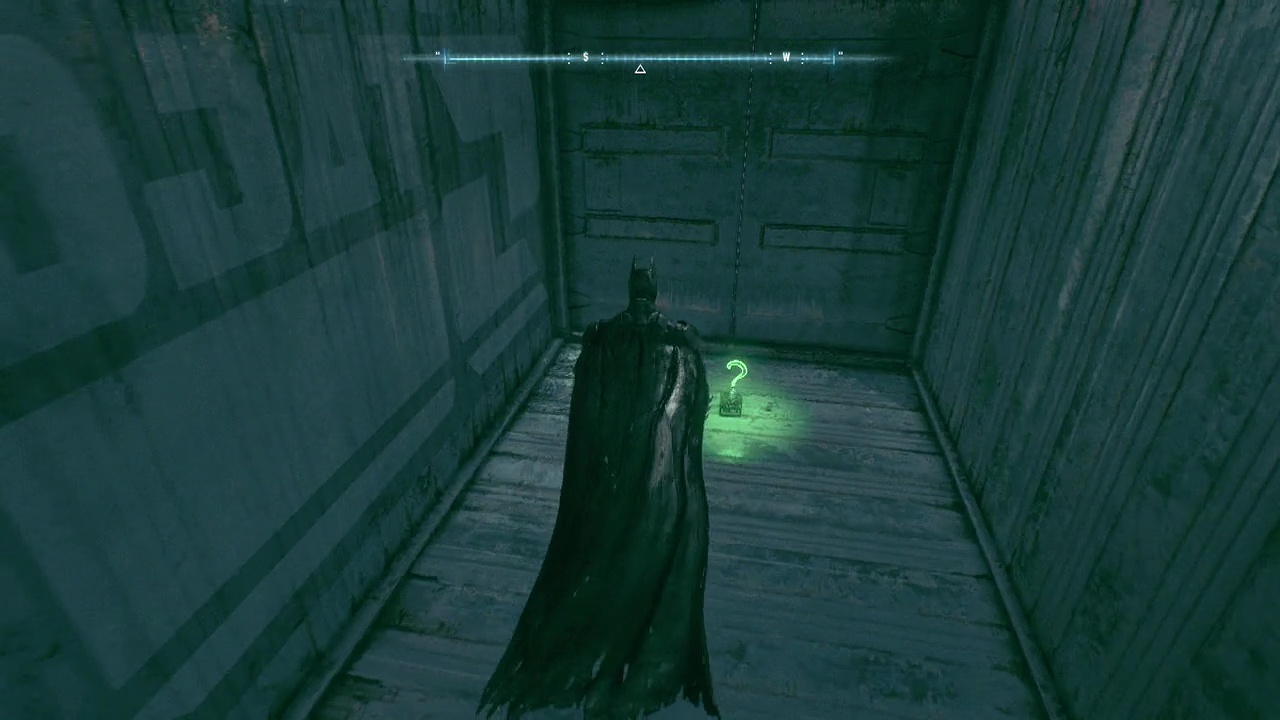
Riddler Trophy 13: Head to the flying shipping container and stand below it. Grapple up into the container. Trophy.
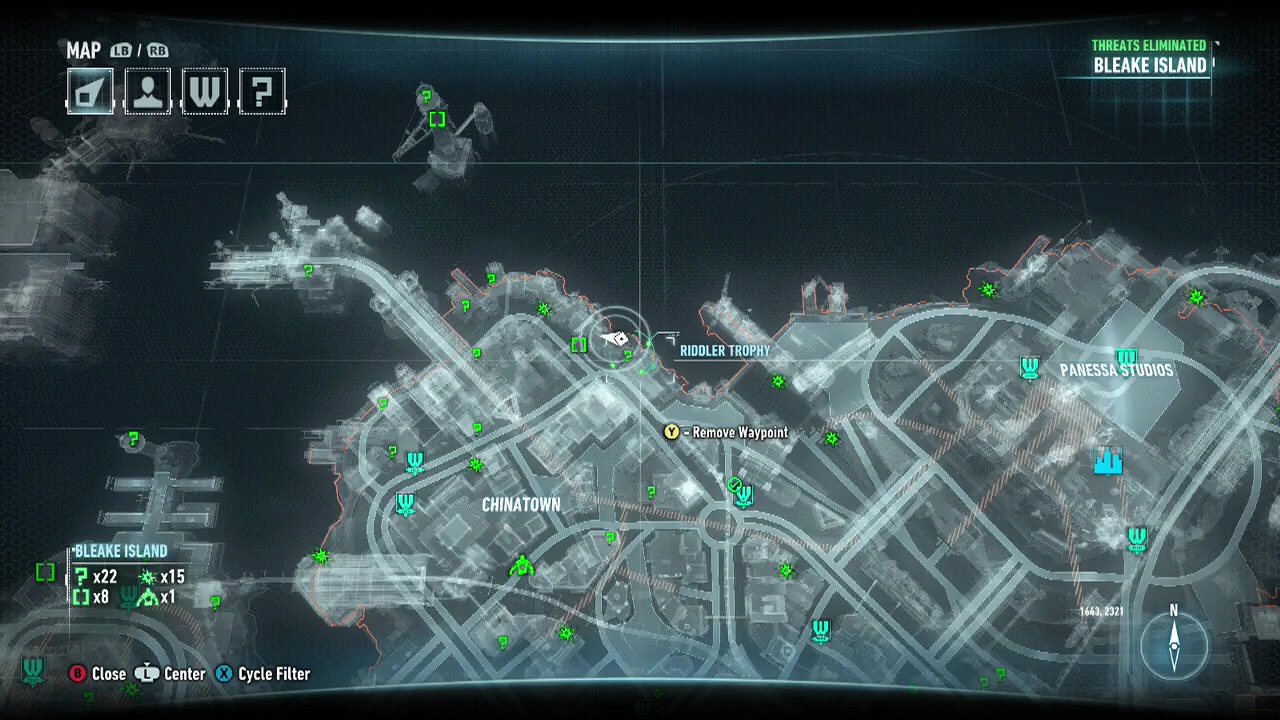
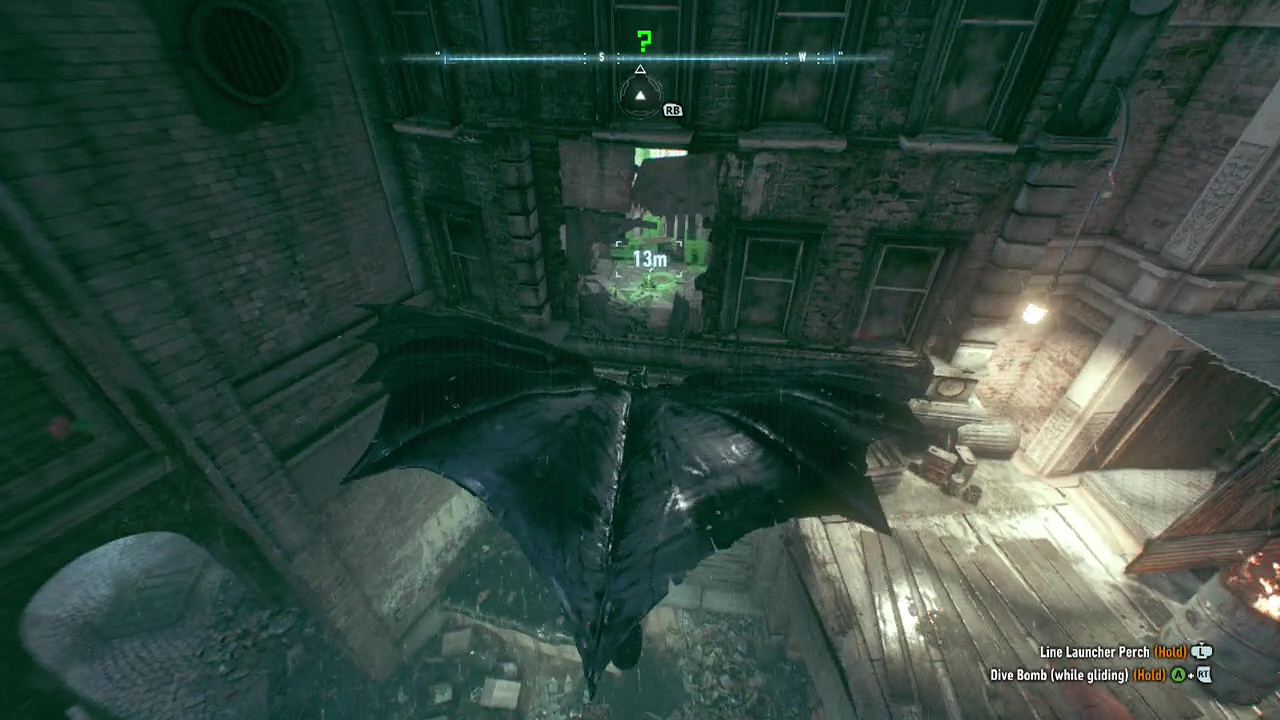
Riddler Trophy 14: Jump off above and glide down through the wall. Pick up trophy.
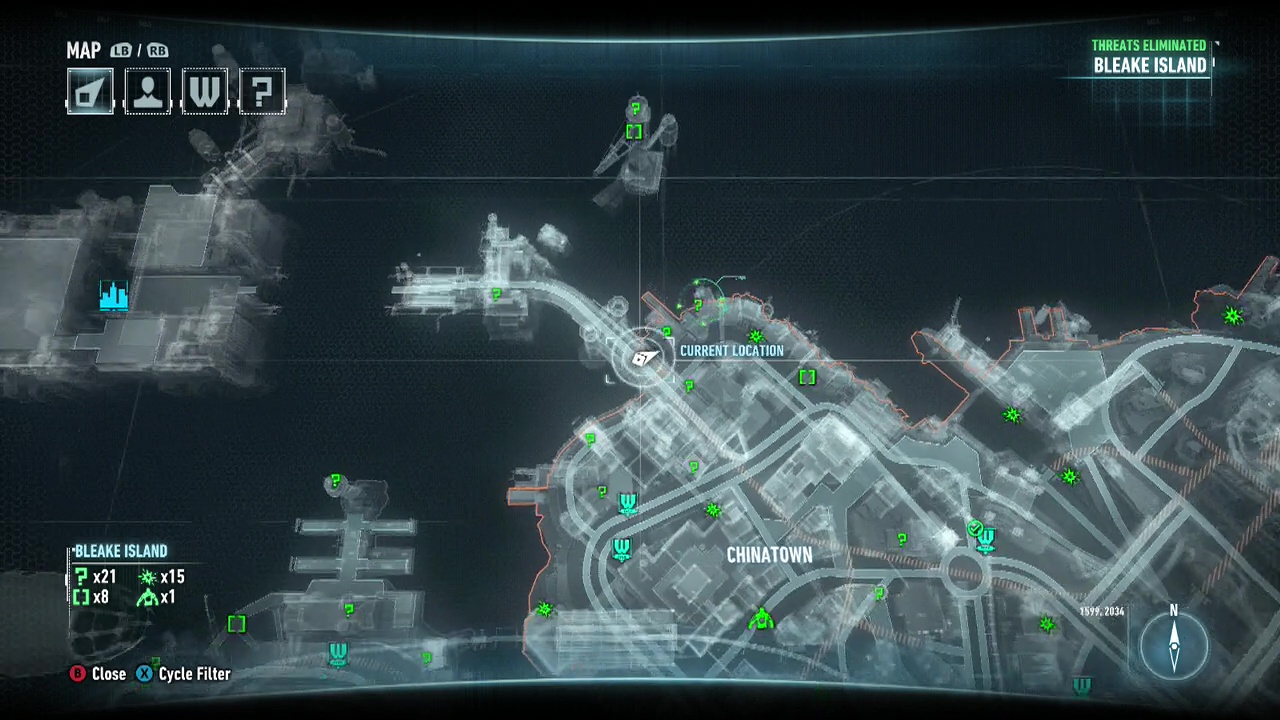
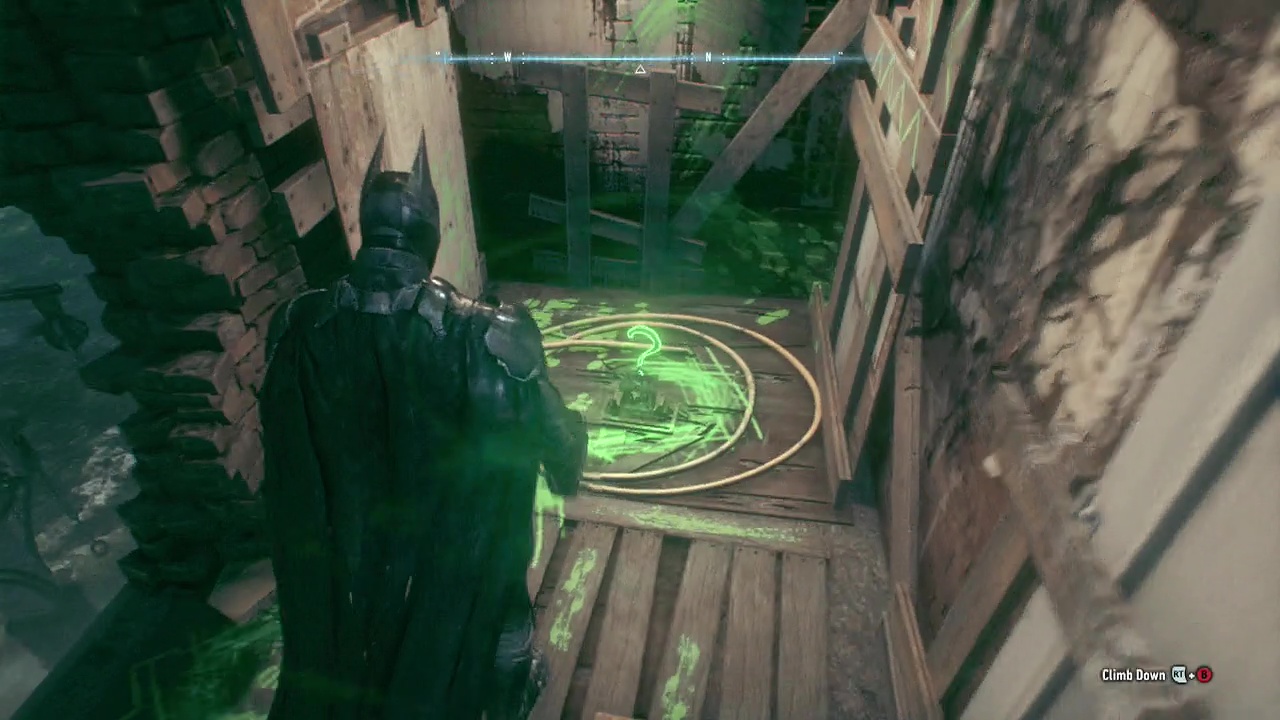
Riddler Trophy 15: Batmobile – Head to the overpass opposite the cracked wall, and summon the Batmobile. Shoot the wall and glide in for a trophy.
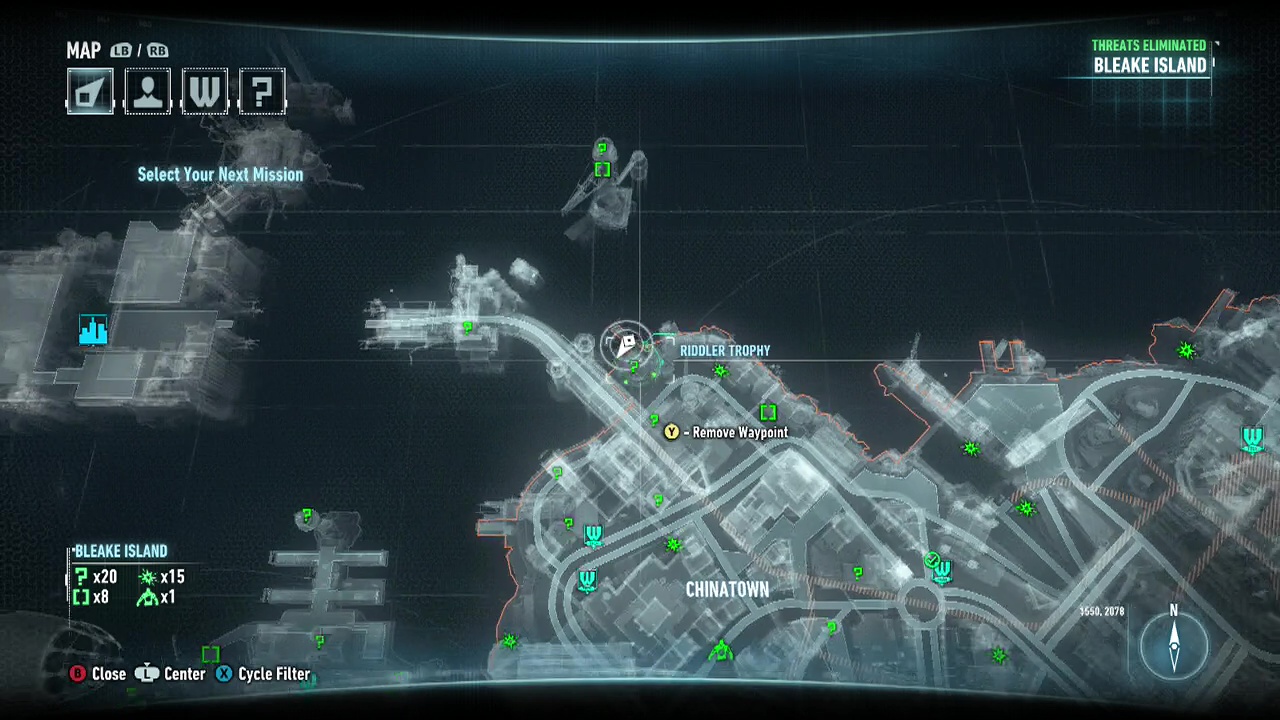
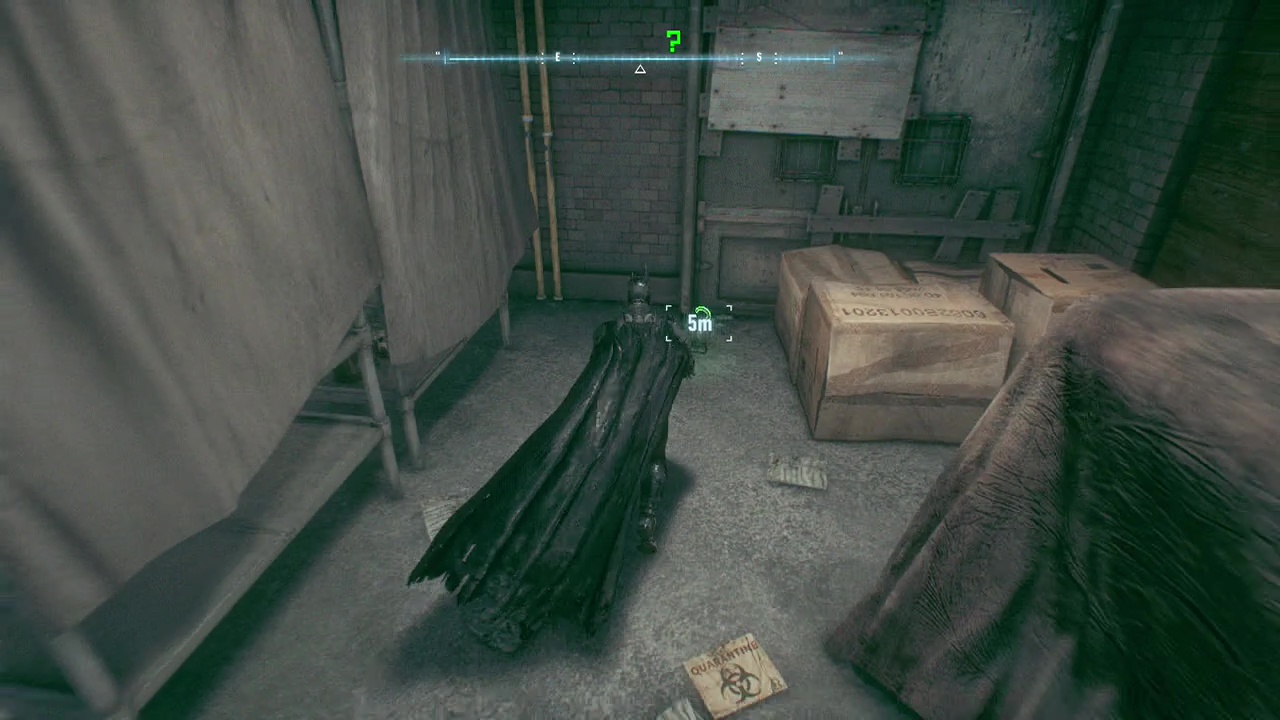
Riddler Trophy 16: Walk in. Get trophy.
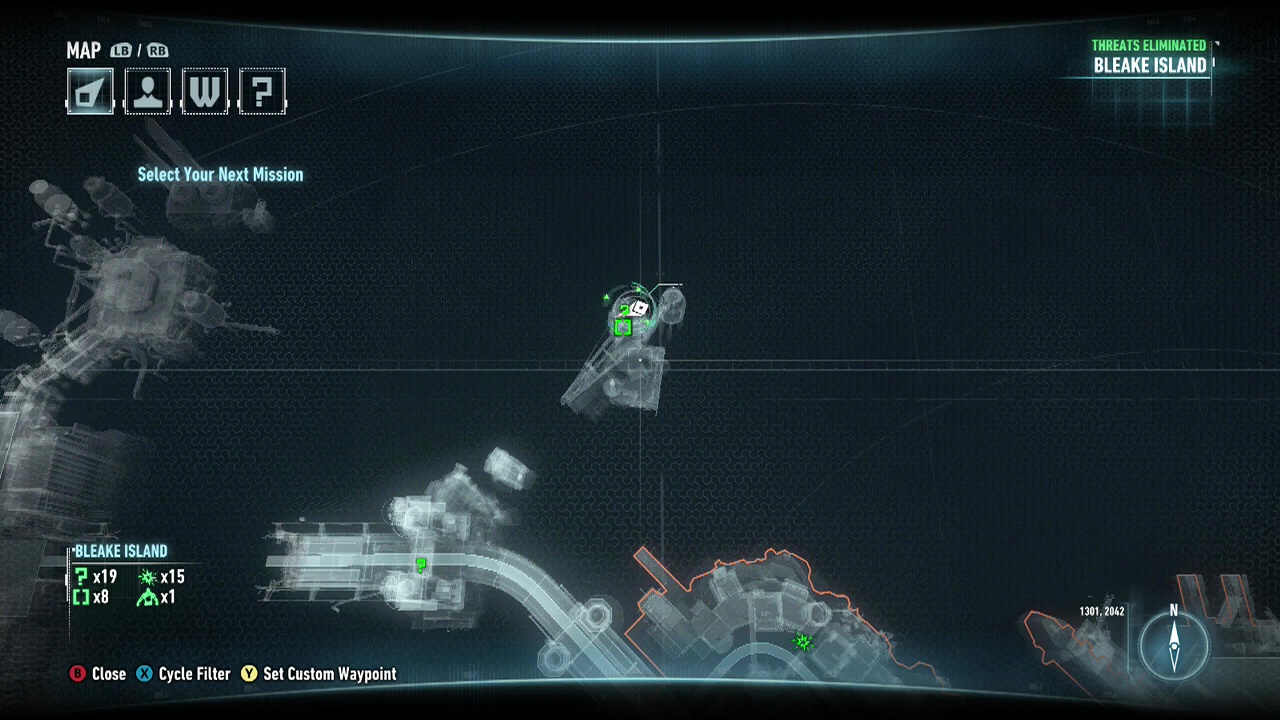
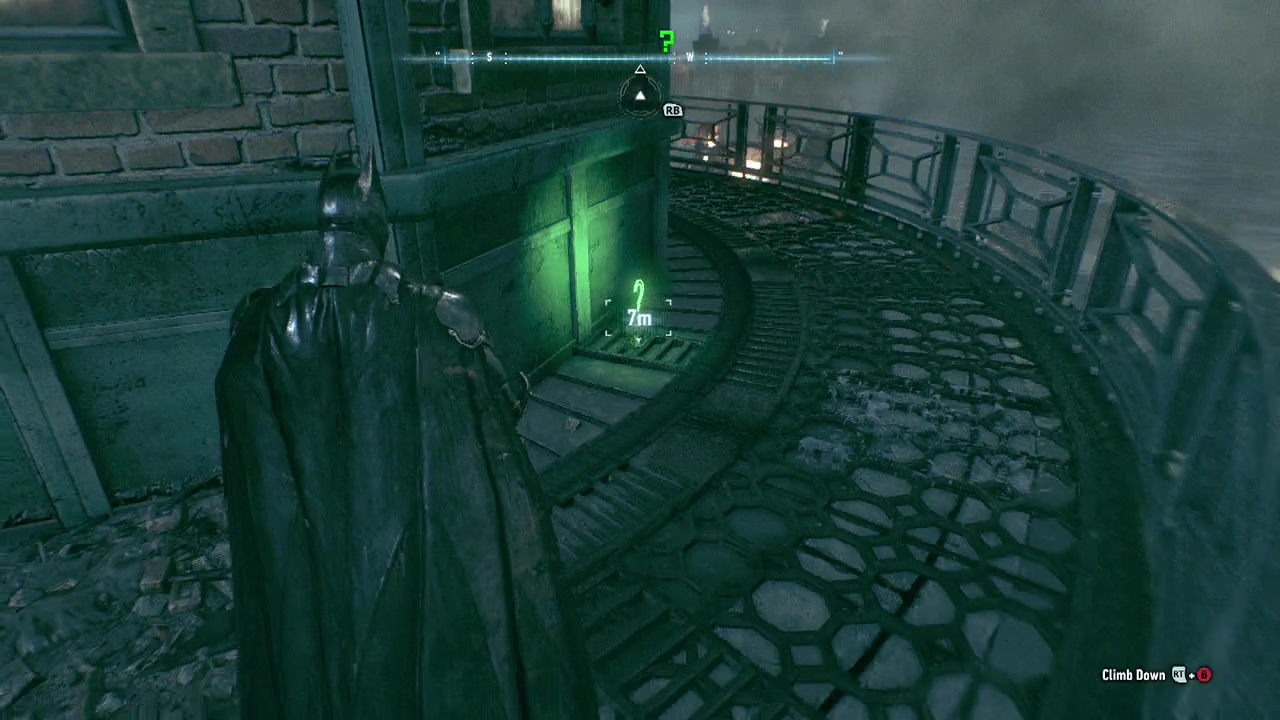
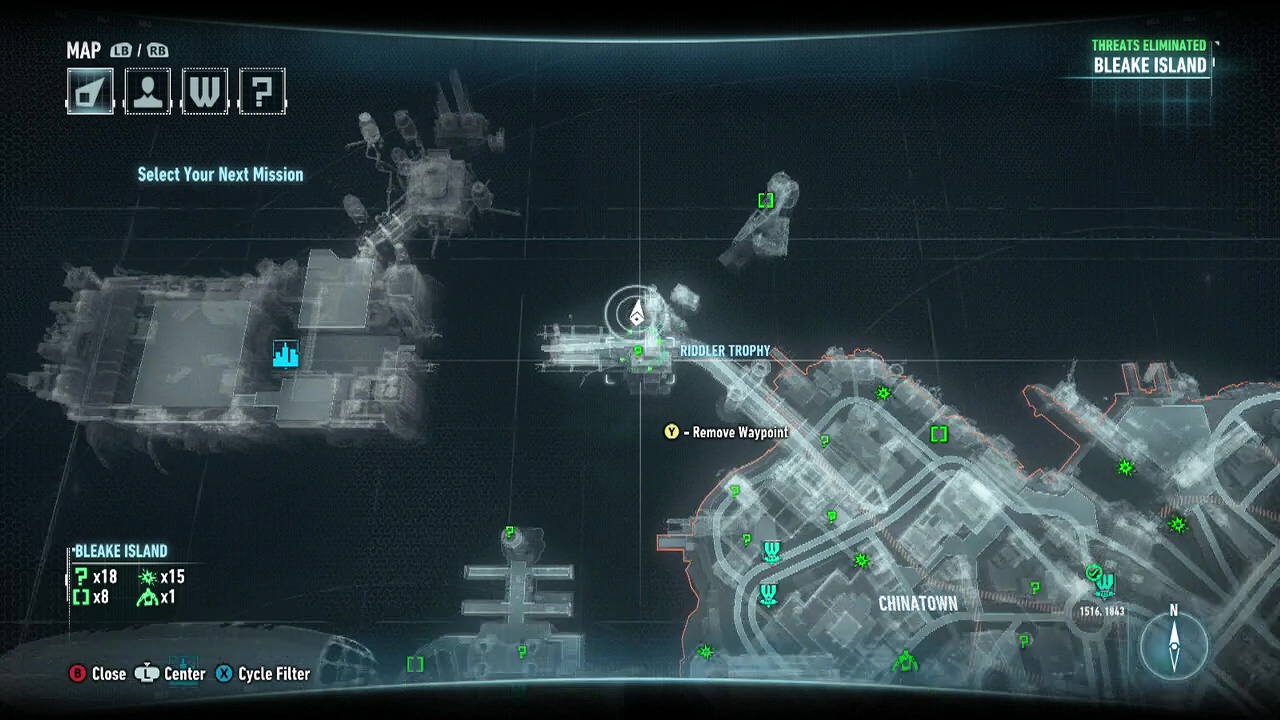
Riddler Trophy 17: Glide and grapple over to the lighthouse to pick up the trophy that is just sitting there.
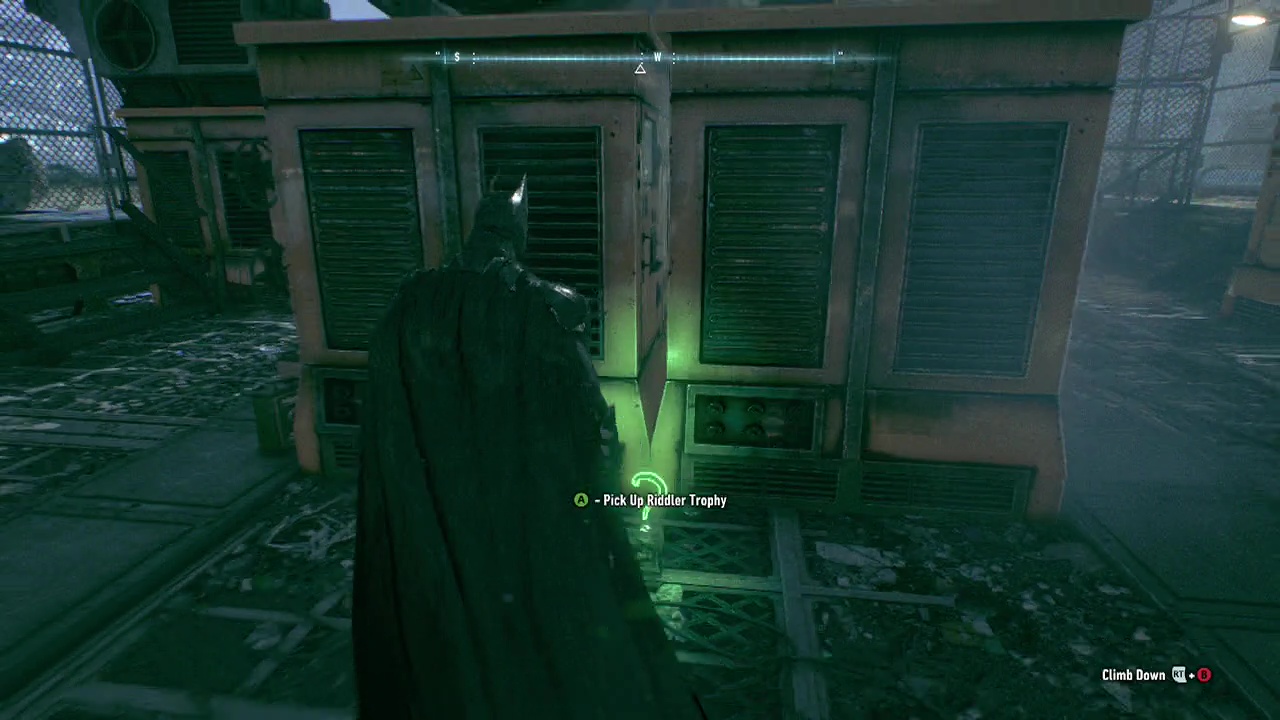
Riddler Trophy 18: Head underneath the bridge and grapple up to just underneath where the road is. The trophy is just lying there, waiting for an owner.
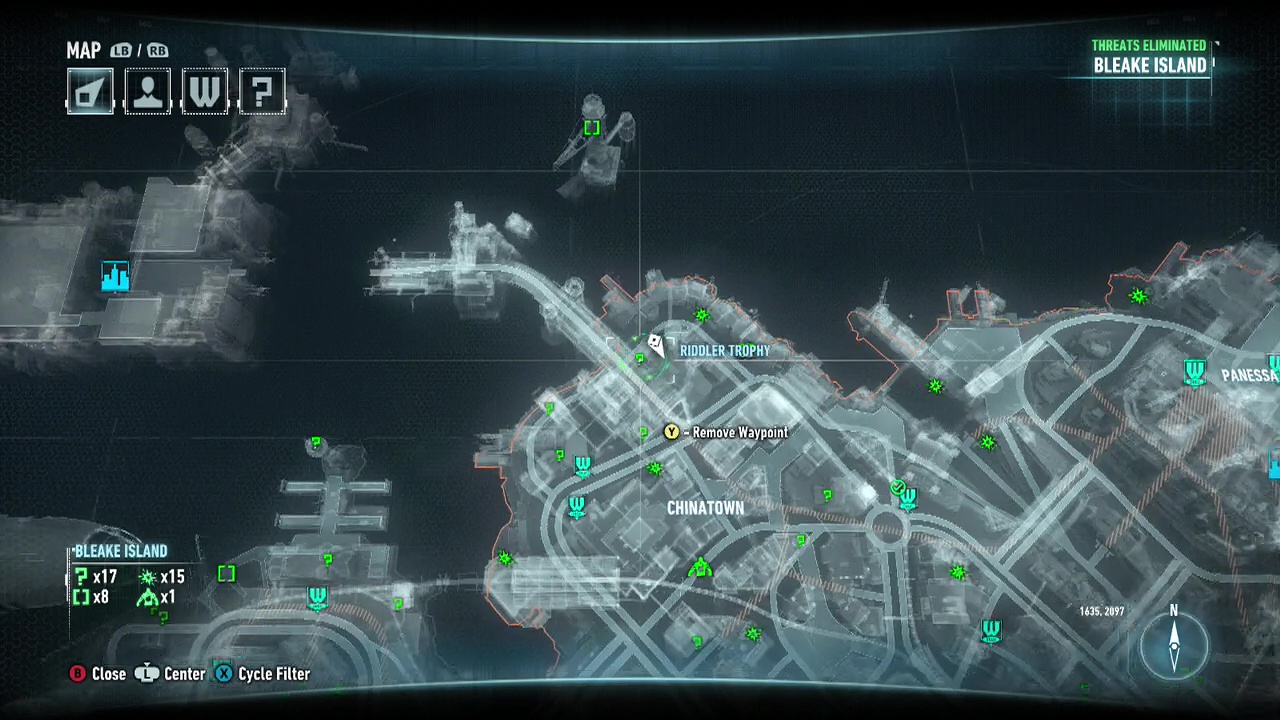
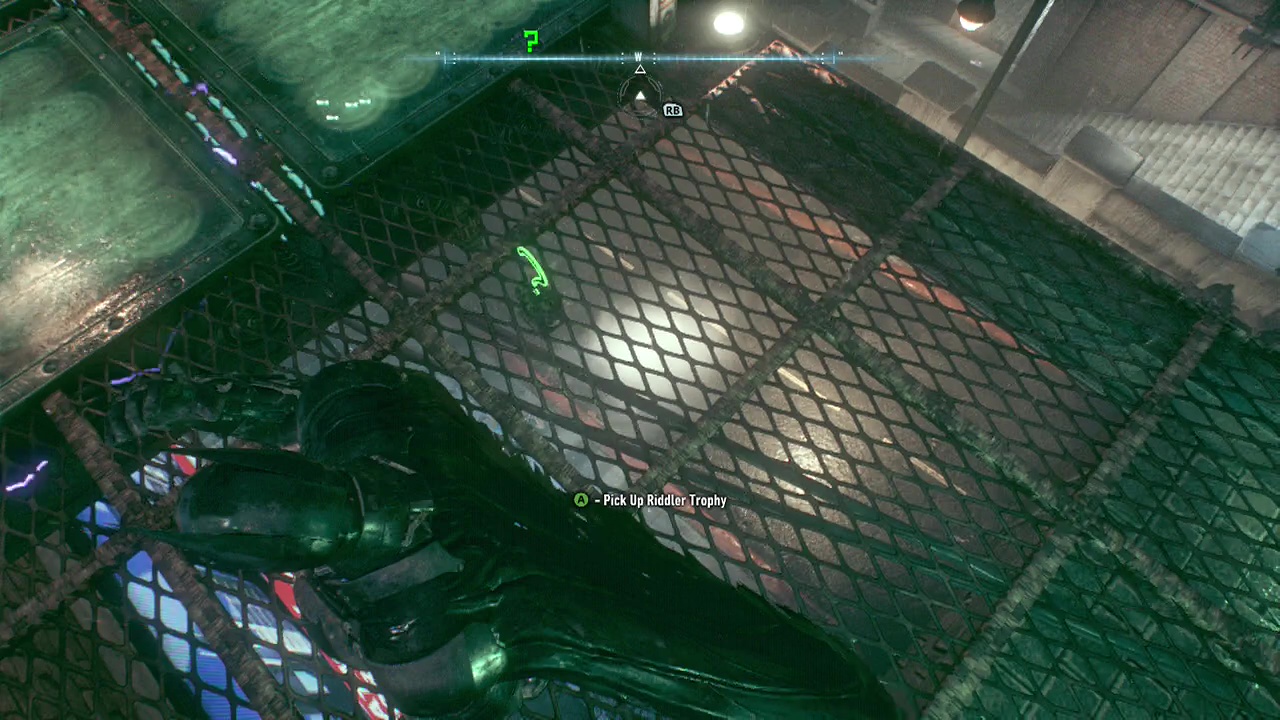
Riddler Trophy 19: Voice Synthesiser – Use the Voice Synthesiser with a Robot Chip you have already acquired (or break the robot, pick up the chip, and Batarang the reset symbol) to order the Robot through the electricity and over the trophy. It will pick it up. Order it back outside and take it out to get your trophy.
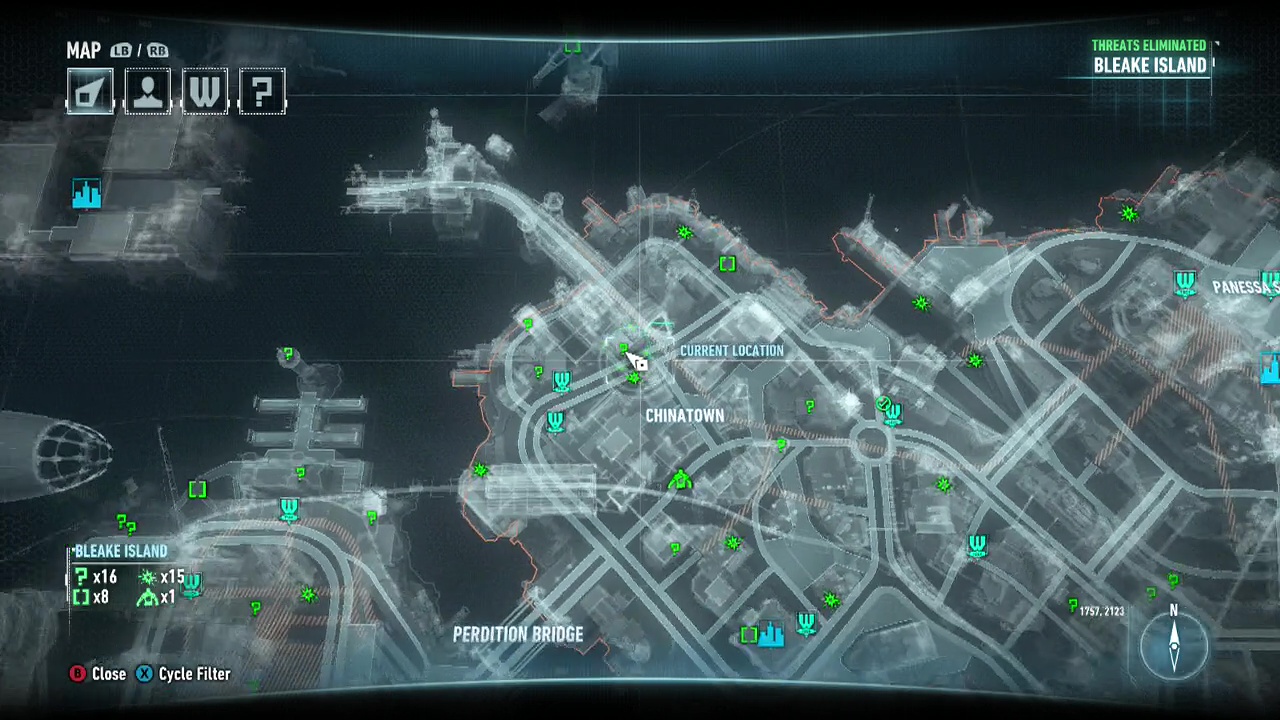
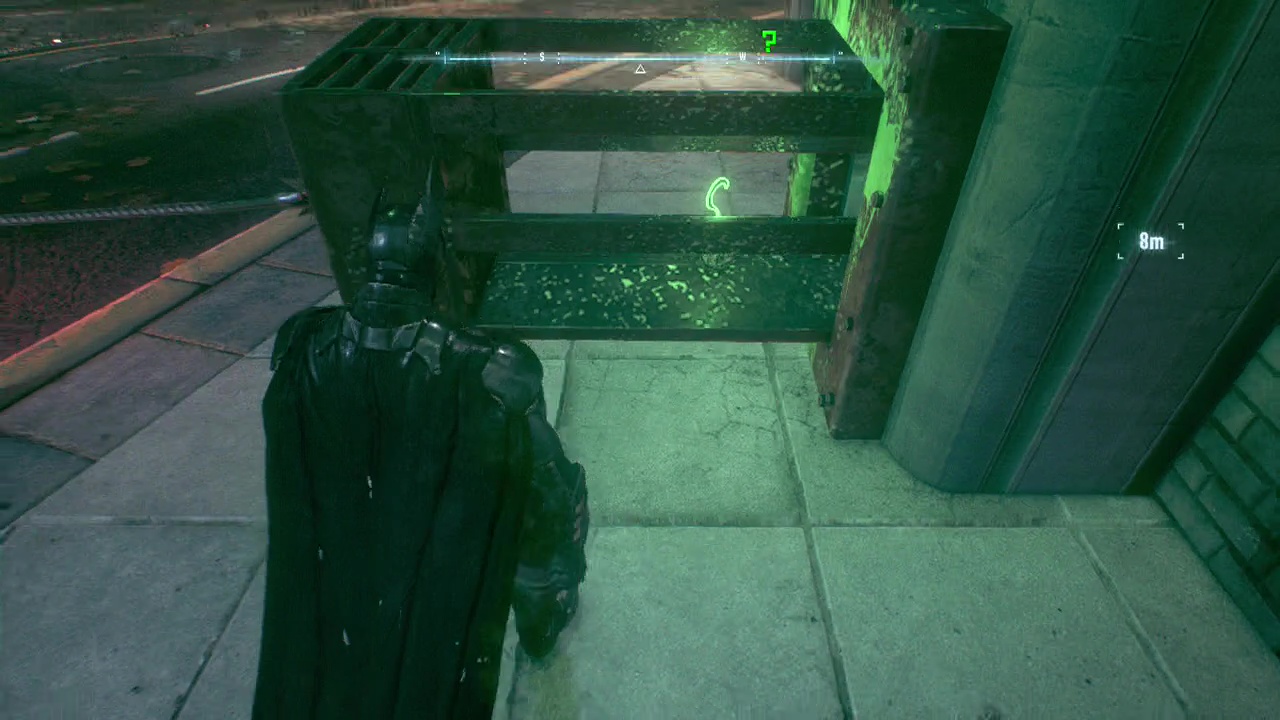
Riddler Trophy 20: Batmobile, Power Winch – Use the Power Winch to pull out the block. The trophy is inside. Pick it up.
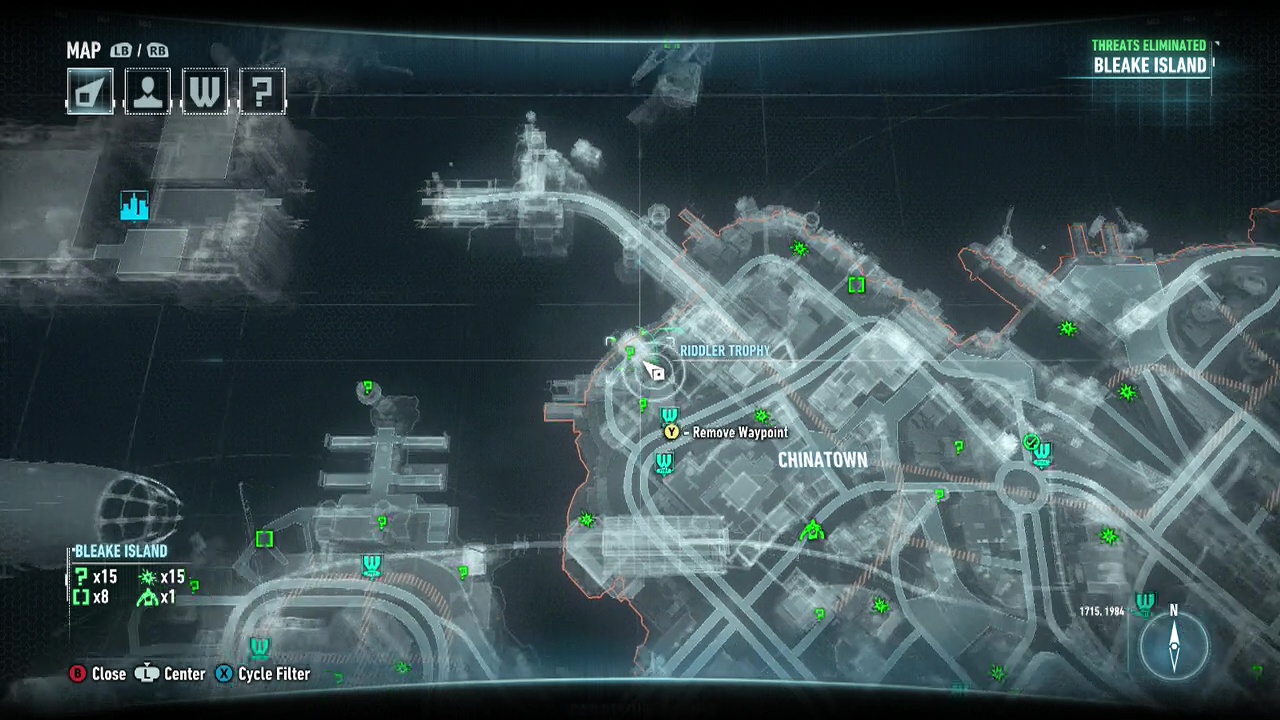
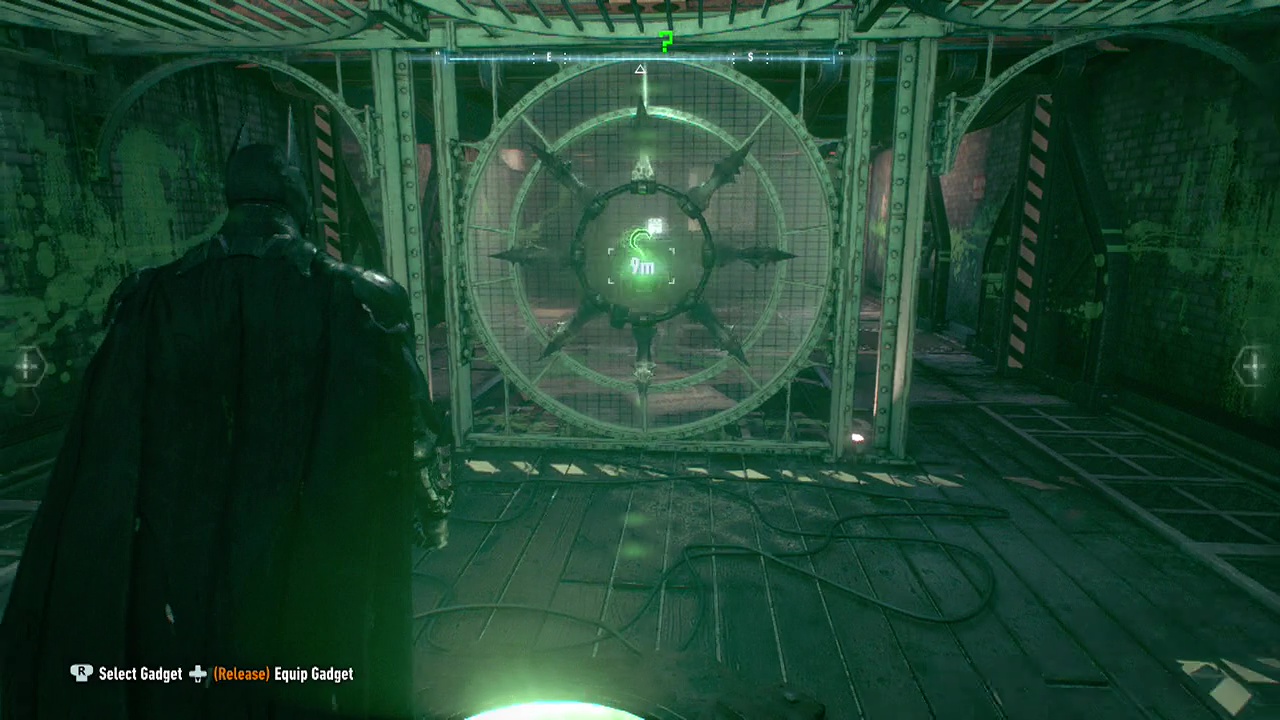
Riddler Trophy 21: Remote Control Batarang, Batclaw – Use a Batarang on the Up symbol to raise the crates. Walk underneath and step on the pressure pad. Use the Batclaw to get the trophy. This will spawn a whole bunch of robots with guns. Use the Remote Control Batarang and send it past them, outside, and hit the Down arrow on the crate.
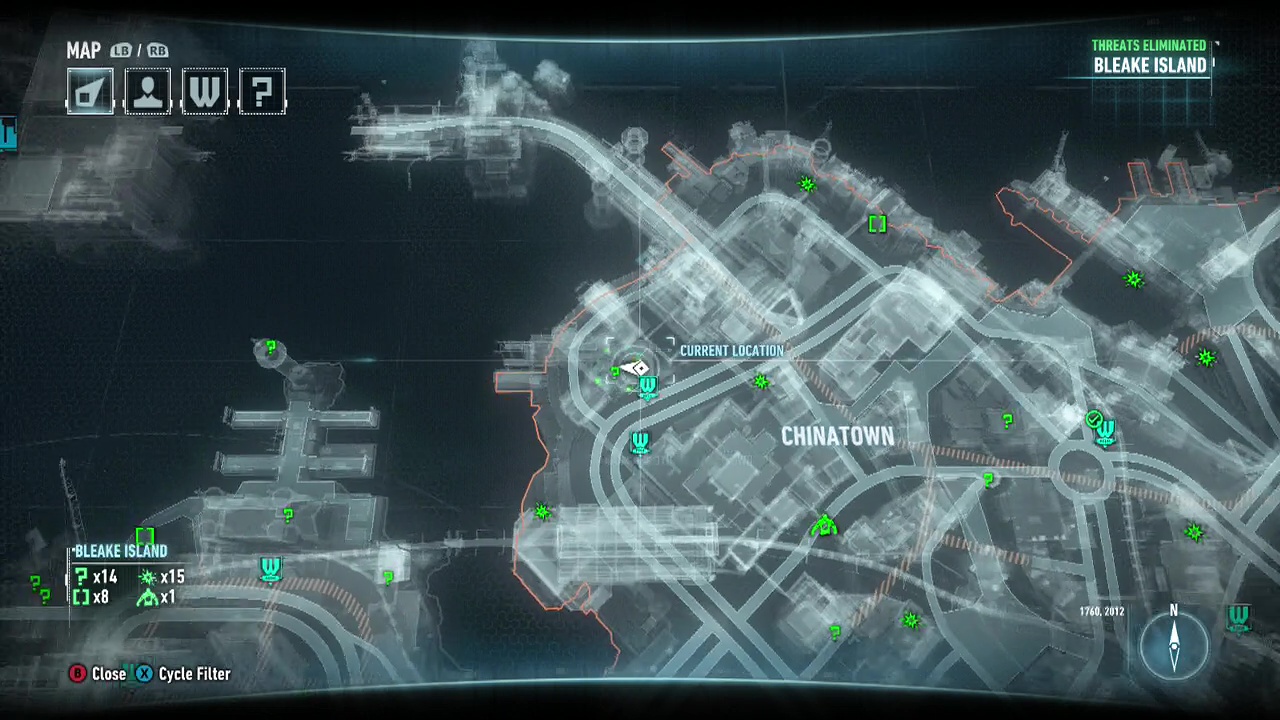
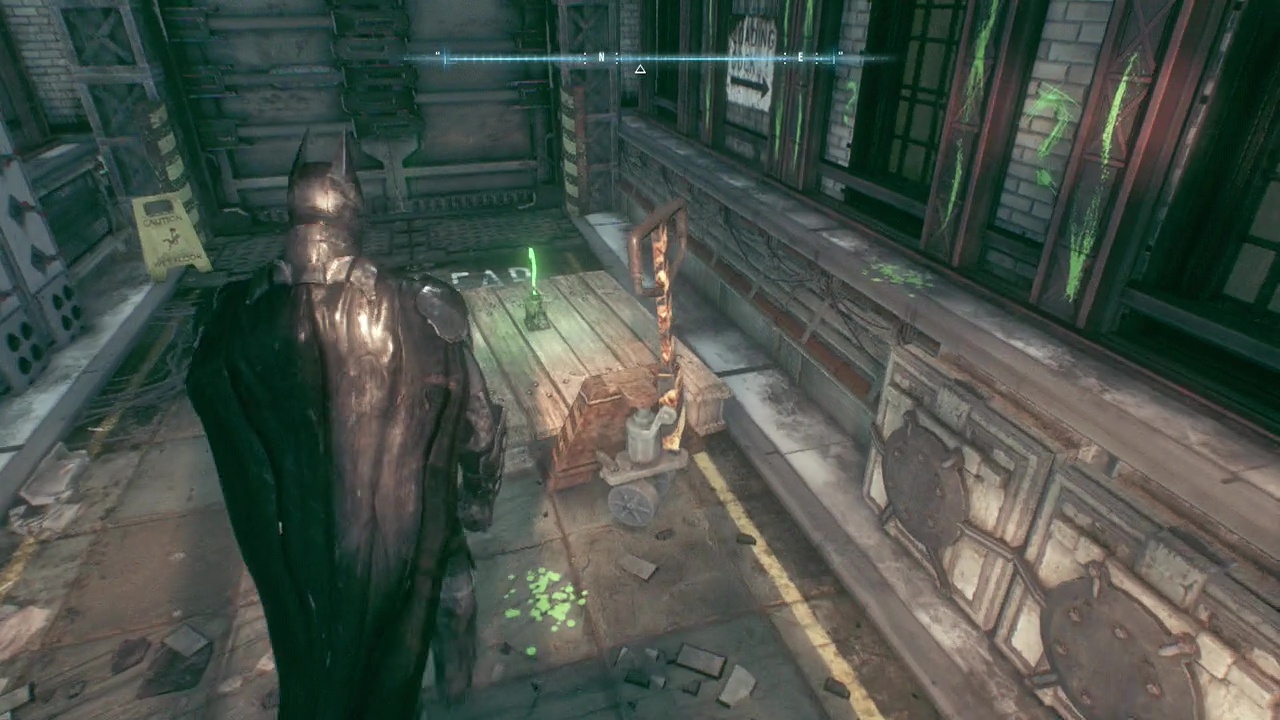
Riddler Trophy 22: Batmobile, Forensic Scanner – Use the Forensic Scanner to activate it. This will spawn a trail of question marks that are only revealed with the scanner. Each question mark will need to be revealed before the next will show. Even up or down walls or sides of buildings. If you stuff up, it will go back to a checkpoint and you can continue from there. When the trail goes up onto the bridge, you have a limited time to get up there and continue the trail before they vanish back to a checkpoint. A quick way for this one is to scan, launch yourself out of the Batmobile, Glide to the bridge and summon the Batmobile as you are falling. Scan the road next to the trail to continue. Follow the trail until you reach the end. Shoot the wall with the Batmobile, and Grapple your way in to get the trophy.
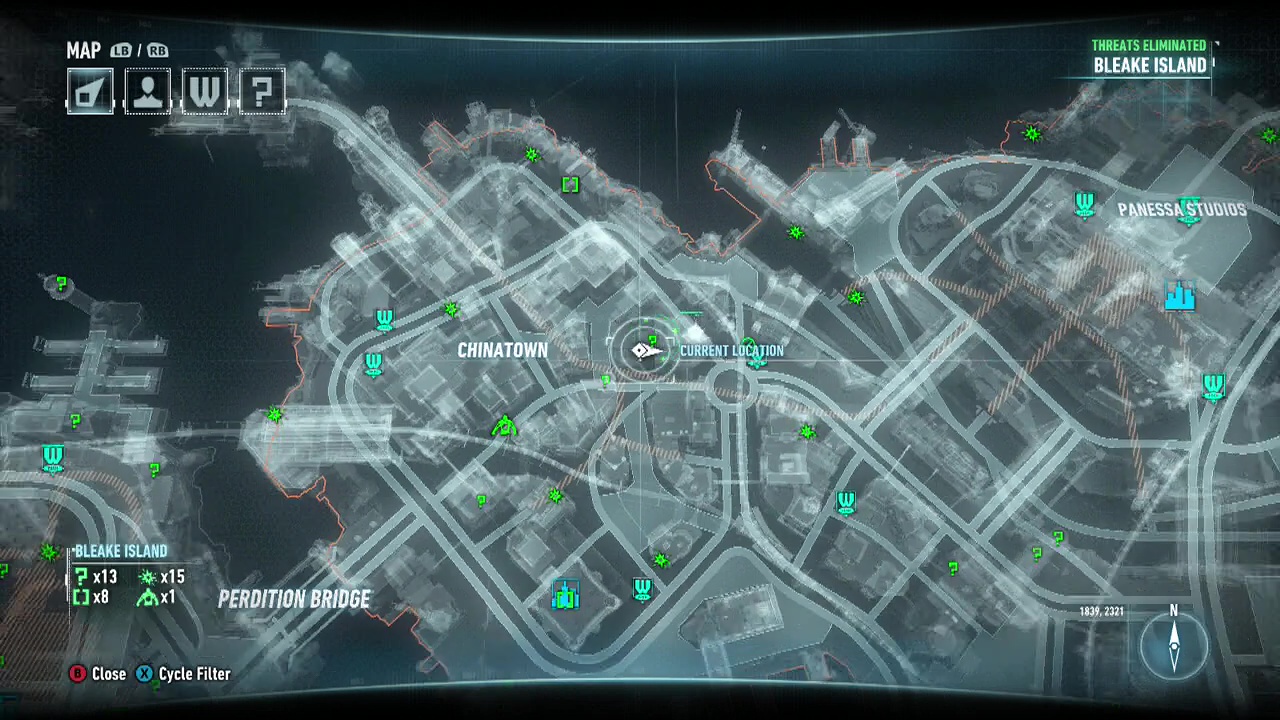
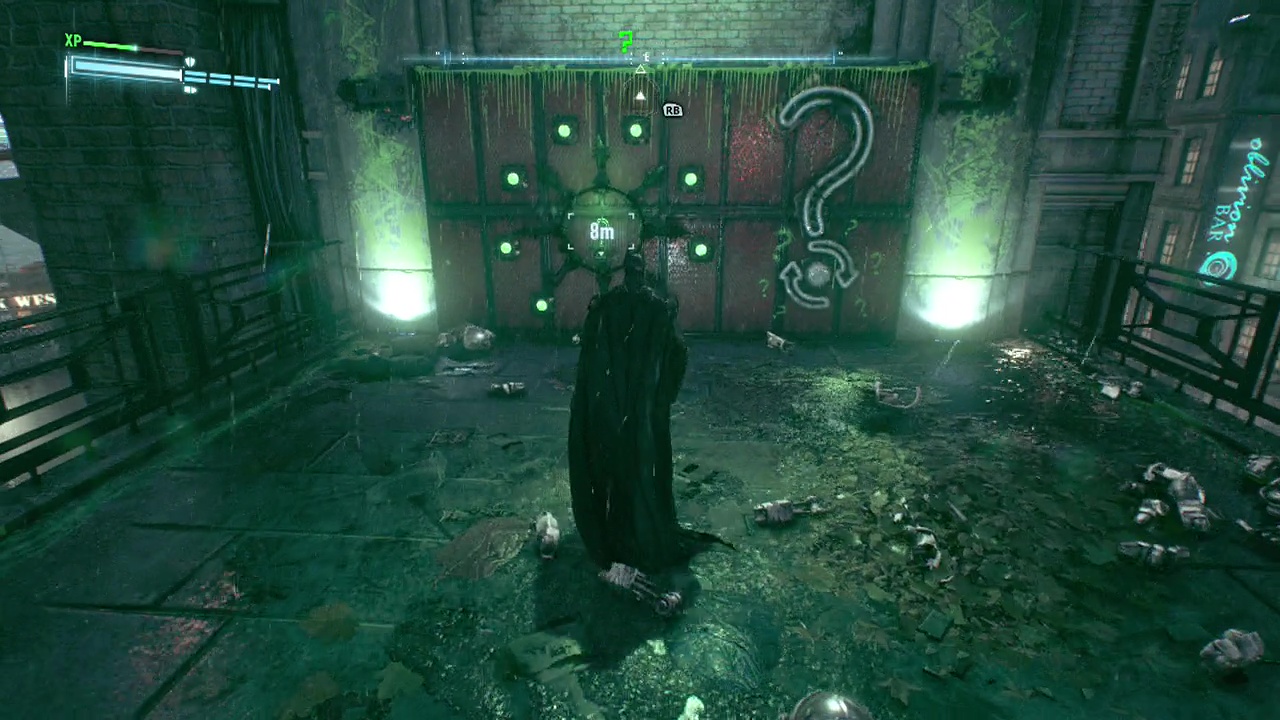
Riddler Trophy 23: Kill the enemies to increase the counter lights around the trophy. Use a Batarang on the Reset button to make them respawn. The counter doesn't reset. Keep at it until you can get the trophy.
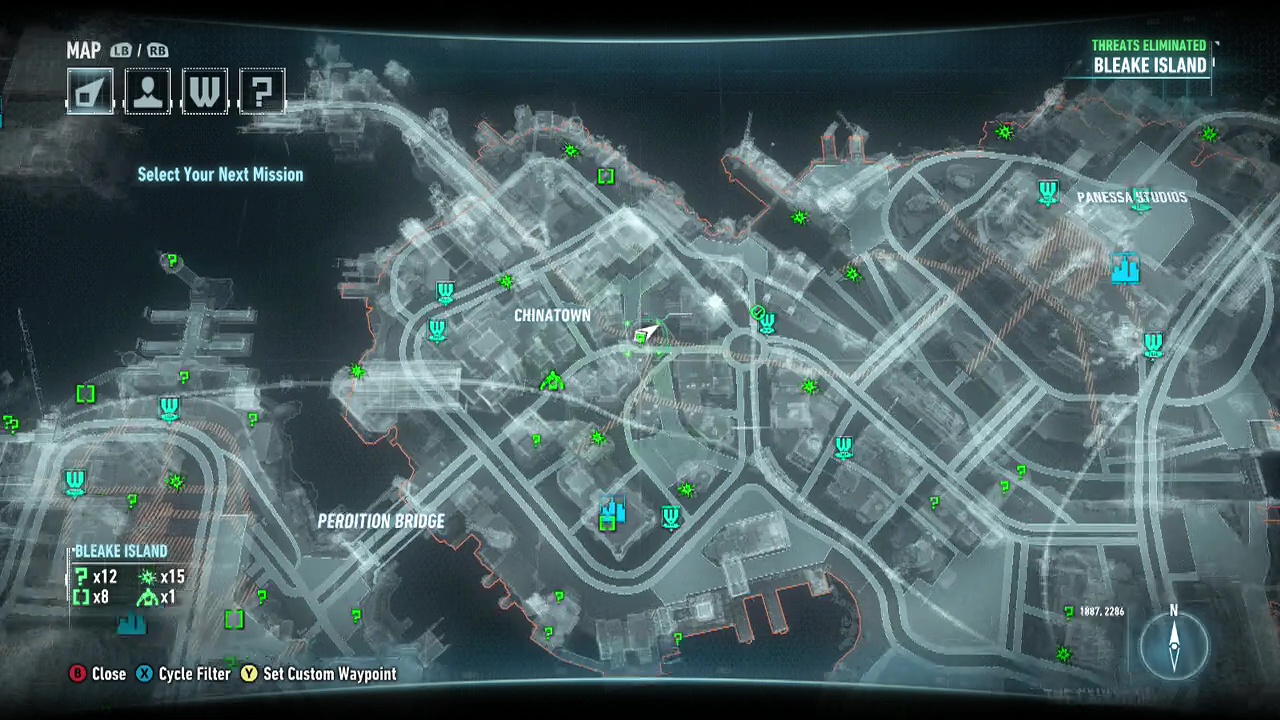
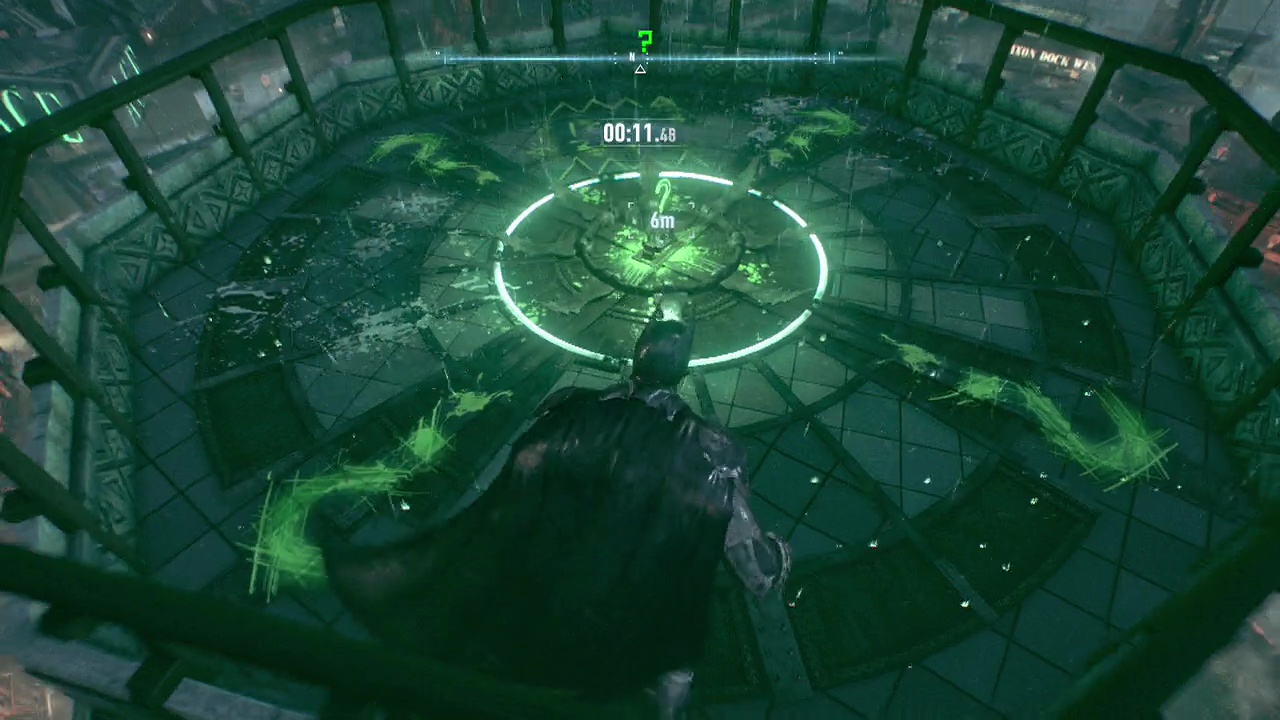
Riddler Trophy 24: Batmobile, Power Winch – 1665-3171. To get there, you will need to get the Batmobile on top (see video), and use the Power Winch to rev the point. Now you only have a limited time to get back, and Riddler wants you to use the car. It is faster, so go for it. Follow the path and launch grapple your way up to collect the trophy.
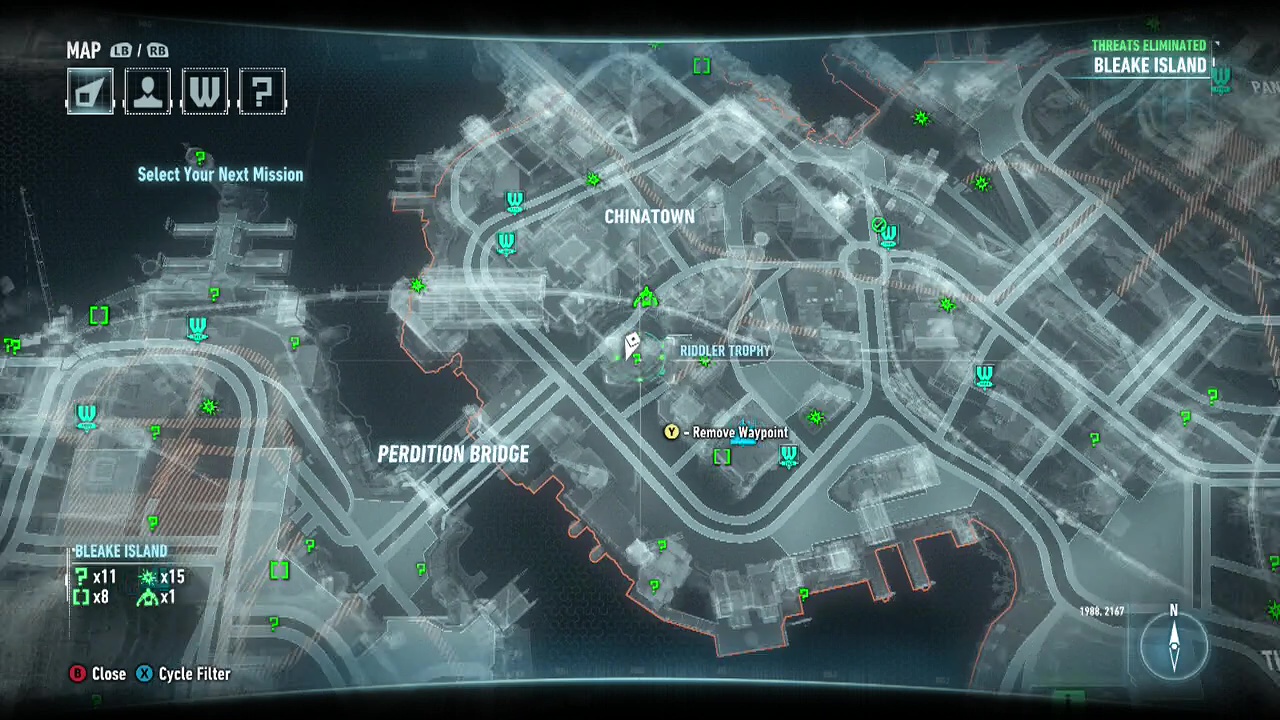
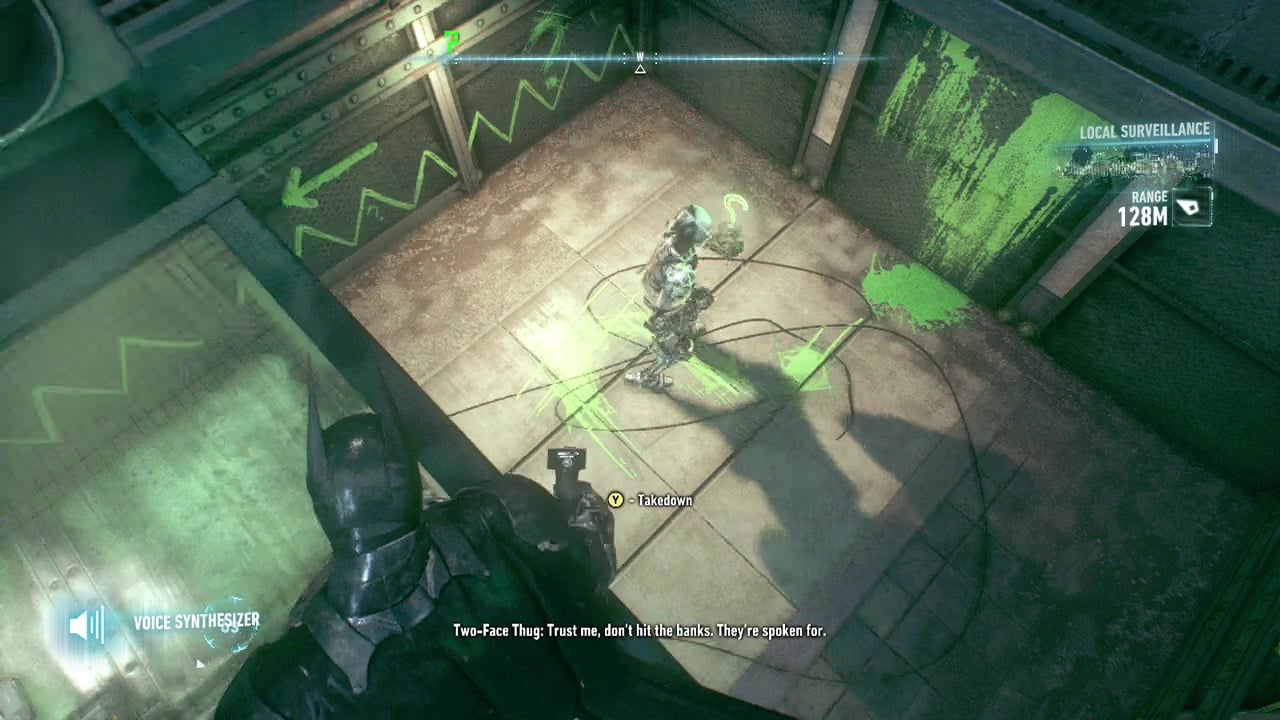
Riddler Trophy 25: Remote Hacking Device, Voice Synthesiser – Use the Remote Hacking Device to disable one of the turrets. In that 30 second window, use the Voice Synthesiser to move the Robot to pick up the trophy, and move him back out. If he gets destroyed, use the Reset button above the start on the wall. The trophy will have moved as far as you got the Robot to move. Disable a turret and get the Robot to pick up the trophy and start moving out. Keep repeating as necessary until he is outside. Take him out and get your trophy.
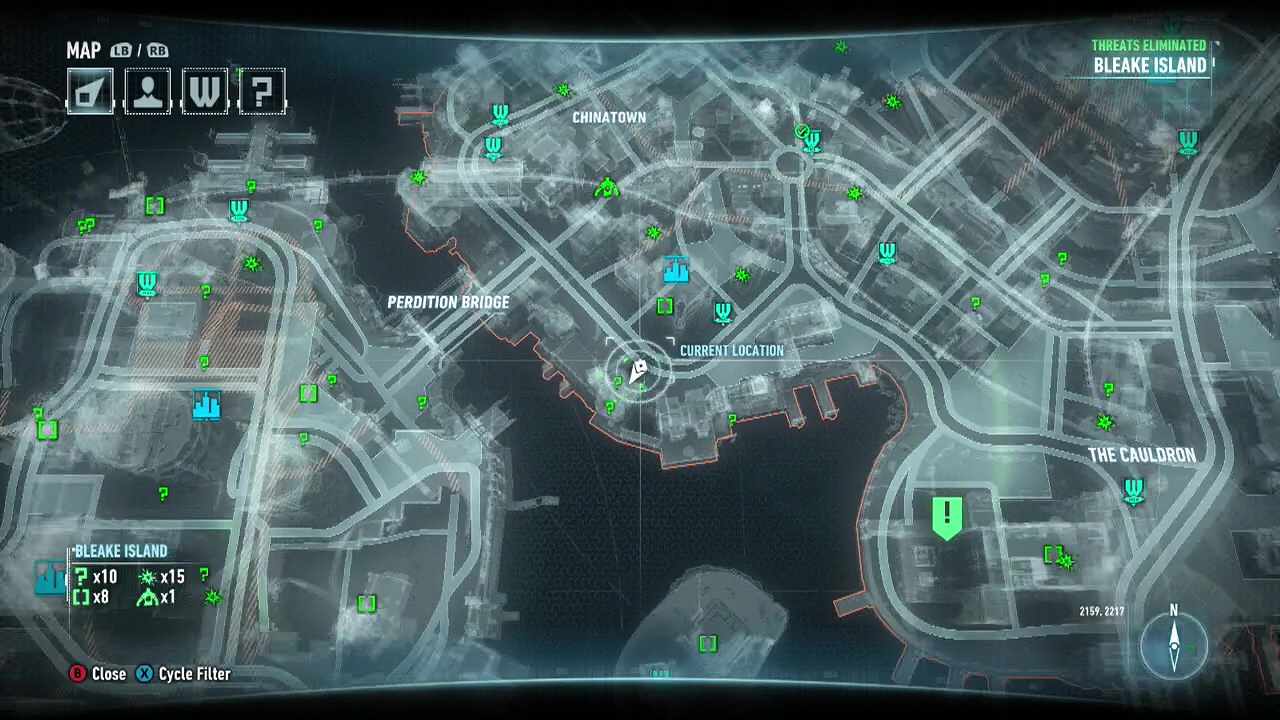
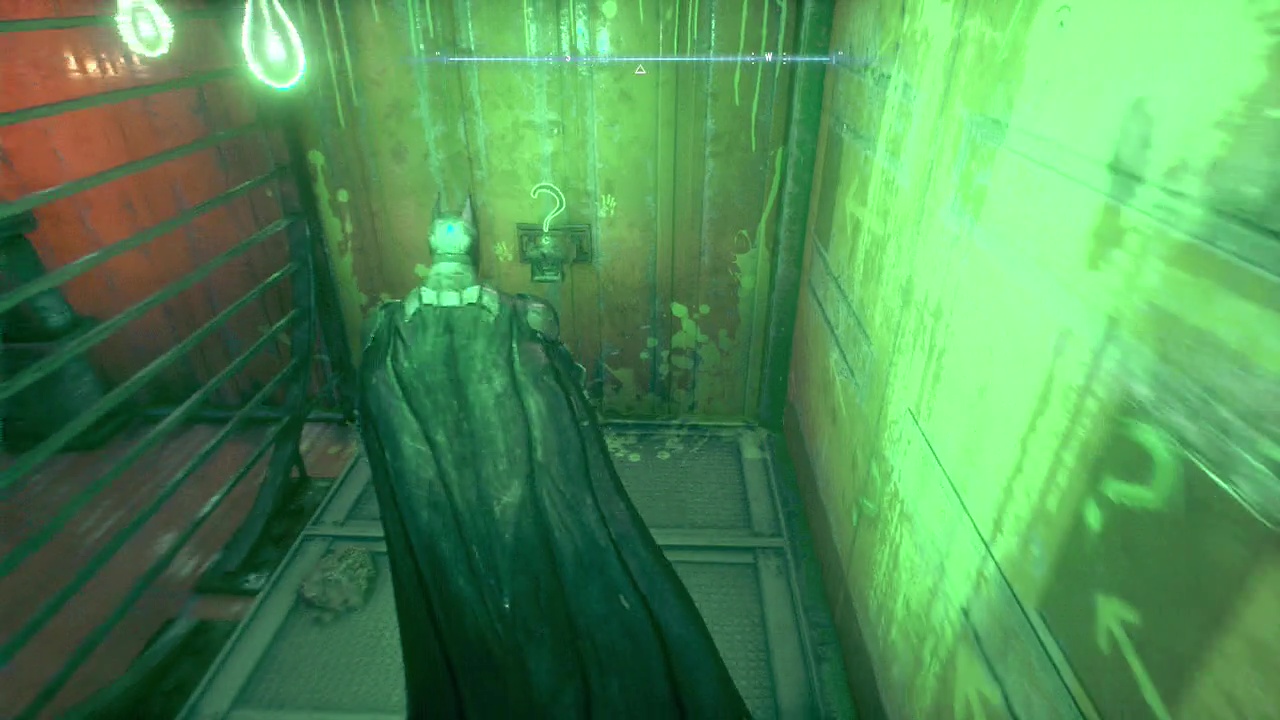
Riddler Trophy 26: Batmobile, Power Winch, Remote Electrical Generator – Use the Power Winch to lower a cog. Then exit the Batmobile and use the Remote Electrical Generator to open the door.
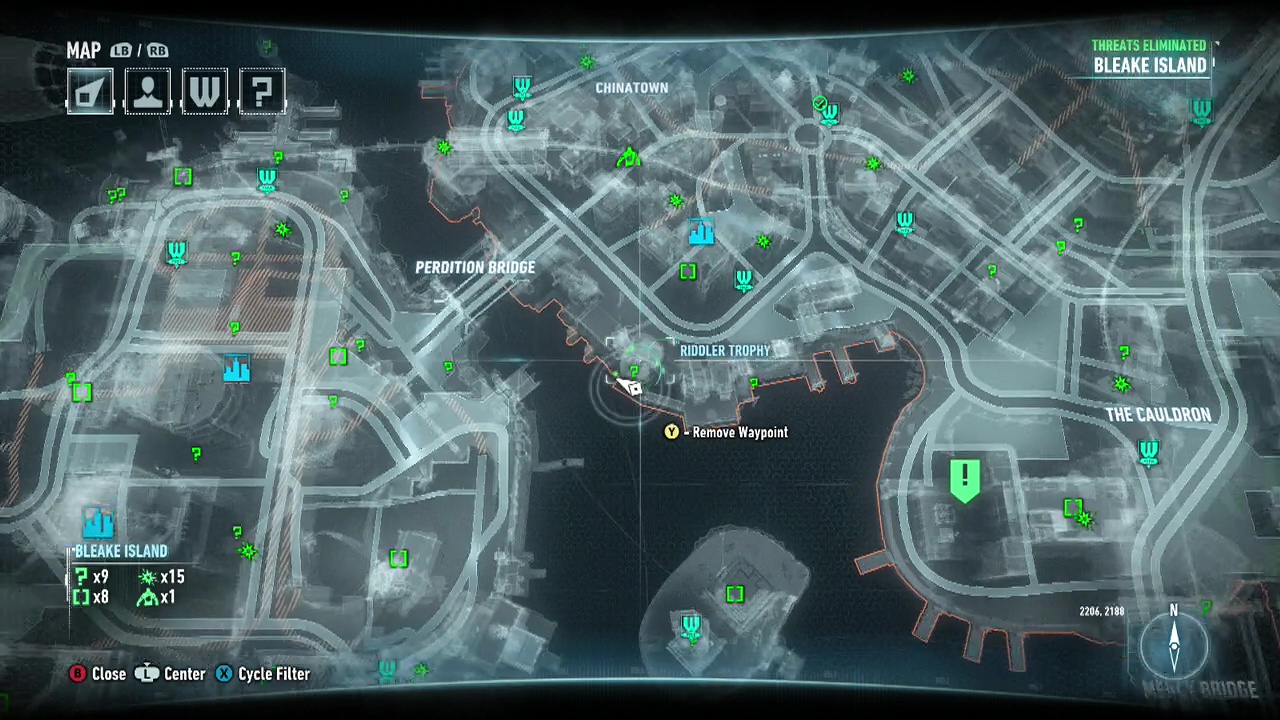
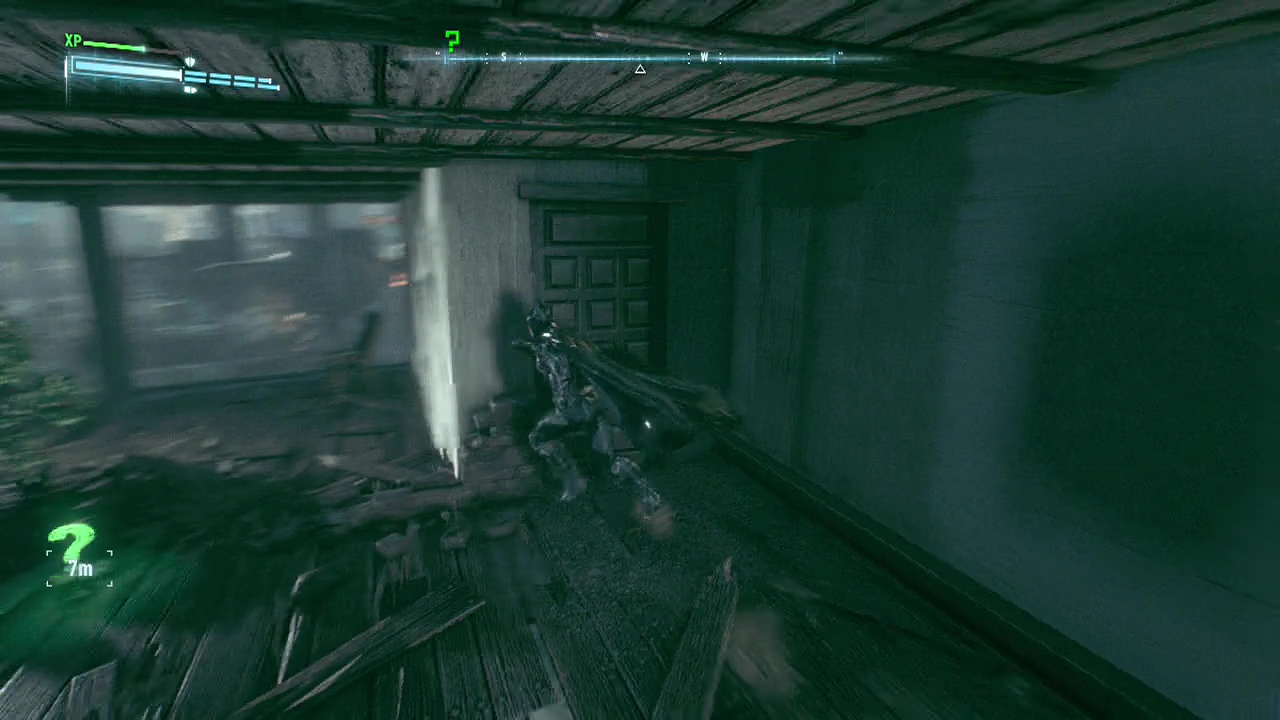
Riddler Trophy 27: Head inside. Find trophy. Pick up trophy. Has trophy.
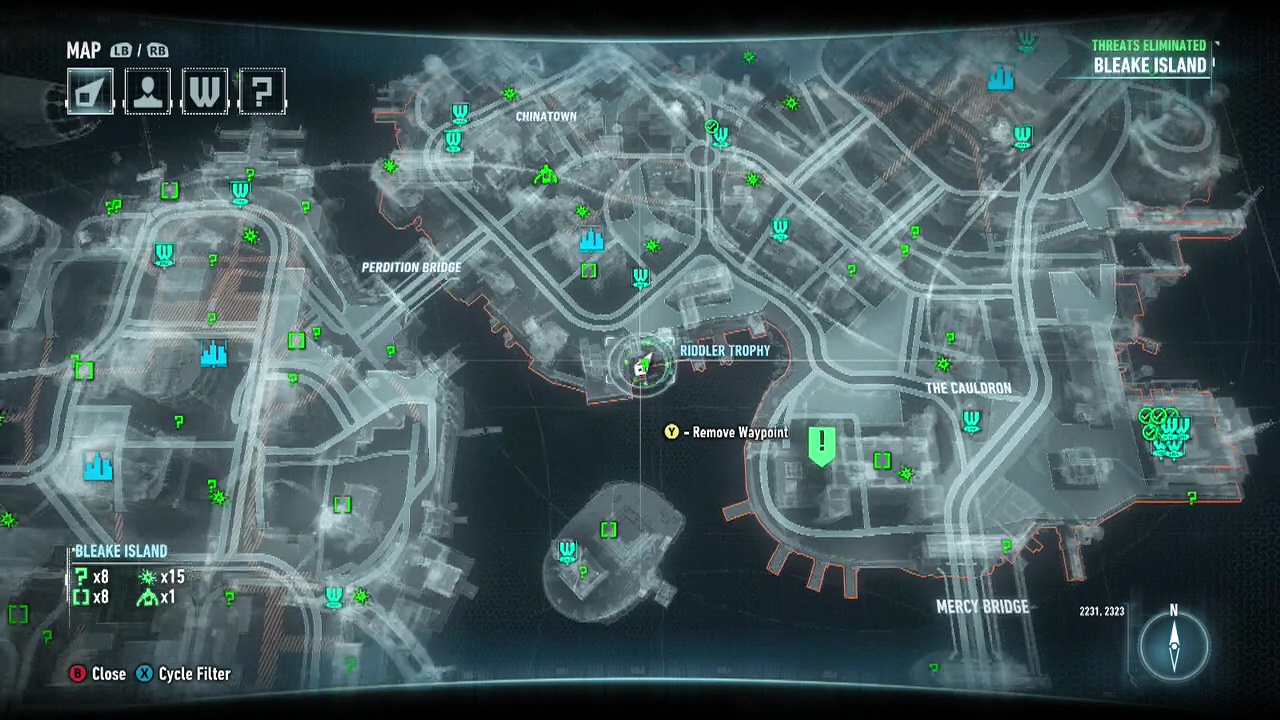
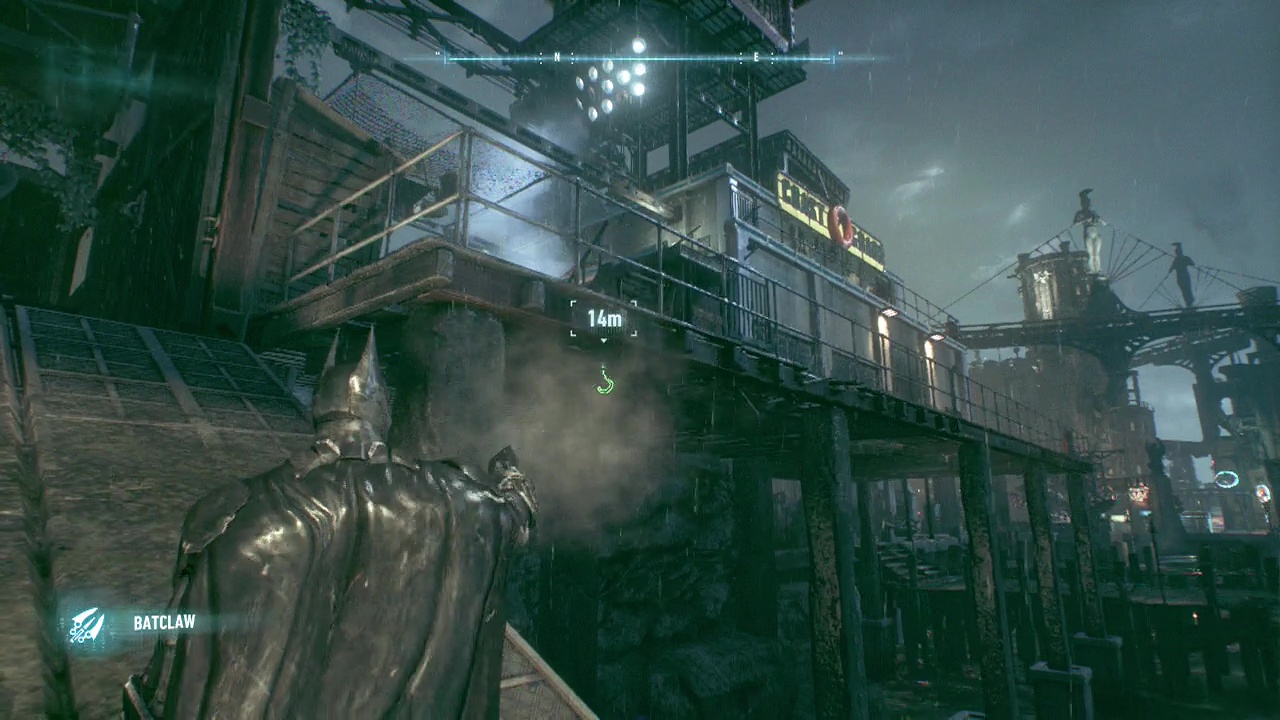
Riddler Trophy 28: Batclaw – Trophy is on the underside of the path next to the water. Grab it with the Batclaw.
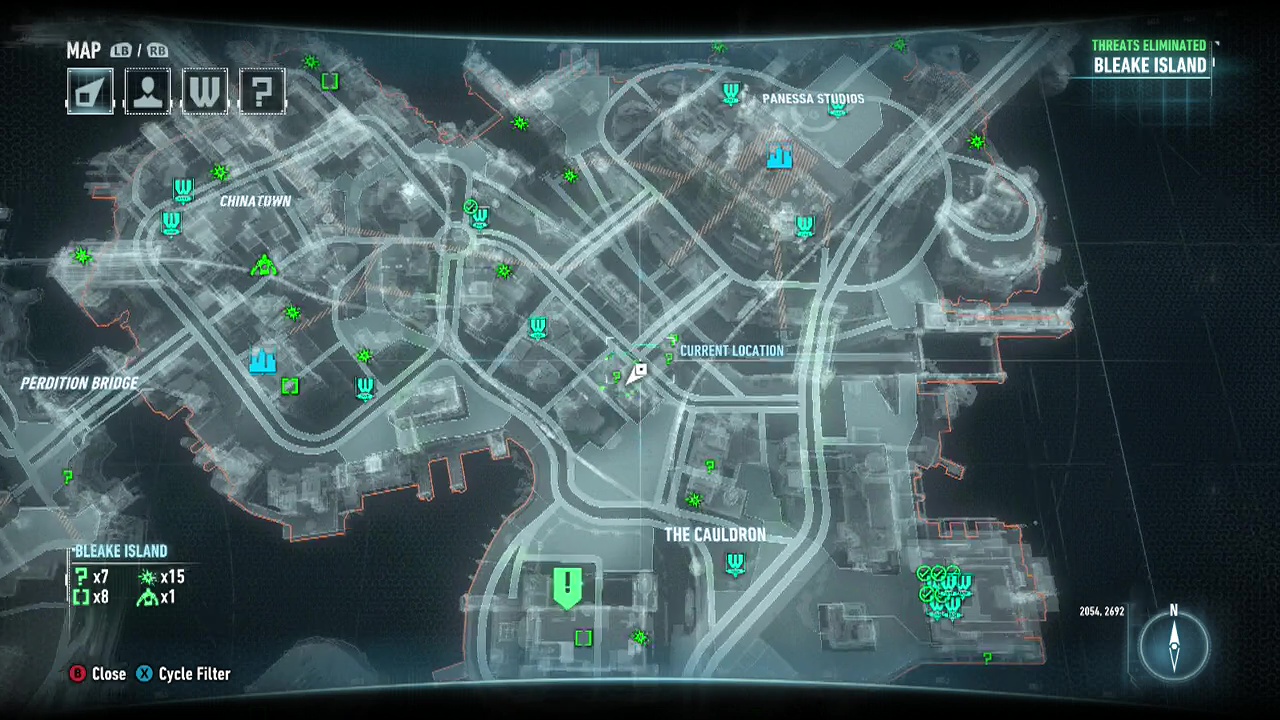
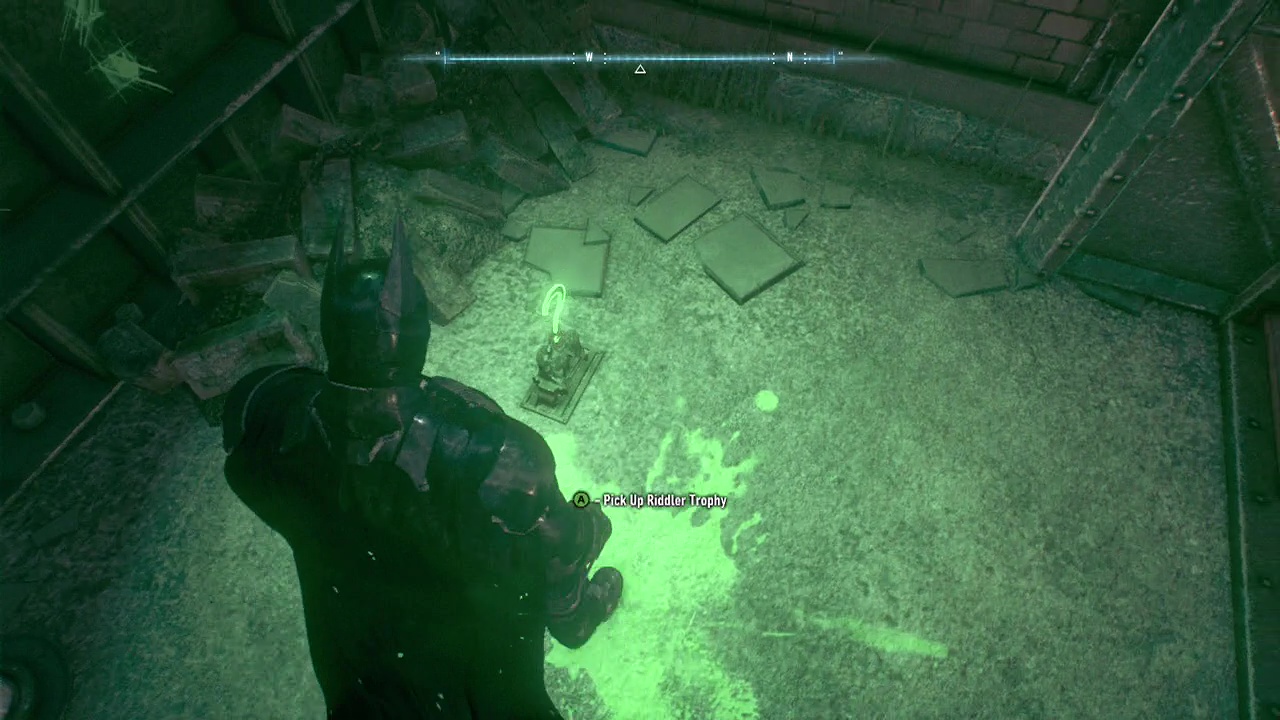
Riddler Trophy 29: Batmobile, Power Winch, Remote Batmobile Control – Use a Batarang on the question mark on the Red part to open the door. Step inside, and use the Remote Batmobile Control to Power Winch the first wall open. Walk through. Remote Power Winch the second. Pick up the trophy. Remote Power Winch yourself back outside.
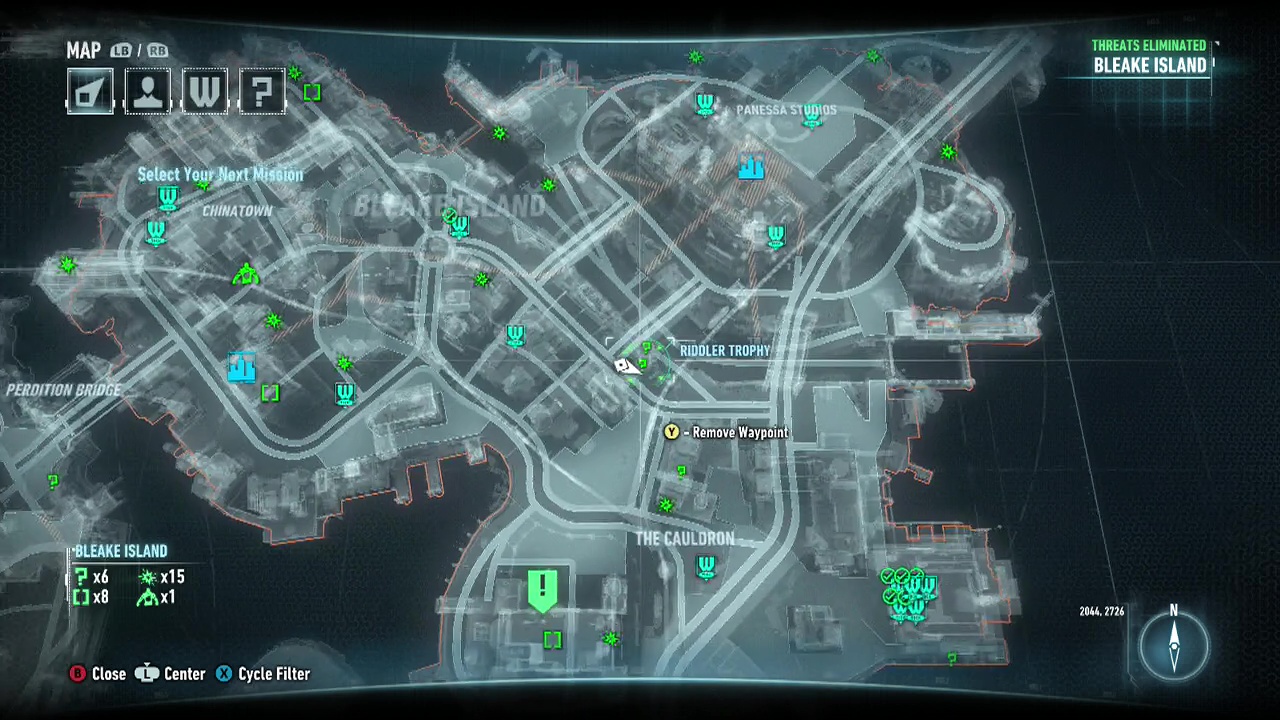
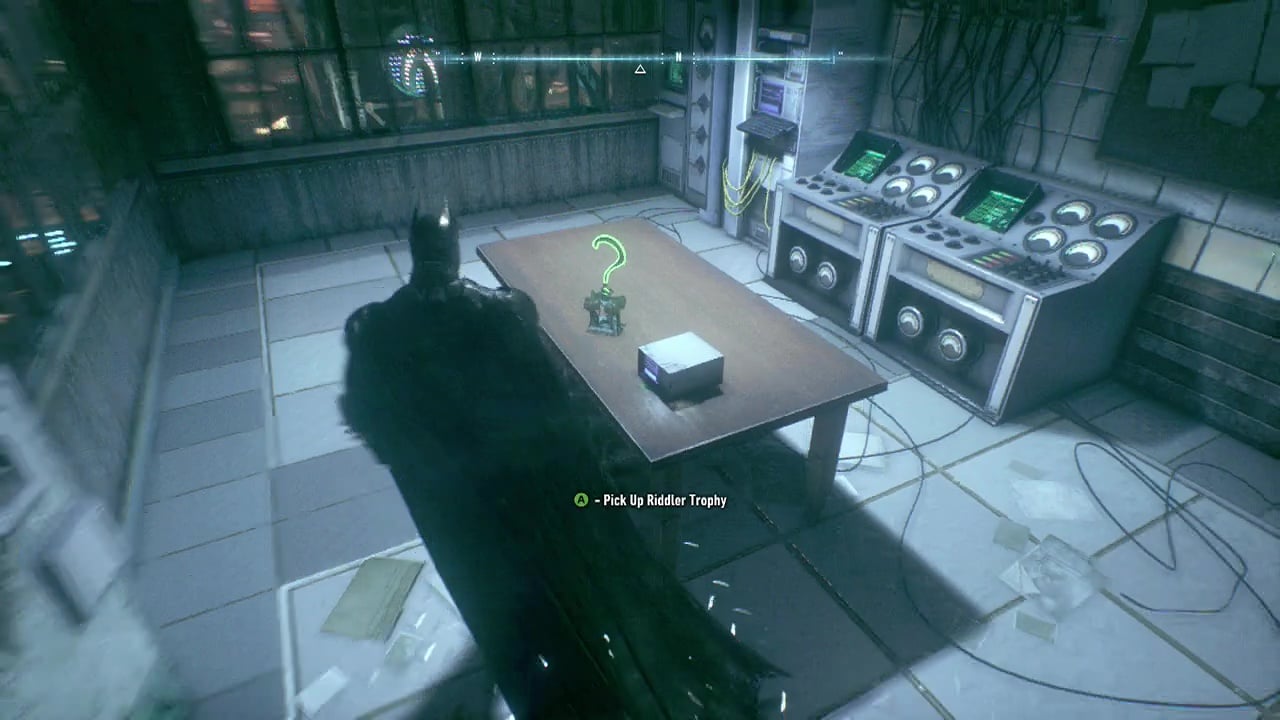
Riddler Trophy 30: Grapple up and pick up the trophy off the table.
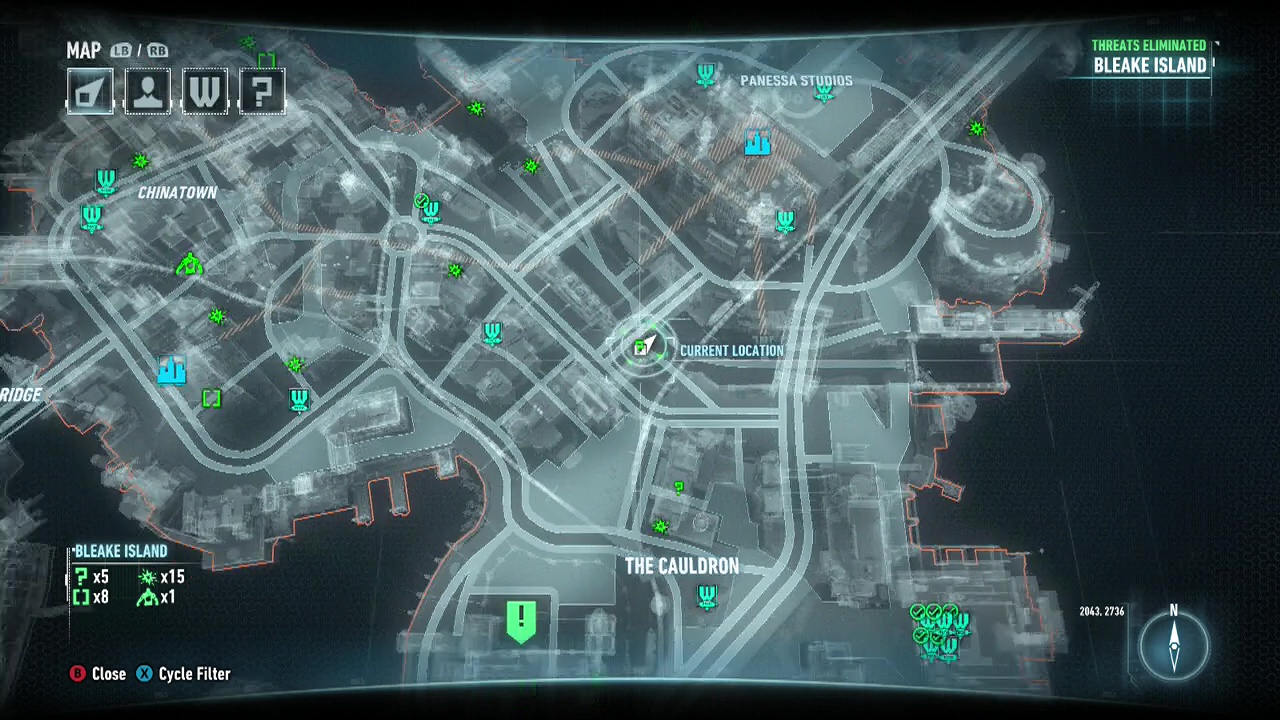
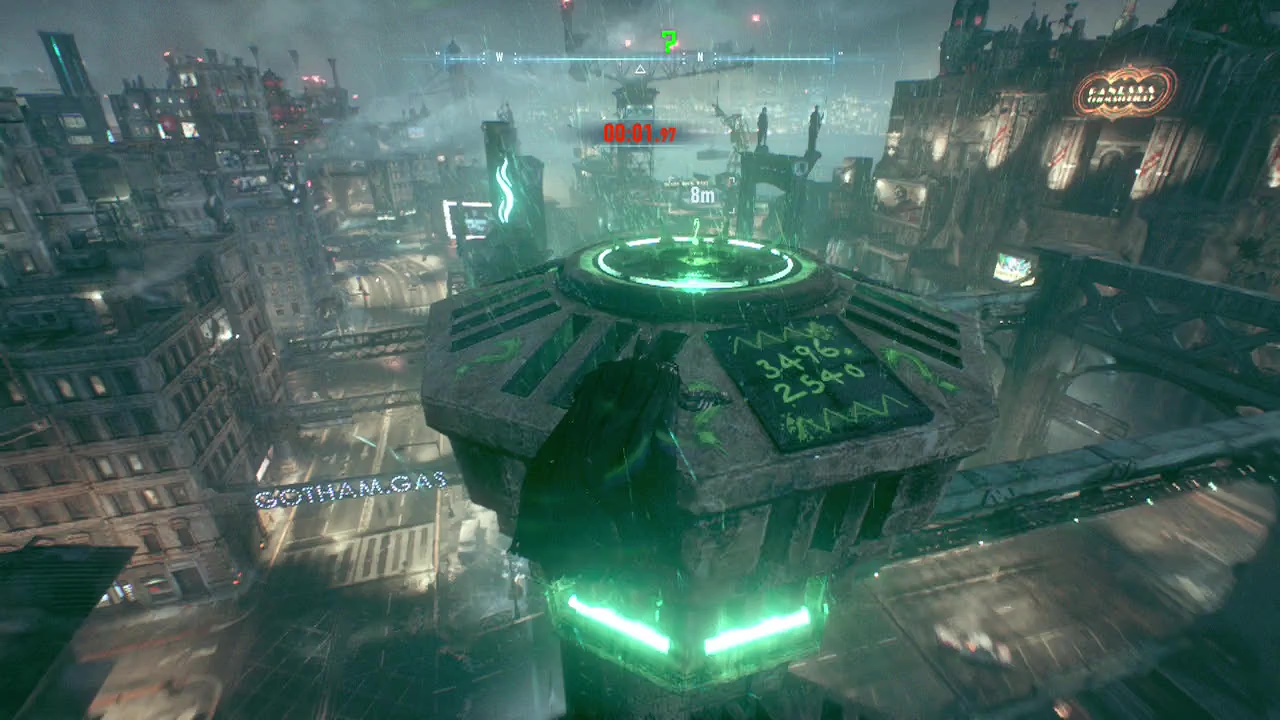
Riddler Trophy 31: Batmobile, Power Winch – 3496-2540. Head to the marked location, and use the Power Winch to start the timed event. Race your way back, following the path, and launch grapple when you get close enough to be able to grapple up. Collect your trophy.
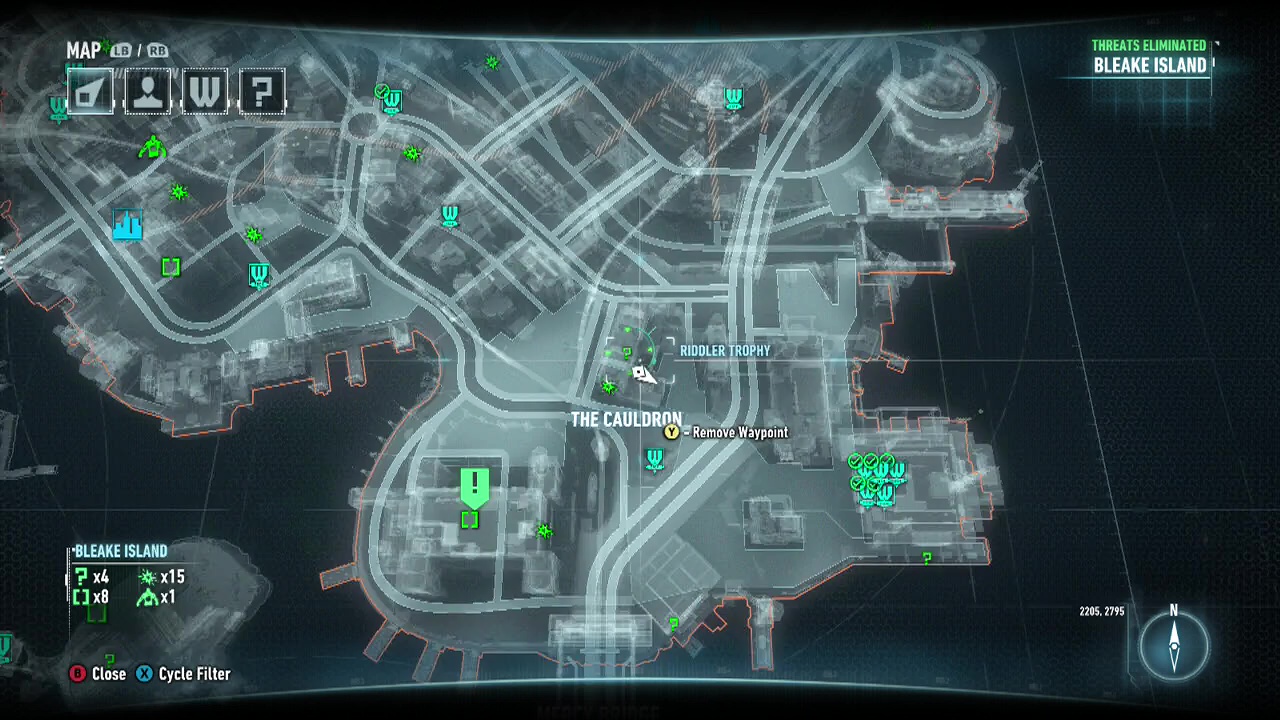
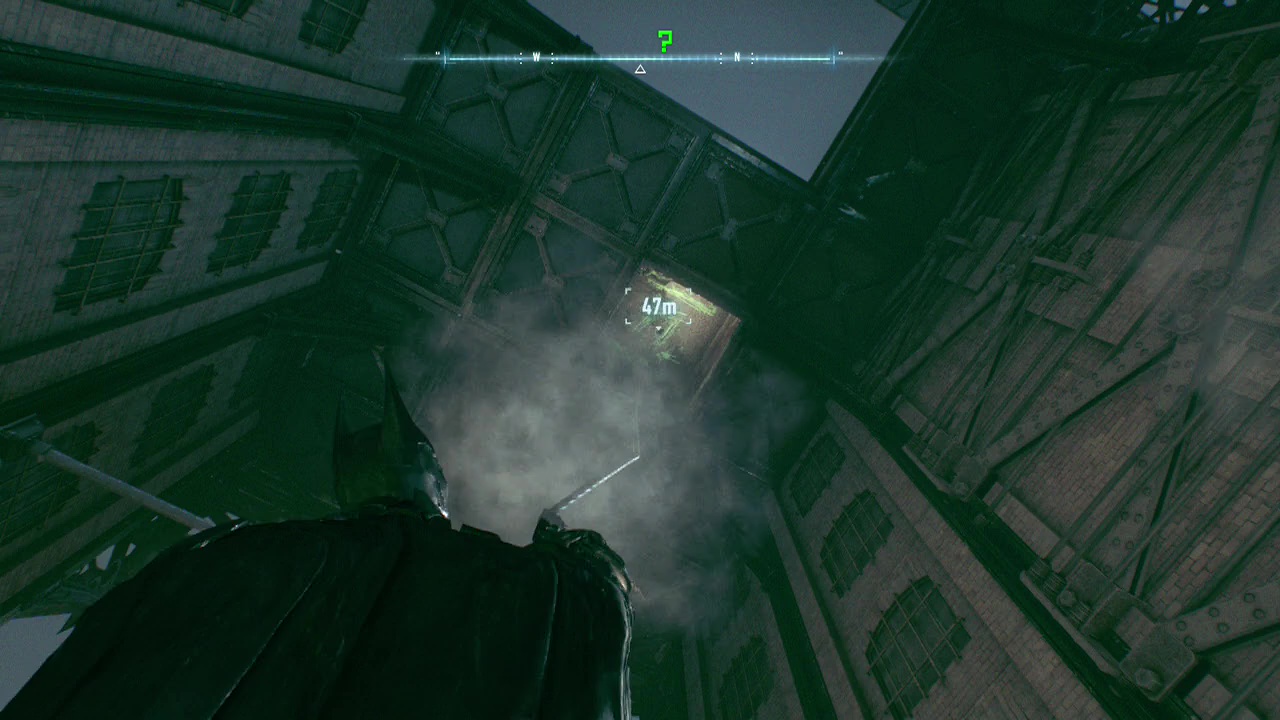
Riddler Trophy 32: Batmobile, Batclaw – Head underneath the building and use the Batmobile to blow up the cracked floor. Then use the Batclaw to collect your trophy.
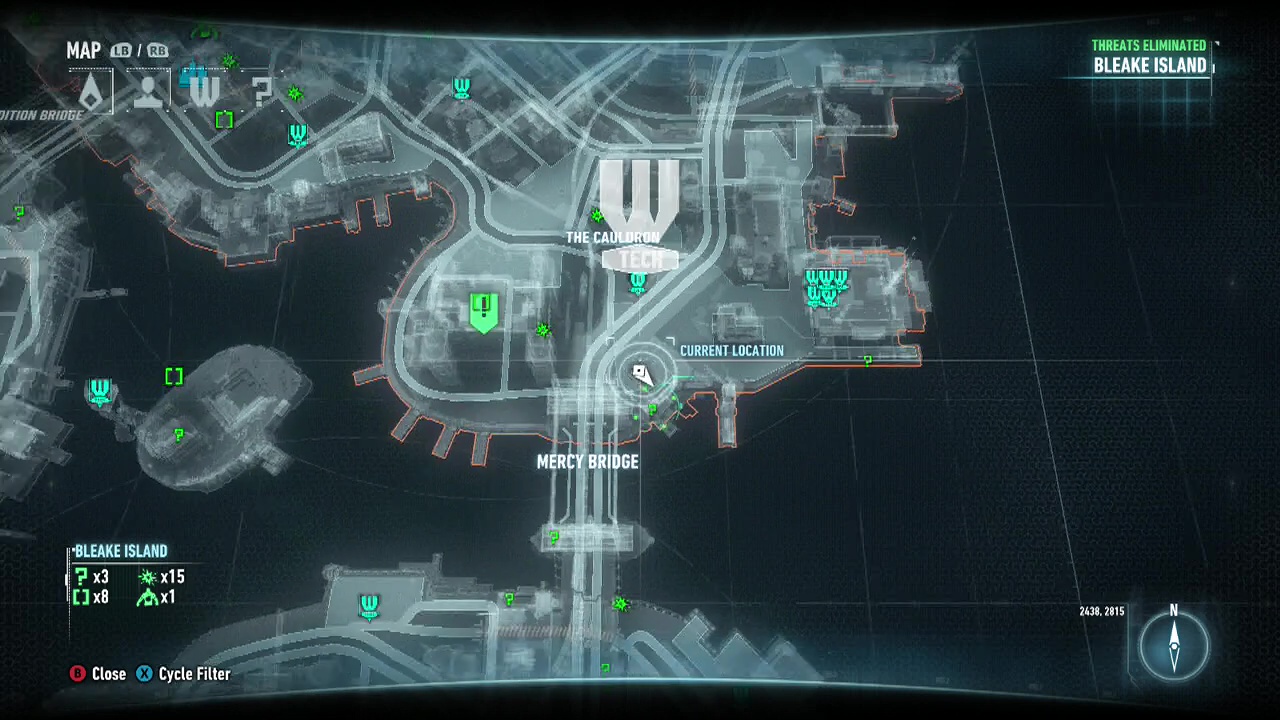
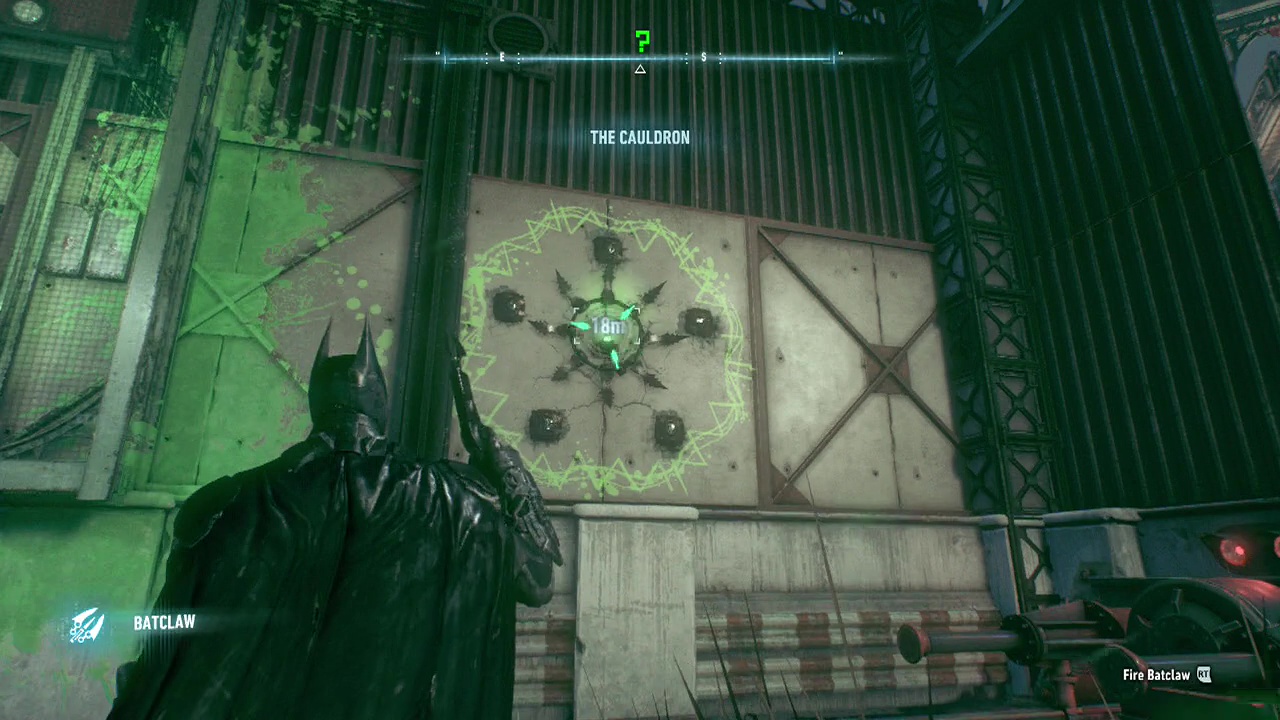
Riddler Trophy 33: Batmobile, Power Winch, Batclaw – Use the Power Winch to lower the board. As it raises back up, shoot the question marks through the holes. You will need to shoot all five, but the holes are at different heights, with one having multiple. Use the Batclaw to collect your trophy.
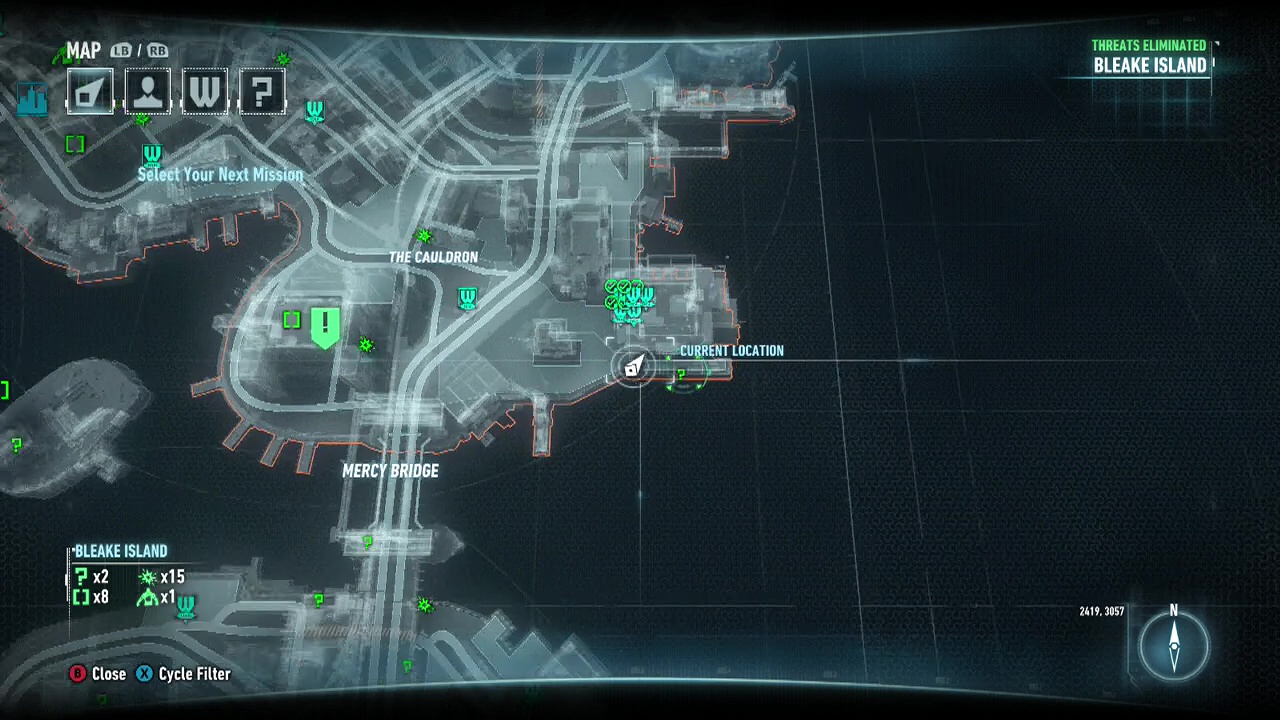
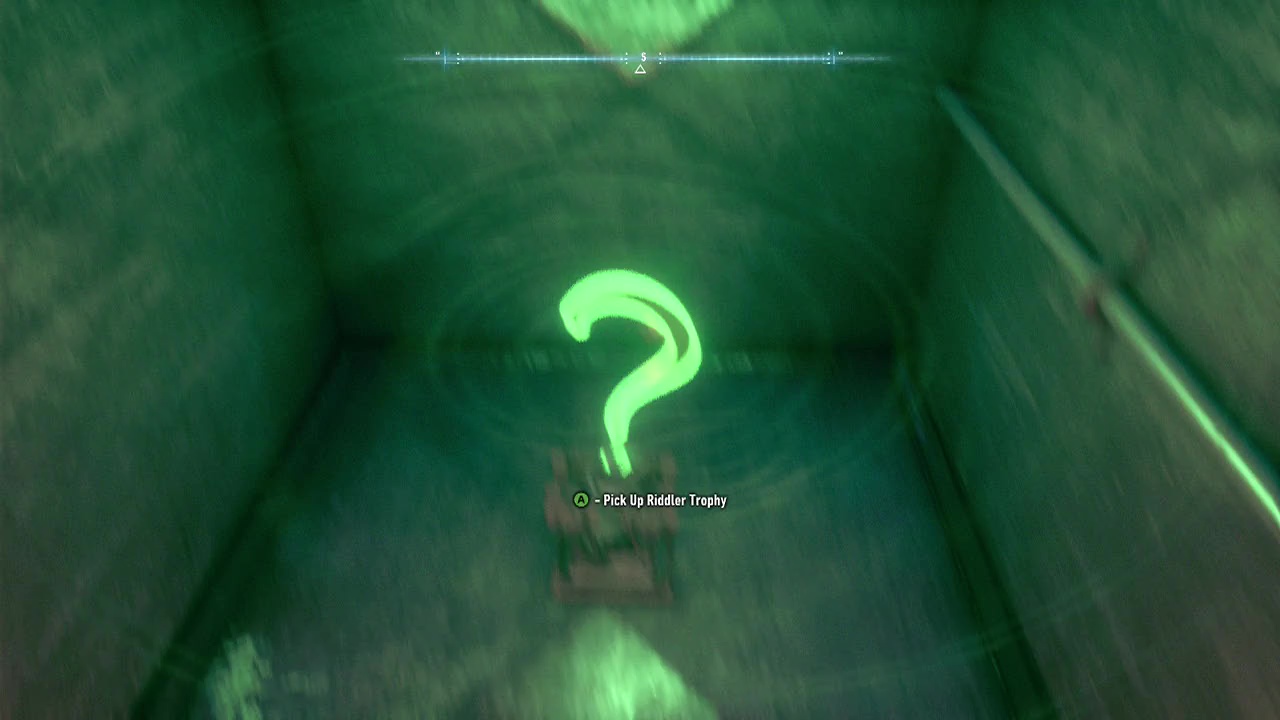
Riddler Trophy 34: Batmobile, Power Winch – Use the Power Winch to move the train. Now that it is out of the way, walk to the other side and enter the grate to collect the trophy.
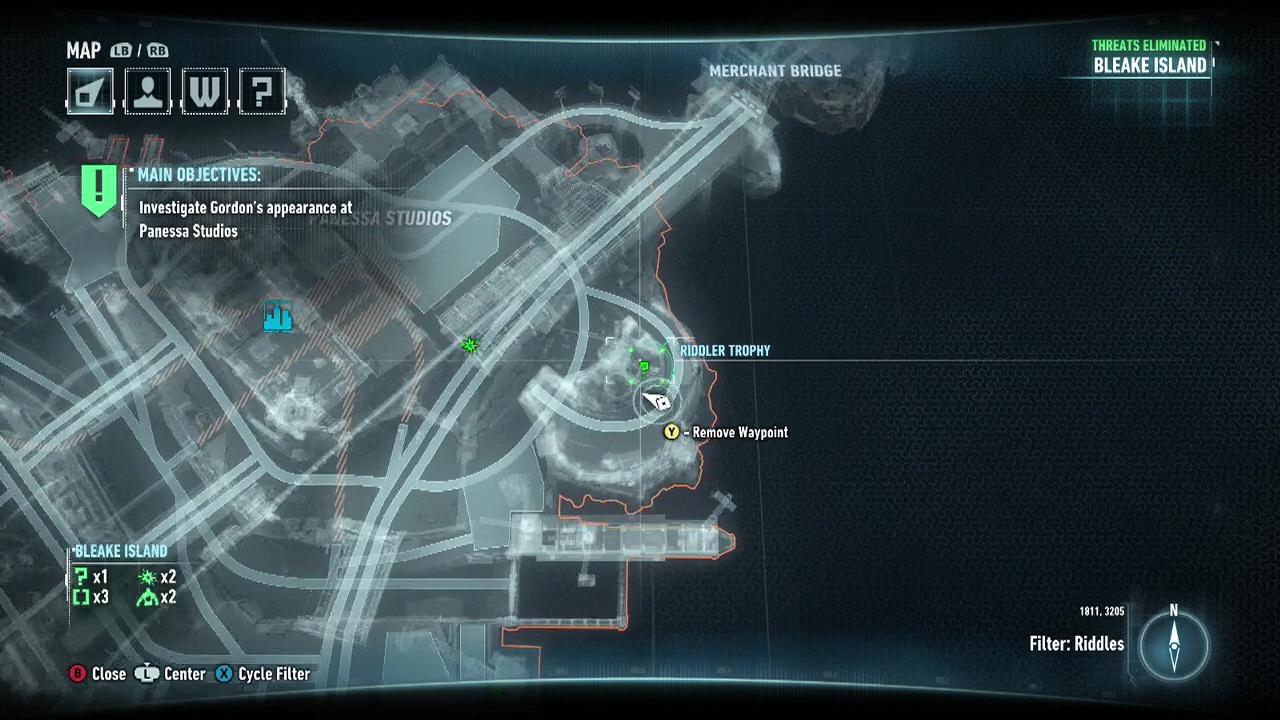
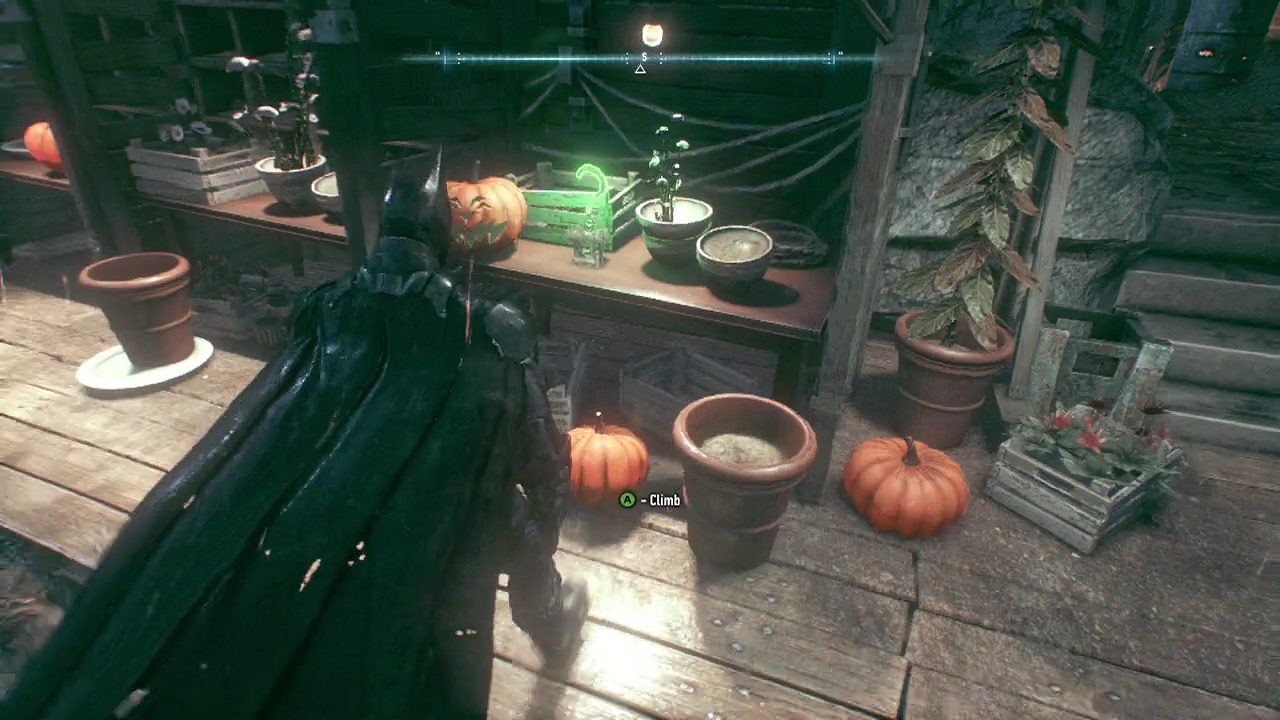
Riddler Trophy 35: Head to the location, and pick up the trophy.
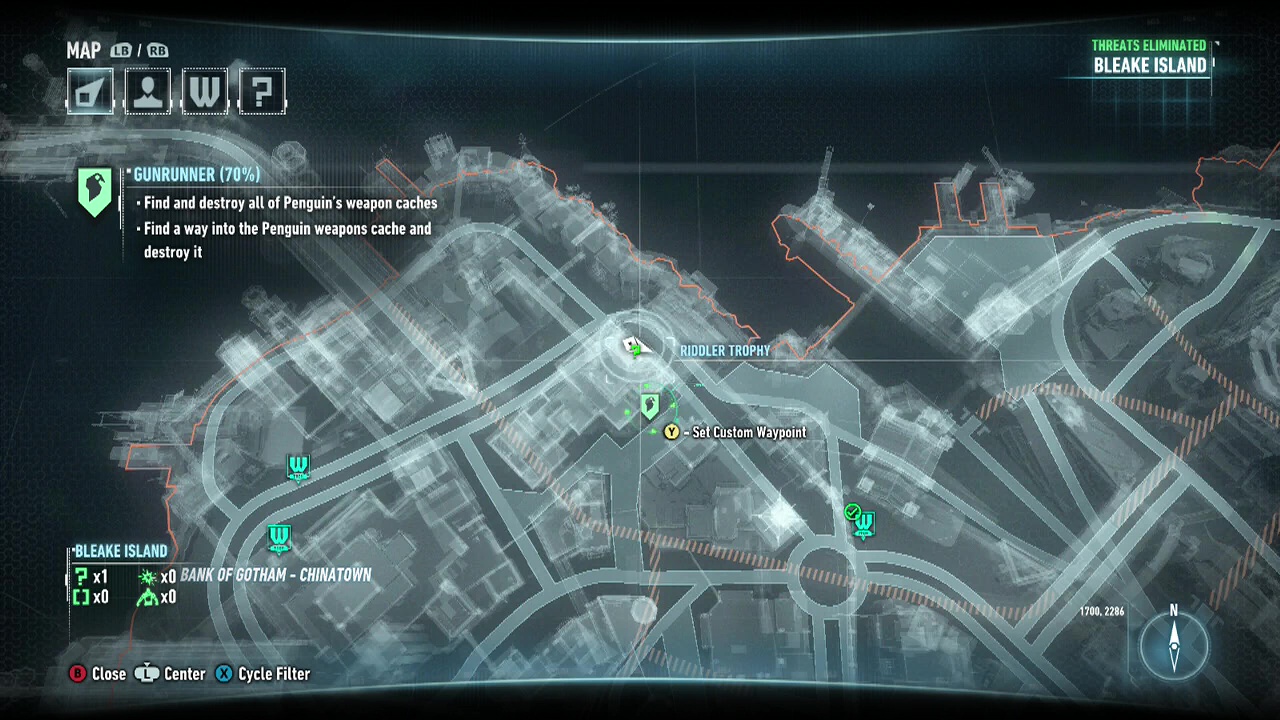
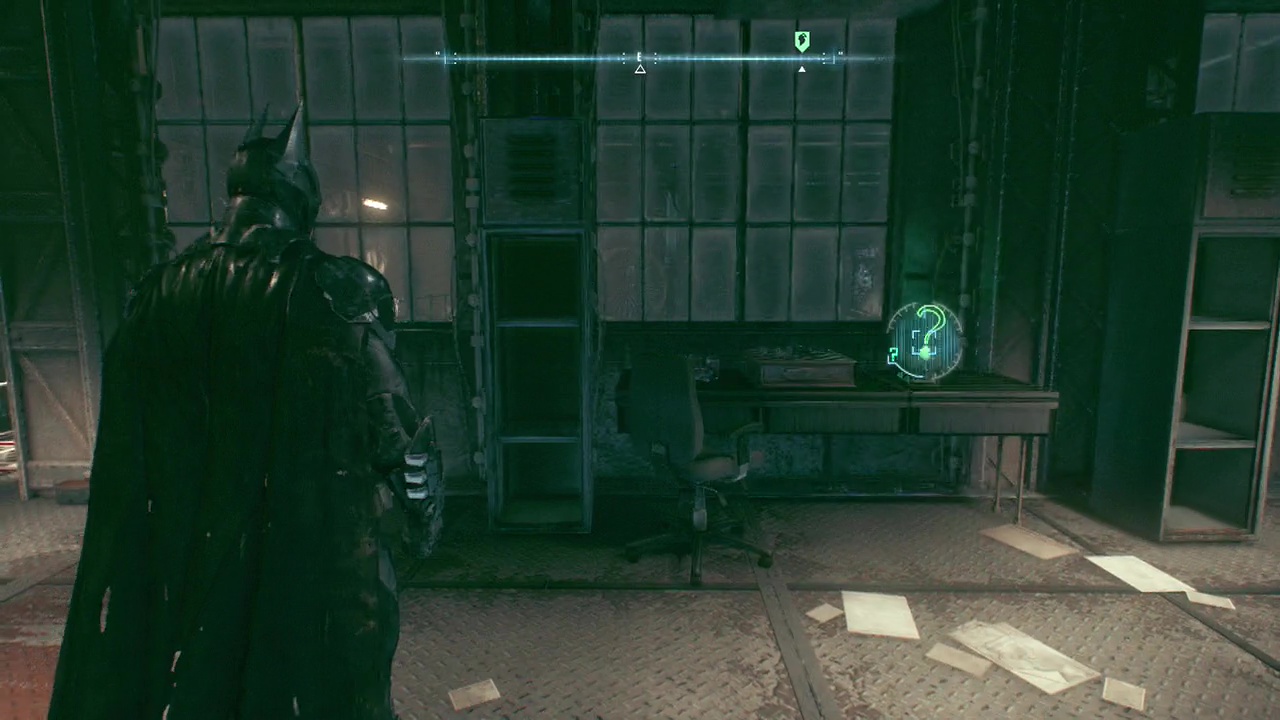
Riddler Trophy 36: Accessible only during and after Gunrunner 03 sidequest.
Breakable Object 1:
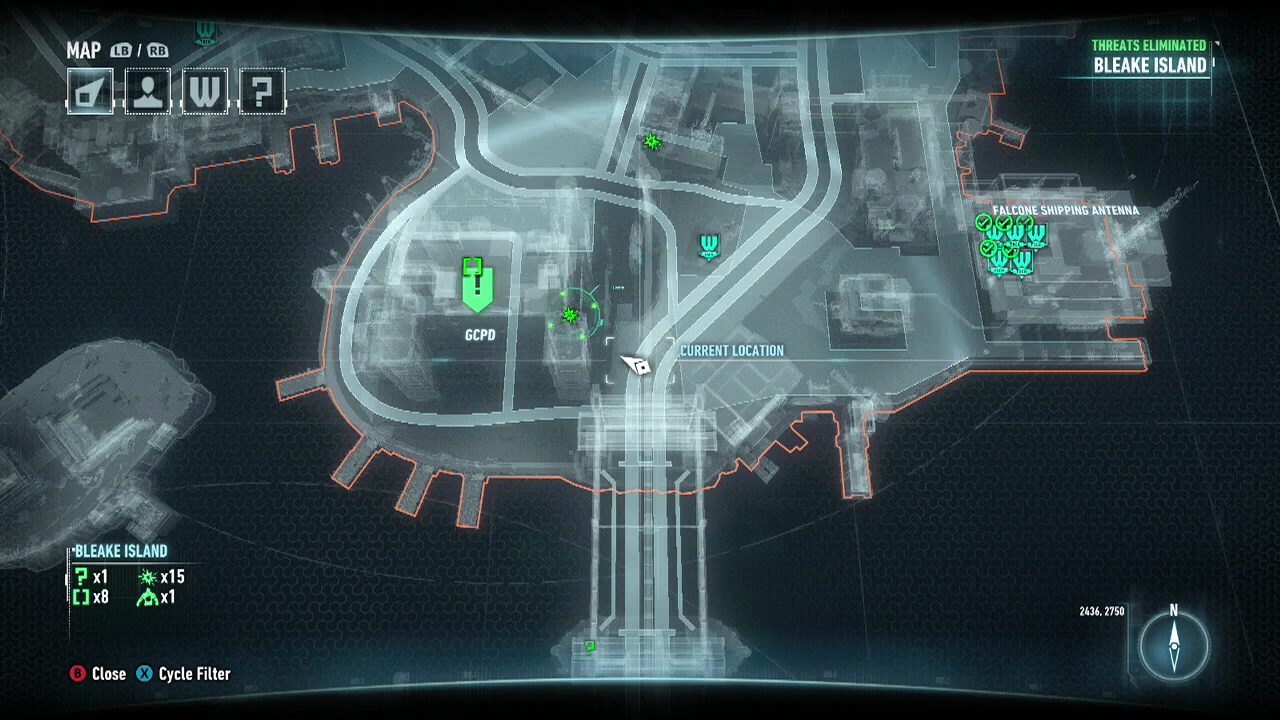
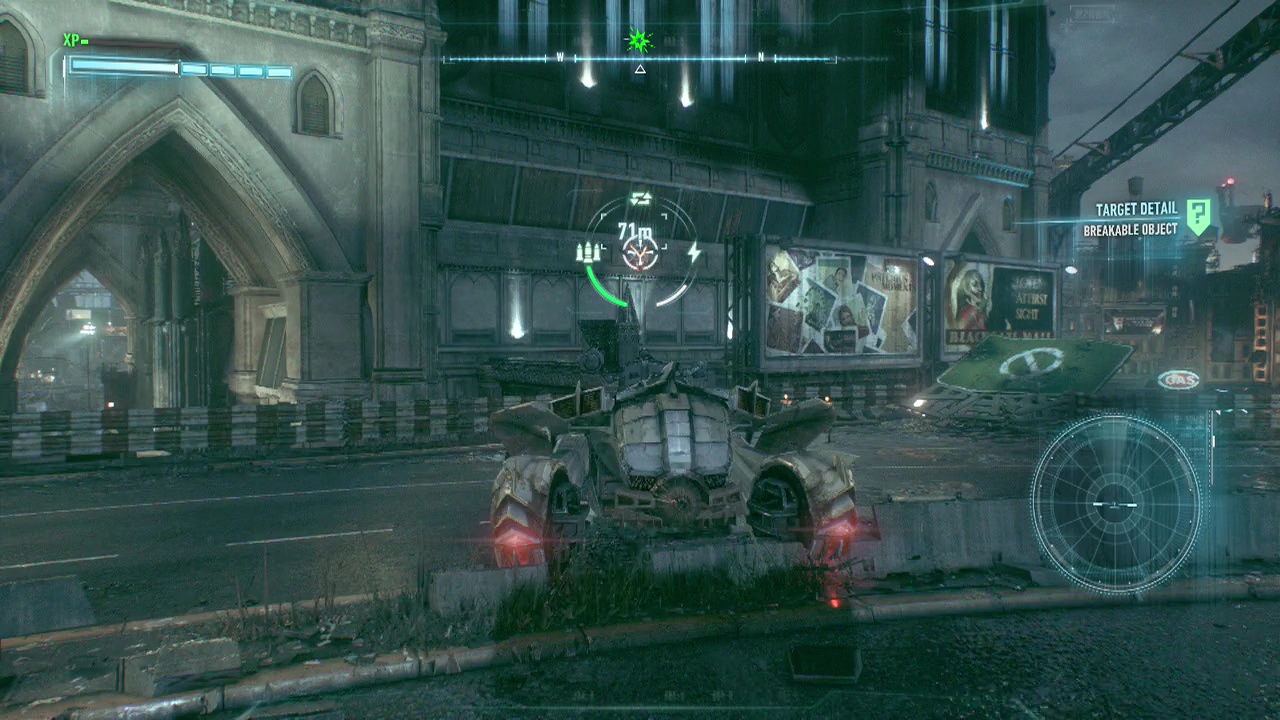
Breakable Object 2:
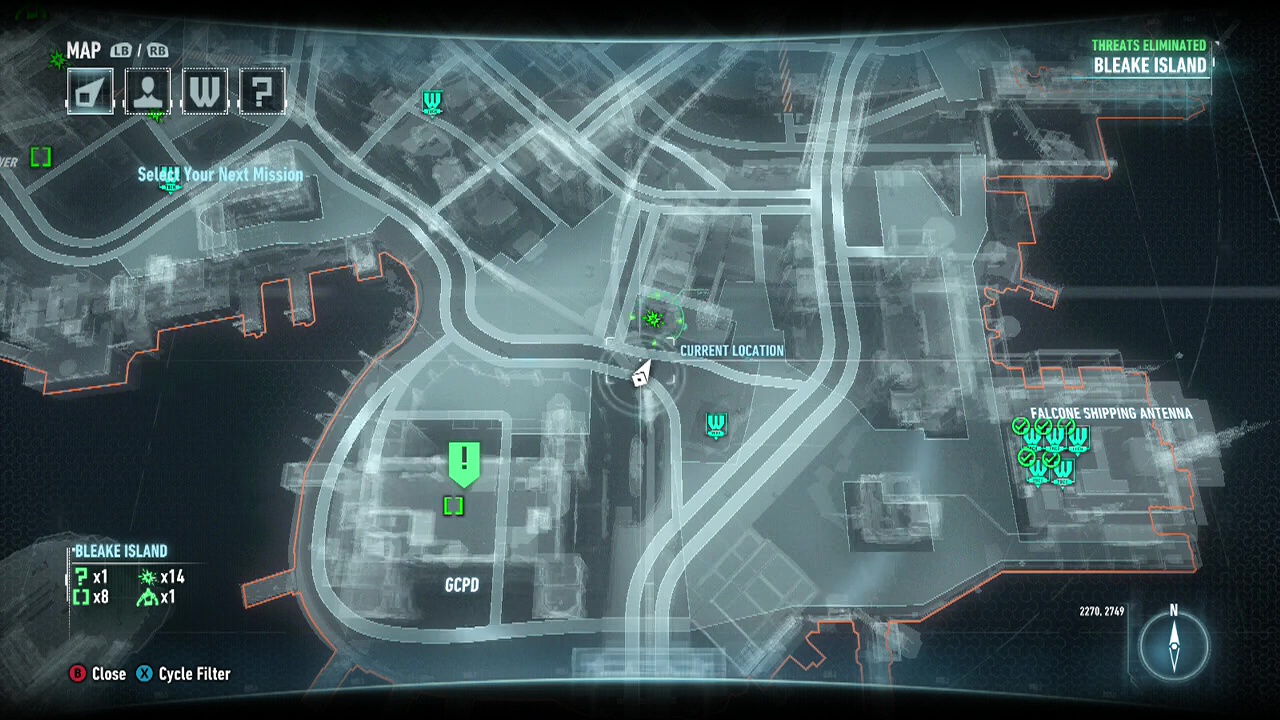
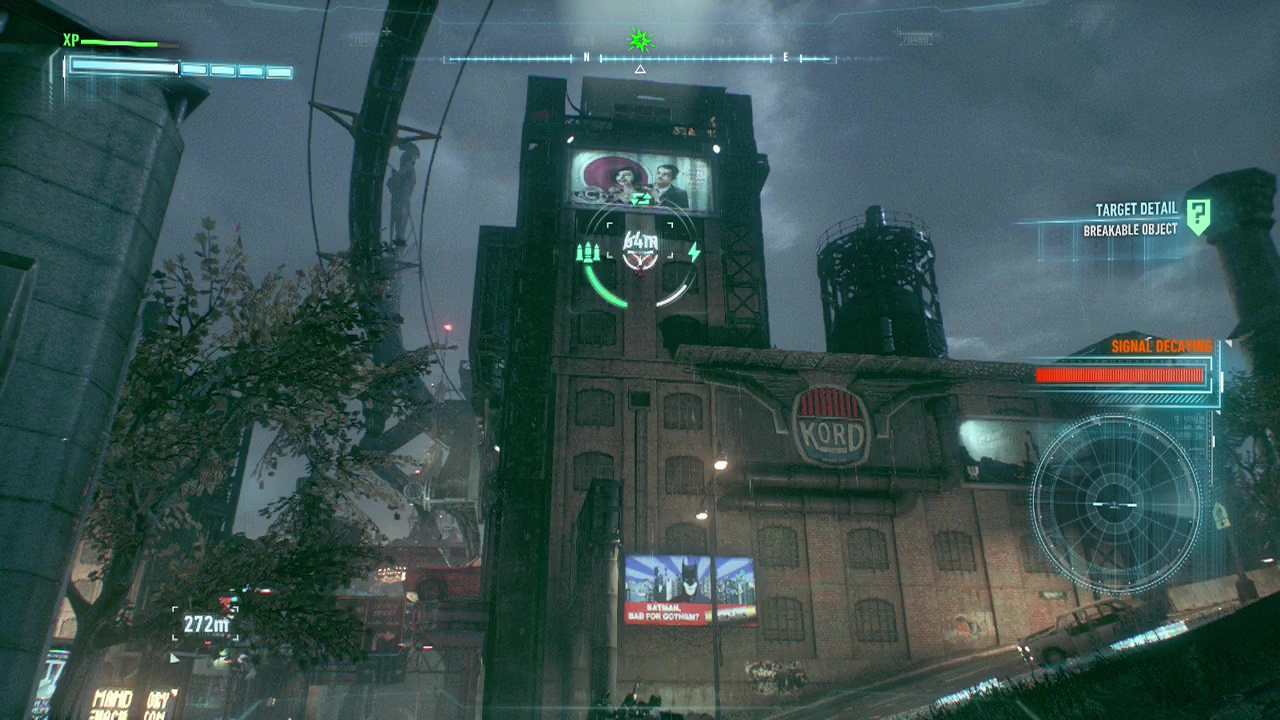
Breakable Object 3:
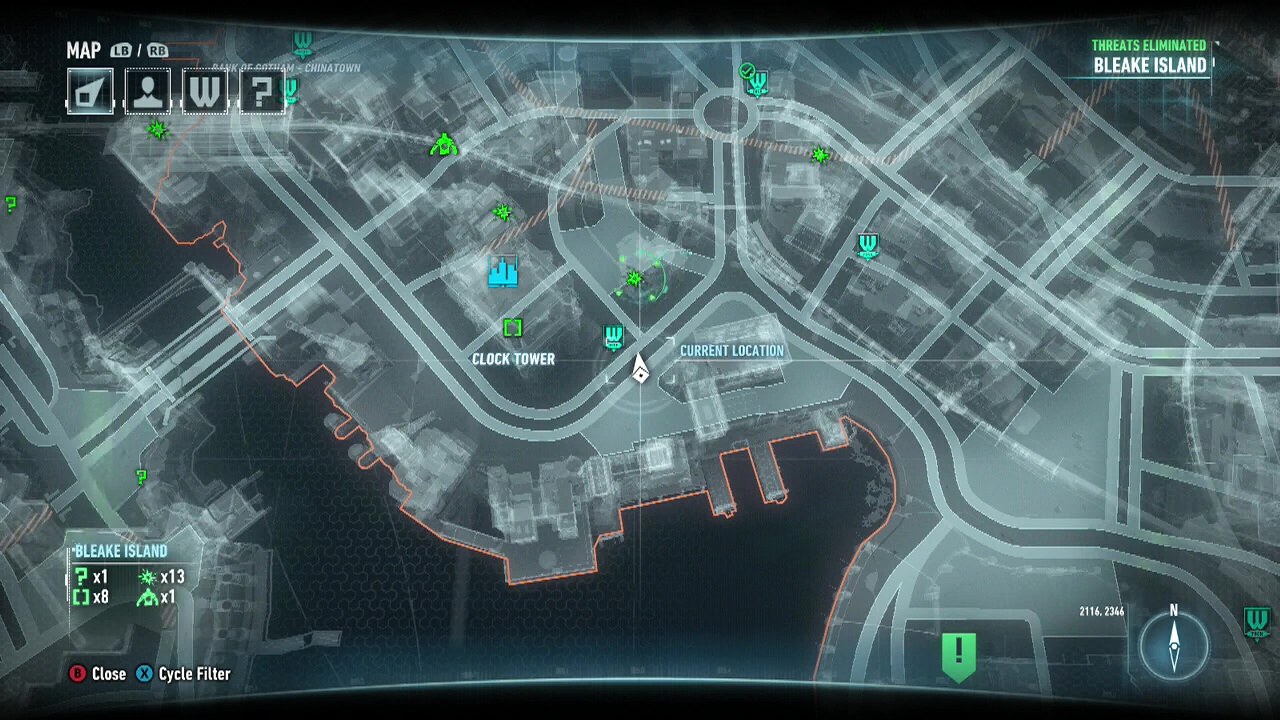
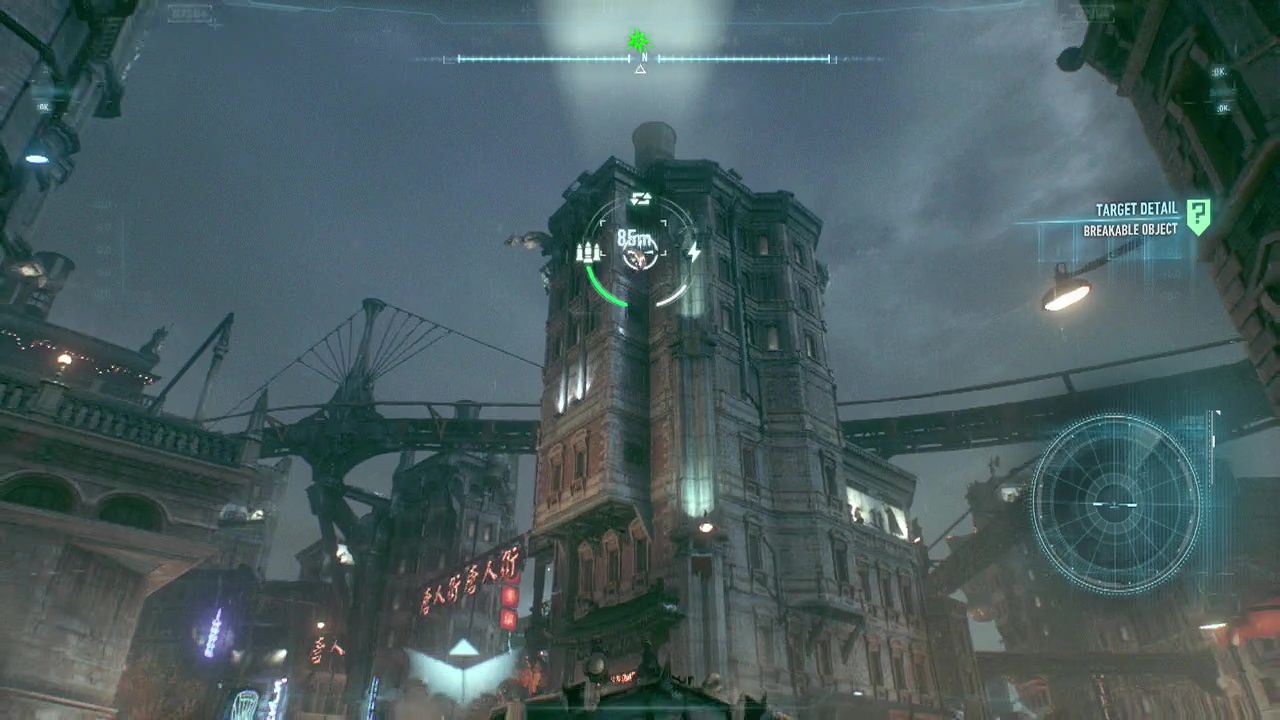
Breakable Object 4:
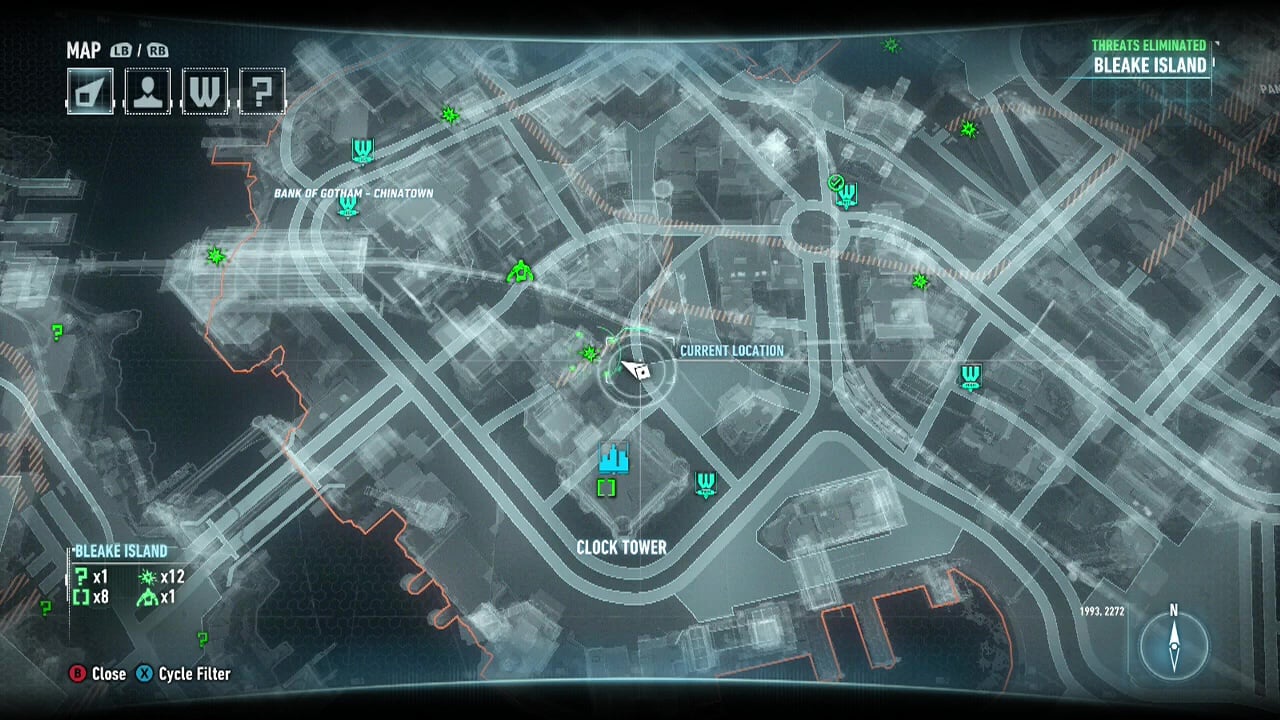
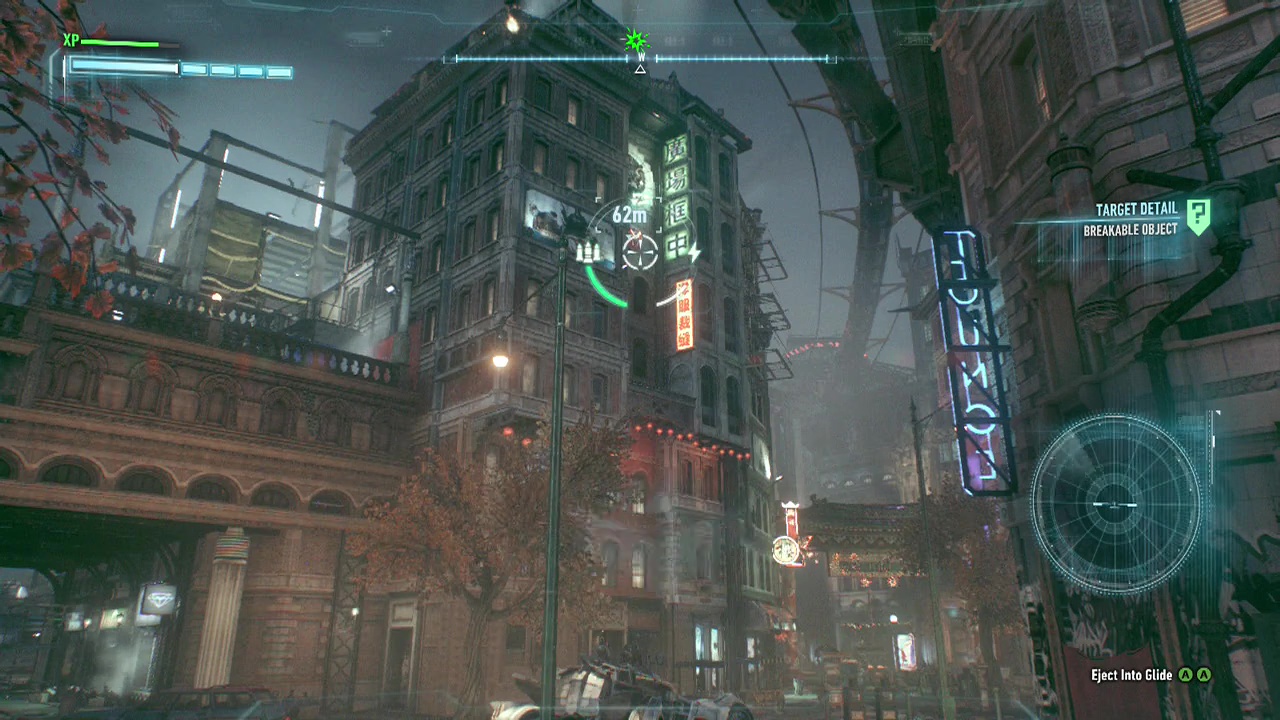
Breakable Object 5:
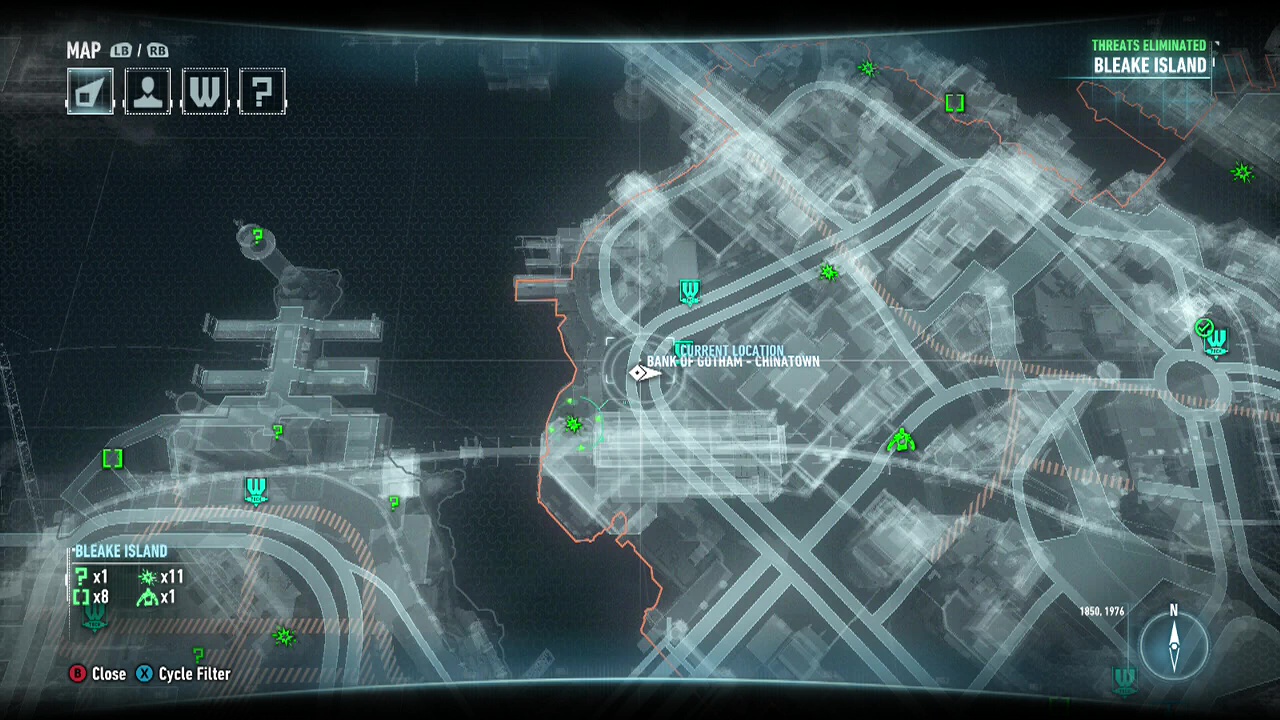
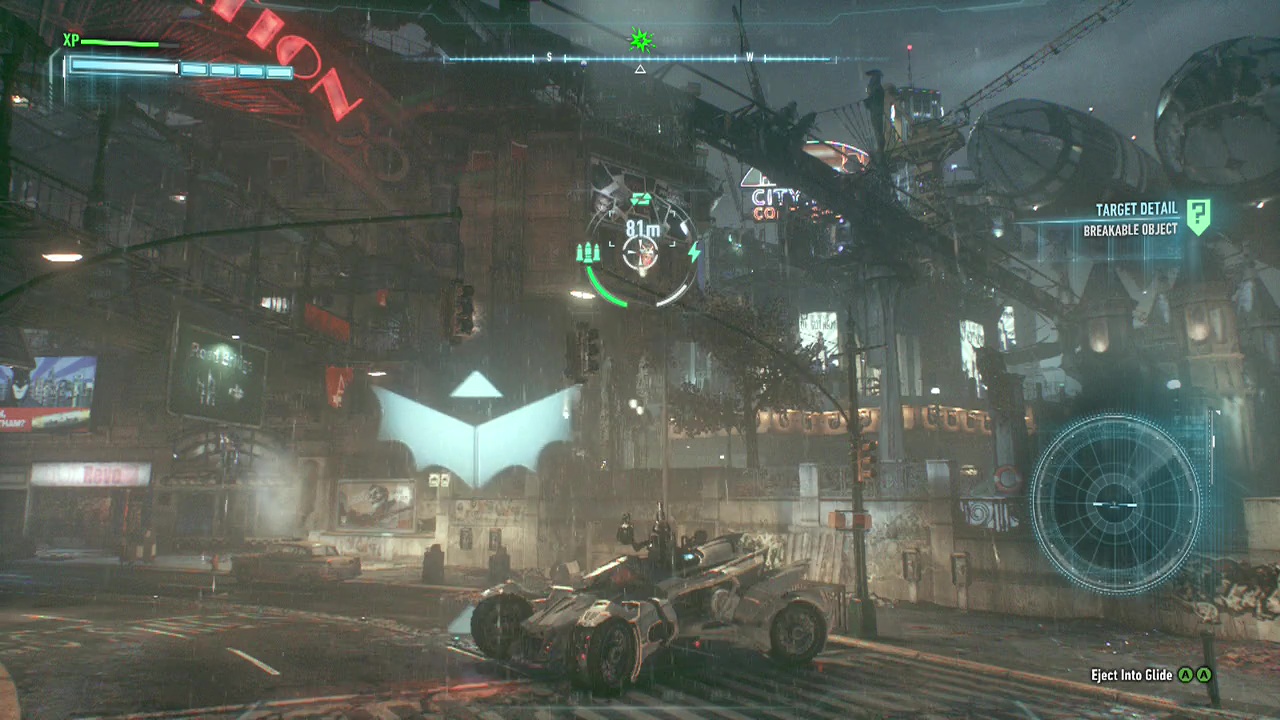
Breakable Object 6:
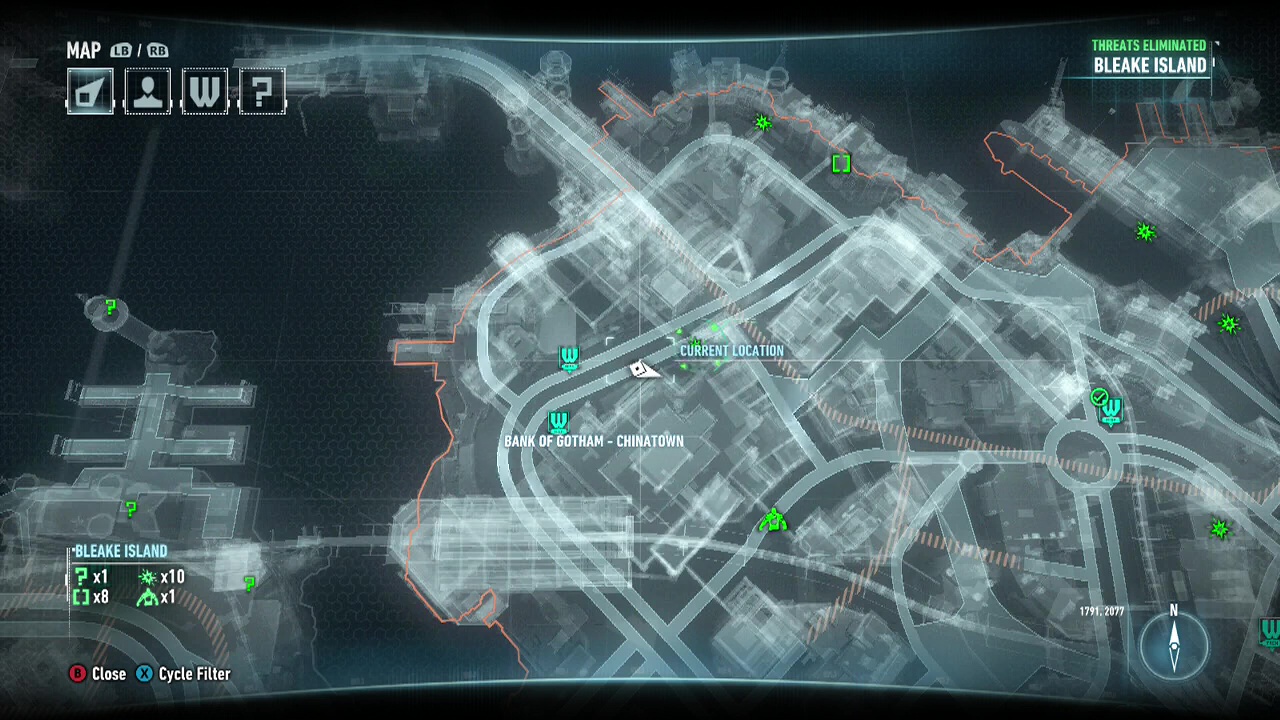
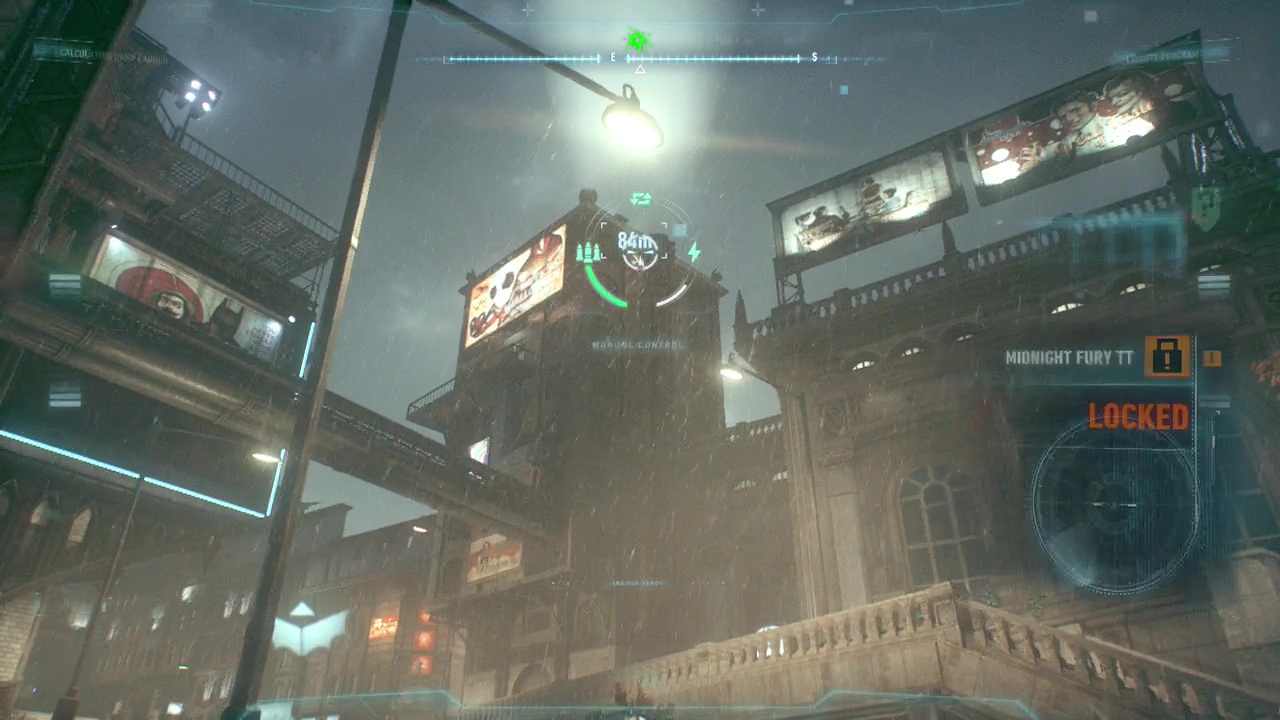
Breakable Object 7:
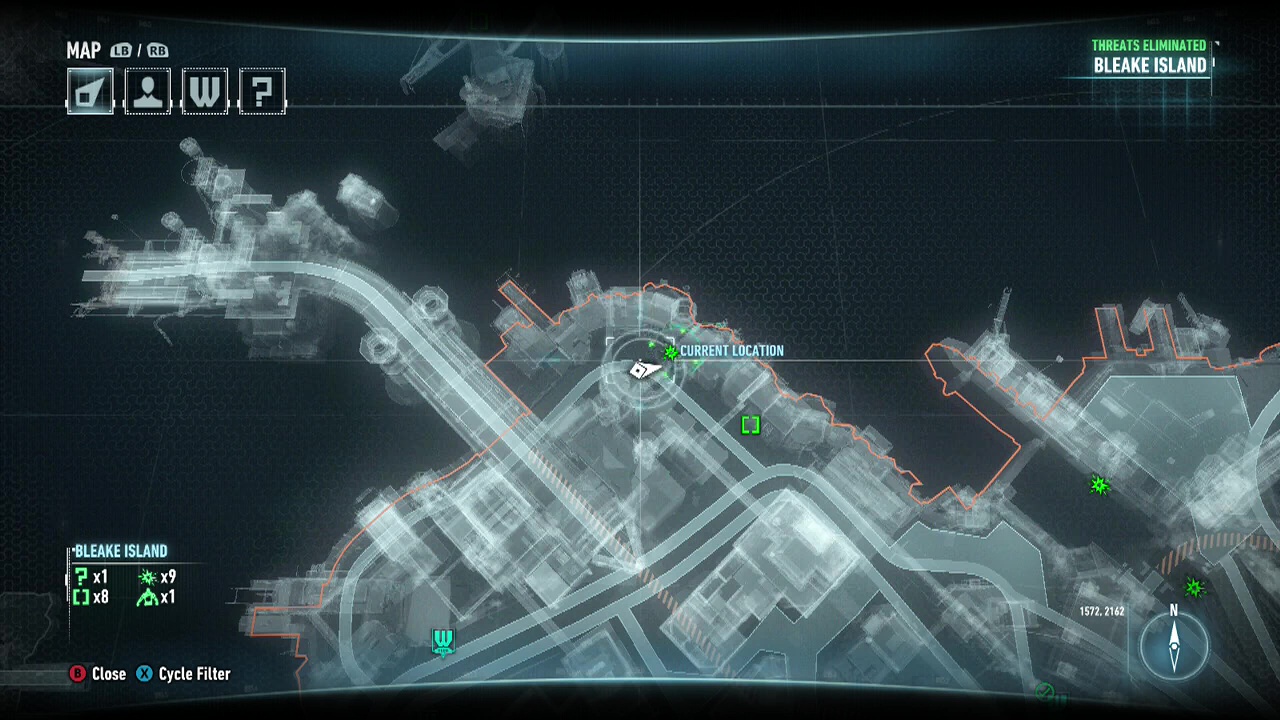
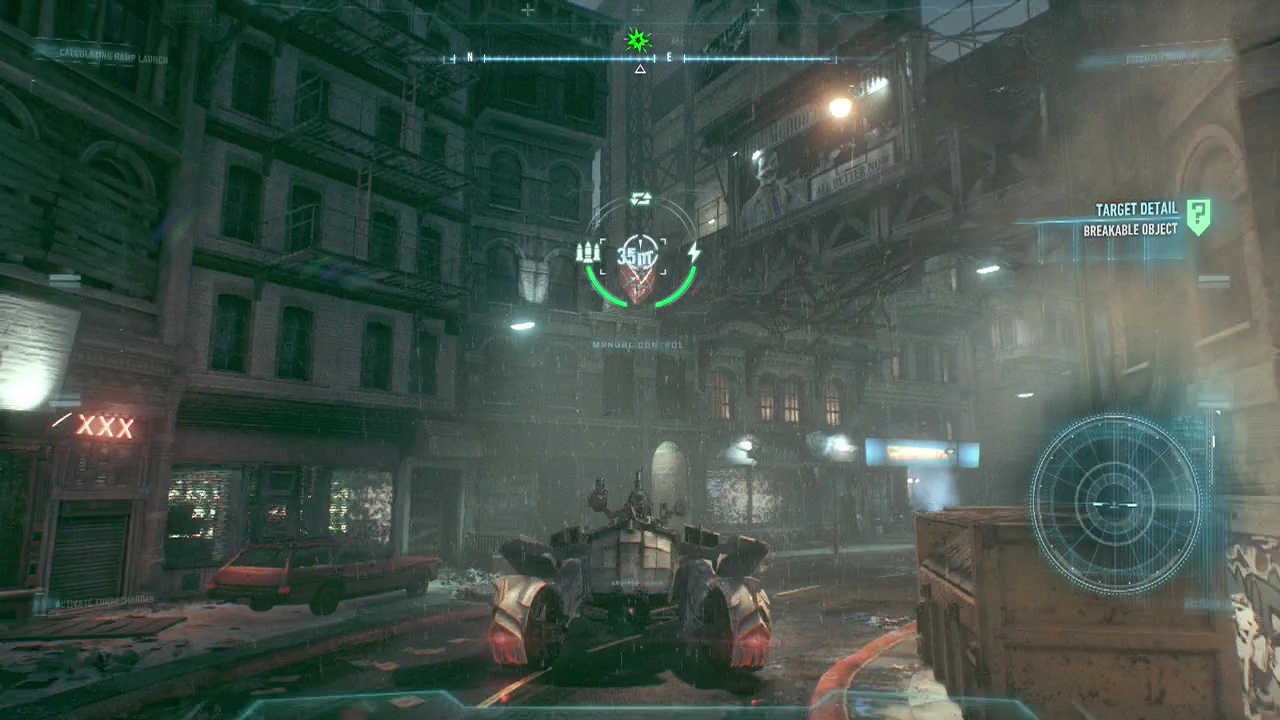
Breakable Object 8:
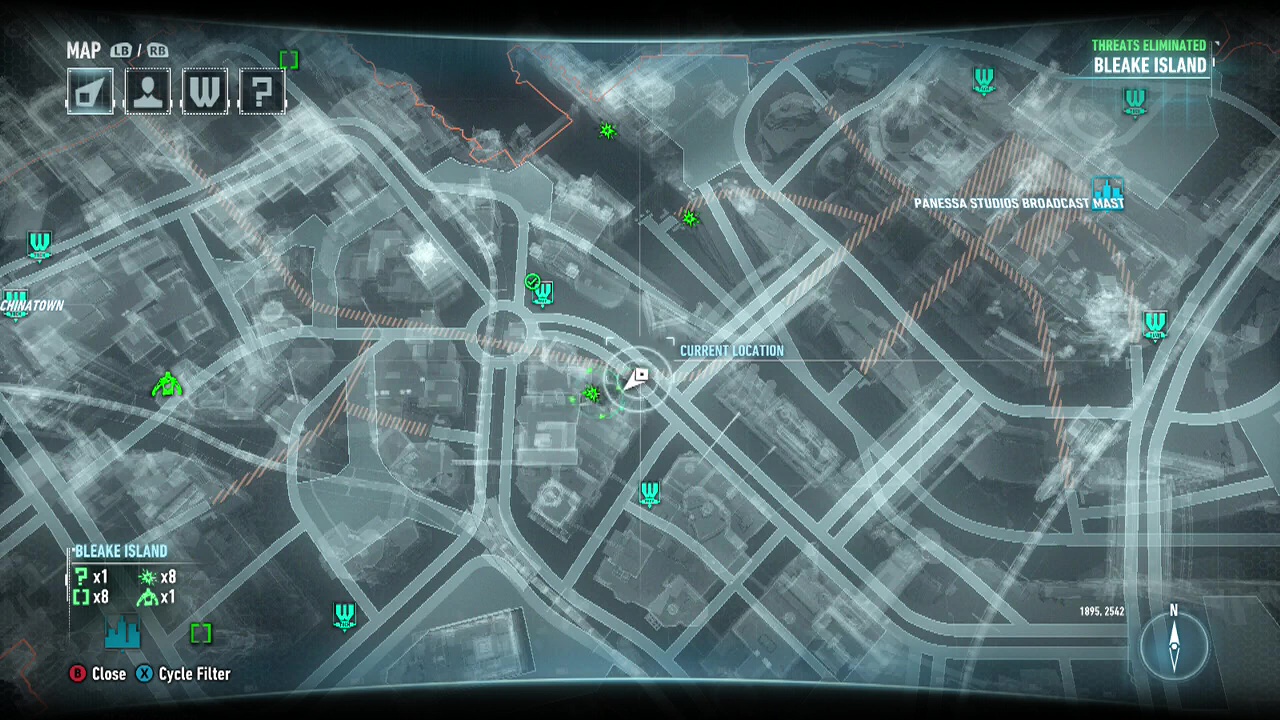
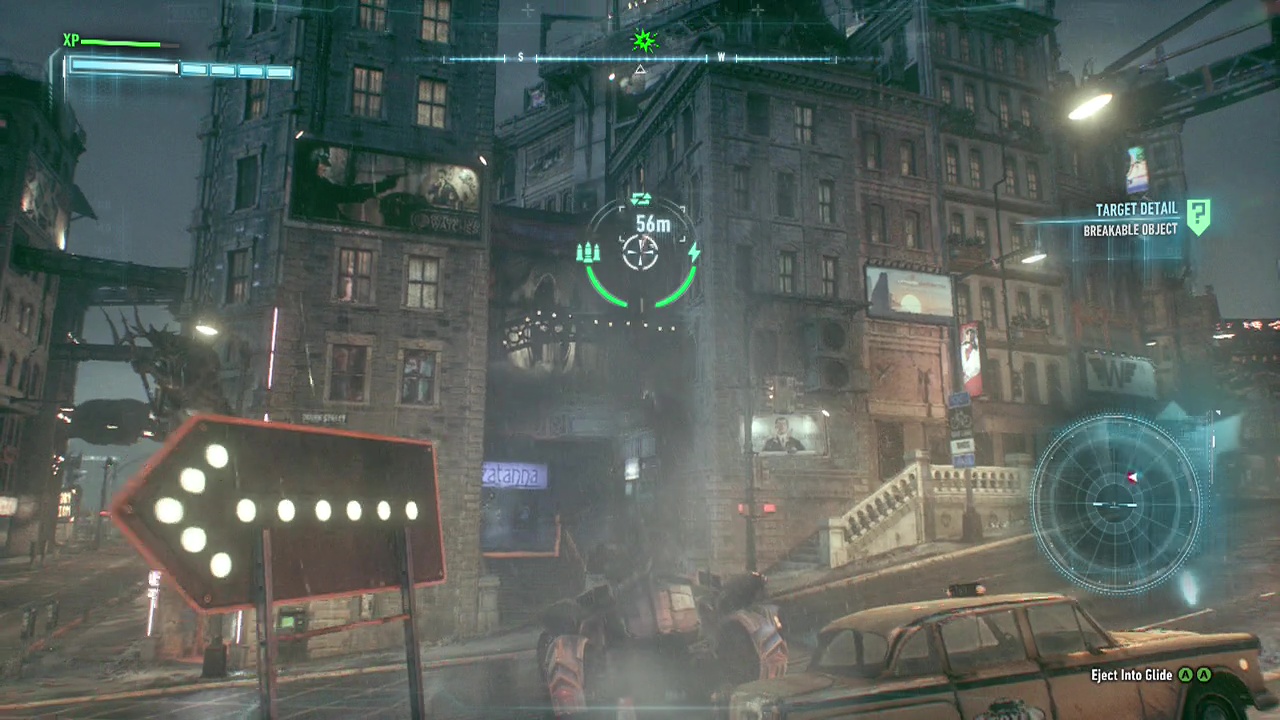
Breakable Object 9:
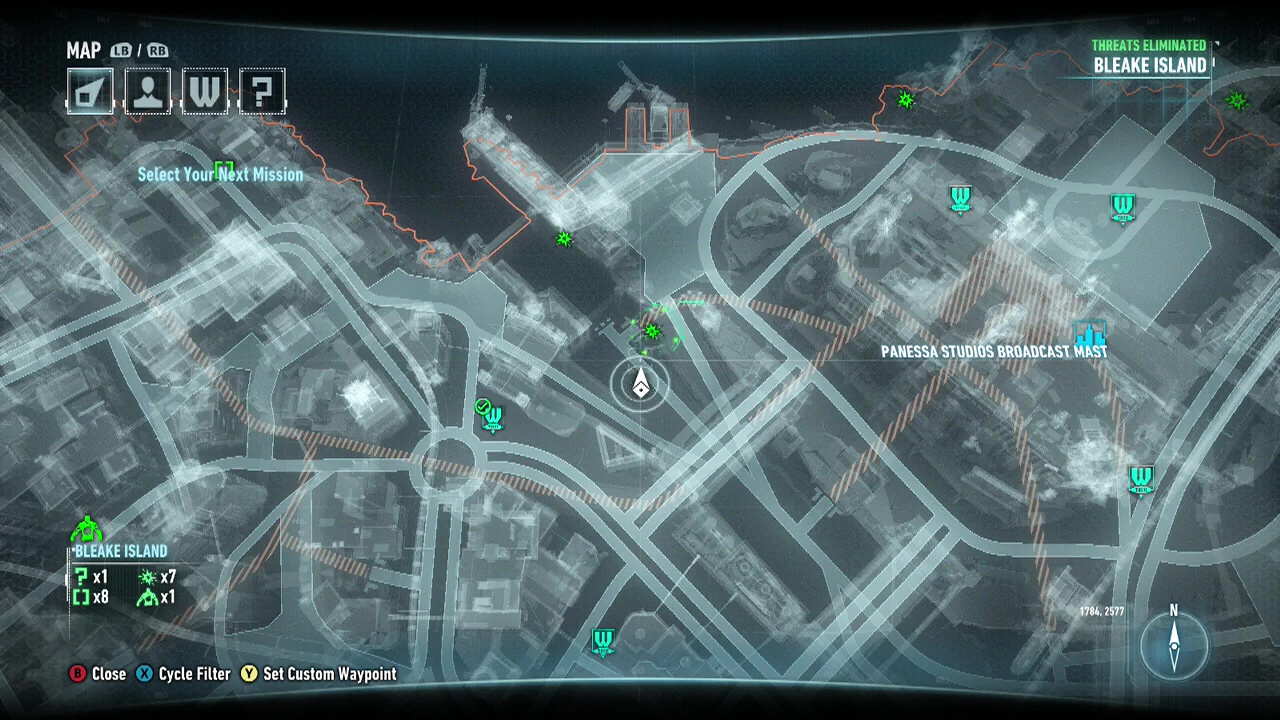
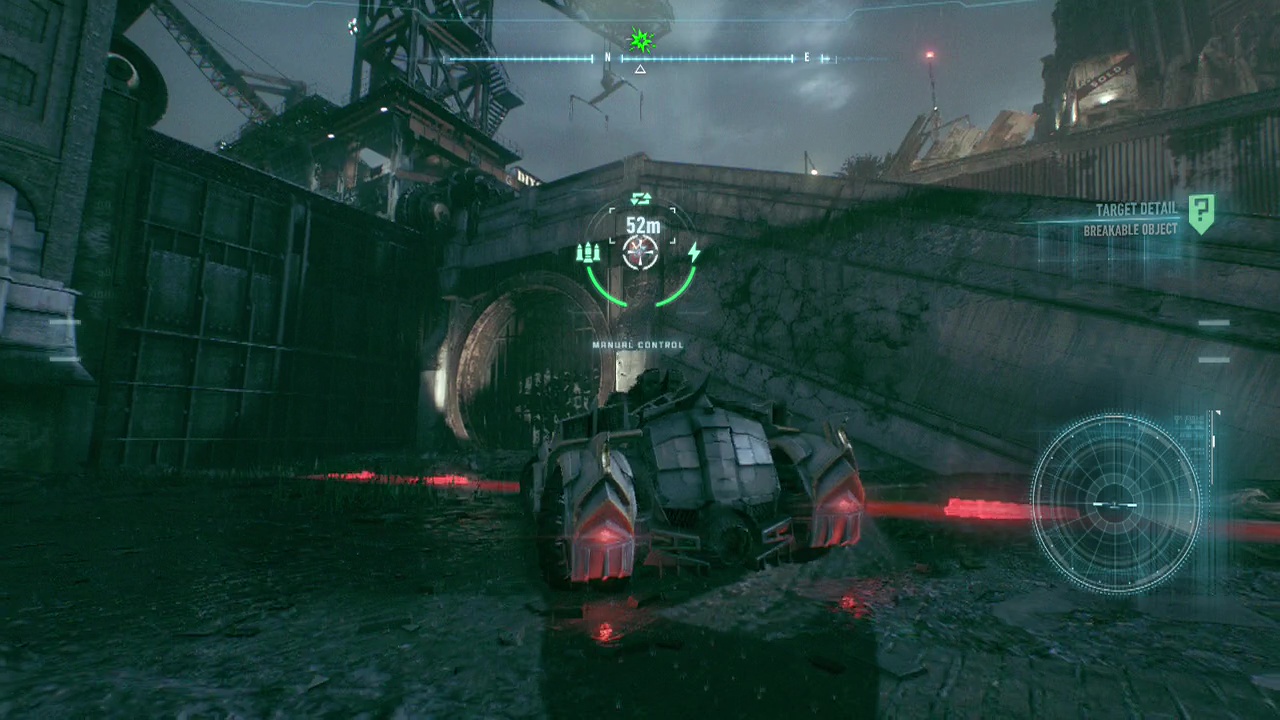
Breakable Object 10:
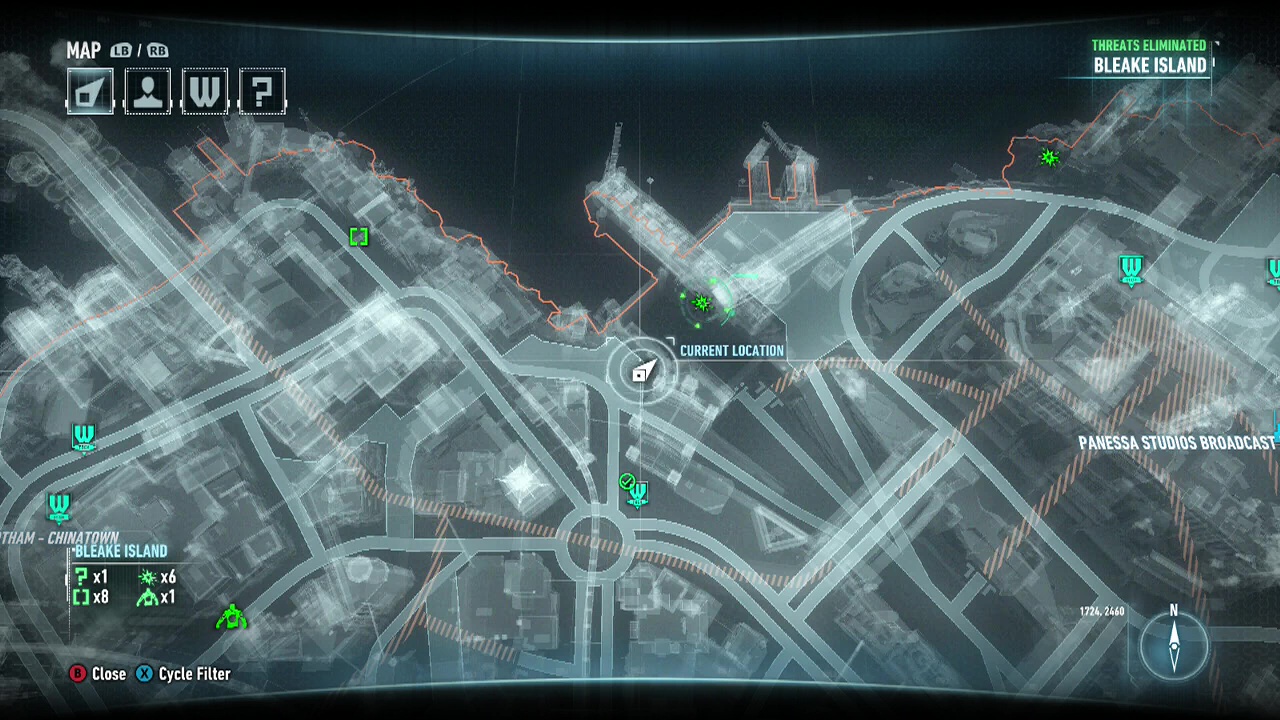
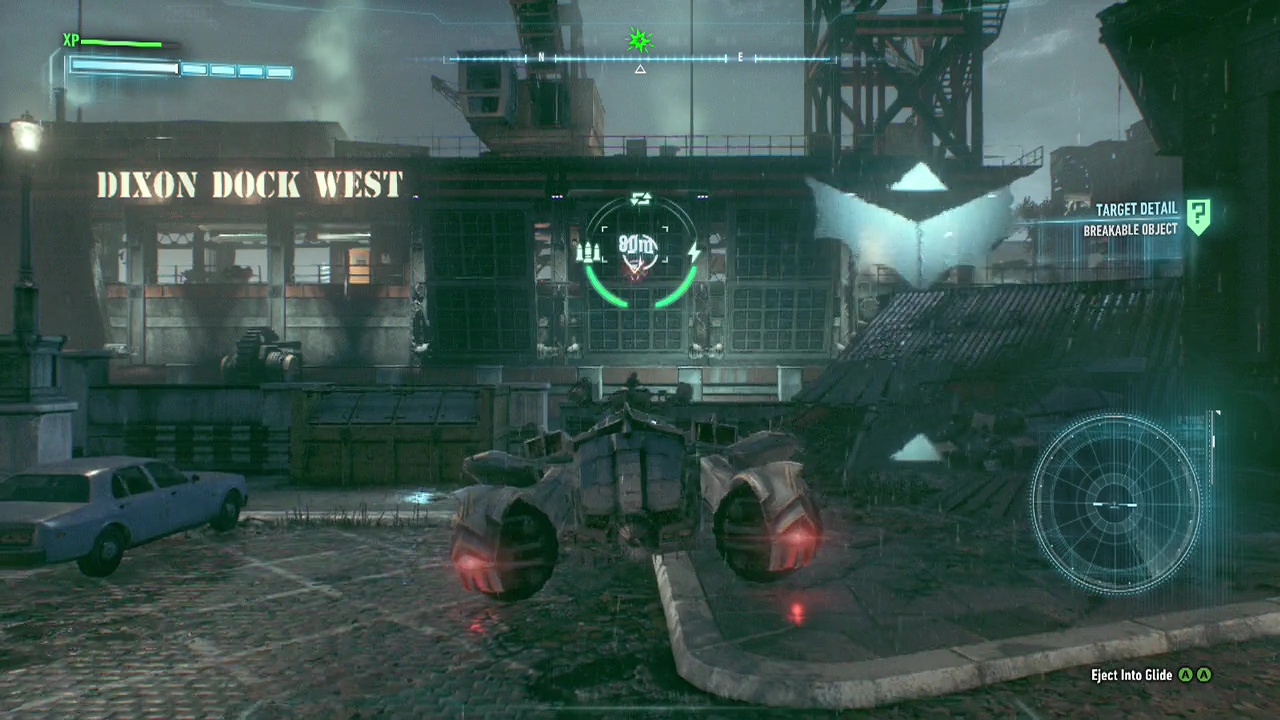
Breakable Object 11:
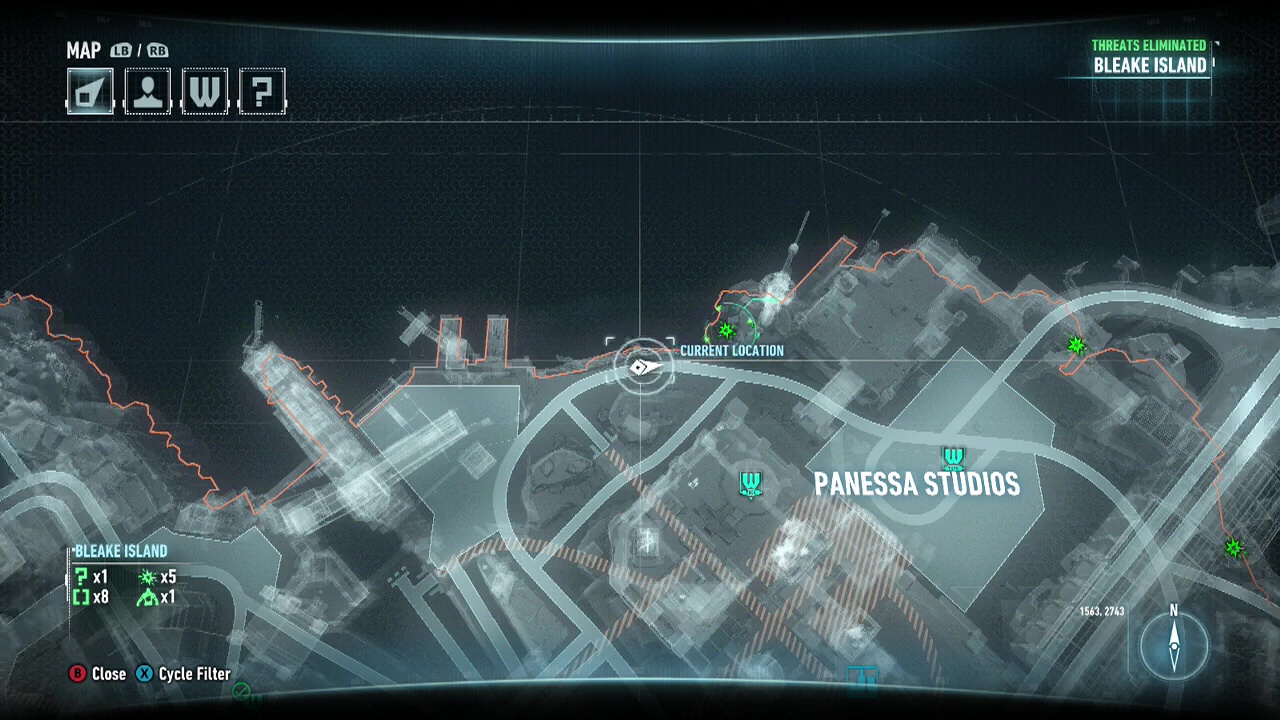
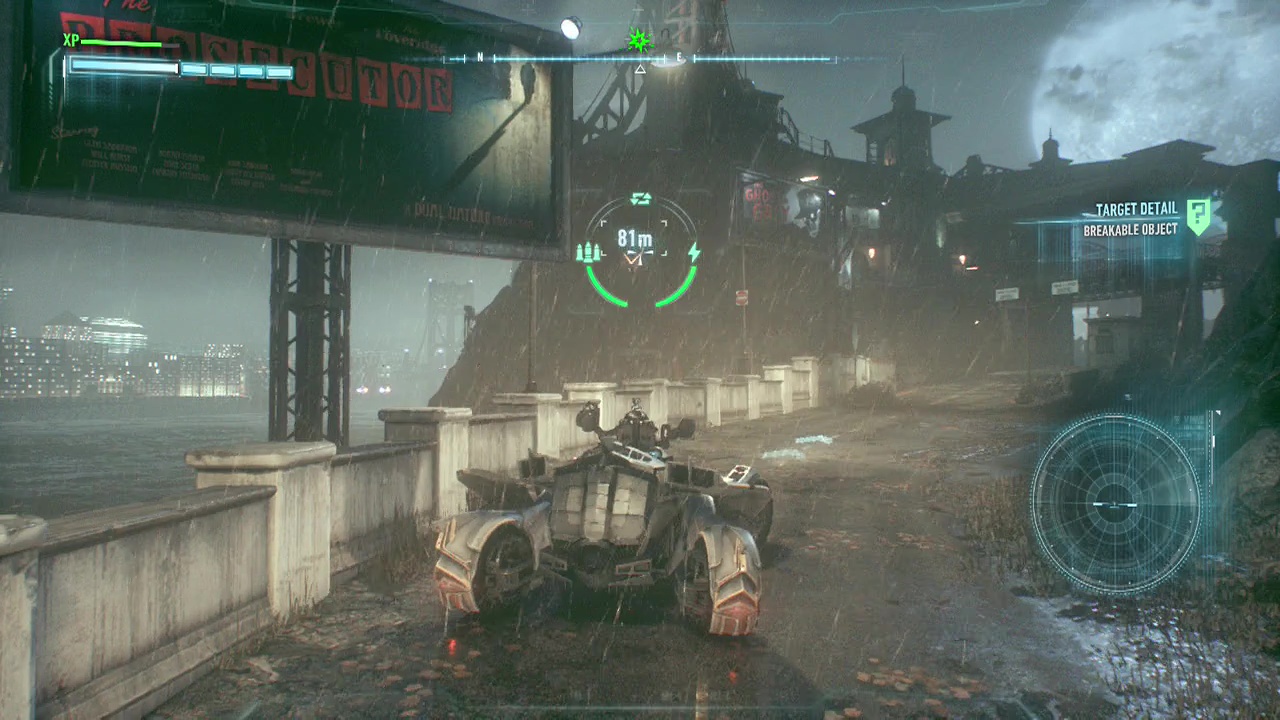
Breakable Object 12:
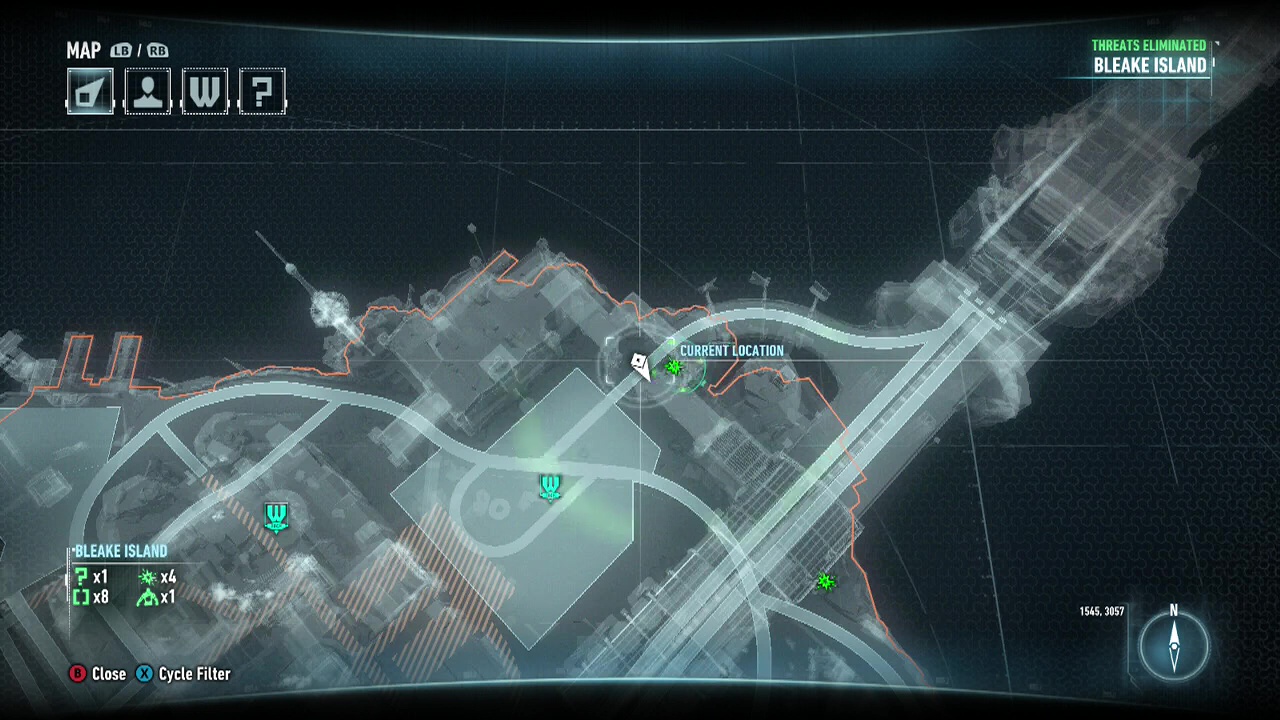
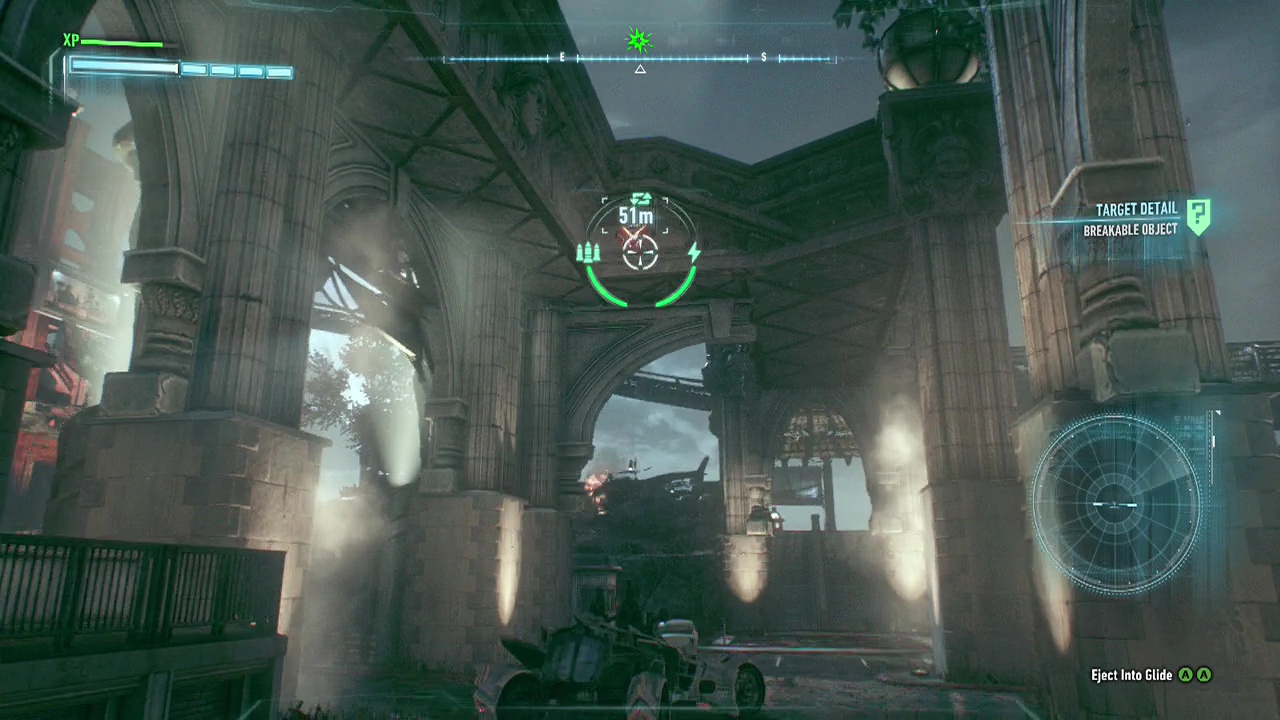
Breakable Object 13:
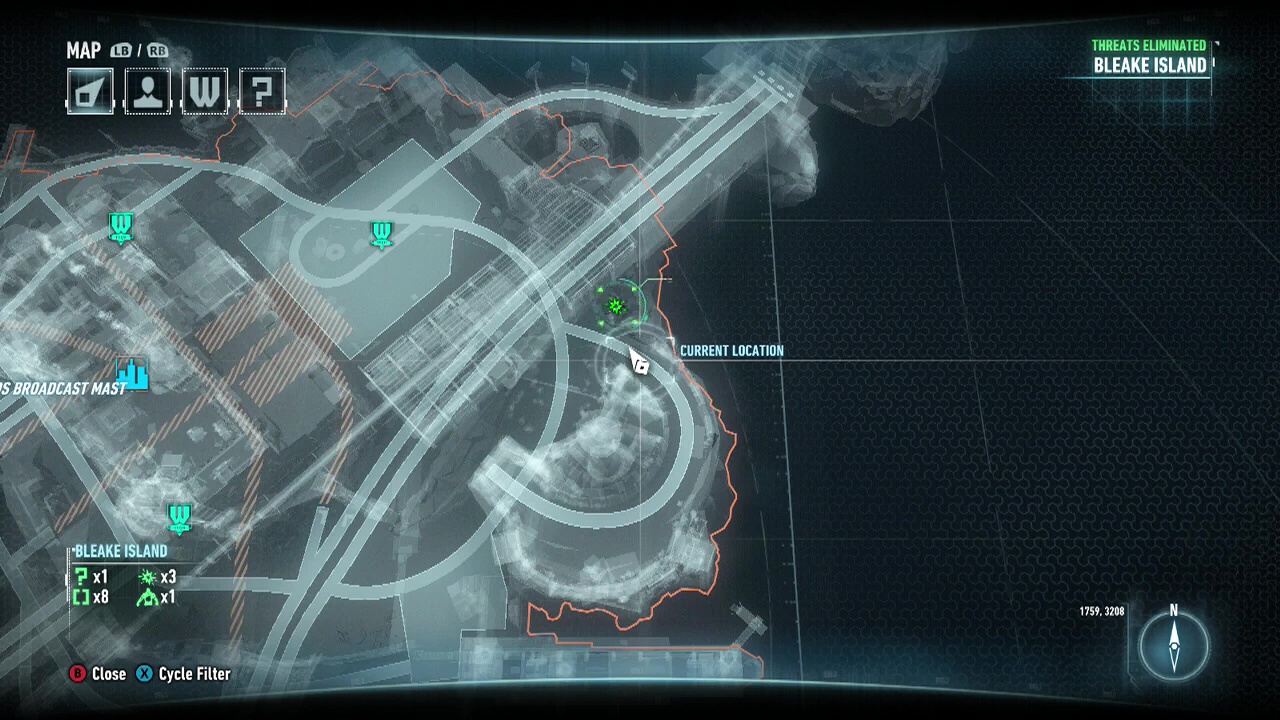
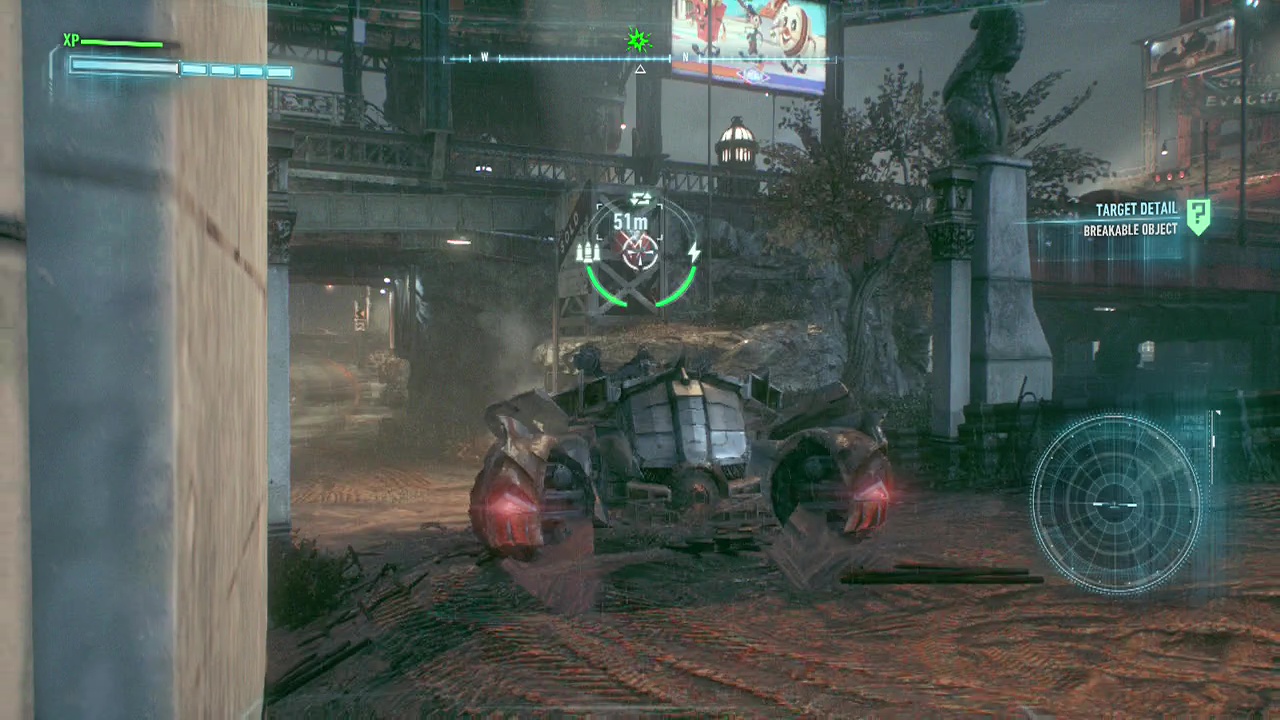
Breakable Object 14:
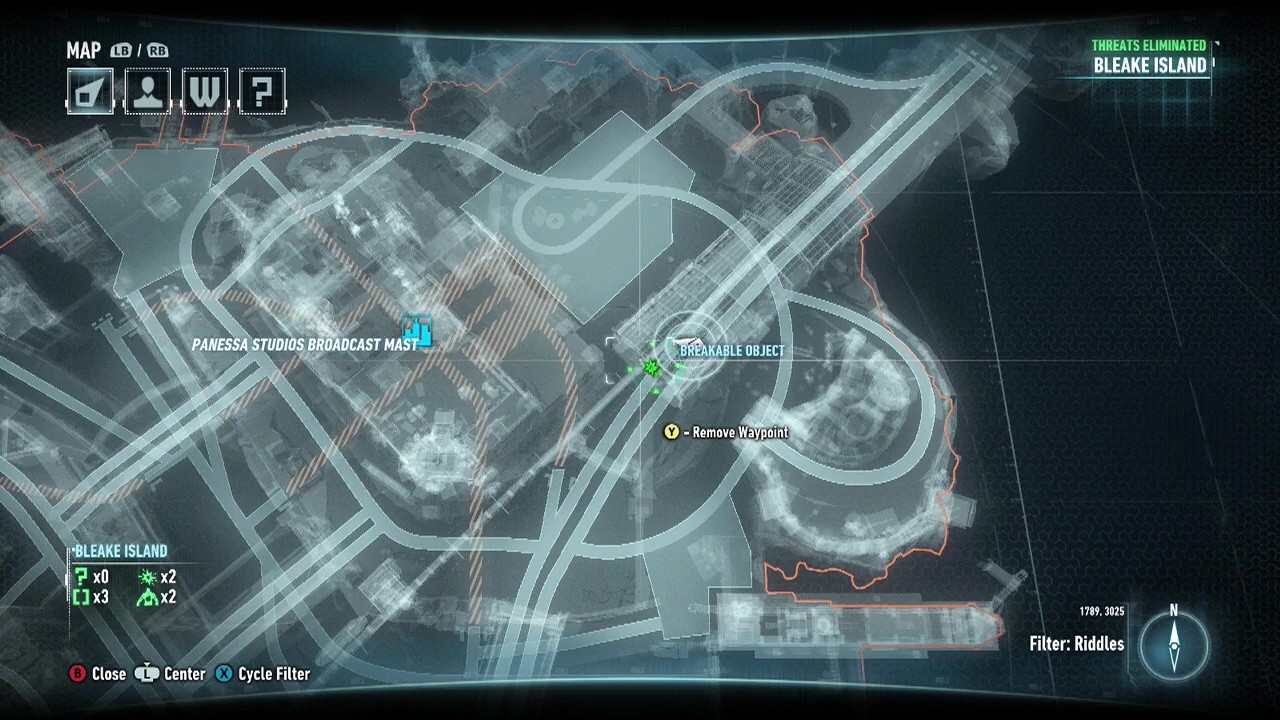
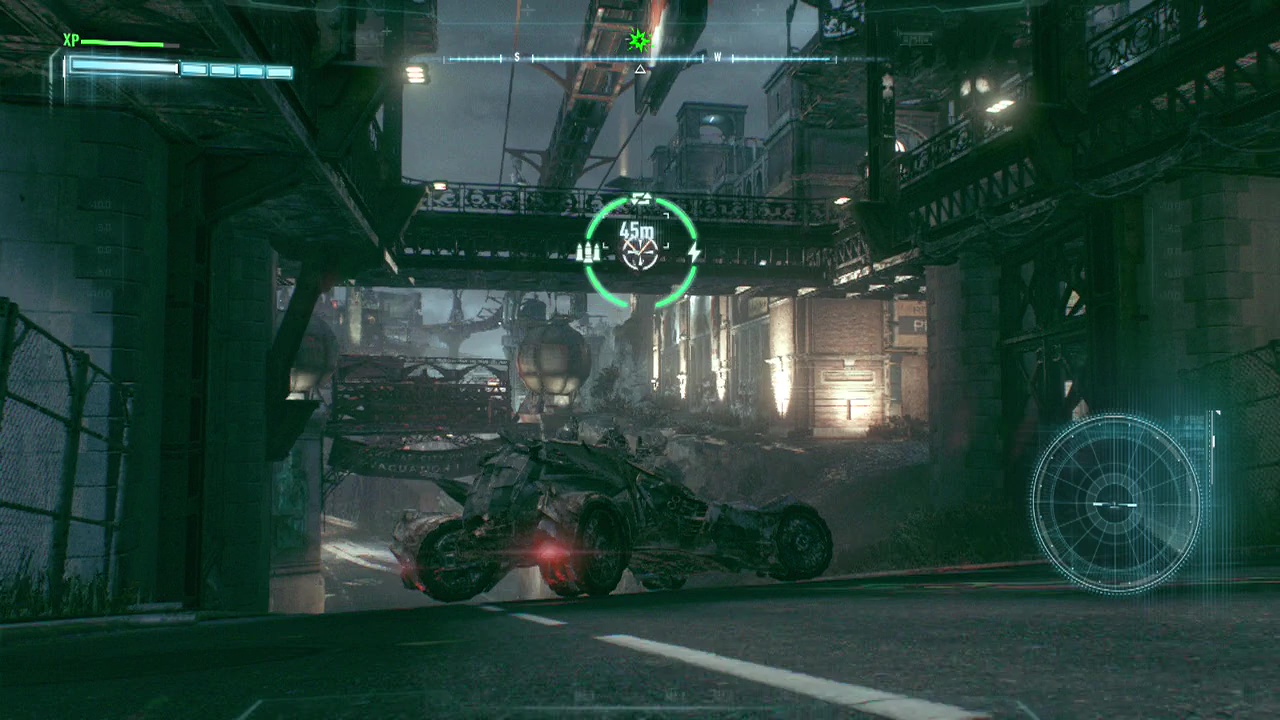
Breakable Object 15:
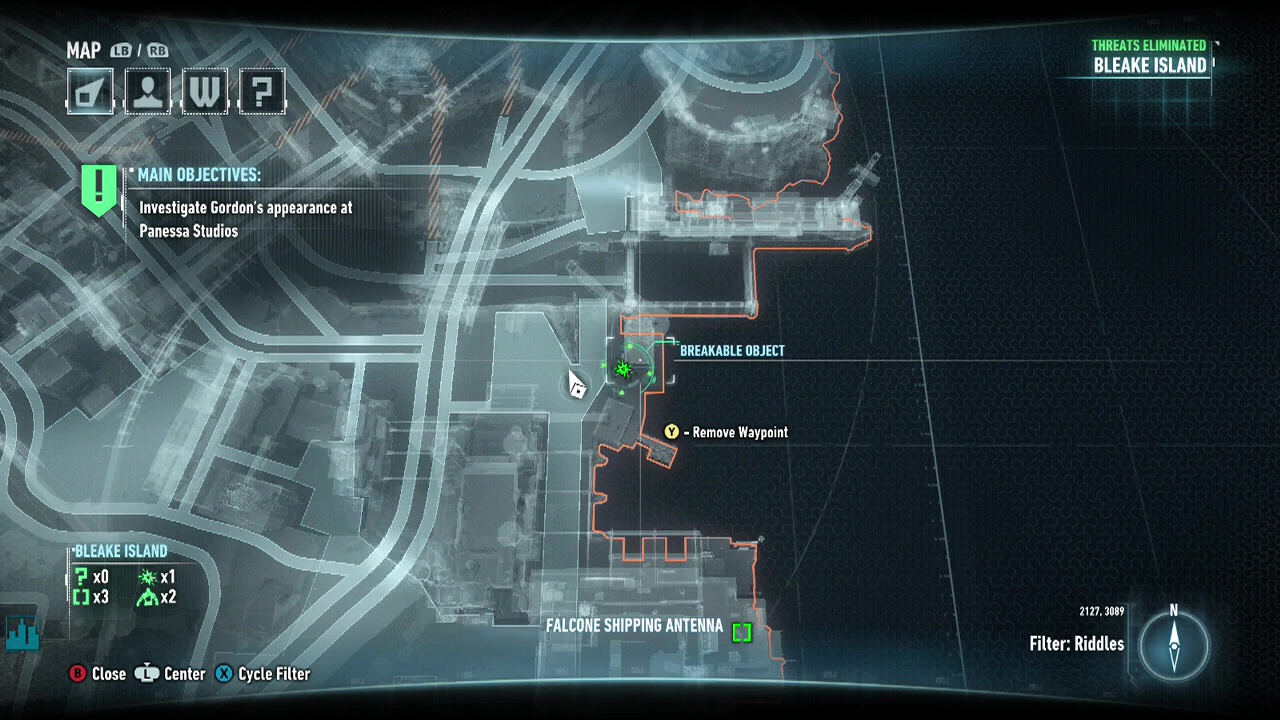
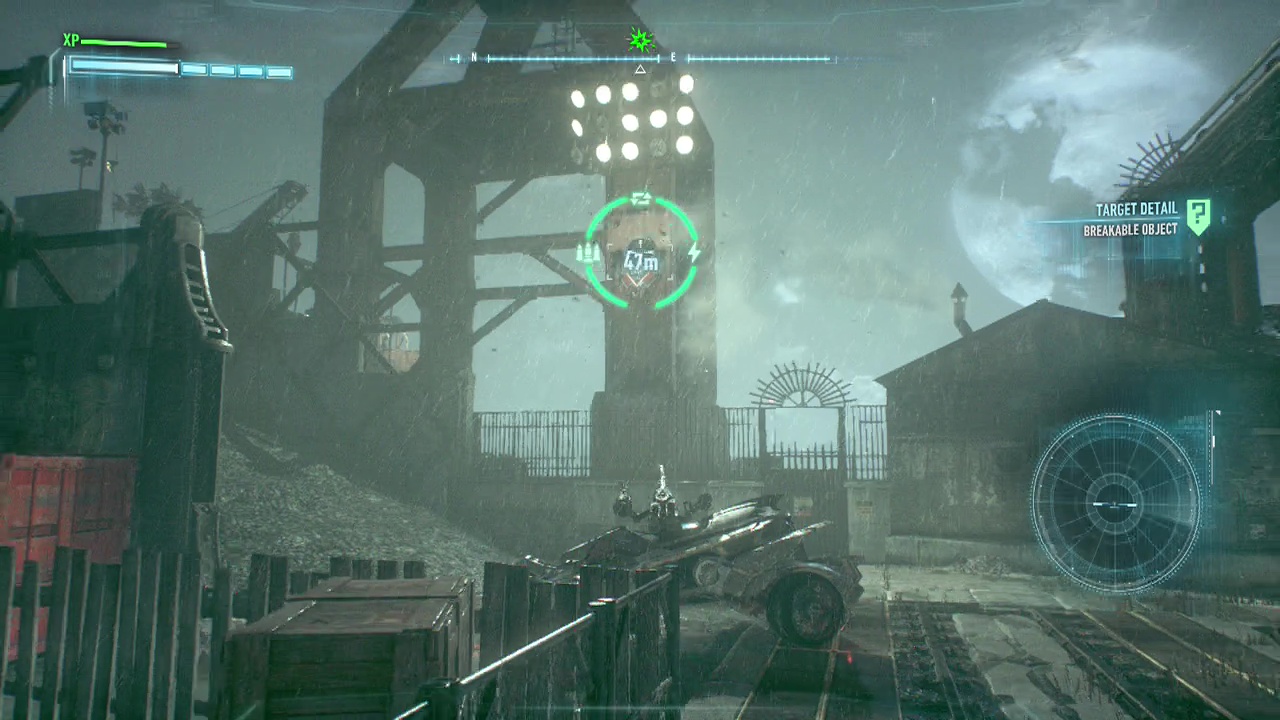
Riddles
Riddles must be solved by going up to the place or item the riddle hints at, and scanning it (Up on the D-Pad on Xbox). If it does not work, take a few steps back so more of it is in view and scan again.
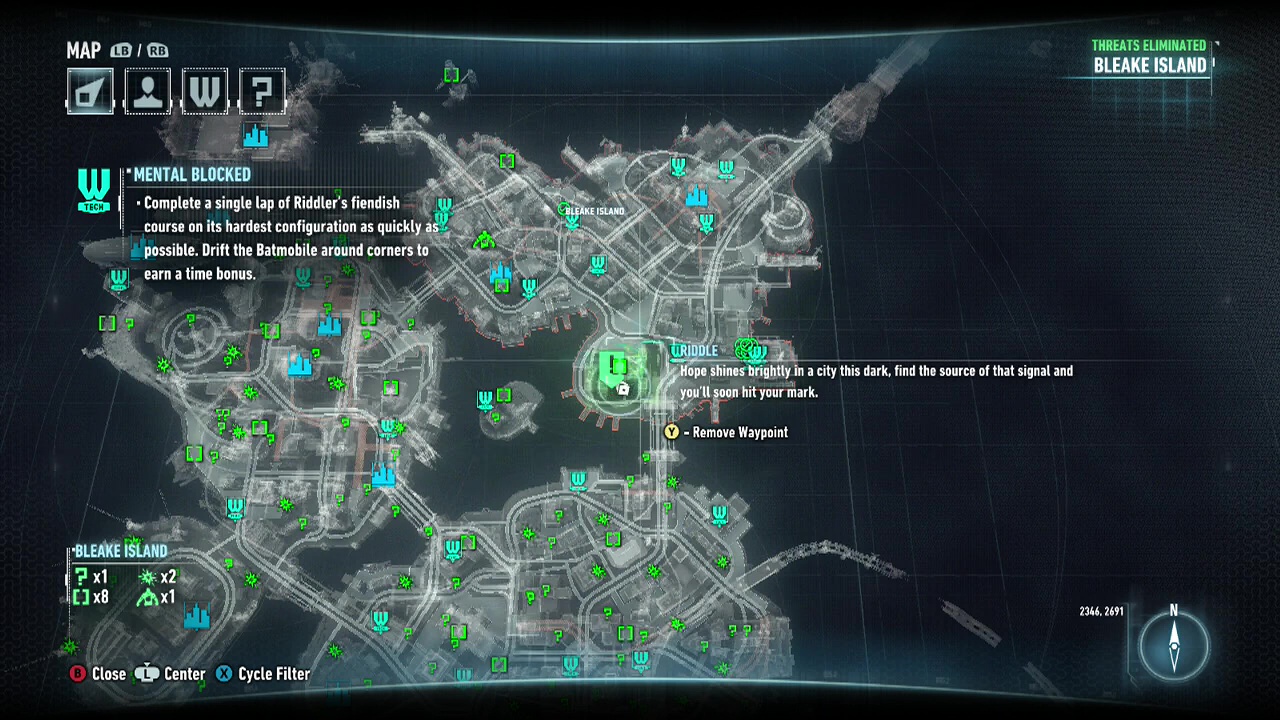
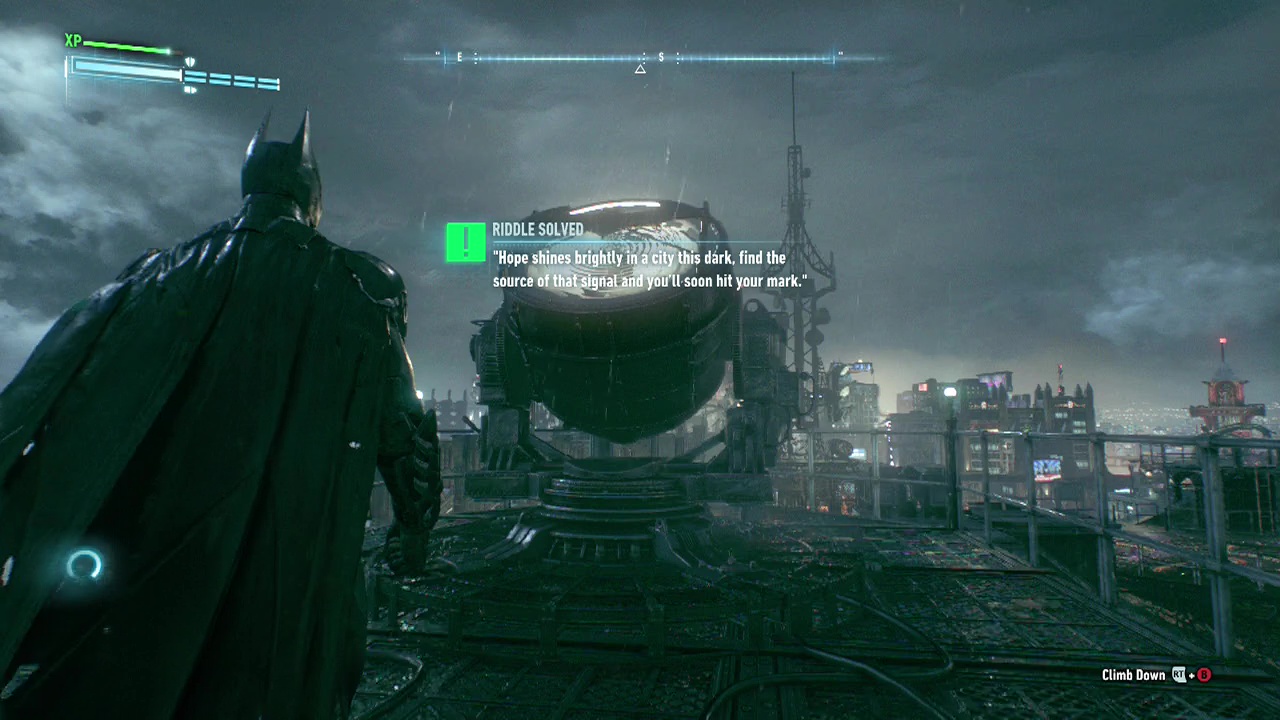
Riddle 1: Head to the top of the GCPD. On the North-East side of the building is a spotlight. Use the scanner on it to complete it.
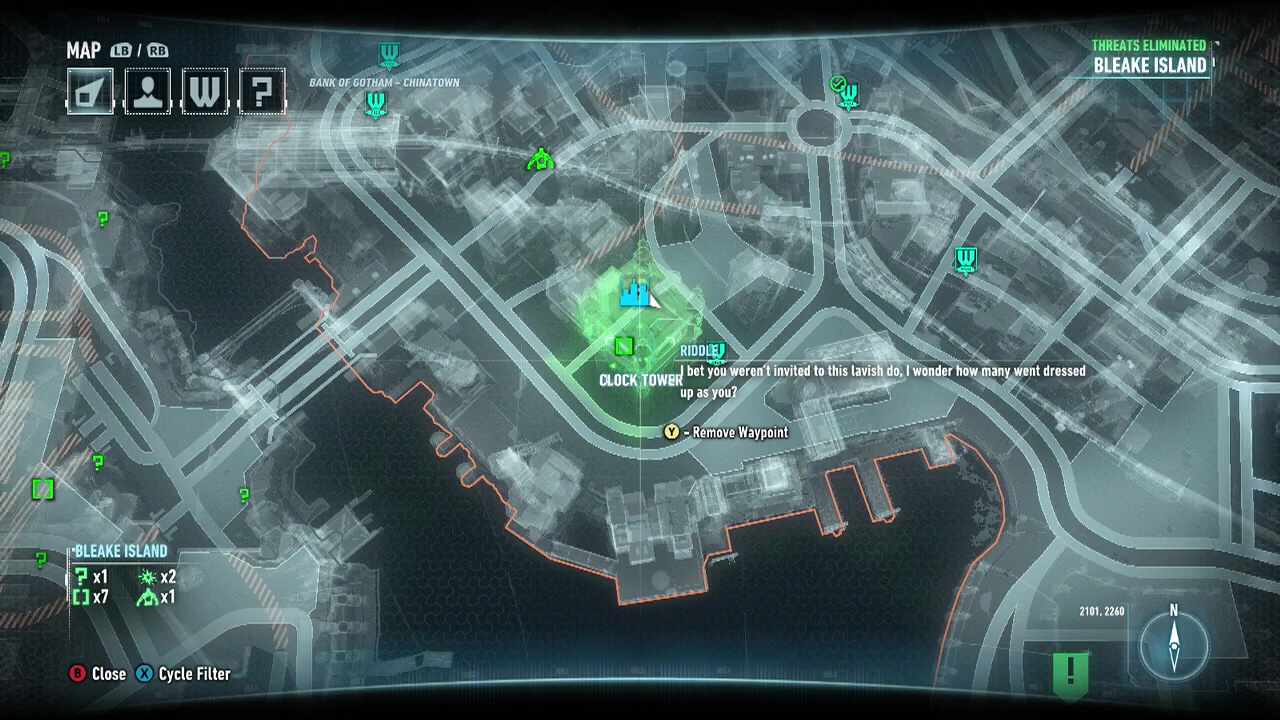
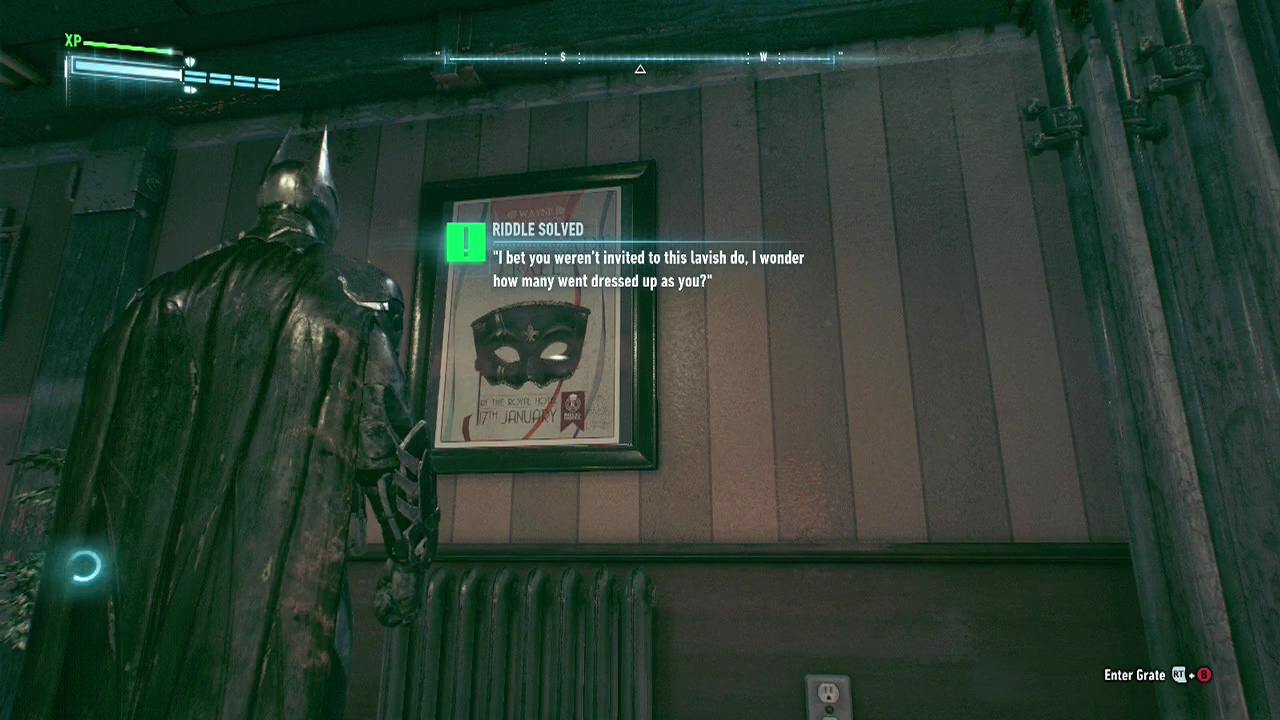
Riddle 2: Head to the clocktower, and enter the server room from the entrance partway up the building. Go upstairs to the offices. Approach the poster with the masquerade mask, and scan it.
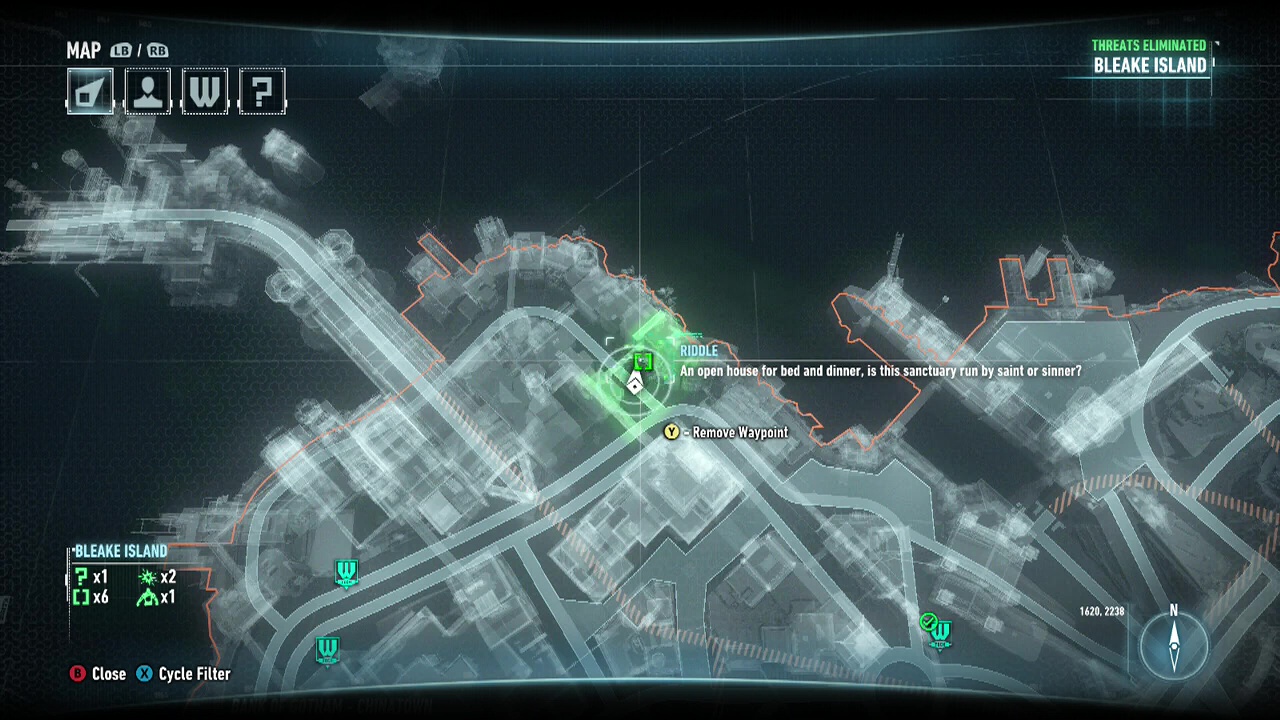
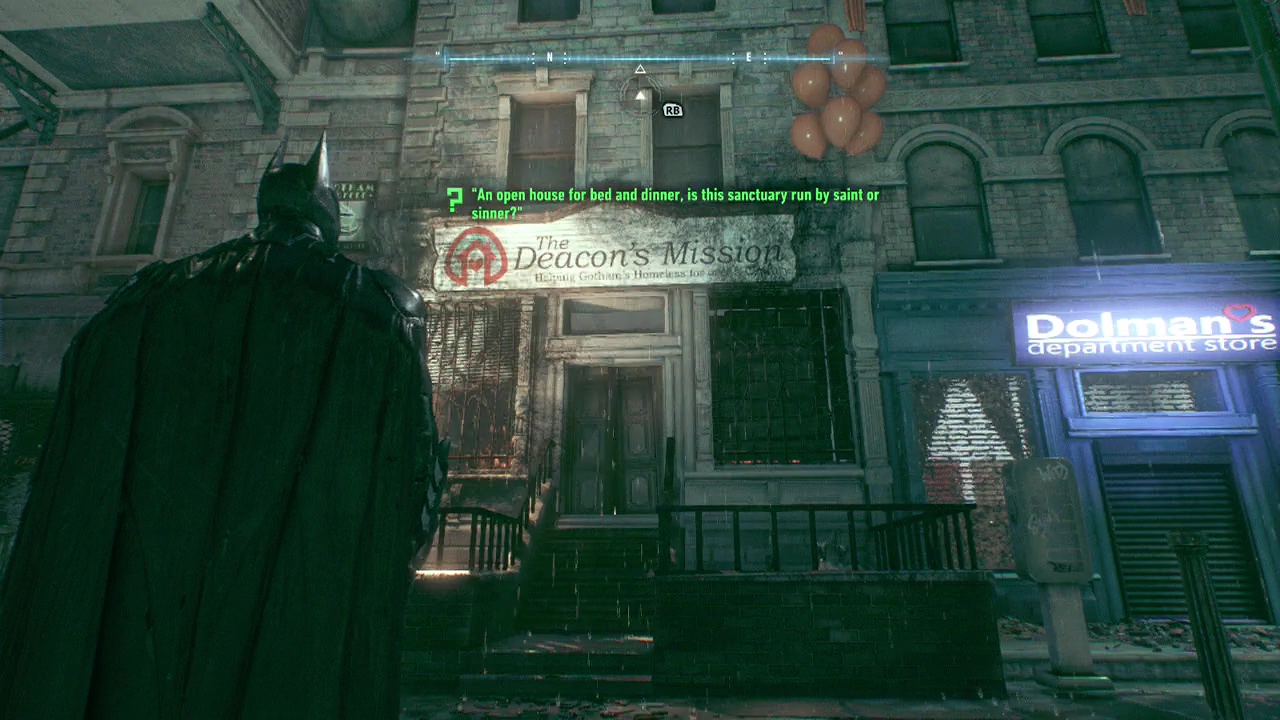
Riddle 3: Head to the Deacon's Mission and scan the banner and door.
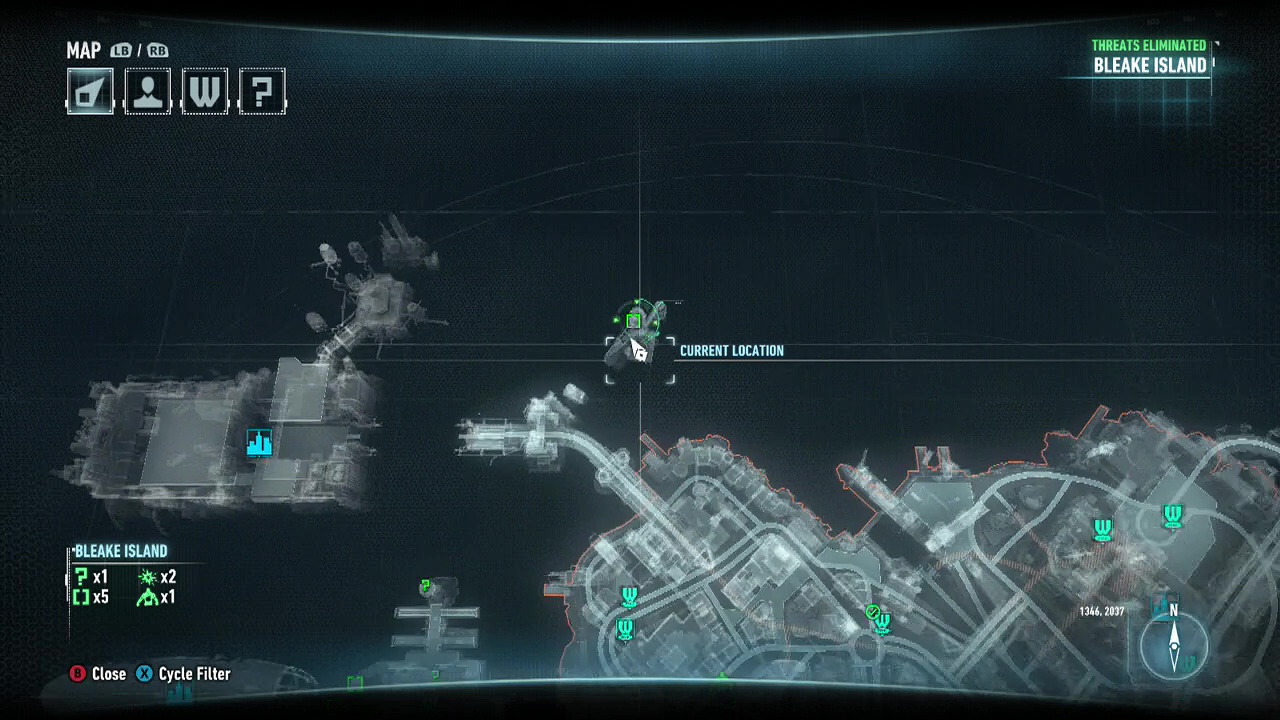
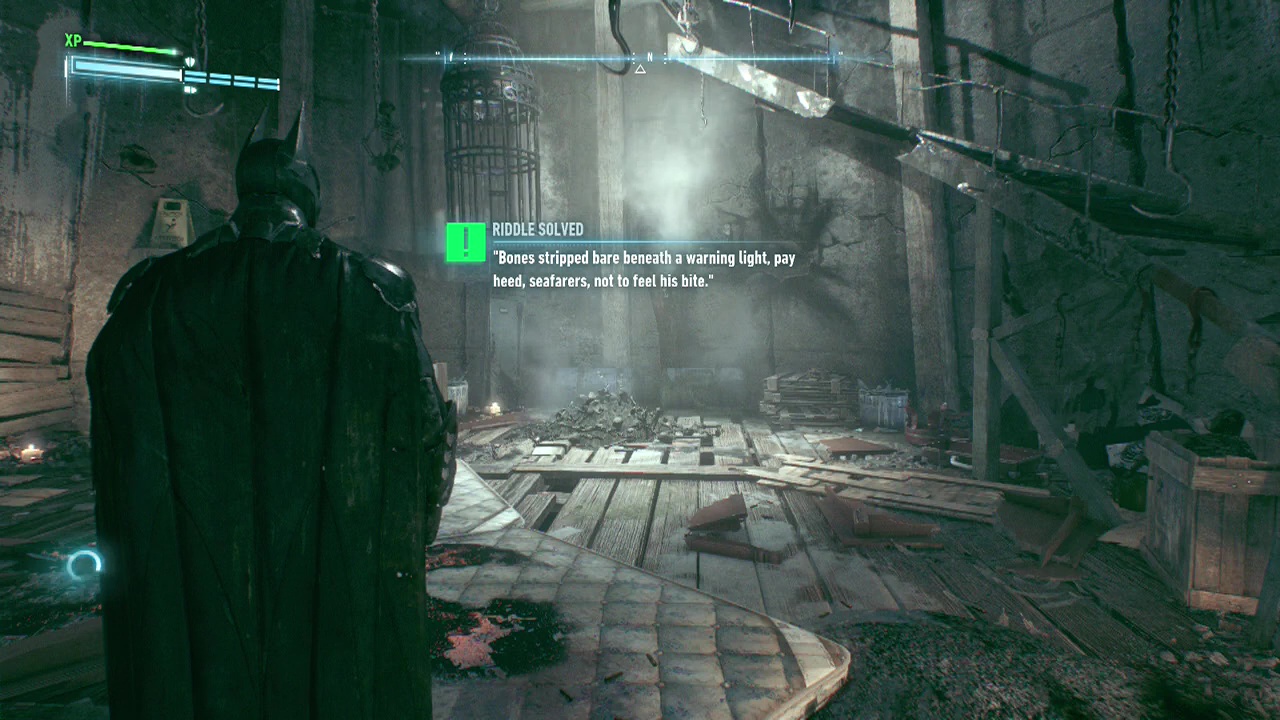
Riddle 4: Head to the lighthouse. On the lower level, you can enter. Scan the pile of bones.
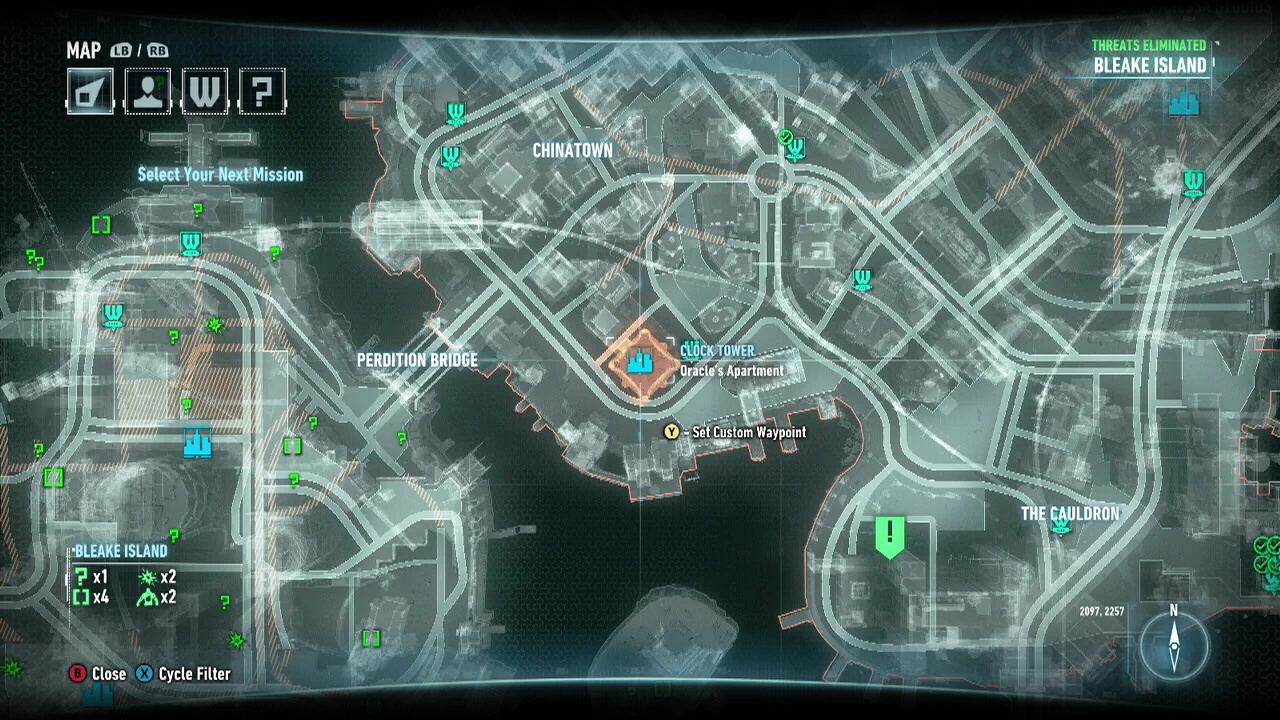
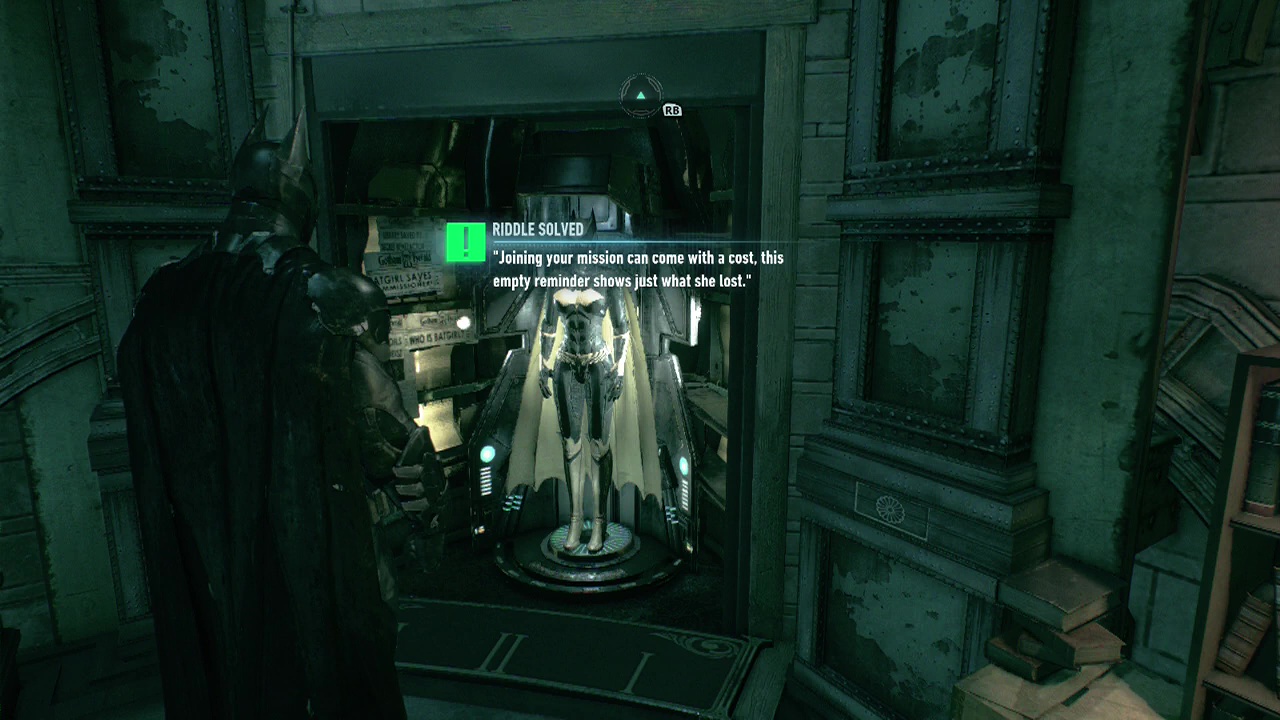
Riddle 5: Remote Hacking Device – Head inside the clocktower from the roof, into Oracle's apartment. Activate the retinal scanner to change the room. Use the Remote Hacking Device on the On/Off switch. This will reveal the Batgirl suit. Scan away.
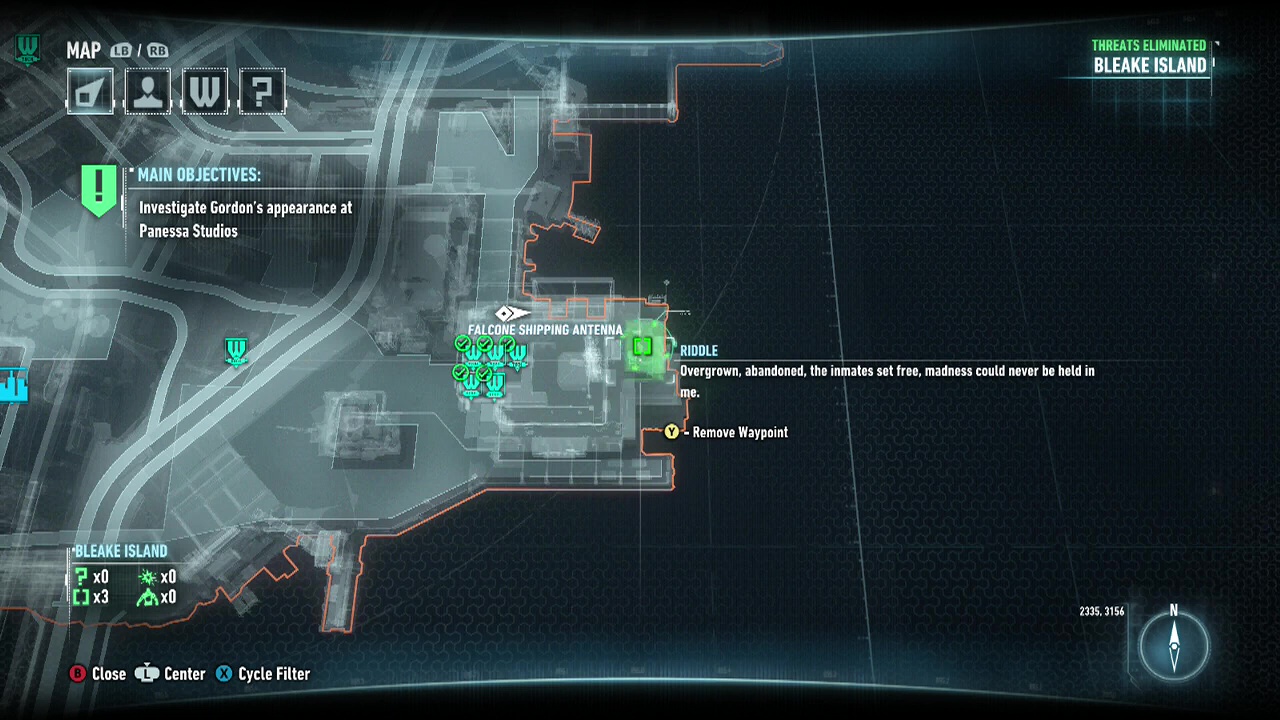
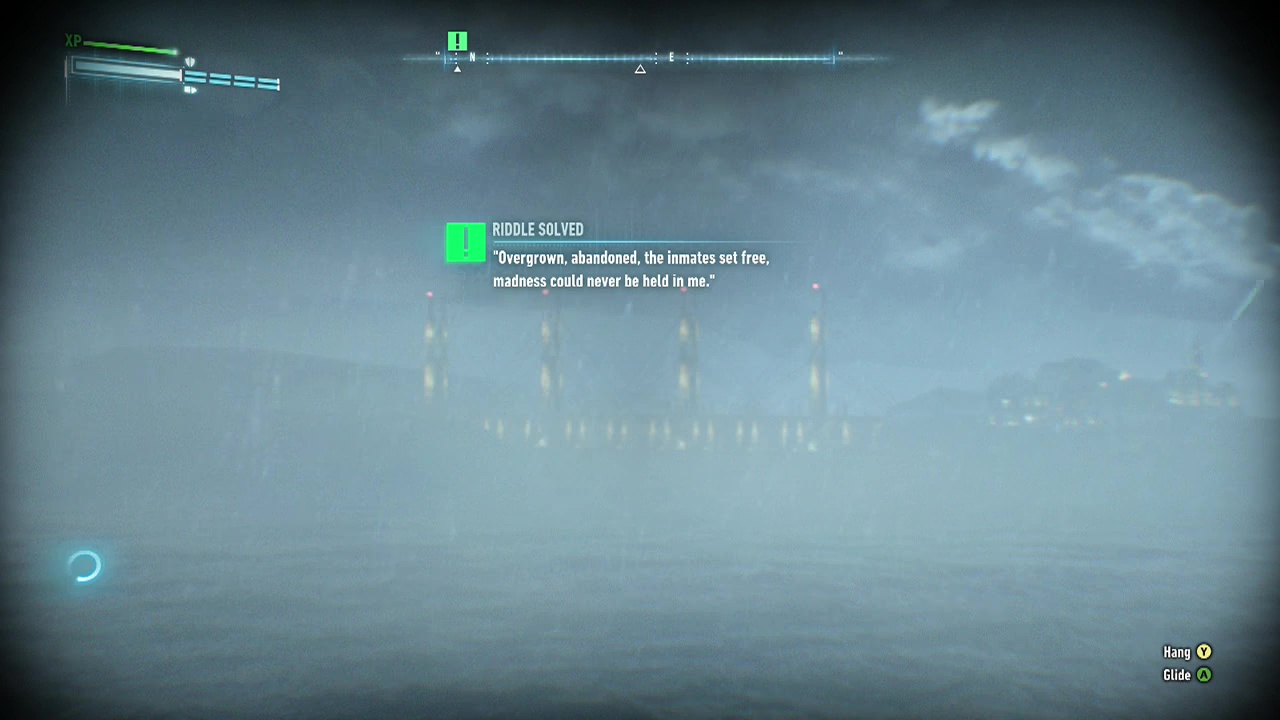
Riddle 6: Look over the water to where you can see Arkham Asylum in the distance. Zoom in to make it larger (push in Right Stick) and scan.
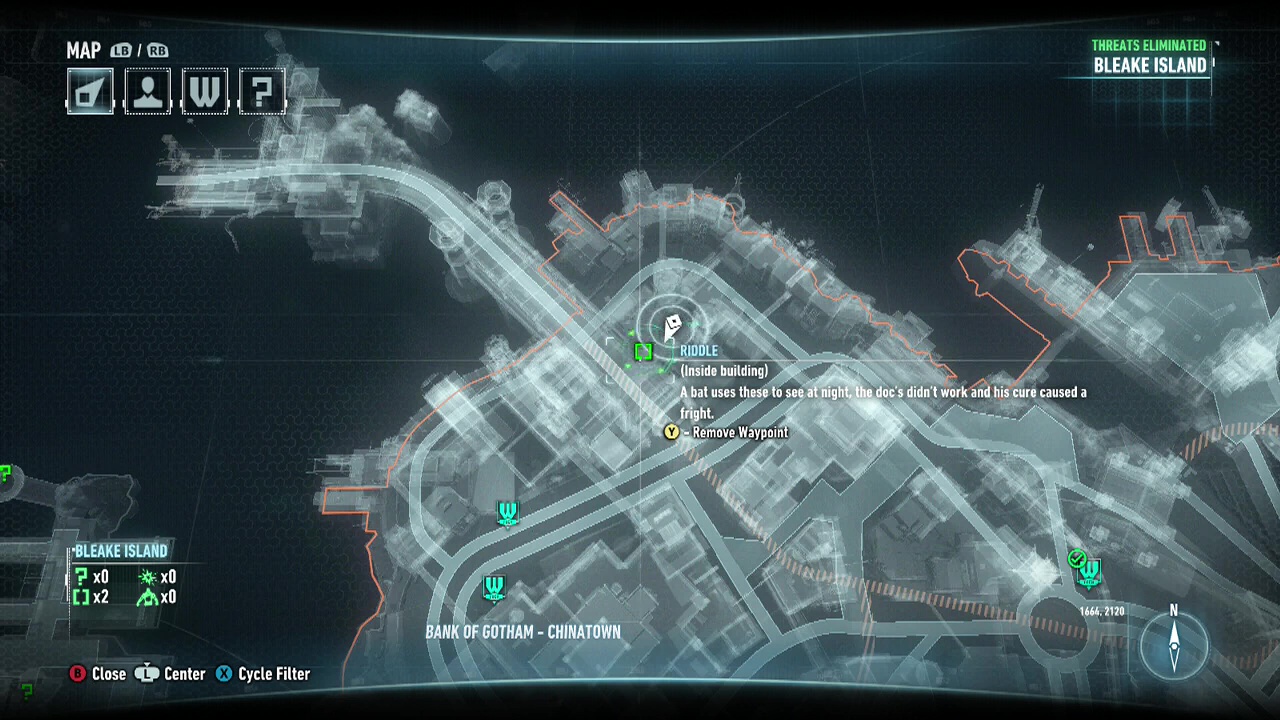
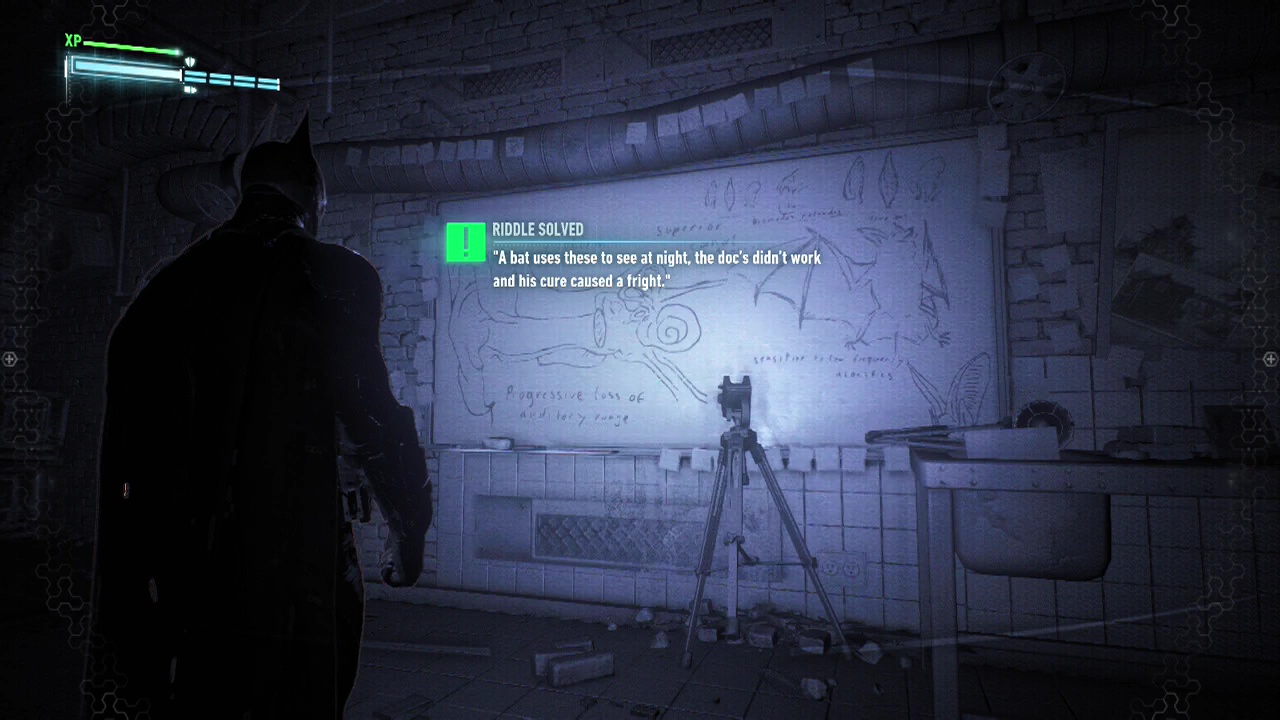
Riddle 7: Head down the elevator, and into the lab room. Scan the drawing on the whiteboard.
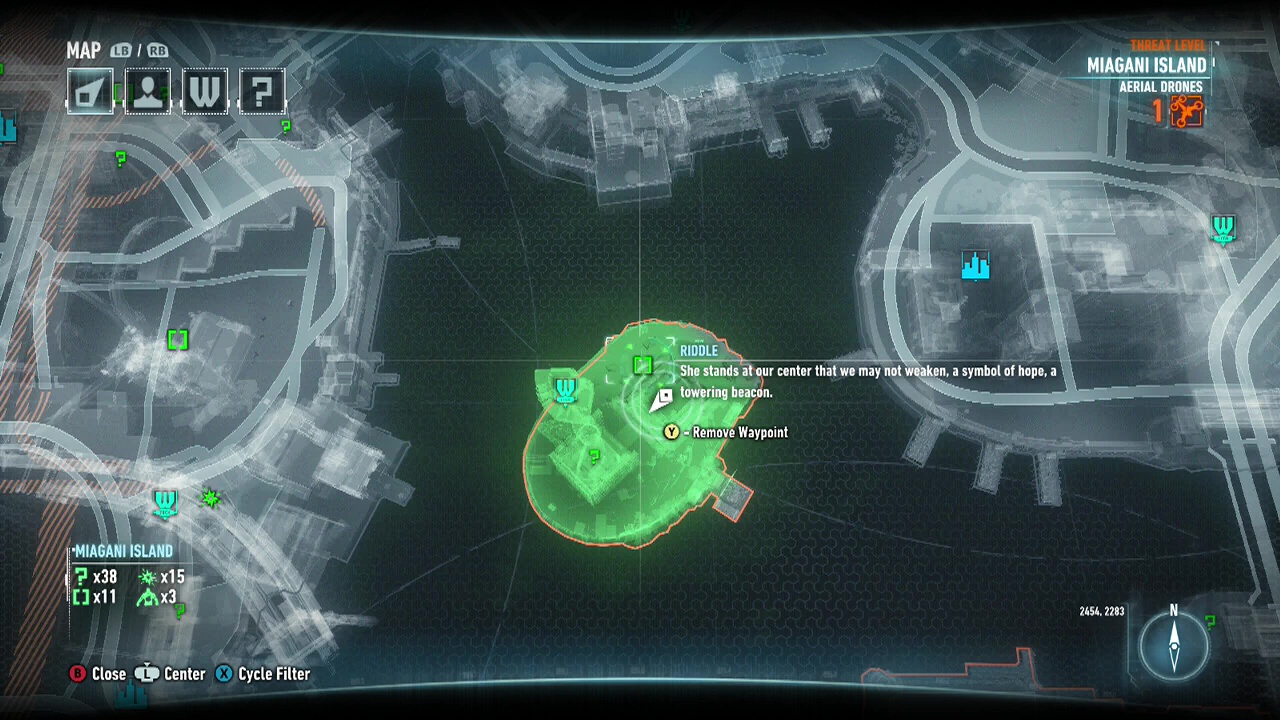
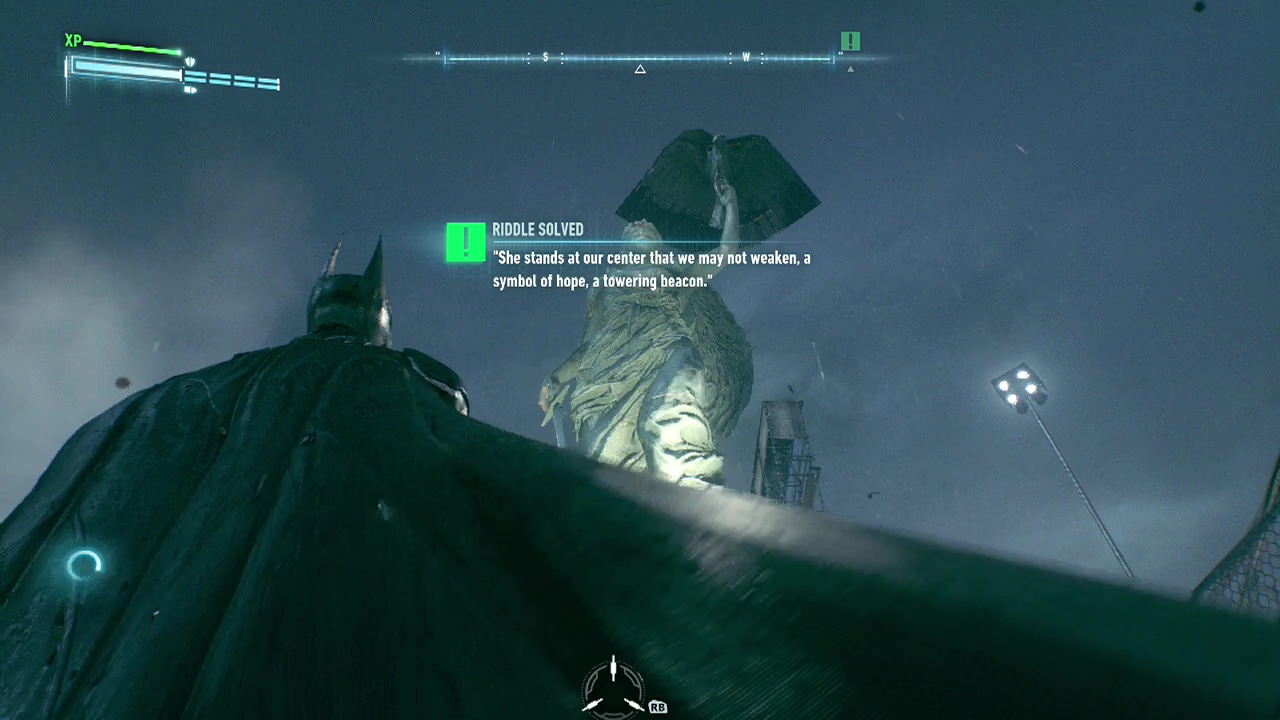
Riddle 8: Scan the statue.
Riddler Bomb Rioters
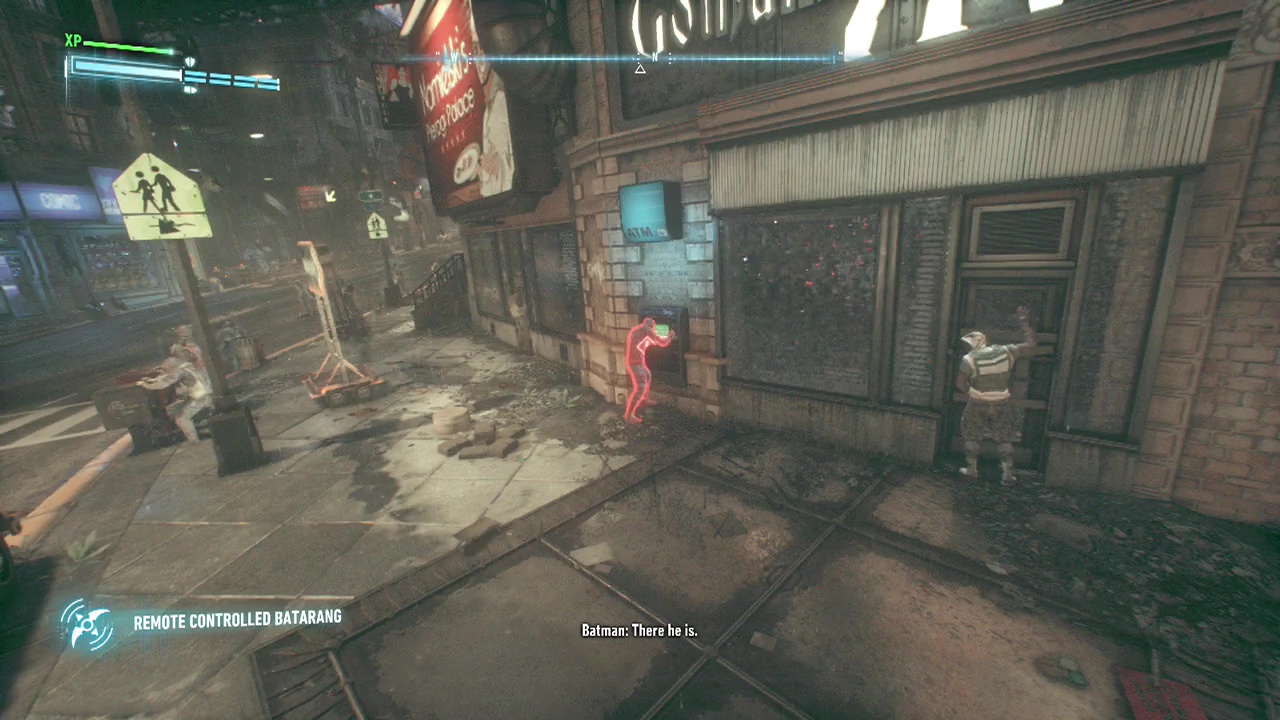
From your vantage point, the victims can be scanned using the Remote Batarang. Keep it flying past the thugs in the area until you find the one glowing in red. Next, contrary to what Batman tells you to do (disable the bomb with the Remote Batarang), shoot the affected thug with the Remote Electrical Charge. It will home in on him. Once it hits, mission complete.
Bomb Rioter 01:
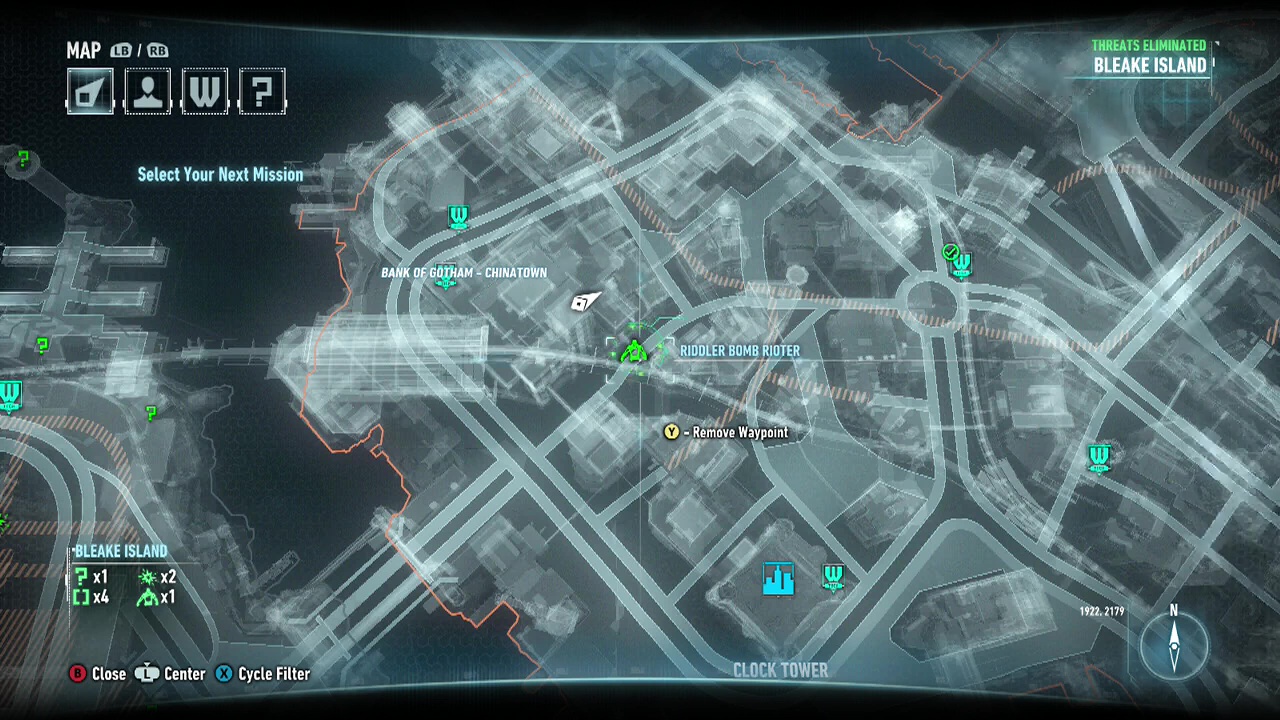
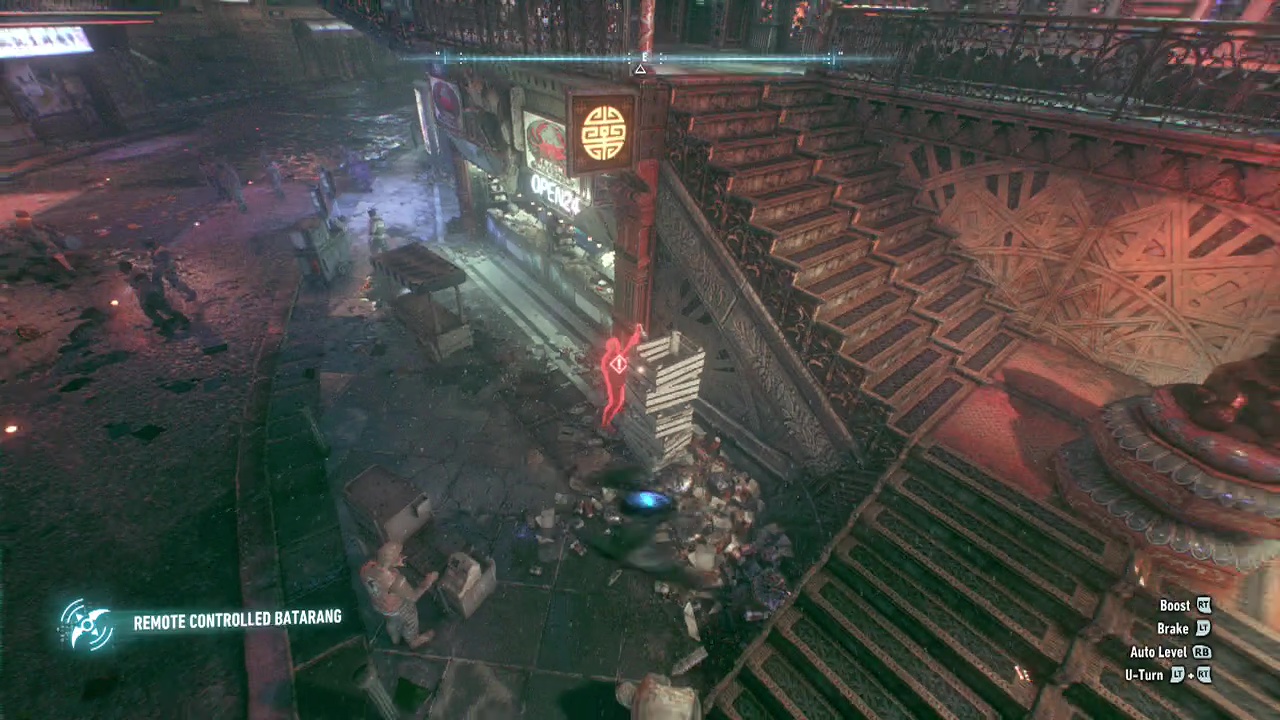
Bomb Rioter 02:
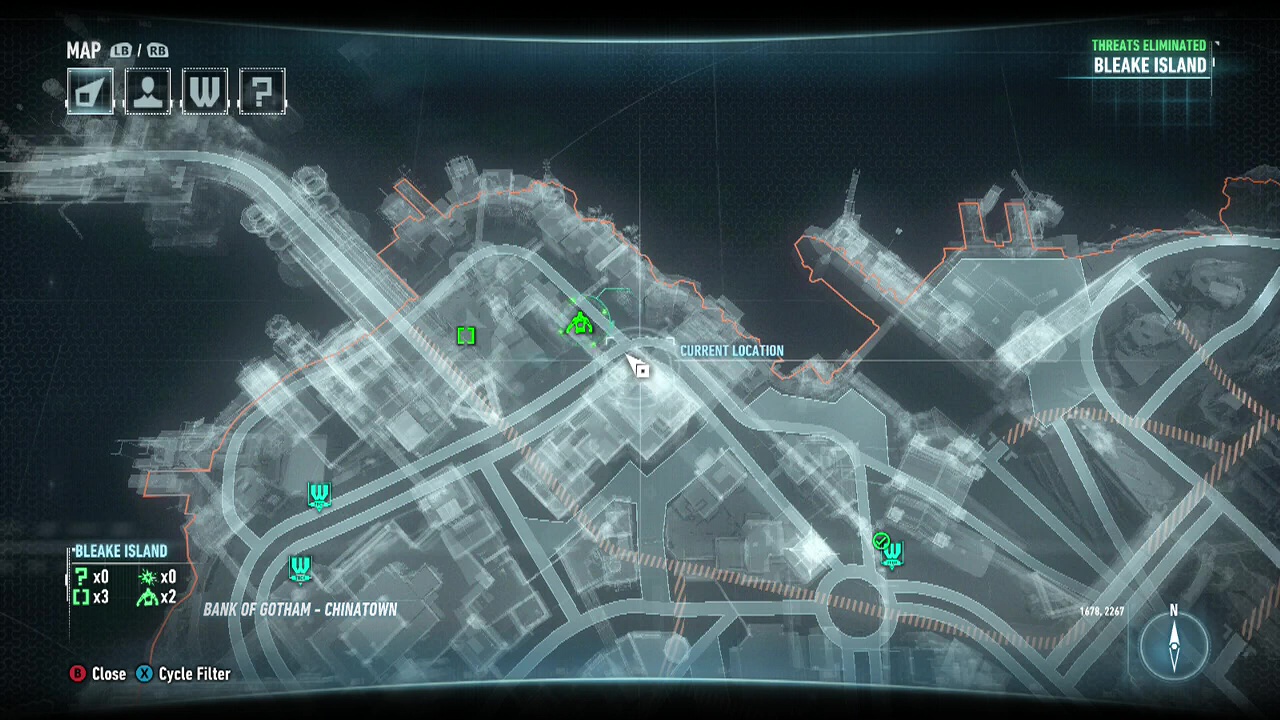
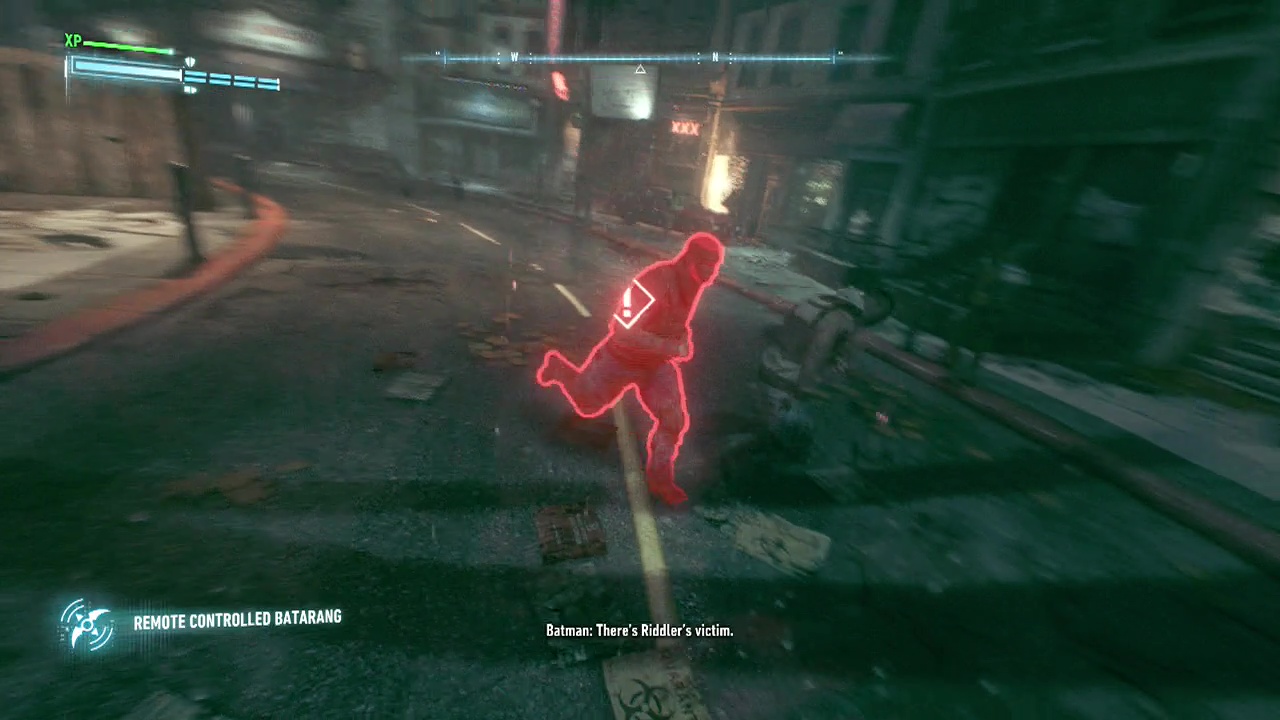
Bomb Rioter 03:
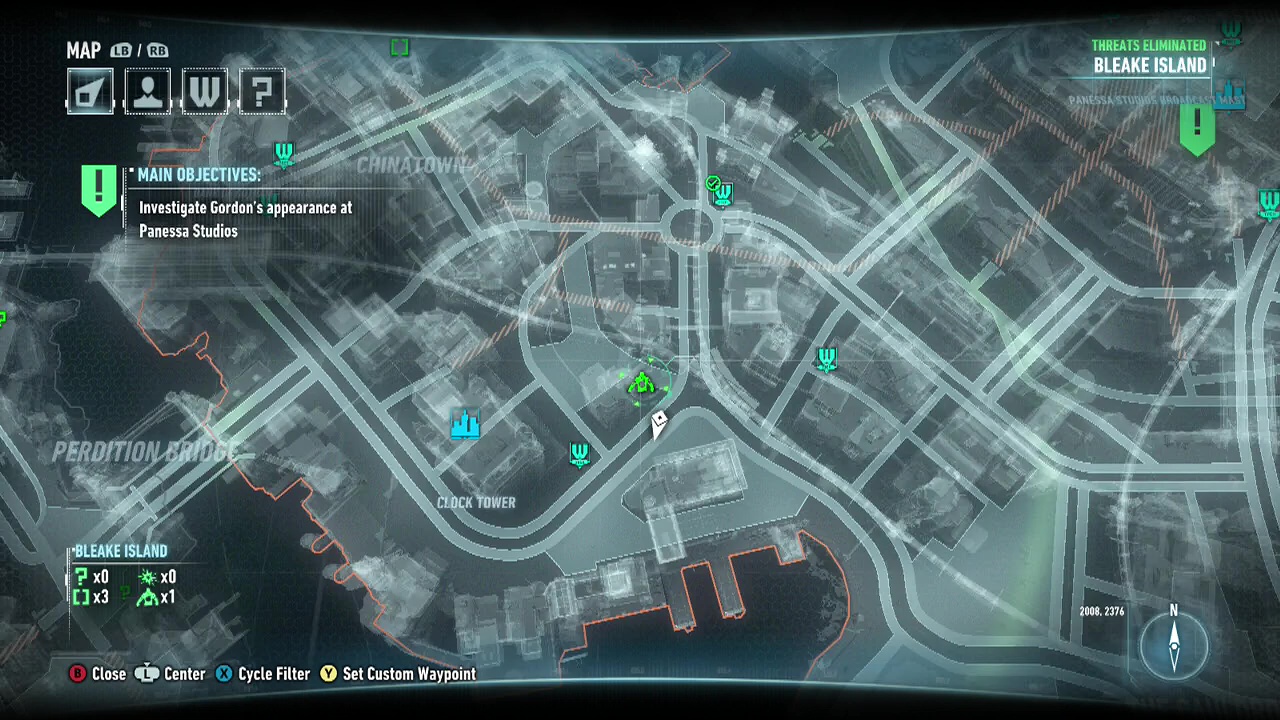
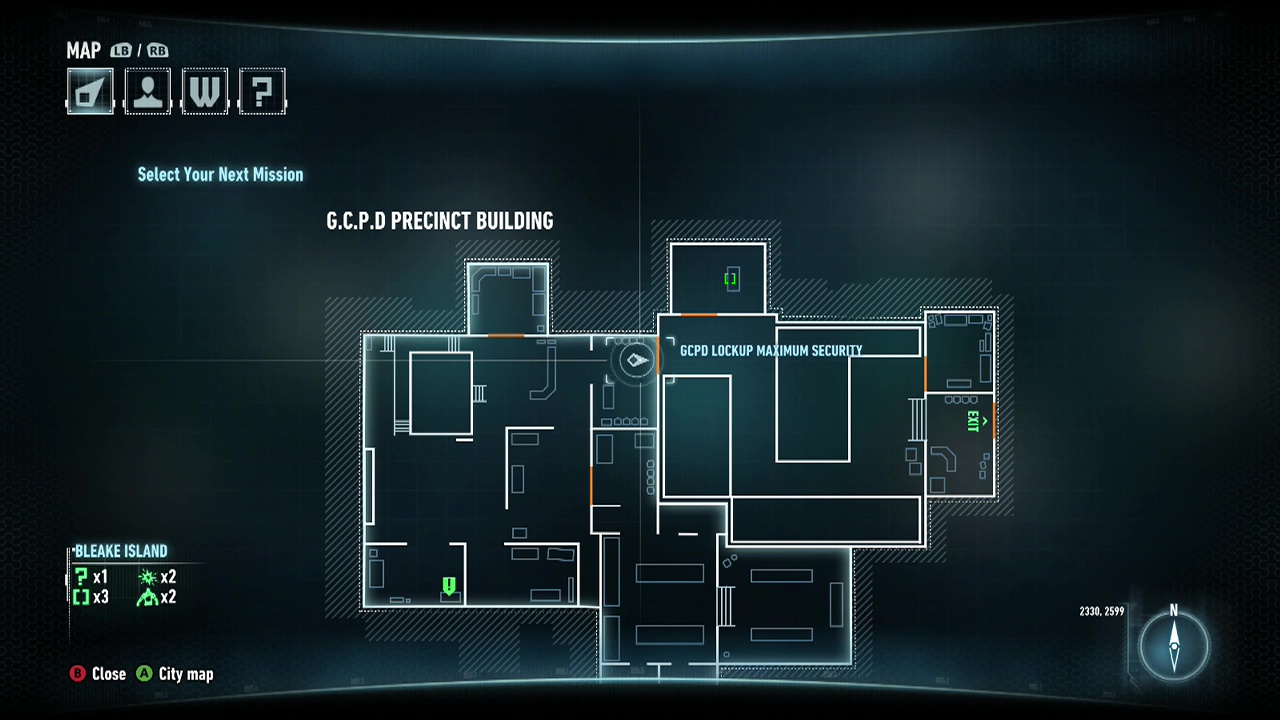
COLLECTIBLES: Gotham City Police Department (GCPD)
Riddler Trophy
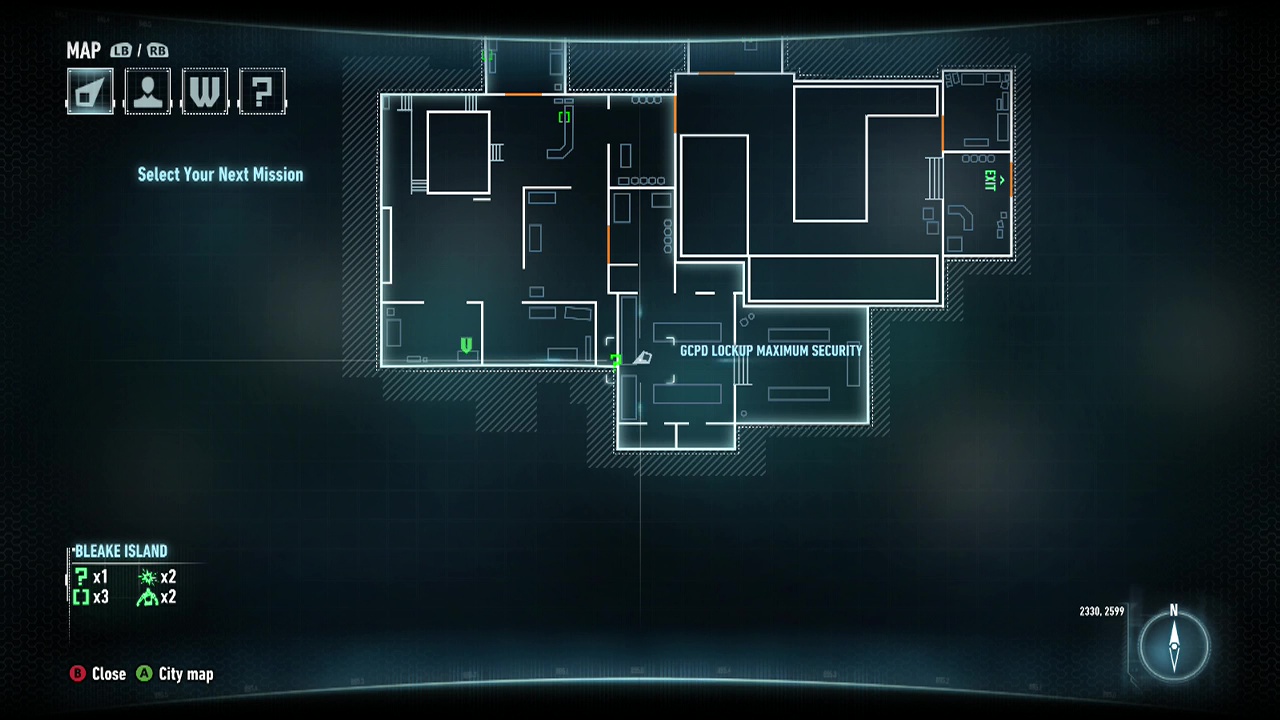
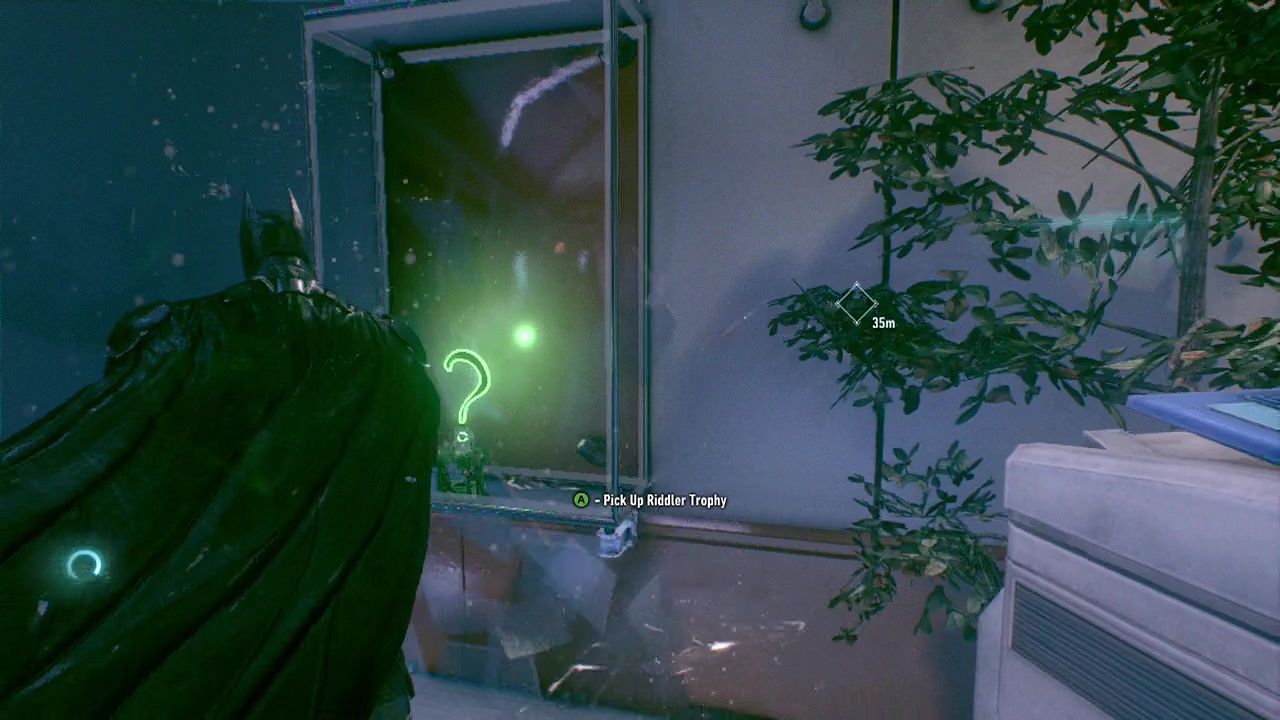
Riddler Trophy 1: Violence solves everything. Punch the glass cabinet and take the evidence trophy.
Riddles
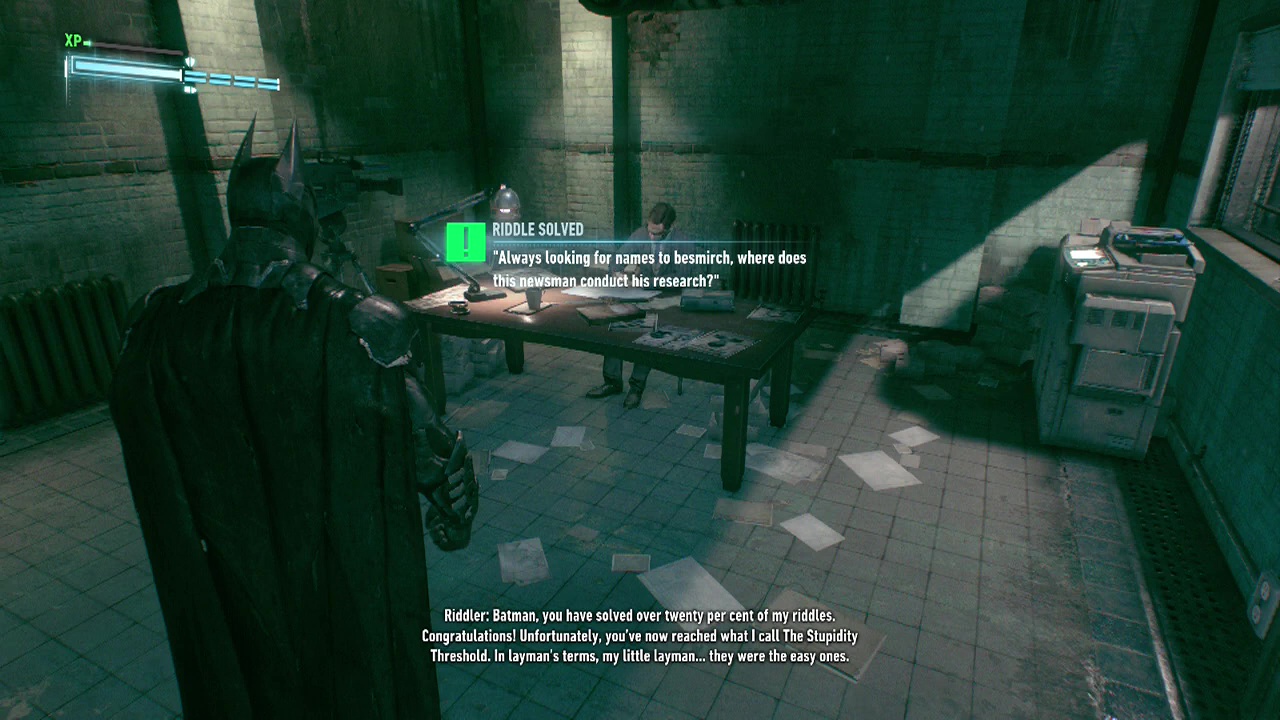
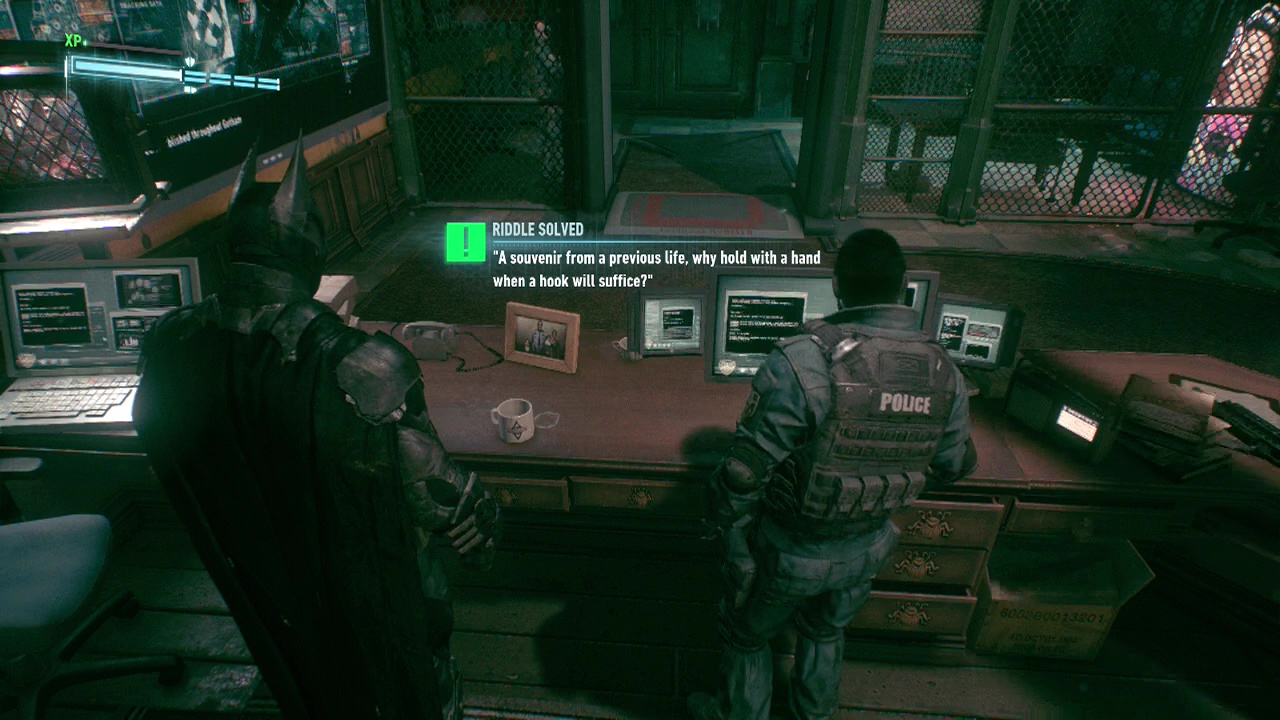
Riddle 1: Walk up to the family photo on the desk next to Cash and scan it.
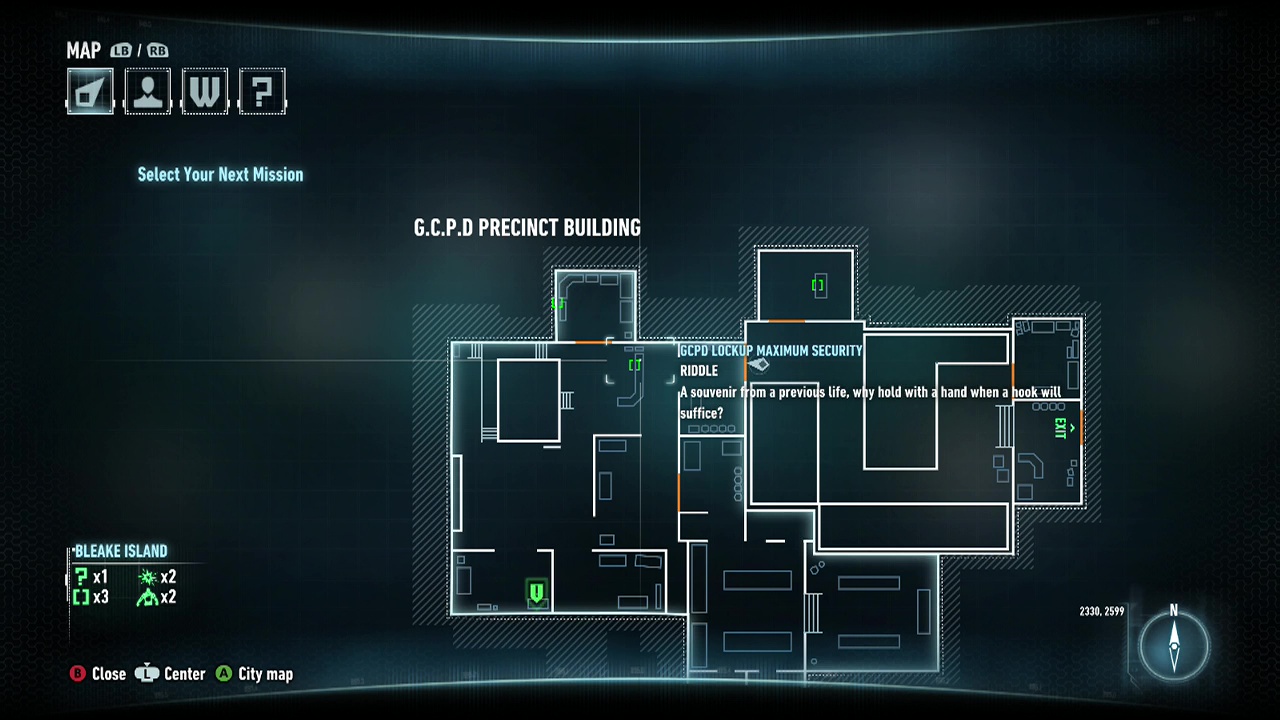
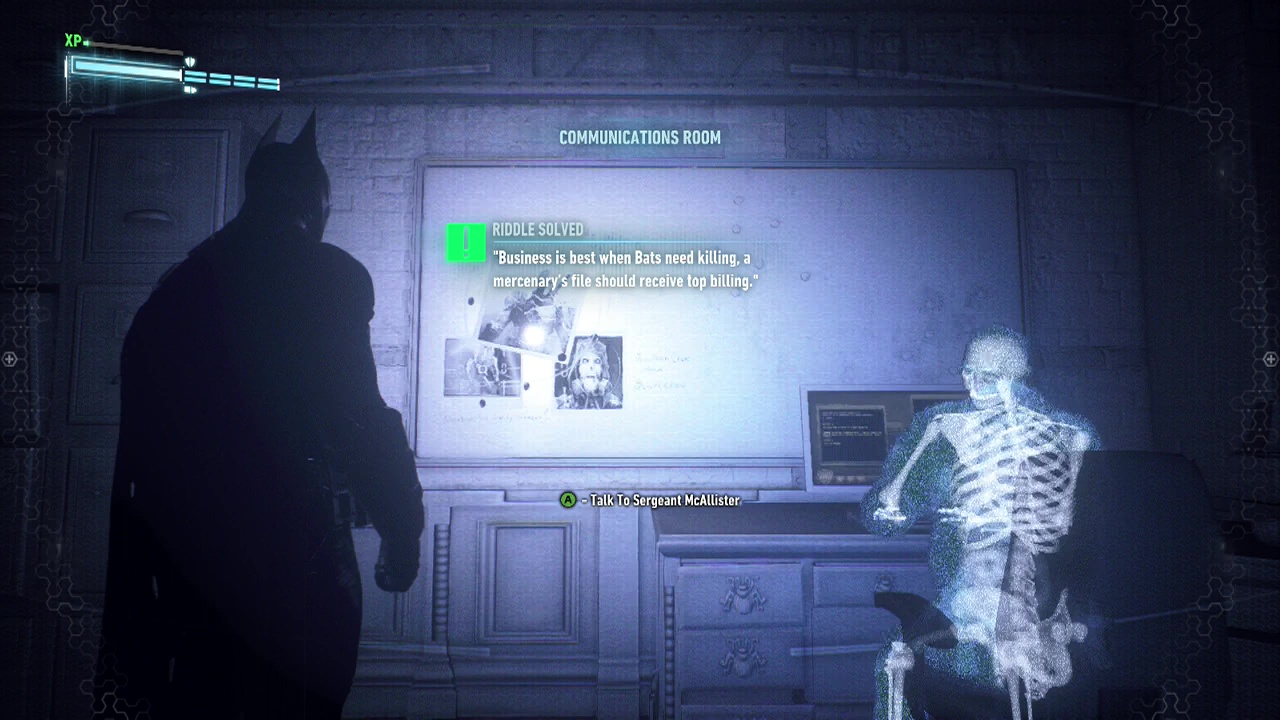
Riddle 2: Head into the Comms room (left top room on the map) and scan the photo on the wall.
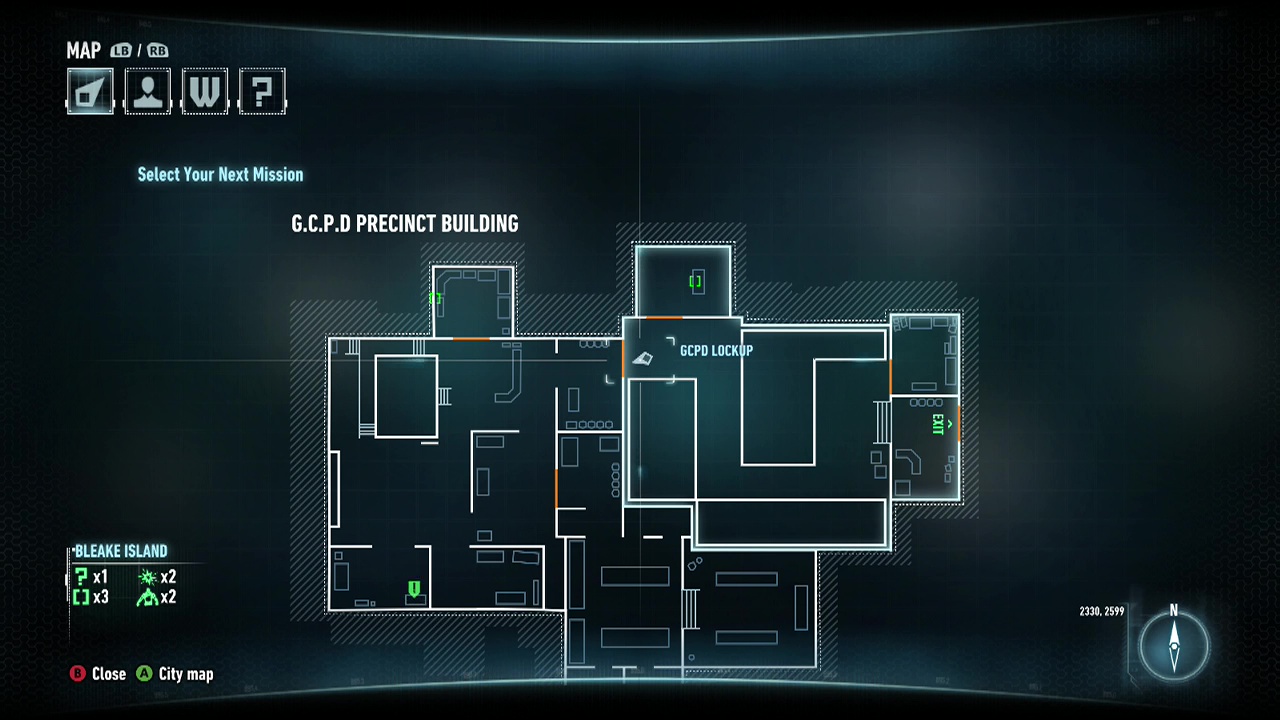
Riddle 3: Head into the Interview room (middle top room on the map) and scan the desk.
