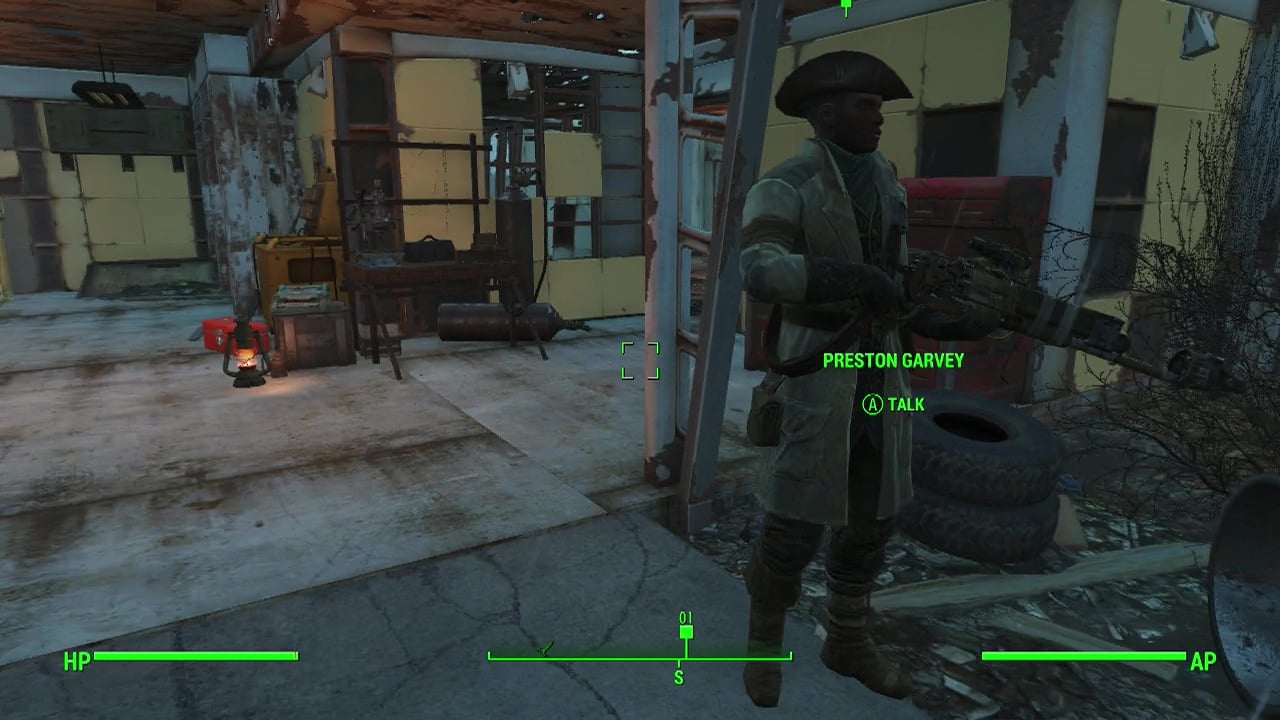
MINUTEMEN QUEST 01 – When Freedom Calls
Triggered at the end of Story 02: Out Of Time
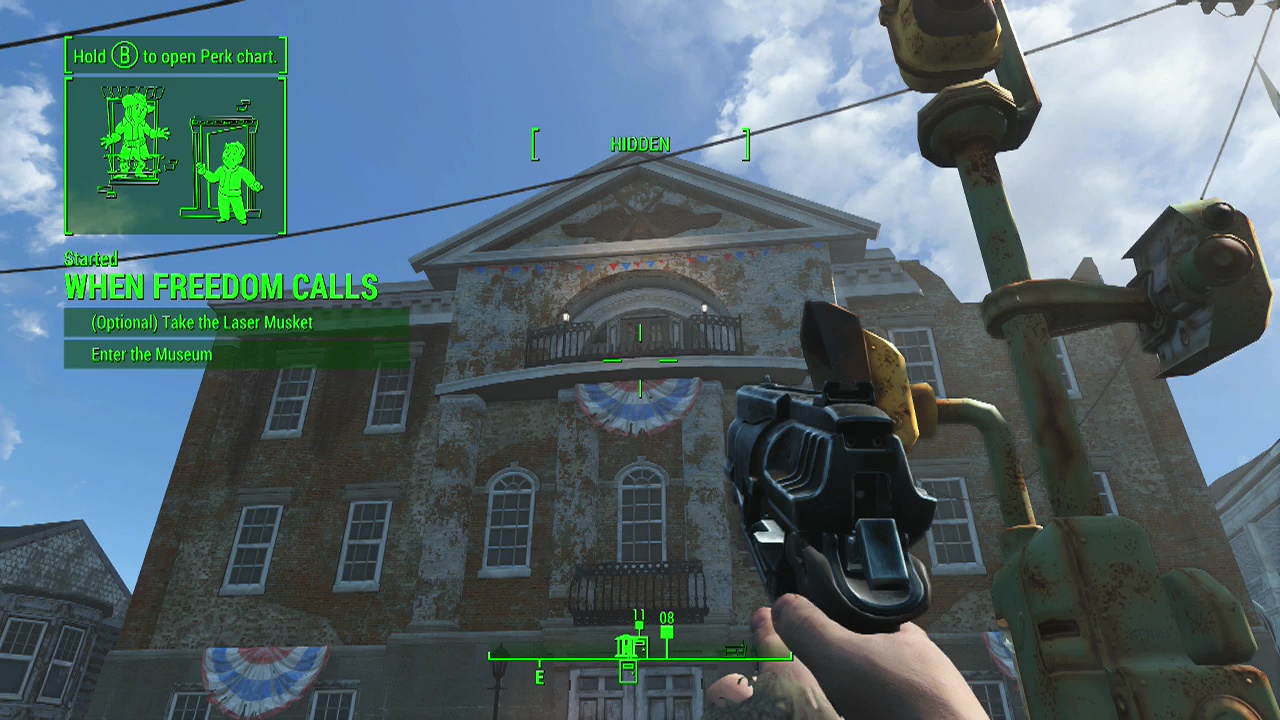
When this quest begins, you'll be standing in front of the Museum of Freedom at the South end of Concord (if you aren't simply fast travel back).
(Optional) Objective: Take the laser musket
The man on the balcony will call out for you to grab the musket on the ground to the right of the museum entrance before helping him with the attacking raiders. Hey, free gun. Why not? Dogmeat may even pick it up and bring it to you. One thing to note is that the laser musket uses fusion cell ammunition which at this point in the game is fairly scarce. So you may want to avoid using this weapon at the moment (plus it's manual crank for powering up each shot can get a bit tedious).
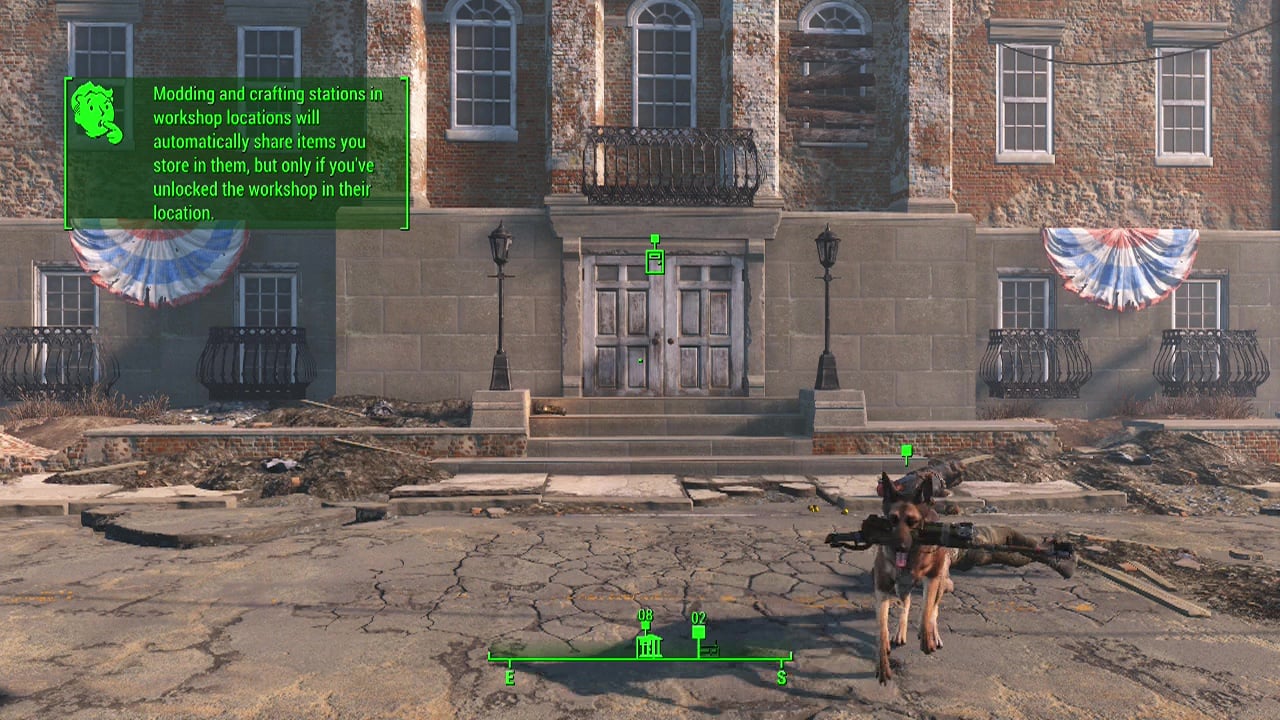
Objective: Locate the trapped settlers
Make sure you've equipped whatever armour you can find (as this should still be very early in the game) to increase your defenses. A little extra tidbit is what each symbol means with regards to your defense on the stats/ apparel screens. The shield icon represents physical damage (regular ballistic weapons such as rifles and pistols). The lightning bolt icon represents energy defense (weapons that fire lasers such as institute pistols and laser rifles). The rarest type of defense/ attack is radiation damage (shown by the radiation symbol – this type of defense appears on your vault 111 jumpsuit) which comes from weapons that use gamma ammunition.
Keeping these defenses in mind and adjusting your load-out to match what you face, at least until you get high end gear that covers all damage types is crucial. Now that you know this, you also know you'll be facing raiders inside the museum. Raiders generally use regular ballistic weapons (pipe rifles and shotguns), so make sure you adjust your armour to maximize your physical defense to make life easier for yourself, especially on harder difficulties. Now that that's sorted out, stride confidently through the museum's main doors.
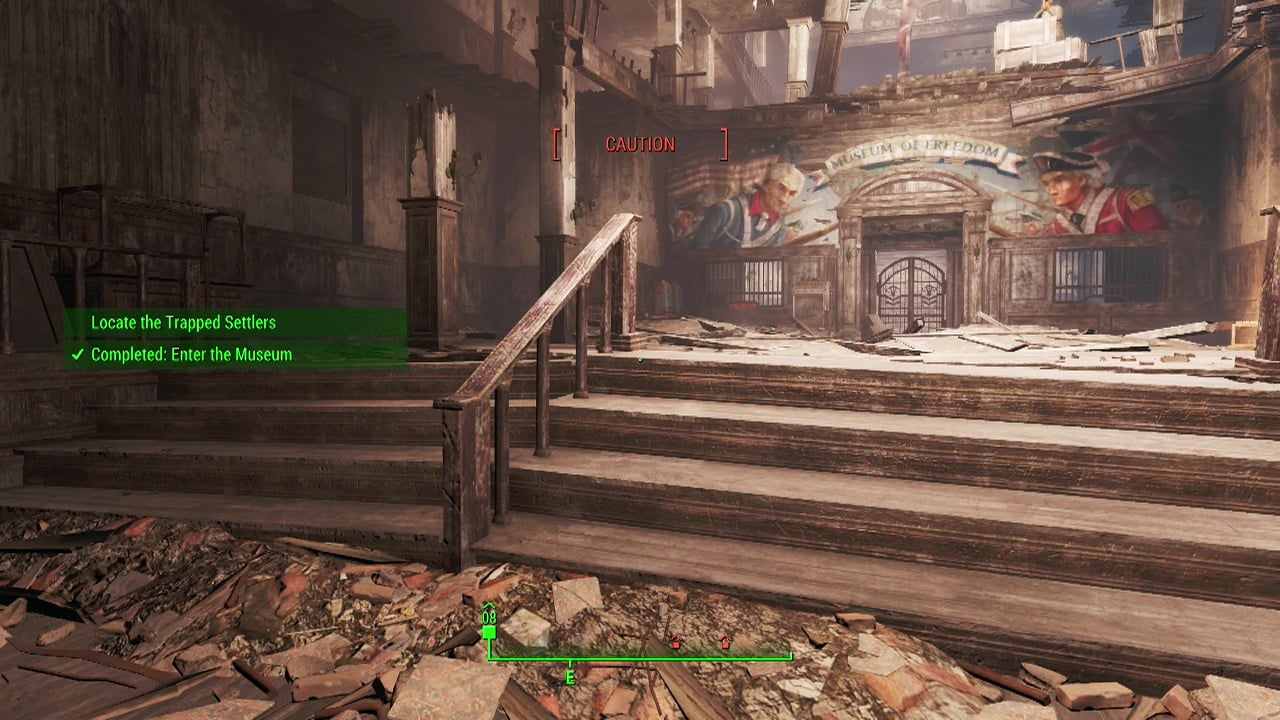
The settlers are located on the top floor of the museum, but you're going to have to clear out all the raiders on the way to reach them. Ignore the metal gate in front of you (we'll be back later in the mission) and turn right, quickly passing through the door to get out of the enemy firing zone. The following series of rooms are all linear, but be careful as you enter the third one as you'll likely run into your first raider here. The path up to the survivors is pretty linear, so work your way up but stay alert and use the compass to detect incoming threats. There are a couple of ammo stashes to grab along the way (two duffel bags and an ammo container), so make sure to loot them to keep yourself supplied.
When you've finished off the last raider in the museum and have reached the top floor, enter the marked room where the survivors are located in to talk to Preston.
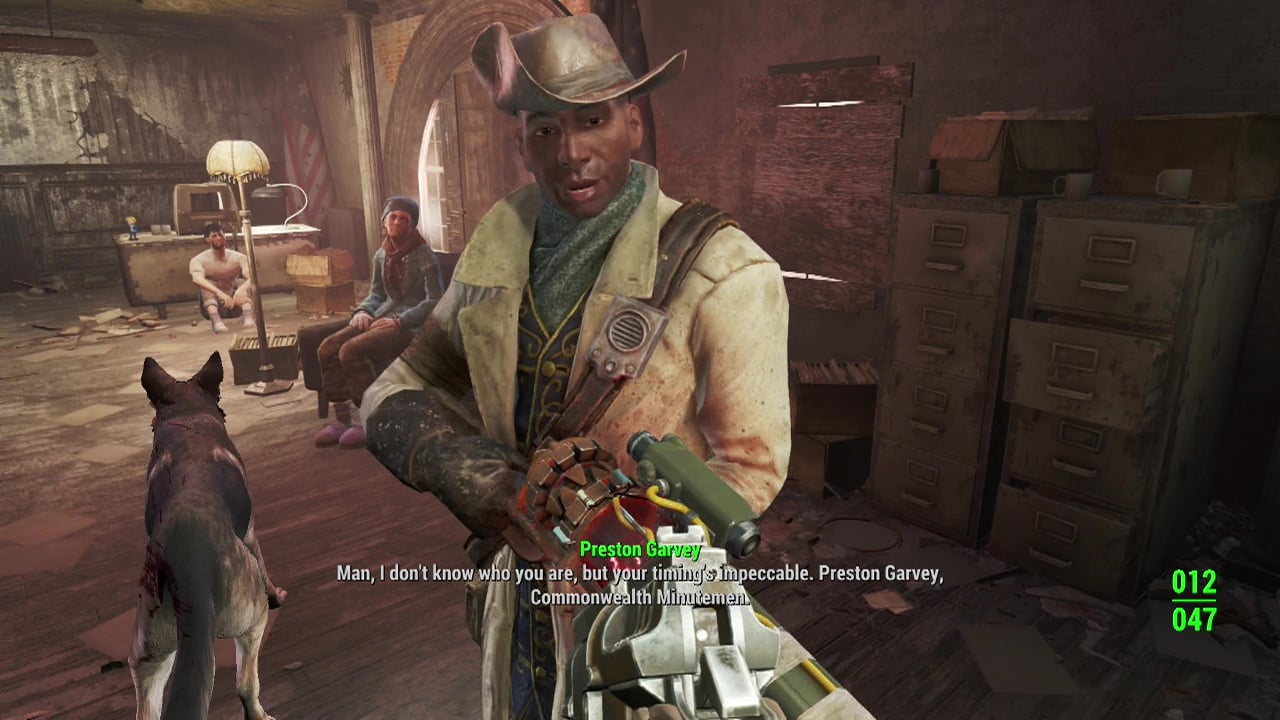
Note: Make sure to grab the Perception Bobblehead (PER +1) on the top floor of Museum Of Freedom on a desk in the office where Preston and the survivors are.
Note 2: You can also pick up Robco Fun (Atomic Command) In the same office on the top floor of Museum Of Freedom on a desk next to the museum operations terminal where Preston and the survivors are.
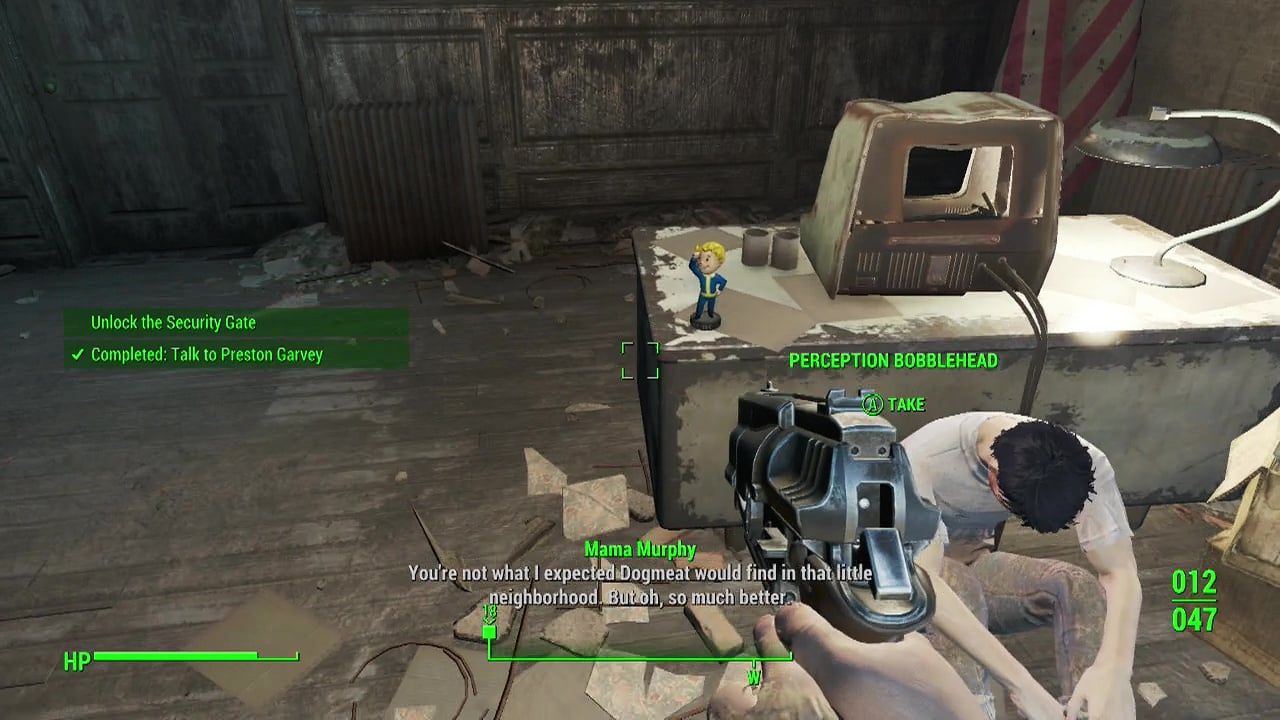
Objective: Talk to Preston Garvey
Preston will suggest that you use an old suit of power armour on the roof and a mini-gun to deal with the remaining raiders outside the museum so he and the survivors can leave safely. However the armour needs a fusion core to operate at anything faster than a slow walk. So you'll need to hunt one down before you can bring the fight to the waiting raiders.
Objective: Unlock the security gate
On the lowest level at the rear of the museum is a locked security gate with a terminal beside it. One tip for people trying hacking for the first time in this game. You can make three guess attempts, and then back out of the terminal. Then re-enter it to get all your guesses back. This can be repeated as many times as you wish until you succeed. Much quicker than reloading after each failed attempt.
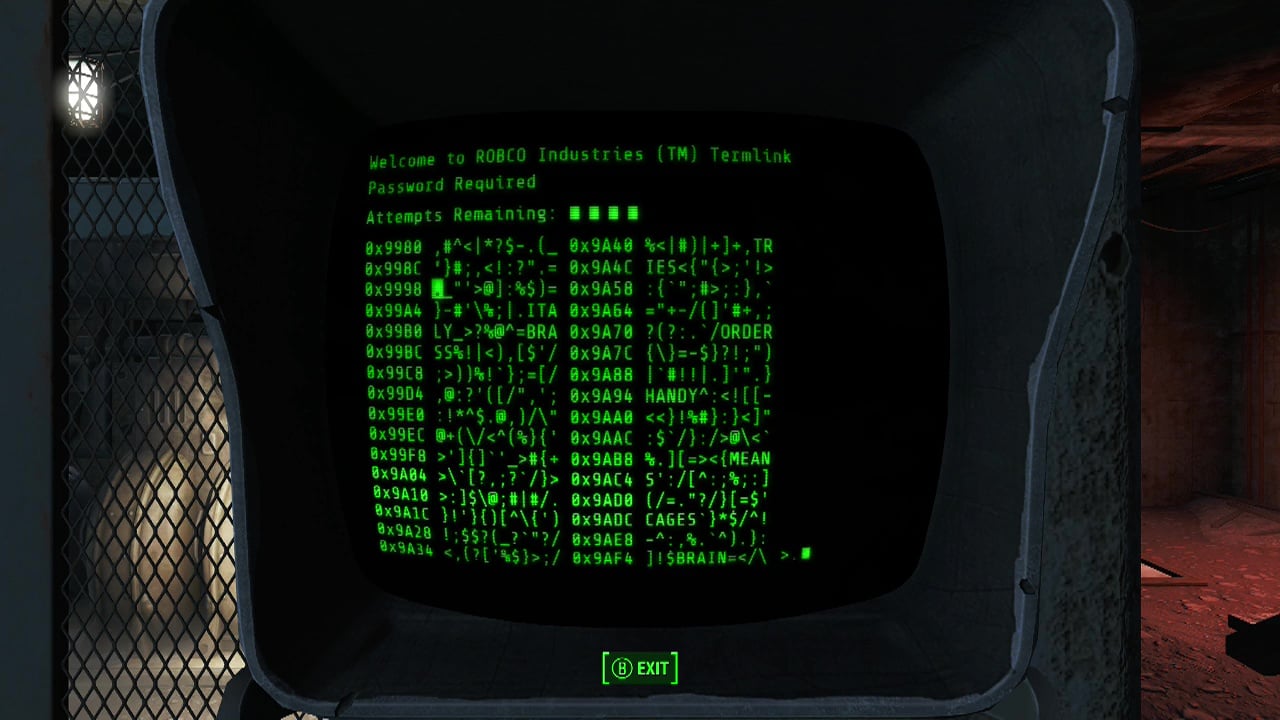
Objective: Get a fusion core
Hack the terminal and open the security gate to grab the core out of the machine inside.
Objective: Put the fusion core in the power armour
Now you'll need to backtrack to the top floor and walk through the door on the far side of the office Preston and the survivors are in to enter a hallway which has a door leading out onto the rooftop. As you emerge you'll see the suit of power armour in front of you. Press X/ Square to bring up the transfer menu and move the fusion core across into the armour.
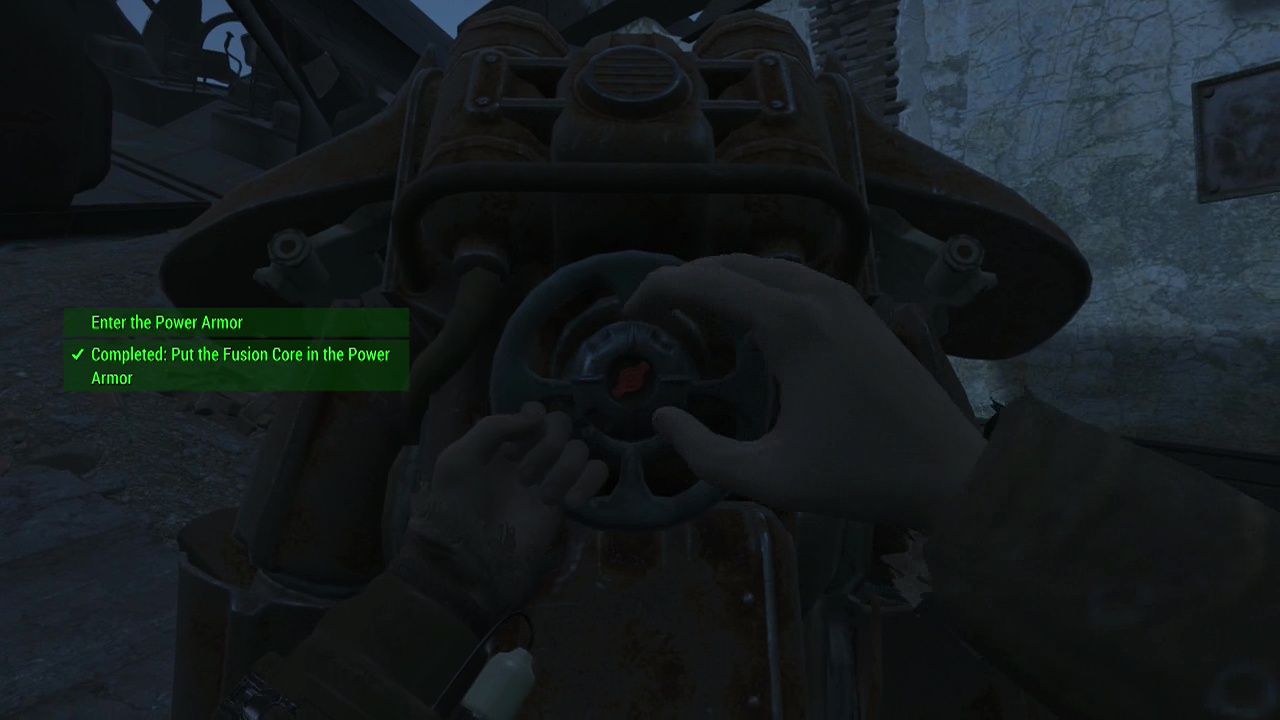
Objective: Enter the armour
Press A/ X when close to the armour to get inside.
Objective: Grab the minigun
The mini-gun is in the downed vertibird just in front of you. Pick it up and walk through the downed aircraft to the other side. You should be on a balcony overlooking the street below where the raiders are milling around.
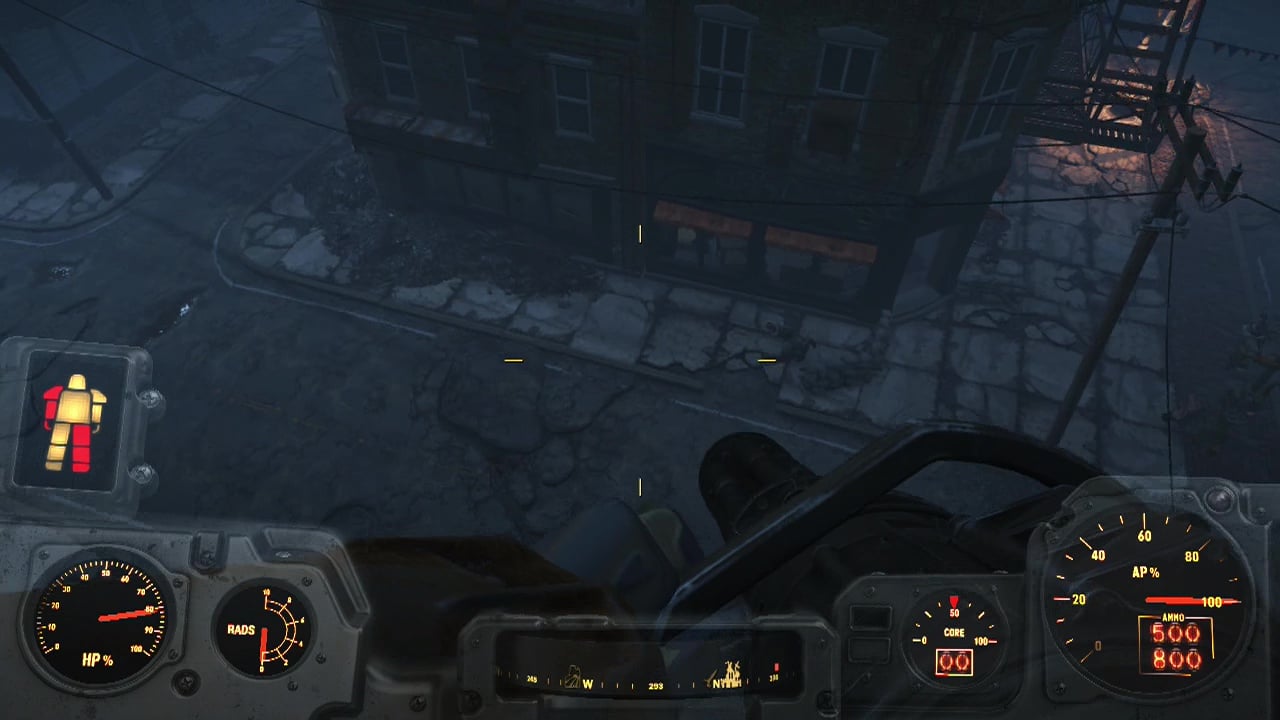
Objective: Clear Concord of hostiles
Warning/ Tactics for higher difficulties: Make a save here on top of the building. Before engaging in the fight below, be sure to use a Med-X to increase your damage resistance by 25%. You can drop off the side of the building without suffering fall damage while you are in power armour. While you are fighting the raiders below, a deathclaw (extremely dangerous creature) will appear and attack both you and the raiders. This creature can kill you easily if it gets close enough, so you'll want to do some preparation first. You can walk between the line of houses to the left (parallel to the main street the raiders are on) to find the hatch the deathclaw emerges from.
If you walk close to it, the deathclaw will trigger. As long as you don't deal damage and sprint away immediately, the deathclaw should attack the raiders which makes your job easier. Backtrack down the side street to the front of the museum and start working your way down the main street, using your mini-gun to clear any raiders that attack you. When only you and the deathclaw remain, you'll need to back away while firing your mini-gun at all times. Also keep in mind you can use exploding vehicles, mines and grenades to damage the deathclaw as well. Status increasing and recovery aid items (especially those that increase damage resistance) should also be used while you fight this dangerous predator. With a bit of skill, you'll emerge bruised and battered but victorious.
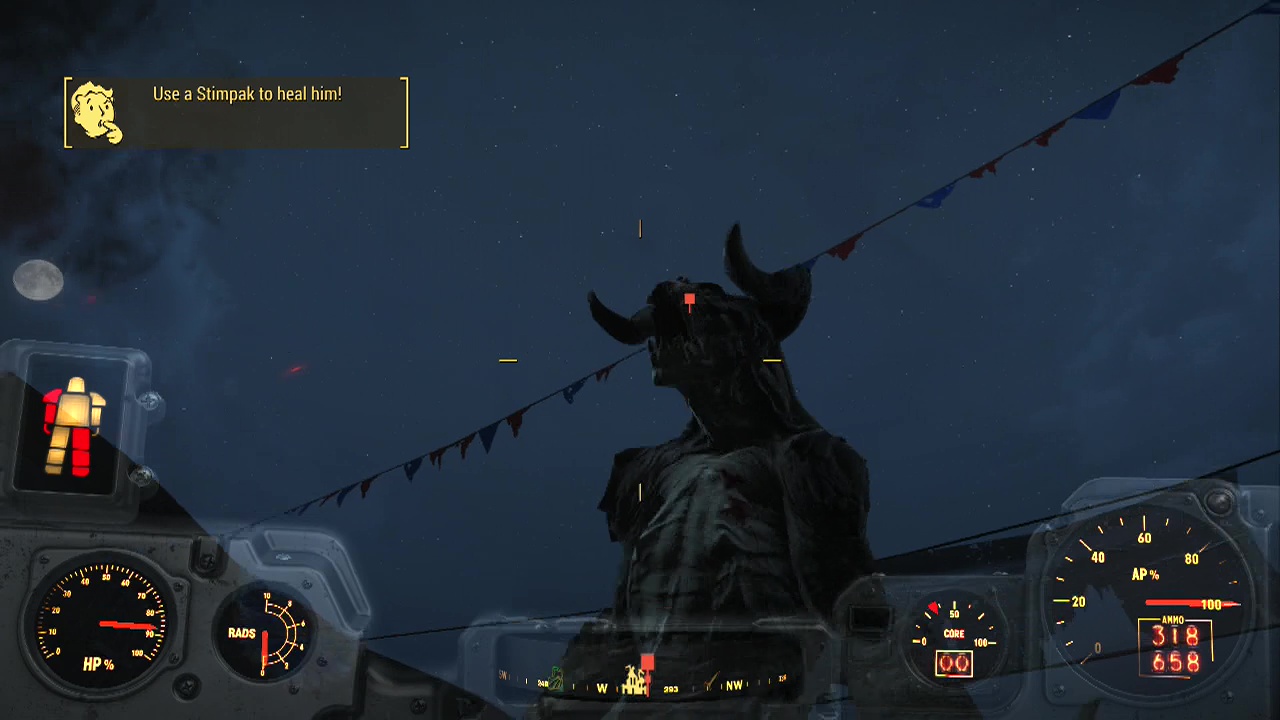
On lower difficulties, you can simply mow down the raiders and deathclaw with little worry. Make sure to loot the corpse of the gang leader Gristle as he holds the Corvega storage key. This can be used to open the security cage on the ground floor of the Corvega Assembly Plant to the South-West of the Museum Of Freedom. This contains a fair amount of ammo and some explosives. You'll likely be going there shortly if you join the Minutemen faction, so keep this in mind.
Objective: Report back to Preston
Return to the museum to find Preston and the survivors about to leave near the main entrance. After a quick chat, you'll get your next story mission (Story 03 – Jewel of the Commonwealth), as well as an invitation to join them in Sanctuary (Hills). Fast travel back to Sanctuary and drop off your power armour (at least until you find more fusion cores). If Preston hasn't arrived yet, use a chair or make a bed using the workbench to pass some time until he gets to Sanctuary. Talk to him when he does and agree to join/ help him with the Minutemen to begin the Minutemen quest: The First Step, as well as the sidequest: Sanctuary which appears in the miscellaneous tab of your quest log.
Reward: 50x fusion cell, 100 bottle caps
