
Final Fantasy VII Remake Summary
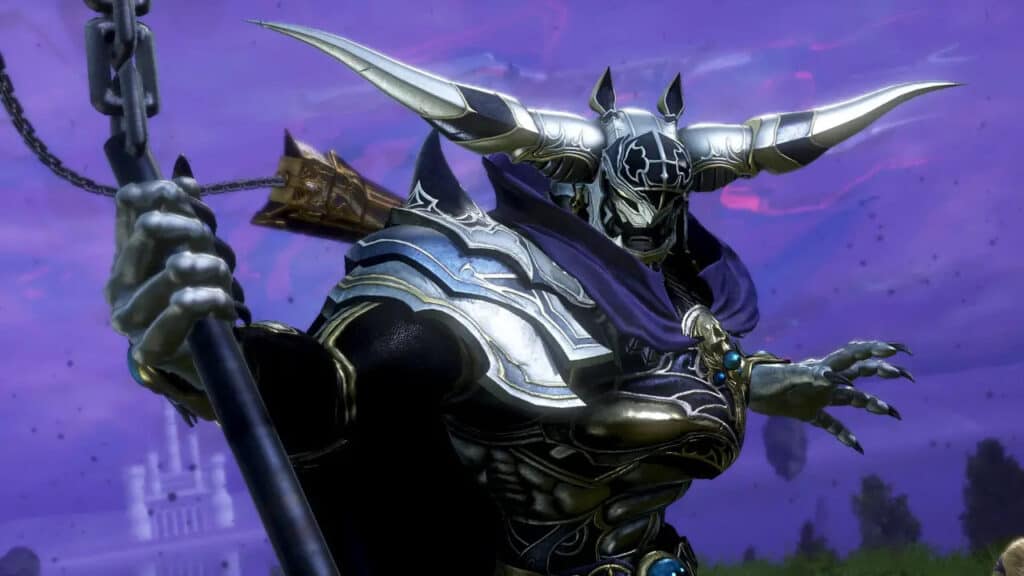
Final Fantasy VVI Remake is the first planned game in the series as a remake of the 1997 Final Fantasy VII game. This game was developed by Square Enix Business District and published by Square Enix for PlayStation 4, PlayStation 5, and Windows. Players play the role of a former Shinra soldier, Cloud Strife, turned mercenary on a mission to fight the Shinra corporation who has plans to drain all the planet’s life force.
The Premise of Final Fantasy VII Remake
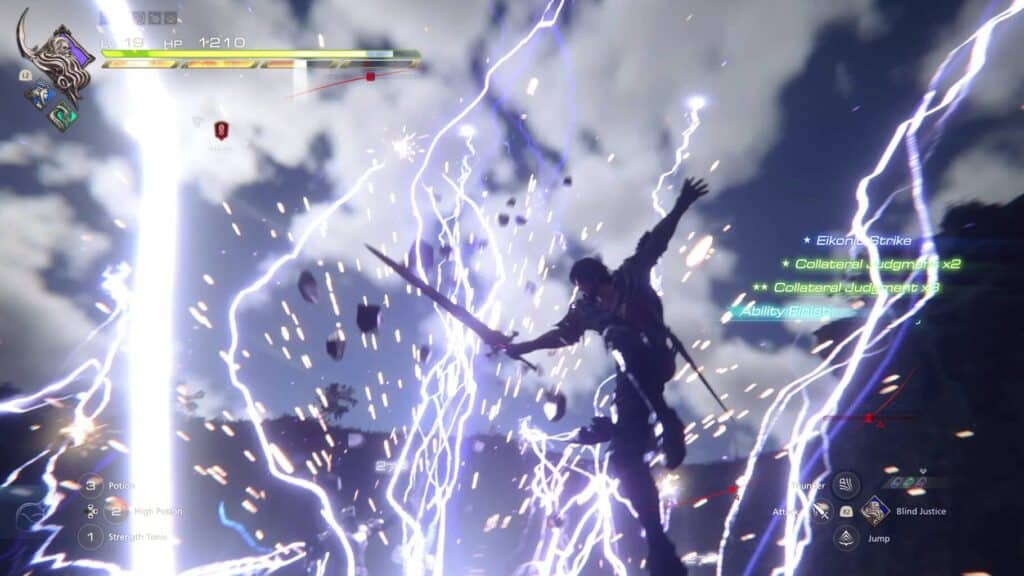
Some of the original characteristics of the actual gameplay remain in Final Fantasy VII Remake, but new features have been added to give the gameplay a little more variety. One unique aspect includes an altered Active Time Battle (ATB), which fills slowly or faster depending on attack speed. When the ATB is wholly filled the players can use the unique abilities offered, like magic, items, and special moves. The gameplay combines real-time action with role-playing elements, providing players with the best of both worlds in gaming.
Main Characters in the Game
The character list for Final Fantasy VII Remake is short but sweet.
- Cloud Strife: Main character and mercenary
- Barret Wallace: Leader of the eco-terrorist group, Avalanche.
- Tifa Lockhart: Bartender
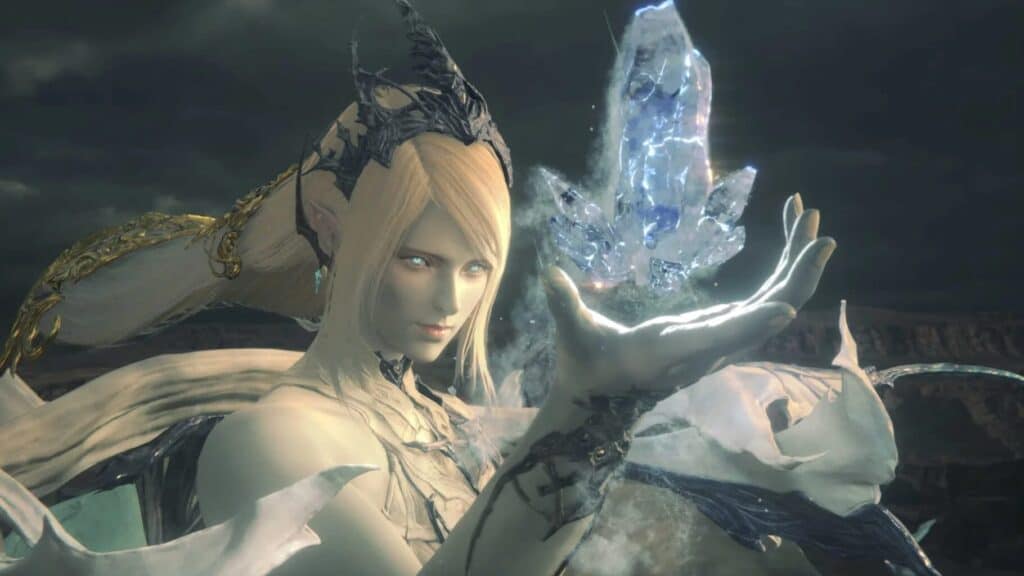
- Aerith Gainsborough: Flower seller
Final Fantasy VII Remake Titles in the Series
The Final Fantasy series has been wildly successful since 2004 with its first title release. Below is a list of the titles within the series.
- Before Crisis: Final Fantasy VII (2004)
- Final Fantasy VII: Advent Children (2005)
- Last Order: Final Fantasy VII (2005)
- Final Fantasy VII Snowboarding (2005)
- Dirge of Cerberus: Final Fantasy VII (2006)
- Crisis Core: Final Fantasy VII (2007)
- Final Fantasy VII Advent Children Complete (2009)
- Final Fantasy VII G-Bike (2014)
- Final Fantasy VII Remake (2020)
- Final Fantasy VII Remake Intergrade (2021)
- Final Fantasy VII: the First Soldier (2021)
- Crisis Core: Final Fantasy VII Reunion (2022)
Cheats and Codes
Infinite items, gil, and Moogle medals
Shinra boxes reappear after loading the game. Thus, break the boxes and save the game after collecting the items from the boxes, such as potions, phoenix downs, and Moogle medals. Then, reload the saved game and break the boxes again. Repeat this trick as many times as desired. A good place to do this at is the “rest area” right before the Air Buster boss fight in the Sector 5 reactor with the bench and vending machine. The Shinra crates can easily be farmed in this area to get lots of items and medals.
Hard mode
Successfully complete all chapters on any difficulty to unlock the Hard difficulty. In Hard mode, all enemies are stronger, items cannot be used, and MP is not restored at rest points. The Shinra Battle Simulator in Chapter 16 and 17 will also get new challenges.
Secondary Limit Breaks
In Chapter 9, players will encounter the Coliseum, which allows them to complete optional fights for rewards. Complete all the story related content at the Coliseum to unlock the ability to play through free fight and unlock extra Limit Breaks. In the Coliseum, there will be certain fights labeled “Cloud vs.”, “Tifa vs.”, “Barret vs.”, and “Aeris vs.”. These are fights where players have to play as only one playable character. Complete these battles to earn that character’s secondary Limit Break. There is one for each character, and once they are able to complete the Coliseum fights in Chapter 9 and beyond, they will be able to unlock these abilities.
All weapon locations and abilities
Search the indicated locations to find all 24 weapons and abilities in Final Fantasy VII Remake. After getting a new weapon, players must equip it and use its unique ability through the command menu (during combat) to level up its proficiency. Get 100% proficiency with all 24 weapons to get the “Weapons Expert” trophy. Players can view proficiency and the weapon skill in the equipment menu. Nothing is missable, as they can return to every area using Chapter Select after the story. Most weapons are unlocked automatically, but some are quest rewards, some are bought from merchants, and one is stolen from a boss.
Cloud
Iron Blade: In Chapter 3 (A Job for The Neighborhood Watch), it is automatically unlocked while completing the story.
Nail Bat: In Chapter 8 (Kids on Patrol), complete the side quest found in Sectors 5 Slums (Center District).
Hardedge: In Chapter 9 (To Corneo’s Mansion), it is sold at the weapon store in the Sectors 6 Slums (Wall Market). It costs 2,000 gil. Its proficiency is Infinity’s End.
Mythril Saber: In Chapter 14, it is sold at the weapon store in the Sector 6 Slums (Evergreen Park). It costs 3,000 gil. Its proficiency is Blade Burst.
Twin Stinger: In Chapter 17 (Find the Others), it is found in a chest in Sector 0 – Shinra Power Company (The Drum – Level 3). In the First Ward – Training Area, the doors will close after leaving a room. The chest is directly to the left, before going up the stairs.
Barret
Light Machine Gun: In Chapter 6 (To the Cargo Platform), it is automatically unlocked while completing the story.
Big Bertha: In Chapter 13 (Checking on Friends), it is sold at the weapon store in the Sector 6 Slums (Evergreen Park). It costs 2,500 gil. Its proficiency is Maximum Fury.
Wrecking Ball: In Chapter 14 (Subterranean Menace), complete the side quest found in the Sector 6 Slums (Evergreen Park).
Steel Pincers: In Chapter 14, it is sold at the Moogle Emporium in the Sector 5 Slums (Children’s Secret Hideout). It costs 7 Moogle Medals. Its proficiency is Charging Uppercut.
EKG Cannon: In Chapter 16 (A Helping Hand), it is sold by Hart in Sector 0 – Shinra Power Company (62F Upper Level – Corporate Archives). He can be found in the Mayor’s Office. It costs 10,000 gil.
Tifa
Metal Knuckles: In Chapter 5 (Secret Passageway), defeat the Crab Warden boss to get it.
Sonic Strikers: In Chapter 7 (Sentenced to Death), it is found in a chest in Mako Reactor 5 (B5).
Feathered Gloves: In Chapter 10 (Follow the Waterway), it is found in a chest in Sector 6 Sewers (Aqueduct 1). After lowering the water, go down and under the raised gate to find this chest.
Mythril Claws: In Chapter 13 (Finding Wedge), defeat the Appendage boss to get it.
Purple Pain: In Chapter 16 (Acquiring the Keycard), it is found in a chest in Sector 0 – Shinra Power Company (1F – Entrance). This chest is well hidden. Climb onto the truck hood in the lobby, jump onto the structure behind the display, and follow the hidden path to reach this chest.
Aerith
Silver Staff: In Chapter 8, it is sold at the Moogle Emporium in the Sector 5 Slums (Children’s Secret Hideout). It costs 2 Moogle Medals.
Arcane Scepter: In Chapter 9 (A Dynamite Body/Shears’ Counterattack), complete either side quest found in the Sector 6 Slums (S7-6 Road).
Mythril Rod: In Chapter 11 (Someone’s There), it is found in a chest in the Train Graveyard (Old Sector 7 Station – Switchyard). Go through the old train cars to find an optional alcove.
Bladed Staff: In Chapter 11 (Back Amongst Friends), use steal on the Eligor boss in the Train Graveyard (Old Sector 7 Station – Switchyard).
Reinforced Staff: In Chapter 17 (A Way Out), it is found in a chest in Sector 0 – Shinra Power Company (65F – Hojo’s Lab). The chest is in the break room, in the Specimen Enclosure area.
All Music Disc locations
Search the indicated locations to find all 31 Music Discs in Final Fantasy VII Remake. The video shows all Music Disc locations in chronological story order. Nothing is missable, as players can return to every area using Chapter Select after the story. In Chapter Select, it will also display how many Music Discs players are missing in each chapter. Each Music CD has a unique number assigned to it. Players can view them under Pause Menu — Inventory — Music Collection. When players know the number, they are missing, simply check on the list below to immediately jump to that collectible. Most Music Discs are bought from Vending Machines and Merchants. Some are given by NPCs, and one is from a dancing mini game.
All Johnny Incident locations
Complete the indicated tasks to encounter all five Johnny Incidents in FF7 Remake and get “The Johnny Experience” trophy. They involve side quests and events that have to do with a character called Johnny. Players first automatically encounter him in Chapter 3. The next four encounters are all semi-missable, meaning if they miss them, they have to replay the entire chapters they appear in through chapter select (unlocked after story).
1. [0:05] – Chapter 3: Automatic from story, unmissable.
2. [1:04] – Chapter 9: When reaching Wall Market, on the way to Corneo’s mansion, Johnny will run away (purple Discovery Event). Catch up to him and select the “Yeah” dialogue option.
3 [2:33] – Chapter 9: Successfully complete “The Party Never Stops” side quest. The required Chapter 9 choices to unlock this side quest are as follows:
Sam Dialogue (Chocobo Cowboy): When describing Tifa to him, select “She’s in great Shape”.
In Wall Market, complete the Johnny Discovery Event. After catching him, select his first dialogue “Yeah”.
In Wall Market, talk to the guy standing in front of the hotel, select the “How much?” dialogue option.
In Wall Market, talk to the hotel receptionist, and select the “Yes” dialogue option.
After this, go to the next main objective at Corneo’s mansion where players meet the Trio.
When Sam does the coin flip, select the “No deal.” dialogue option.
Select the cheapest massage: “Poor Man’s Course – 100G”.
When Aerith asks how the character likes her outfit, select the “It’s alright” dialogue option.
Complete “The Underground Colosseum” main objective.
4. [4:08] – Chapter 14: Successfully complete the “Tomboy Bandit” side quest. It is given to players by Johnny at the Train Station.
5. [5:33] – Chapter 14: Return to Johnny at the Train Station — he will be marked as a purple Discovery Event. Complete this to get “The Johnny Experience” trophy.
All manuscripts
In Final Fantasy VII Remake, there is a Manuscript collectible that gives one of the four party members 10 SP that can be used to upgrade their weapons. On the Classic, Normal, and medium difficulty, there are only three Manuscripts for each character to collect, but in Hard mode, there are a total of fourteen for each character. Each manuscript has a title that corresponds to that character: Cloud: The Art of Swordplay, Tifa: Way of The Fist, Barret: Sharpshooter’s Companion, and Aerith: Telluric Scriptures. Collecting a Hard mode Manuscript will unlock Weapon Level 6 for that character, which will give them many new skills to unlock. Particularly the “Reprieve” skill will keep that character from dying with 1 HP once per battle, which is very useful in Hard mode. Successfully complete the indicated task to unlock the corresponding Manuscript.
Flower combinations and patterns
Collect any combination that has at least one yellow flower for it to contain the Chocobo pattern. Collect any combination that has at least one white flower and no yellow flowers for it to contain the Moogle pattern. Collect only foxtails (green flowers) for it to contain the Cactuar pattern.
Easy “Biker Boy” trophy
The Bike sequence takes place at the start of Chapter 4 and lasts approximately 10 minutes. First, players drive in a tunnel where some enemies on bikes and drones attack. Players can accelerate with R2 and slow down with L2. Drive up to the enemies and attack with Square or use special Triangle ability for a strong attack (takes time to recharge). Press L1 + Triangle to do a long-range shooting attack, which is great against enemies that are far away (kills drones in one hit). After exiting the tunnel, players will be chased by Roche, the Bike boss in this mini game. He is the only tricky part and on the first playthrough, players will likely fall below the trophy required health threshold because of him.
He switches between a flurry of multiple ranged attacks (block with L1) and a single heavy ranged attack (evade by driving to the side). Halfway through the fight, he will drive on the side of the walls and summon electricity (evade by driving a slalom left and right). After he has done a few ranged attacks, he will slow down, and can then damage him — use the Triangle attack and press Square to perform some hits. Try to get as much damage in as possible. When he is about to use a melee bike slam, drive sideways so it does not hit.
Easy “Crate Annihilator” trophy
First, complete the “Kids on Patrol” and “A Verified Hero” side quests in Chapter 8. In the “A Verified Hero” side quest, players get to play Whack-A-Box. This can be repeated after the side quest as many times as desired. To get the “Crate Annihilator” trophy, players must beat the high score of 30,000 points. It is only one challenge, not multiple. This challenge consists of smashing some boxes within a time limit. There are three colors of boxes: Yellow is for points only, Blue is for points + ATB gauge, Red is for bonus time. The basic strategy for reaching 30,000 is that players must reach as many red times blocks as possible and not get stuck trying to clear all boxes in one area.
The only two attacks you are going to use are holding Square for a circular sword slash (destroys yellow boxes in one hit, blue boxes in two hits), and the “Triple Slash” ability of the Iron Blade sword. Make sure to equip the Iron Blade weapon for Cloud, as it has the “Triple Slash” ability. Use Triple Slash twice on those large 1,500-point boxes that are blocking your way. Two uses are enough to destroy them, which is the fastest method. From the 1,500-point boxes, only destroy those that are mandatory to advance, they take too long and give too few points — so do not get stuck with them. What you must do is connect the path from one red time box to the next as quick as possible, doing a few square sword slashes where lots of boxes are close together, but not slowing down to destroy small numbers of boxes. Ignore all 1,500-point boxes except those mandatory to advance.
Easy “Dancing Queen” trophy
After Aerith has changed into a new dress in Chapter 9 during the “Aerith’s Plan” objective, she will take the character to Honeybee Inn where they are supposed to get the approval of Andrea to audition for Don Corneo. There will be a forced dancing mini game. The dancing tutorial does not matter, but it does give a Music CD collectible if players get 10x “Great” rating. For this trophy, only the main dance with Andrea matters. It goes on for about three minutes. All players need to do is press the buttons shown on screen when they start to glow.
To get the “Dancing Queen” trophy, complete the dance with a very high overall rating. When players are doing it correctly, they will see Aerith clapping her hands above her head. If she is applauding, they will get the trophy after Cloud puts on his dress after the dance. It is highly recommended to create a manual save before the dance (as soon as you enter Honeybee Inn) because if the player fails, they cannot repeat the dance unless the previous save is reloaded.
Easy “Divine Gratitude” trophy
The “Divine Gratitude” trophy requires players to complete all side quests. Only then will the “Letter from The Angel” spawn at the end of Chapter 14. Collect that letter to get the trophy. It is a blue glowing item on the main path to the last objective in Chapter 14, in plain sight and impossible not to see. This is after returning from the Sewers and turning in the last side quests. It is on the narrow path just before reaching the wall with “Avalanche” sprayed on it.
Easy “Heavenly Dart Player” trophy
After rescuing Johnny in Chapter 3, players will go back to Seventh Heaven Bar with Tifa. At this point the story objective forces players to use the Darts mini game to pass time. This is where they can get the “Heavenly Dart Player” trophy. If players missed this, they could replay Chapter 3 through Chapter Select after the story. To beat the leaderboard high score, they must win the Darts mini game in 7 throws or less. The record is 8. Getting it in 8 throws will not unlock the trophy, as it has to be 7 to beat the leaderboard. Players need to clear 301 points total to win. The easiest method is to make 5 throws in the bullseye (5 x 50 = 250 points), 1 throw in T17 (3 x 17 = 51 points).
This way they can finish in 6 darts, allowing to mess up 1 throw and still get it in 7 total. Players do not even need to hit the red center of the bullseye, as hitting the green ring around it still gives 50 points. On each throw, the cursor will be shaking. Put the cursor over the bullseye and steer against the cursor shake. When the cursor narrows down to a yellow circle, make the throw. So basically players need to get two things correct: balance the cursor wobble and have perfect timing.
Easy “In Lockstep” trophy
When the story forces Cloud, Tifa, and Barret to push three switches simultaneously in sync to open a door in Chapter 7, there will be a purple discovery marker on the map. Use the terminal where the purple marker is. Then, use the three switches again and push them in sync four times in a row to open the vault door to the Waste Recovery room and unlock the “In Lockstep” trophy. Players do not need to hold on to the keycards they find throughout the chapter.
Easy “Peeress of Pull Ups” trophy
In Chapter 14 return to the Gym in Wall Market (Sector 6 Slums), where the Squat Challenge took place in Chapter 9. There will be a quest giver in the gym for the “Wavering Heart” side quest. Completing this side quest automatically completes the first Pull-Up Challenge (Trainee level). Next, talk to two other people in the gym –- Jay for the Amateur challenge and Jules for the Pro challenge. Complete all three of them to get the “Peeress of Pull Ups” trophy. It is similar to the Squat challenges.
All players do is press some buttons in a rhythm. The timing aspect is still the same as with Squats. The more successful pull-ups players do in succession, the faster they can press the buttons and build up more speed. When they get fatigued, a button prompt appears on screen, and they must quickly press this button or else they will fall down. The trick to winning is to just do it without falling down.
Easy “Returning Champion” trophy
After winning the Colosseum Tournament as part of the story (defeated Hell House boss, unmissable) in Chapter 9, go back into the basement of the Colosseum and talk to the NPC there to start sparring sessions. Complete the first one that is one star difficulty to get the “Returning Champion” trophy.
Easy “Staggering Feat” trophy
There are three ways to increase an enemy’s Stagger percentage. Using Tifa’s Chi abilities (her default Triangle attacks) will increase the percentage the higher her Chi level, with Whirling Uppercut being the lowest, Omnistrike the middle, and Rise and Fall the highest. In order to use Omnistrike/Rise and Fall, players must use Tifa’s Unbridled Strength ability, which consumes 1 ATB and upgrades her Triangle moves to cause more stagger increase. Secondly, the True Strike ability learned from Tifa’s sixth weapon, Purple Pain (obtained in Chapter 16), will also increase it by 30% with each use. It costs 1 ATB charge.
Lastly, Aerith’s Ray of Judgment will increase stagger damage percentage significantly. For the best enemy to get 300% on, it is recommended to fight Fat Chocobo in Chadley’s VR simulation, as he has an incredibly long Stagger period. Players might have to do this on the Normal or Hard difficulty, as there is a good chance he will die before you hit the 300% mark on the Easy difficulty.
Easy “Sultan of Squat” trophy
First, complete the “Burning Thighs” side quest in Chapter 9. There are three Squat challenges (Trainee, Amateur, and Pro). The first Squat Challenge (Trainee) is automatically completed as part of the side quest. After completing the quest, players can talk to Jay in the Gym for the Amateur challenge and then challenge Jules for the Pro Challenge. After completing all three, they will get the “Sultan of Squat” trophy.
All they must do is press Triangle, Circle, X, Square with the correct timing. The goal is to do more squats than the opponent. In the final two challenges, players will get fatigued and must quickly press X when the button prompt appears, followed by one press of Square when the button appears. The more squats successfully done in a row; the faster players can press the buttons without falling down.
Easy “Whack-A-Box Wunderkind” trophy
Players can find the Whack-A-Box challenge in Chapter 14, in the Children’s Hideout of the Sector 5 Slums. It is in the exact same place where the Normal difficulty Whack-A-Box took place in Chapter 8 (“Crate Annihilator” trophy). Player needs to have played the “A Verified Hero” side quest in Chapter 8, which is the quest that originally unlocked the Whack-A-Box mini-game. Just like with the Normal difficulty Whack-A-Box, players need to reach 30,000 points in the given time limit to get the trophy. It is only really one challenge and not multiple, as every 10,000 points gives a different reward.
FAQ’s
How many elements can you unlock in Final Fantasy 7 Remake?
There are four elements that can be unlocked including fire, ice, lightning, and wind. Each spell has an elemental affinity and the elements of one’s attack determines the damage it deals.
How do I unlock new spells in Final Fantasy 7 Remake?
Unlocking new spells is painless. Players will need to acquire new Magic Materia; each one has a set of spells that can be learned by using the Materia in battle.