After you kill the Crystal Sage boss, look for a winding path to the left side of the courtyard. You’ll find 2 Butchers up the path. Lure them back one by one and take them out. Before you continue down the winding path to a pyre with an Evangelist nearby, look to your left and drop down the path onto a lower path. You will find a Crystal Lizard who will drop a Twinkling Titanite.
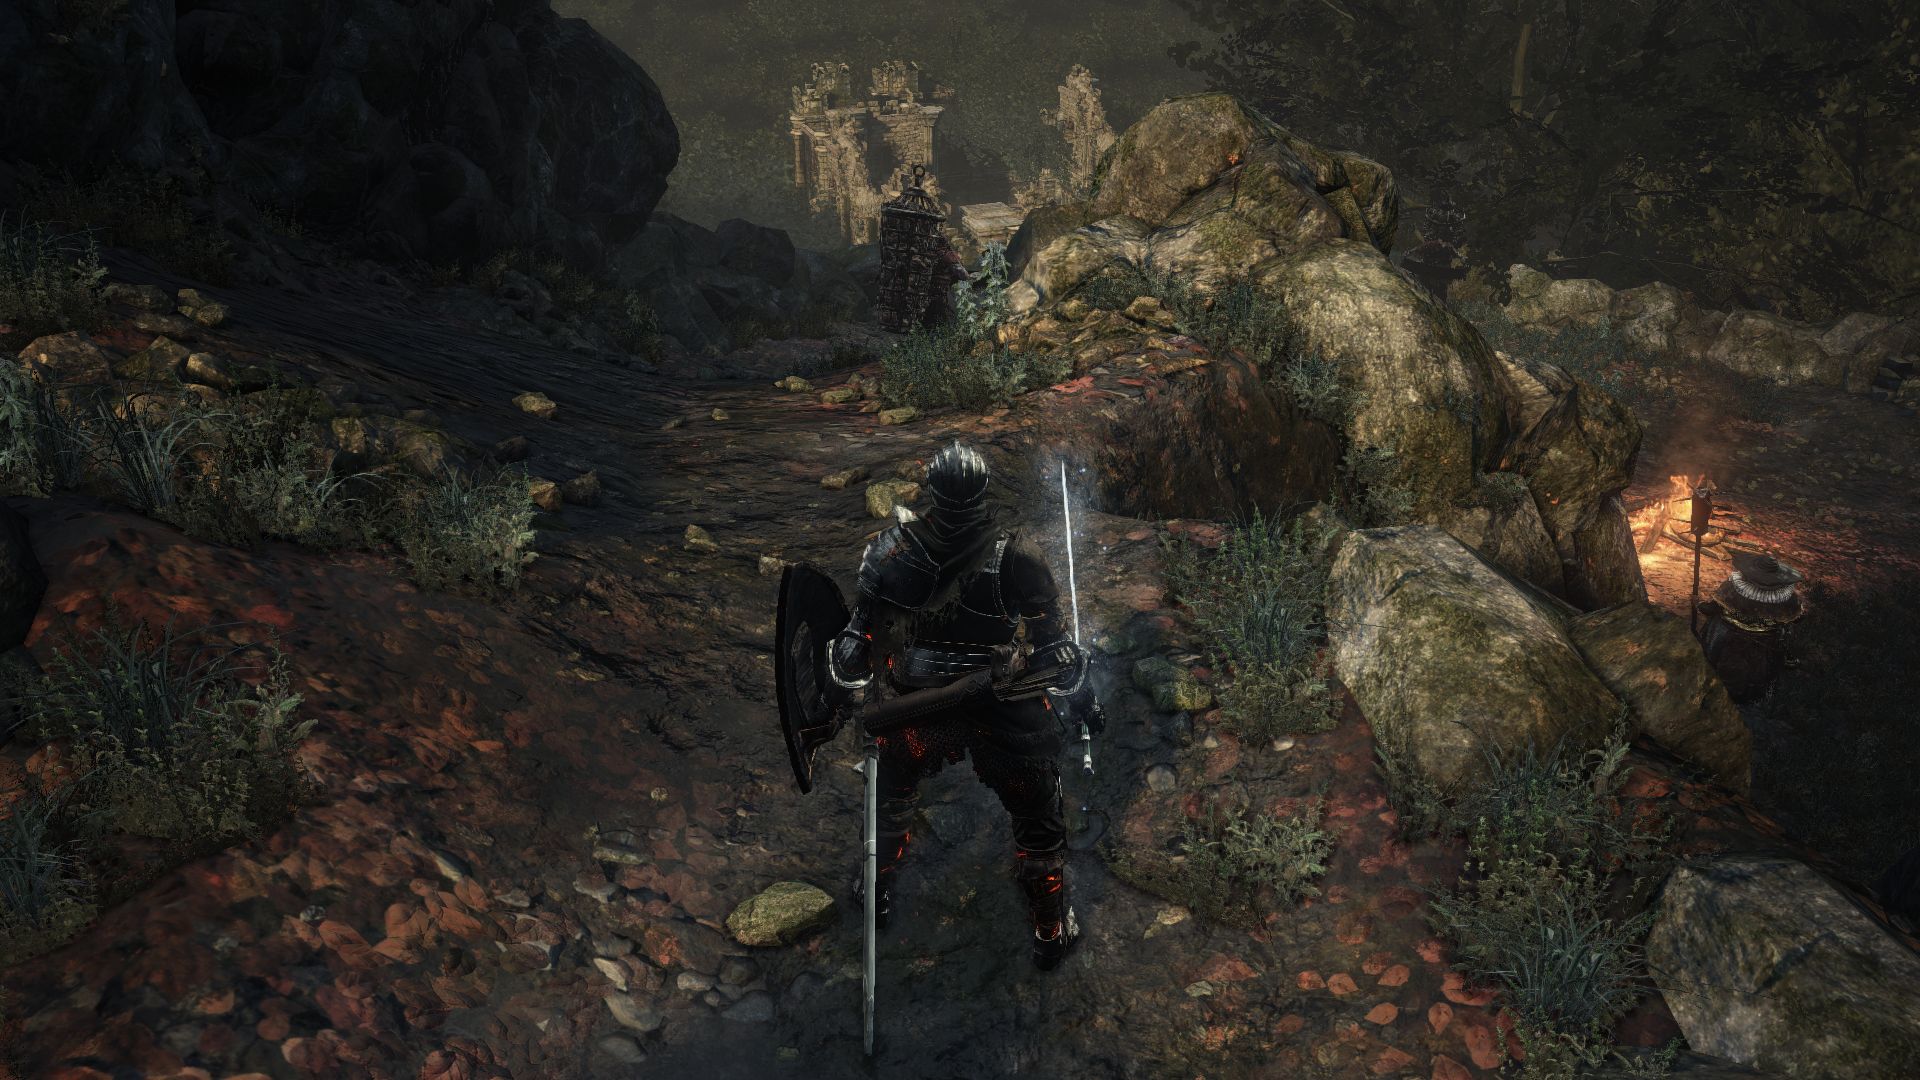
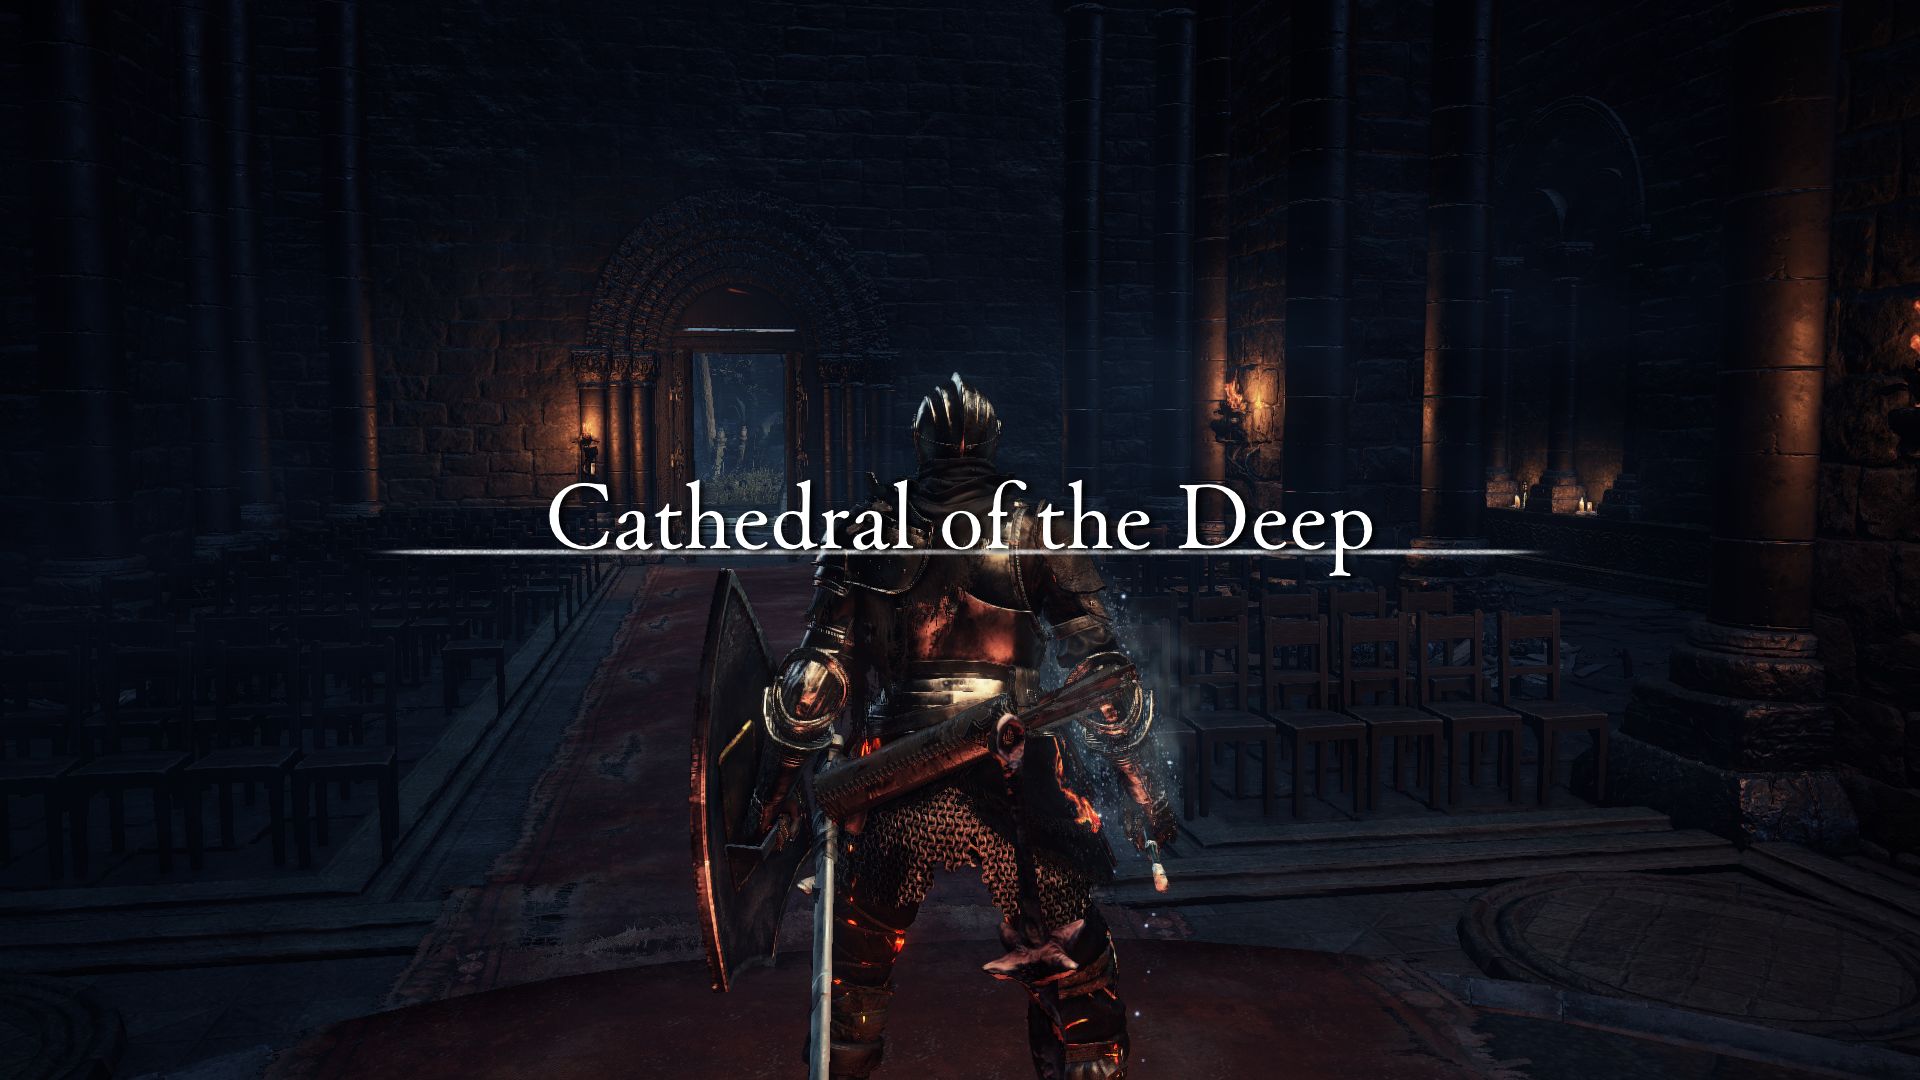
When you reach the pyre, take out the Evangelist and loot the corpse nearby for the Herald Armor Set. Proceed across the bridge and you’ll come to the Cathedral of the Deep Bonfire.
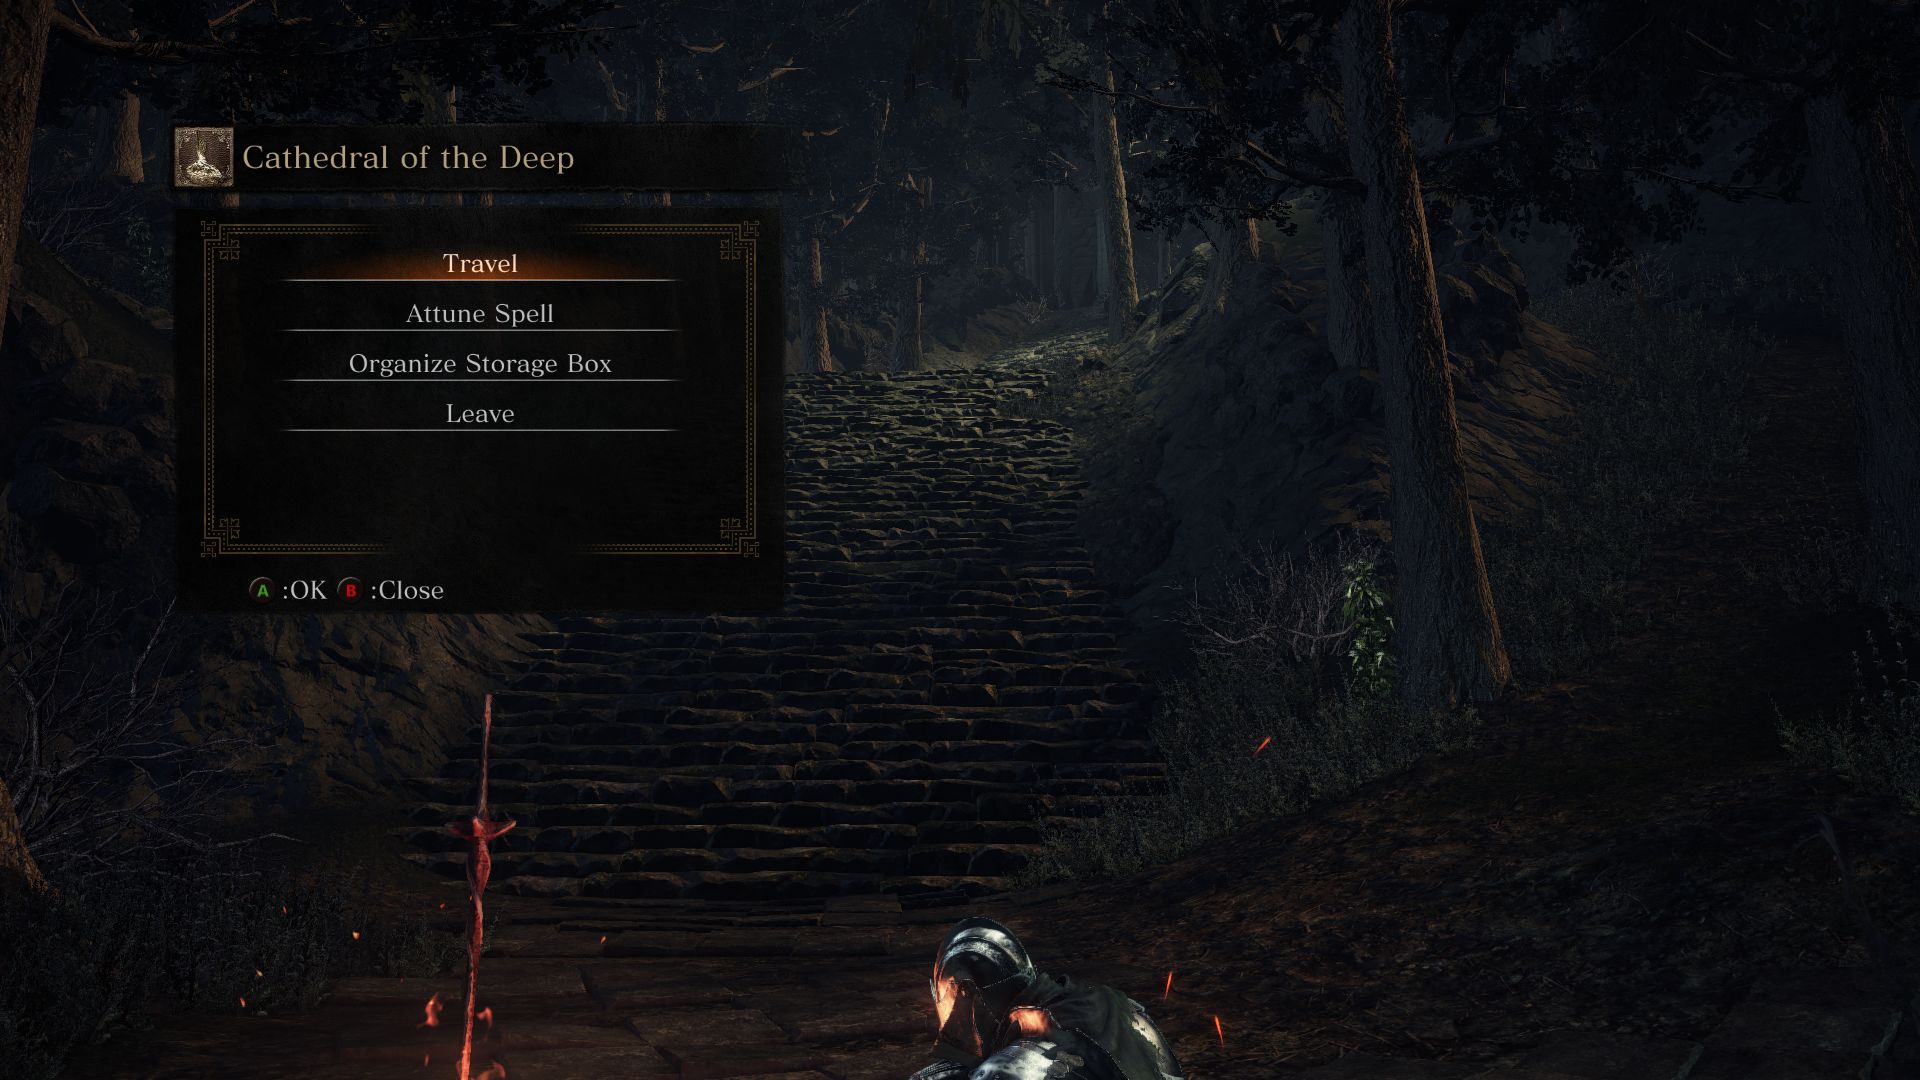
From here, you’ll see a big stairway going up, but don’t go in that direction yet. Look for a narrow path descending to the left side of the bonfire. At the end of the path is an Exiled Knight. This is a dual wielding enemy who throws knives from a distance. Best to lure him to the open area for more room to maneuver if you’re having trouble. After you defeat him, loot the Paladin’s Ashes (give it to the Shrine Handmaid).
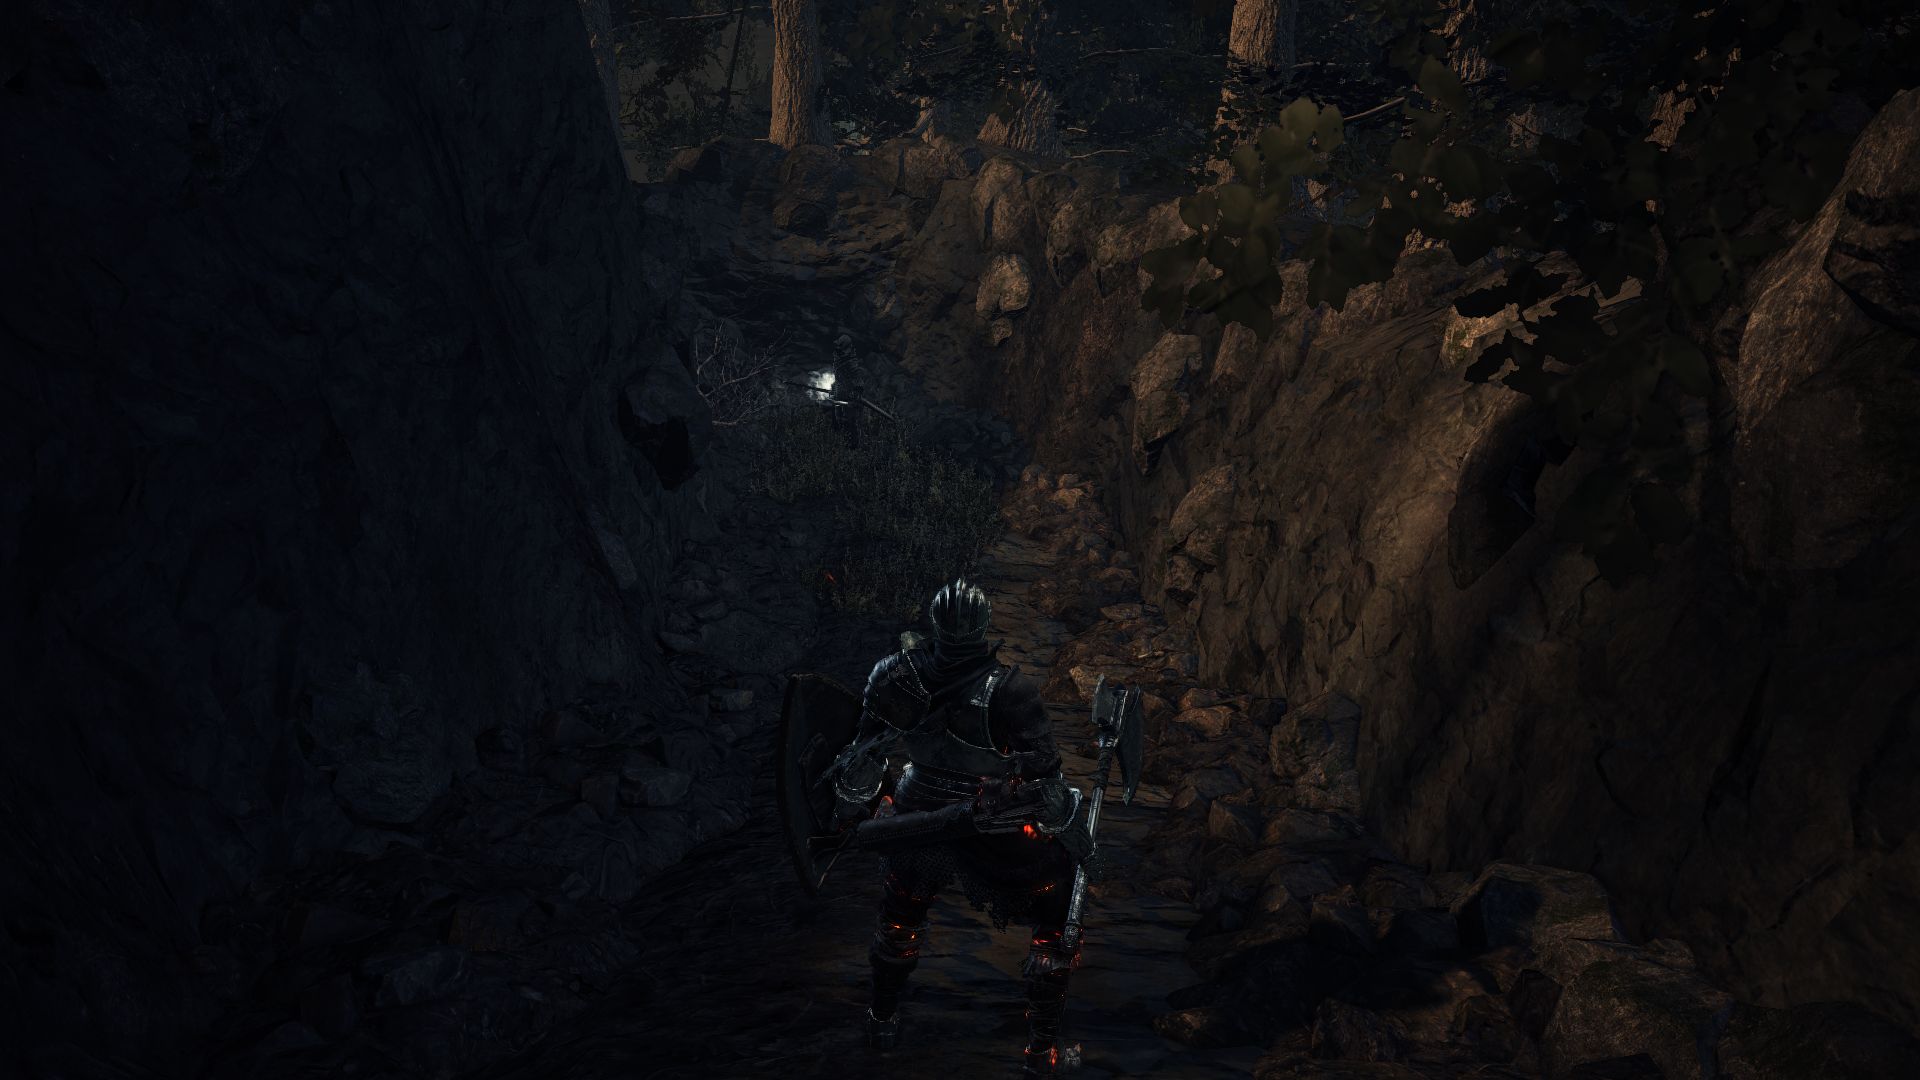
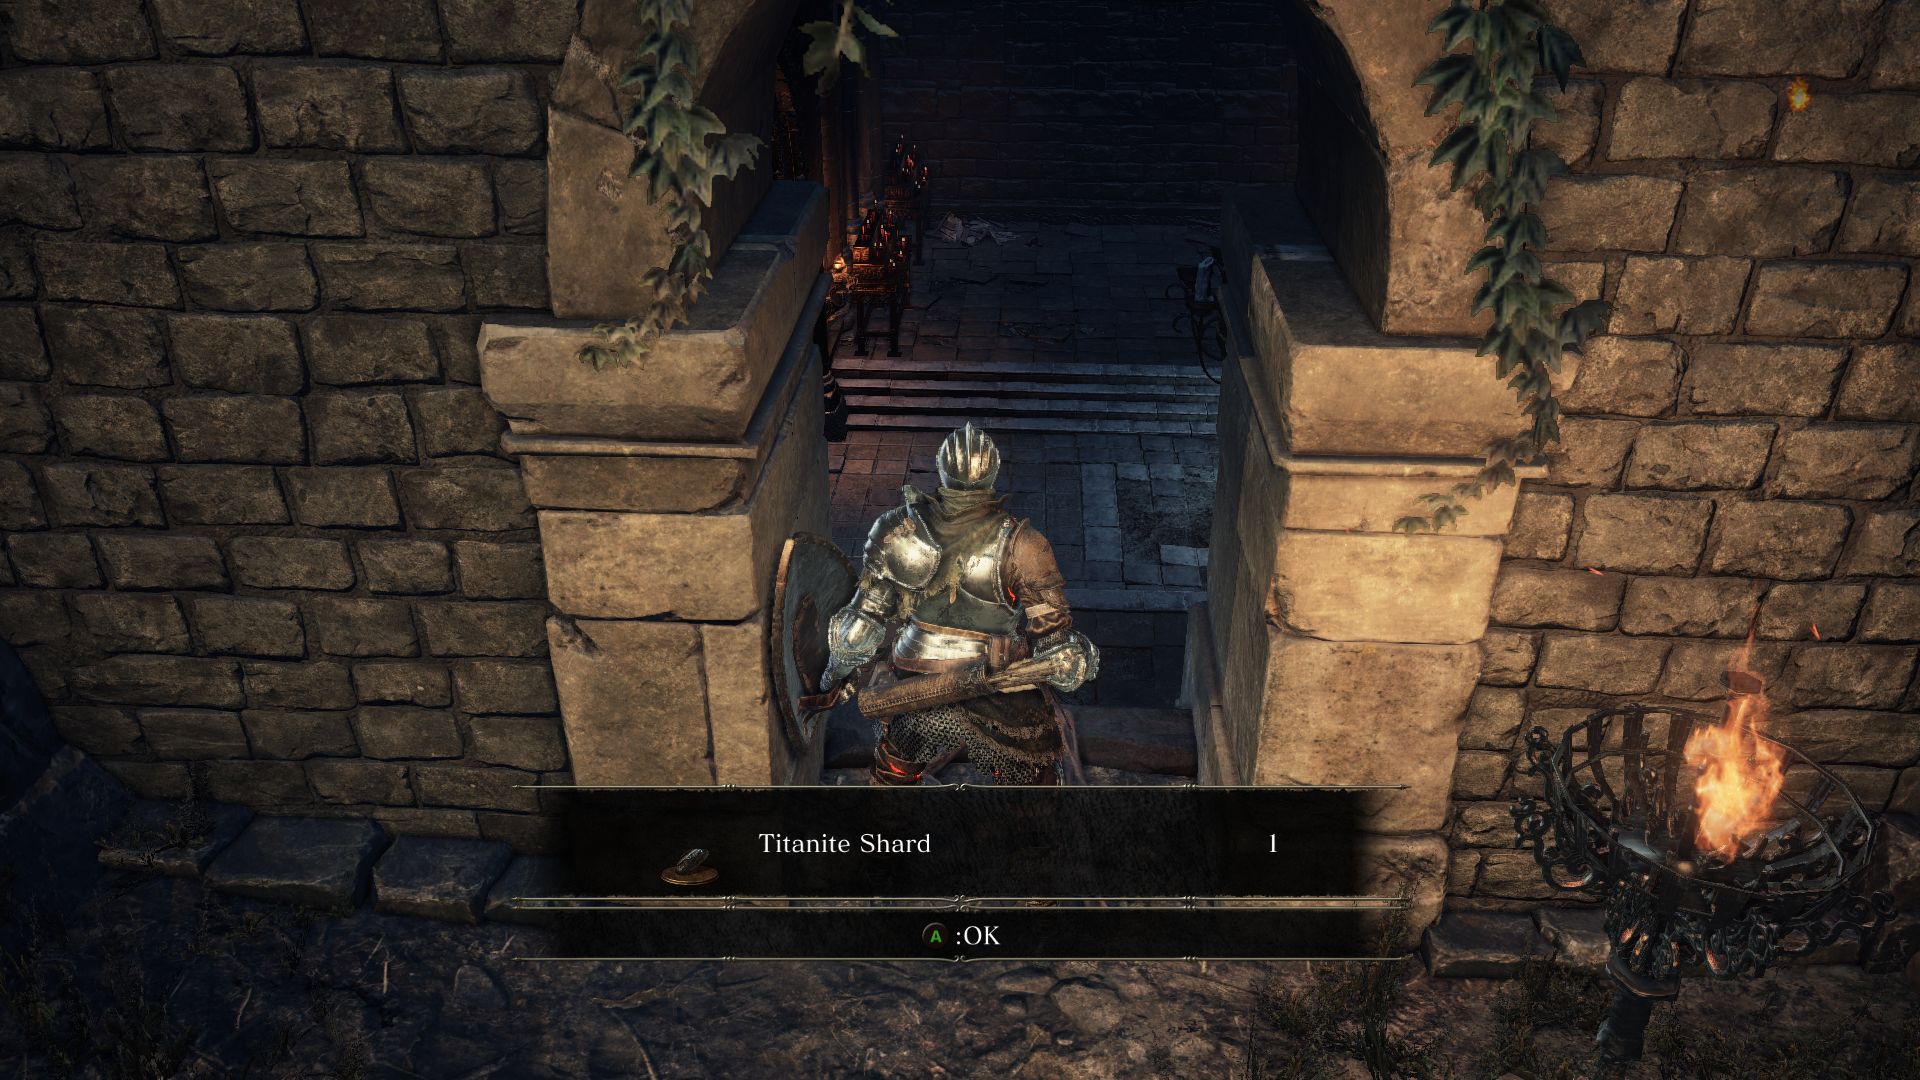
As you approach the stairway, notice the dirt path heading left. Go along the path and you should find a Titanite Shard. Head back to the stairway and you’ll see a path going right. Follow to the end of that path and you’ll come to a corpse holding a Crest Shield. You’ll find yourself above the main gate.
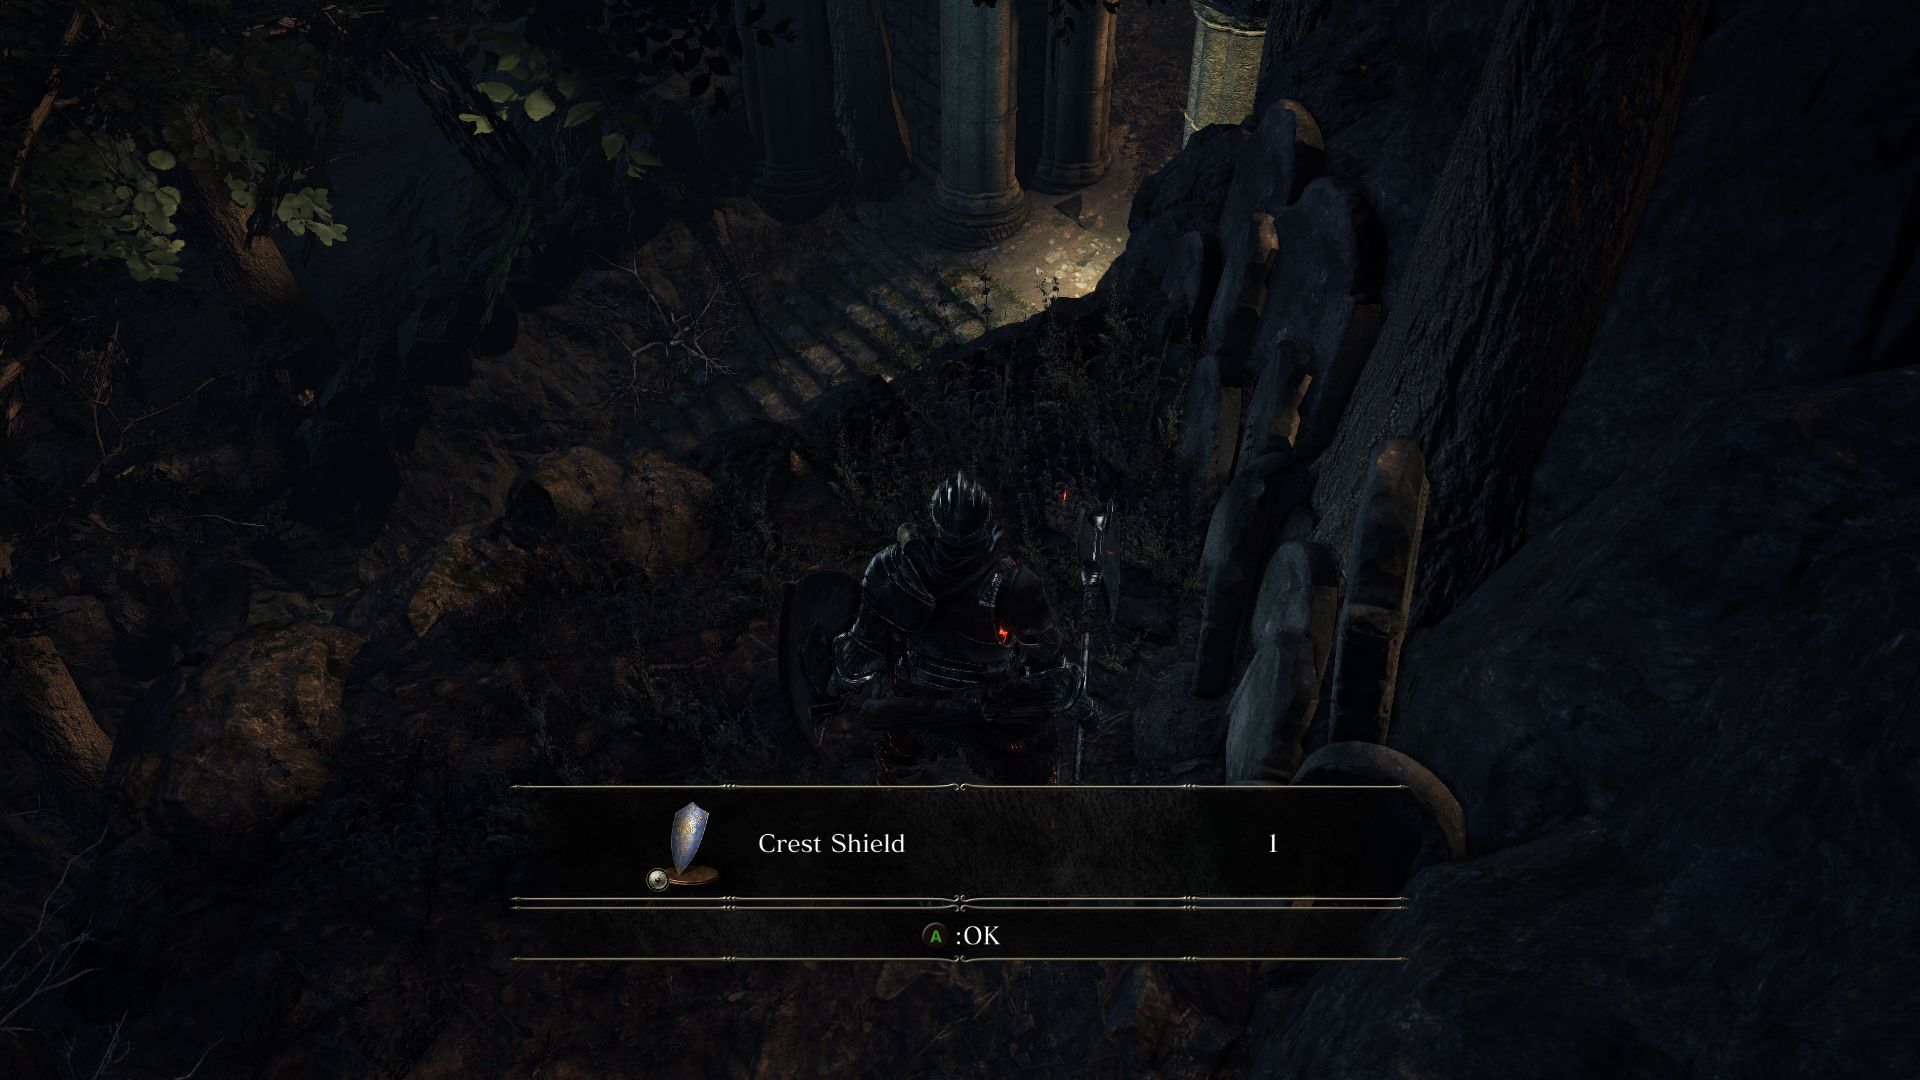
If you look below, you’ll see an imposing enemy with an axe and spider shield. He will also use weapon arts skill warcry to boost his damage, so try not to get hit when he’s boosted up. You’ll find openings to attack him in between his swings. Take him out and loot his Spider Shield.
Going past the gate, you should have your shield up. This area has 3 archers and a lot of bone hounds hiding behind trees. Lucky for you, you can use the trees as a cover against the fire bolts. Take out the hounds closest to you and charge at the closest sniper to take him out. Loot the corpse near this Sniper that should reward you with a Large Soul of an Unknown Traveler.
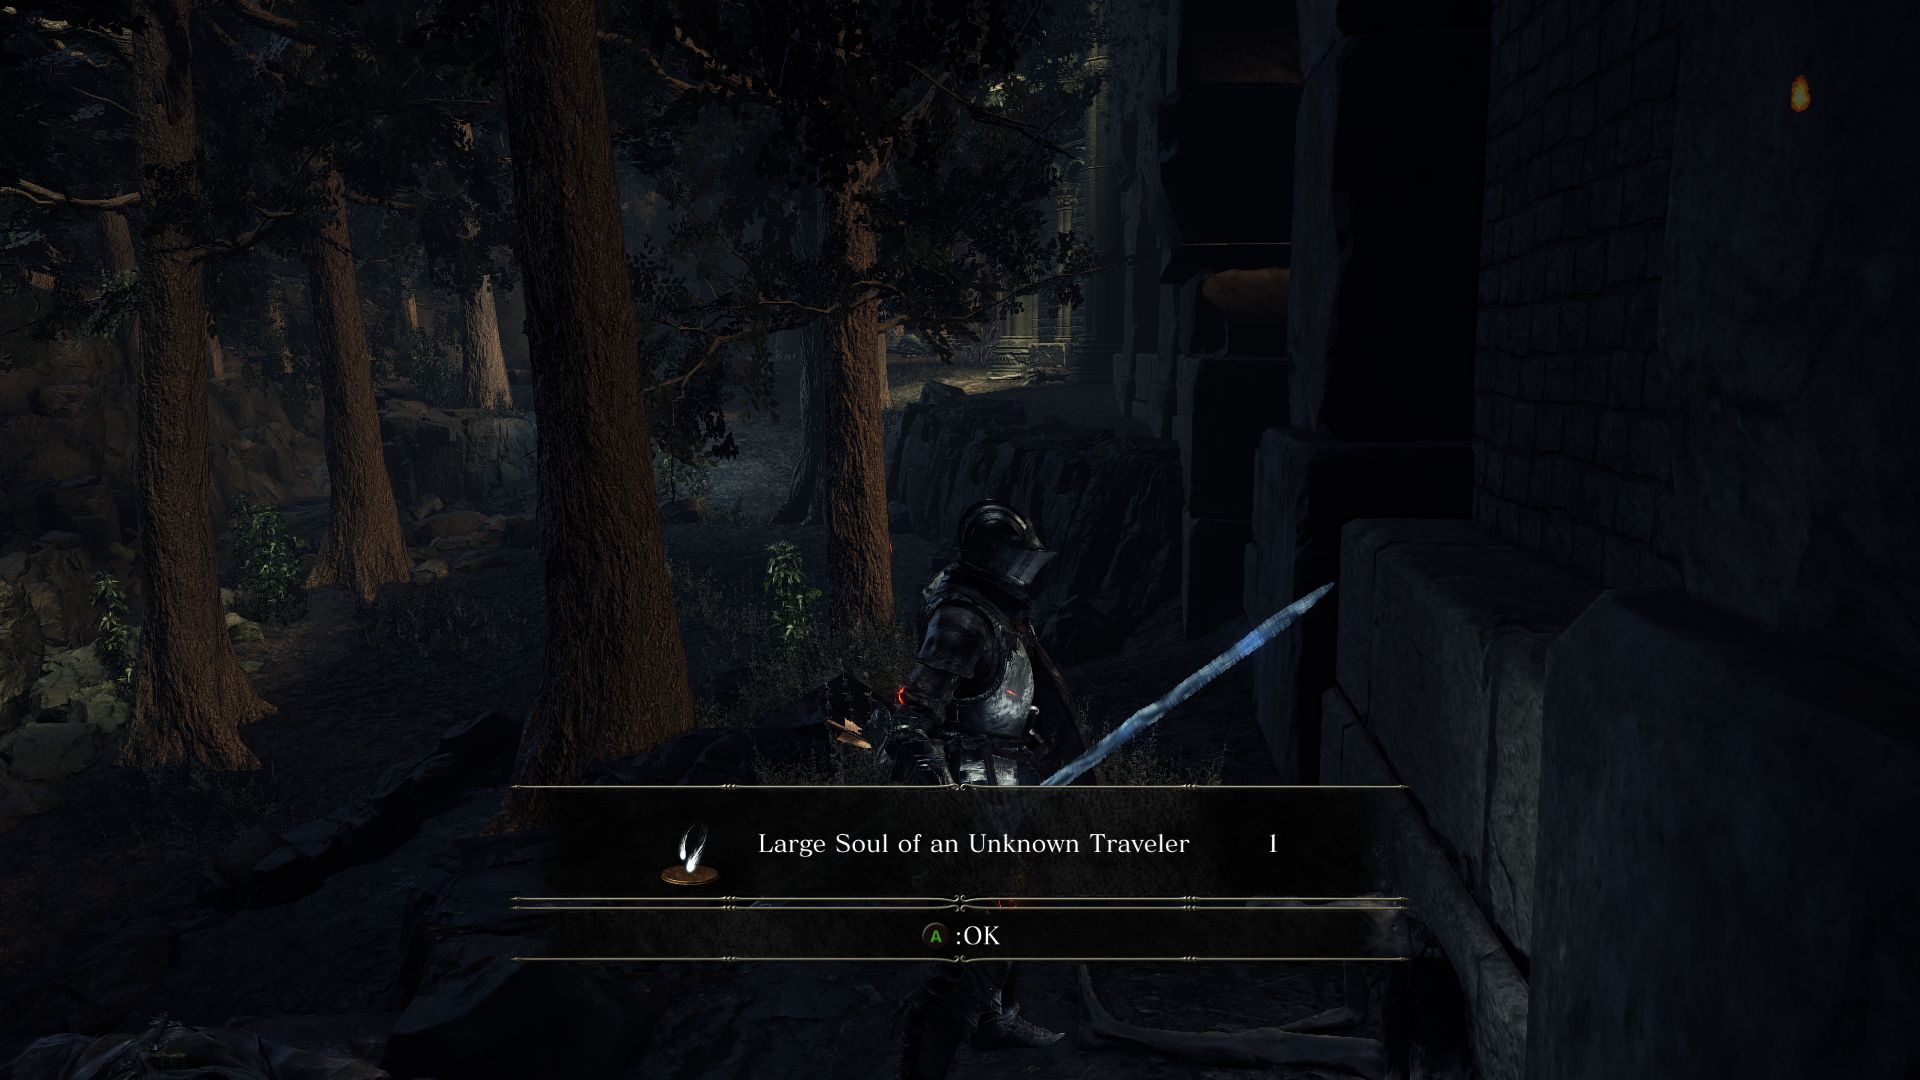
Carefully make your way through the trees while killing the bone hounds on the way and charge at the last 2 snipers. After you’ve cleared this area, move through the gate to find a spell-casting Hollow that you will find a lot in the Cathedral. He’ll ignite his body and charge at you to try to take you down and do lots of fire damage. You can either charge at him before he can light himself on fire, or if he’s charging at you, you can just dash away from him and wait for him to throw himself on the ground and explode. Open the gates to the Cathedral and you’ll find yourself in a room with the main bonfire of this area, Cleansing Chapel Bonfire.
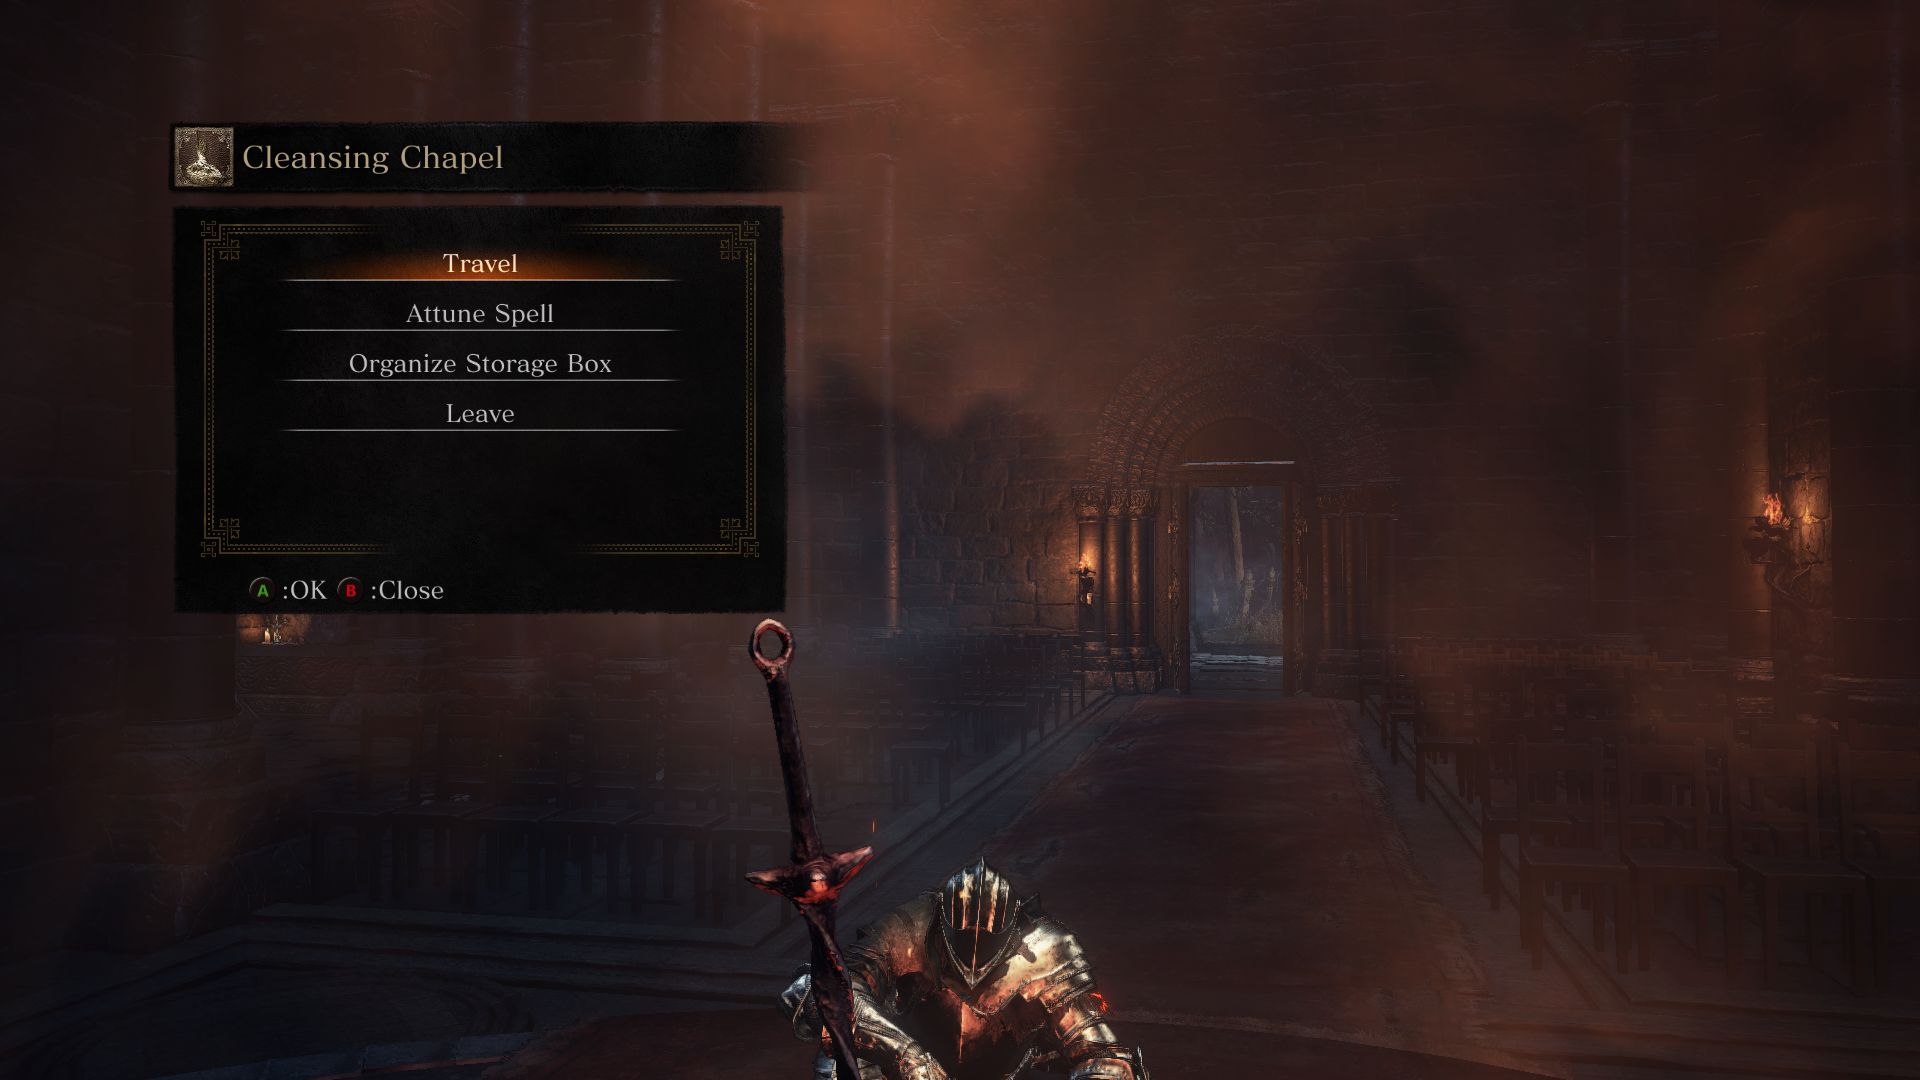
Look for a corpse holding a Notched Whip in the chapel. Notice there is a door on either side of the bonfire but neither opens from this side. You’ll have to make your away around and open them from the other sides to create shortcuts. Go back outside and as you exit the door you’ll see a bunch of Hollows kneeling in front of an obelisk. Take out the Hollows with a sweeping weapon before they can stand up to put up a fight. Loot the corpse by the obelisk for an Estus Shard. You may use the Cleansing Chapel Bonfire to go back to Firelink Shrine so that you can give Andre the Estus Shard to increase the number of flasks.
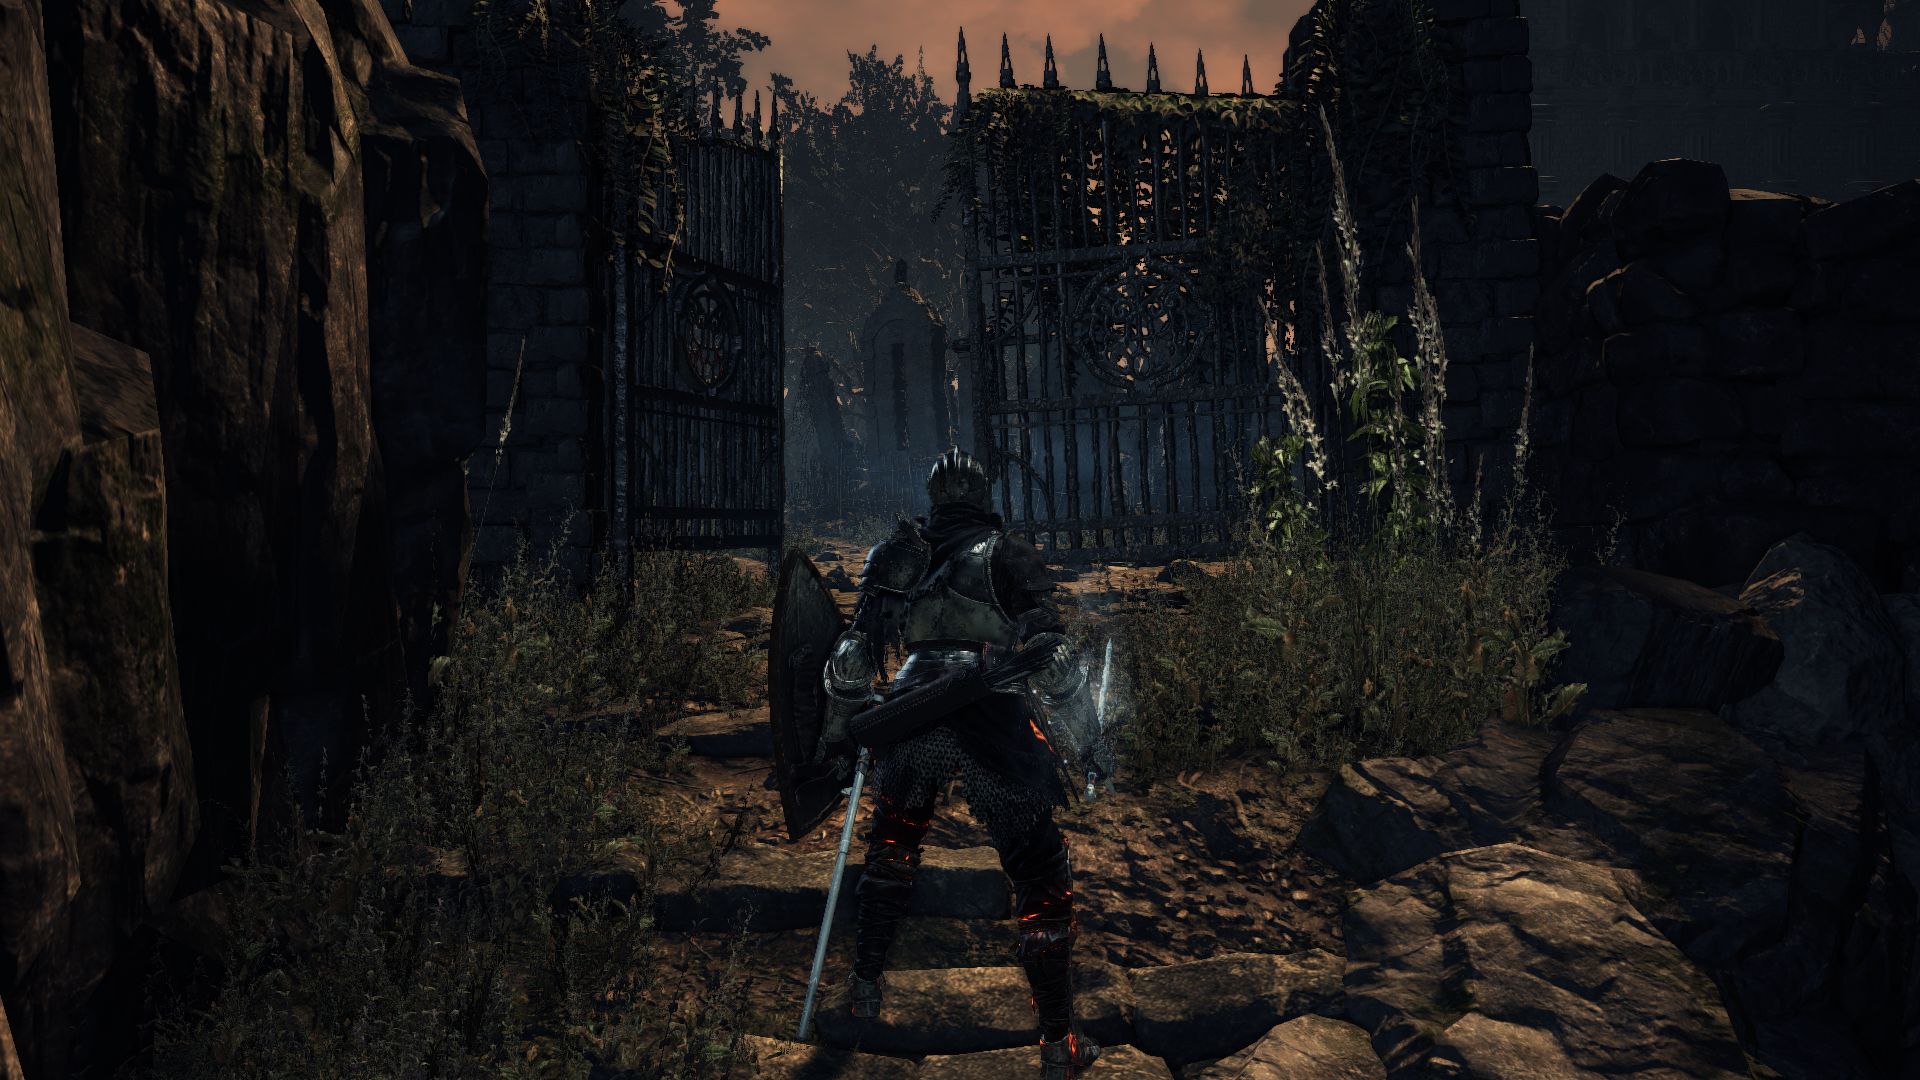
Further up the path you’ll come to the Cathedral Cemetery filled with infinite zombie Hollows. It’s not as bad as it sounds. They are extremely slow and easy to take out, so you can slice and dice your way past them with ease. Just don’t stand on one spot for too long and don’t let them overwhelm you with bleeding damage. Up the path look for a bend to the left that will bring you to a zombie kneeling in front of a tomb and a glowing orb. Take out the zombie and loot the corpse to obtain an Astora Greatsword. Proceed up the path and you’ll drop down into a ditch. As you make your way along the path, you’ll find more zombies. Clear the path and keep moving until you find yourself in an opening with two lootable items. The corpses will give you a Fading Soul and Executioners Greatsword. But as you loot these items, more zombies will spawn, and a few will look more grotesque than the rest with long appendages. Don’t let them hit you or you’ll be suffering from bleeding. Your best bet is to clear your way out of there before they surround you.
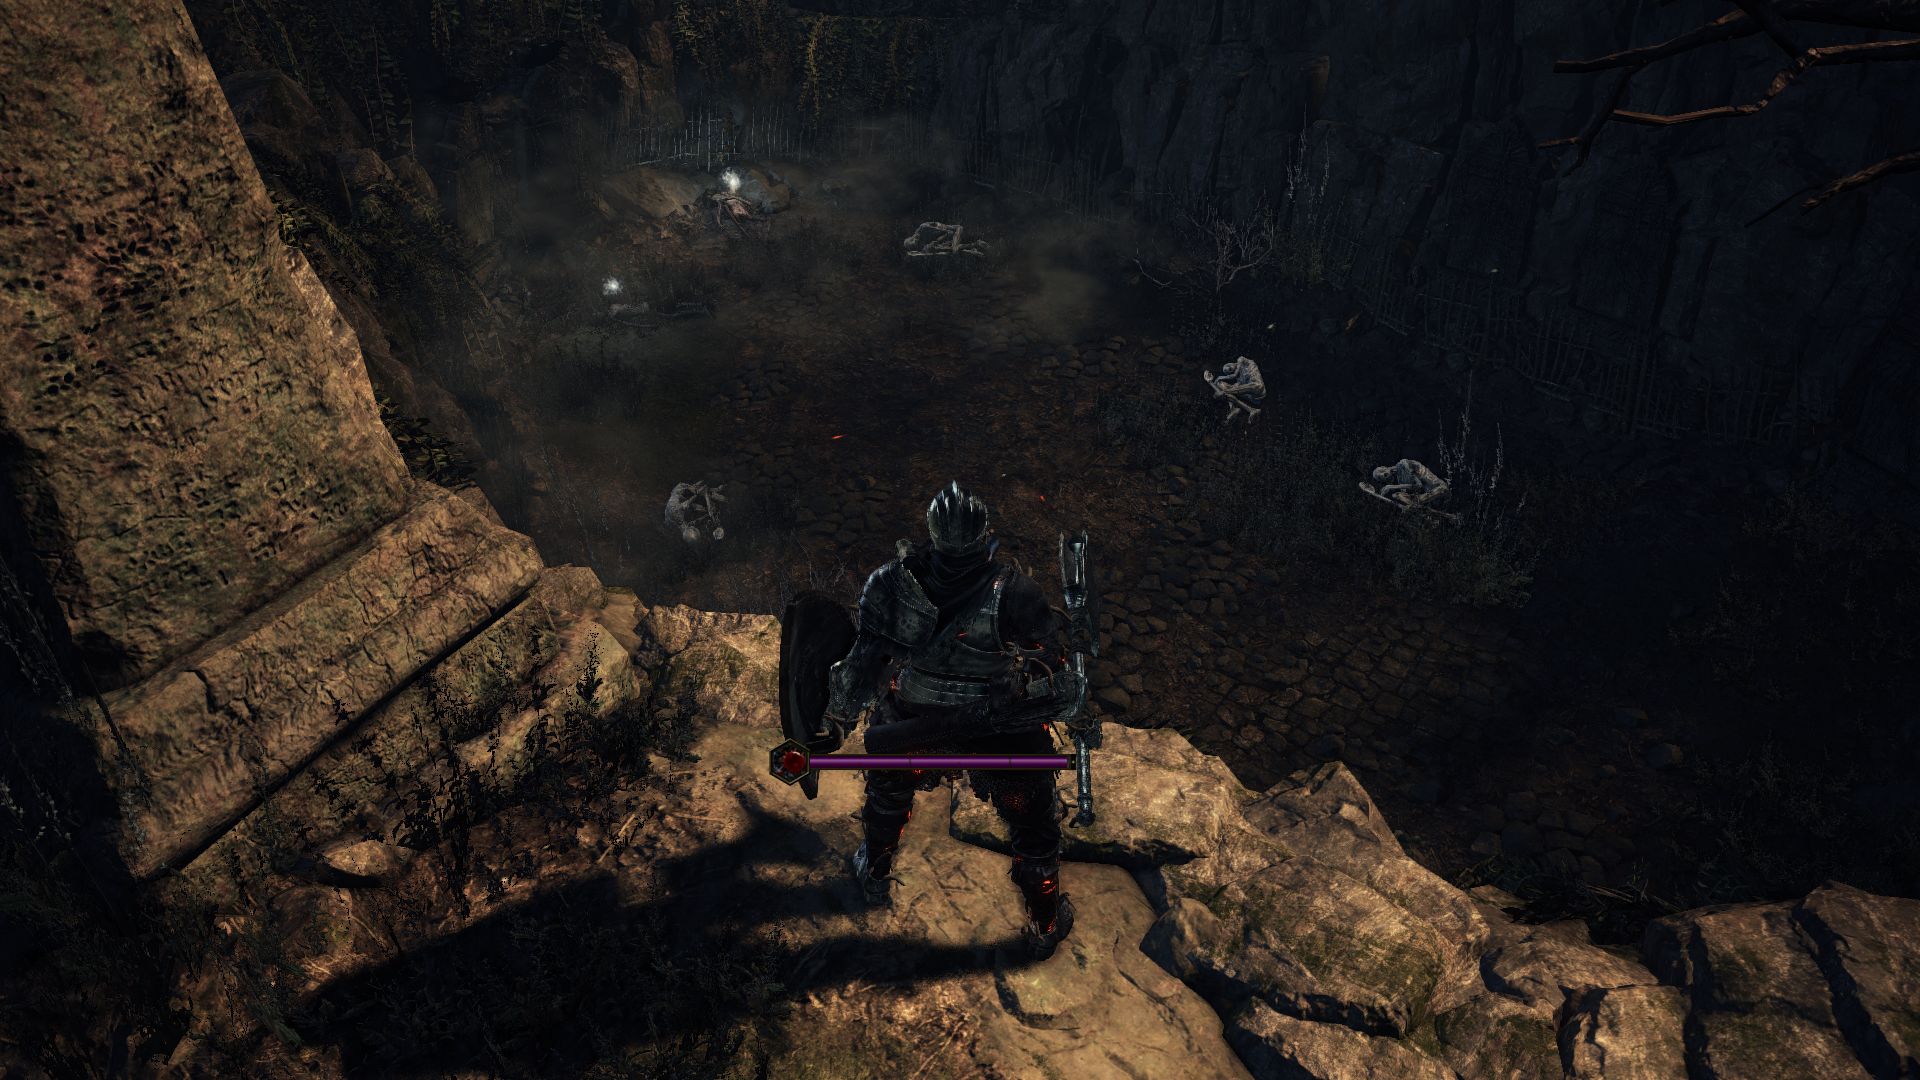
Proceed along the path and when you come to a branching path, take left (right leads back to the entrance). You’ll soon find yourself on a narrow bridge with a few more zombies. Clear them and continue forward. Look to your right and you’ll see a familiar scene. A part of the grave is littered with spears or giant arrows (similar to that area in Undead Settlement). If you’re guessing that this could be the work of the giant archer back in Undead Settlement, then you’re right. As long as you hadn’t killed him before and have maintained your peace with him, he’ll be throwing his arrows towards the area with the spears on the ground.

Before you can enter the graves, you’ll find an agile enemy, a Grave Warden, in your path. He’ll wield twin blades and deal bleeding damage (notice a pattern here? Bleeding resistance would be really helpful). Take out the Grave Warden and enter the grave. You’ll notice many lootable items here, but there are enemies too. Assuming your pact with the giant still stands, you can lure the enemies in between the spears on the ground and watch as the giant archer takes them out while you take no damage. In this grave area you’ll find 2 Large Soul of an Unknown Traveler, 2 Young White Branch by the tree, a Repair Powder, and an Undead Bone Shard (level up bonfire back at Firelink Shrine when you get a chance for more effective Estus Flasks) to the far side.
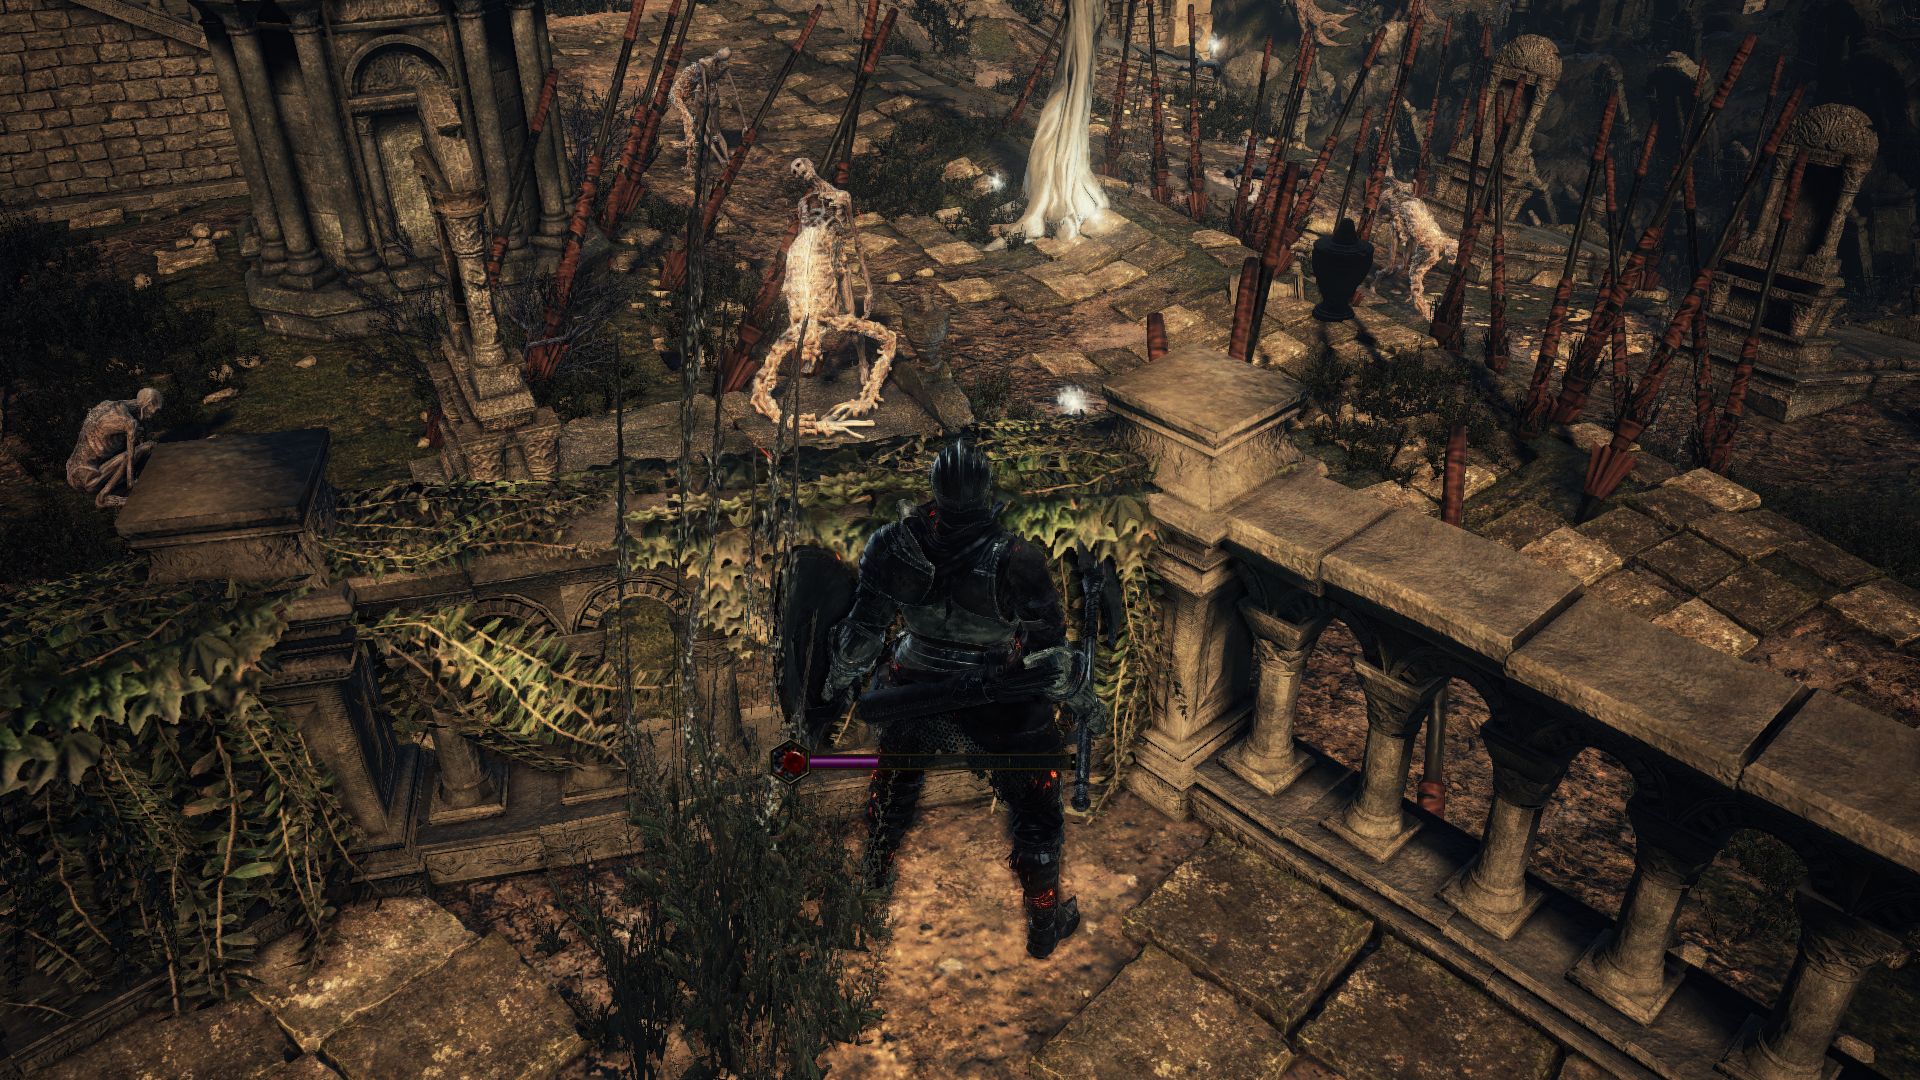
Exit the graves and head back up the stairs. Before you proceed to the main stairway up ahead, you’ll see a small flight of steps leading to a mausoleum on the right. Go left before entering the door to find a Titanite Shard. Enter the mausoleum to obtain a Curse Ward Greatshield. Descend the stairs to the left and kick down the ladder so you can climb down. This will bring you to the gorge you had passed when you crossed that narrow bridge earlier.
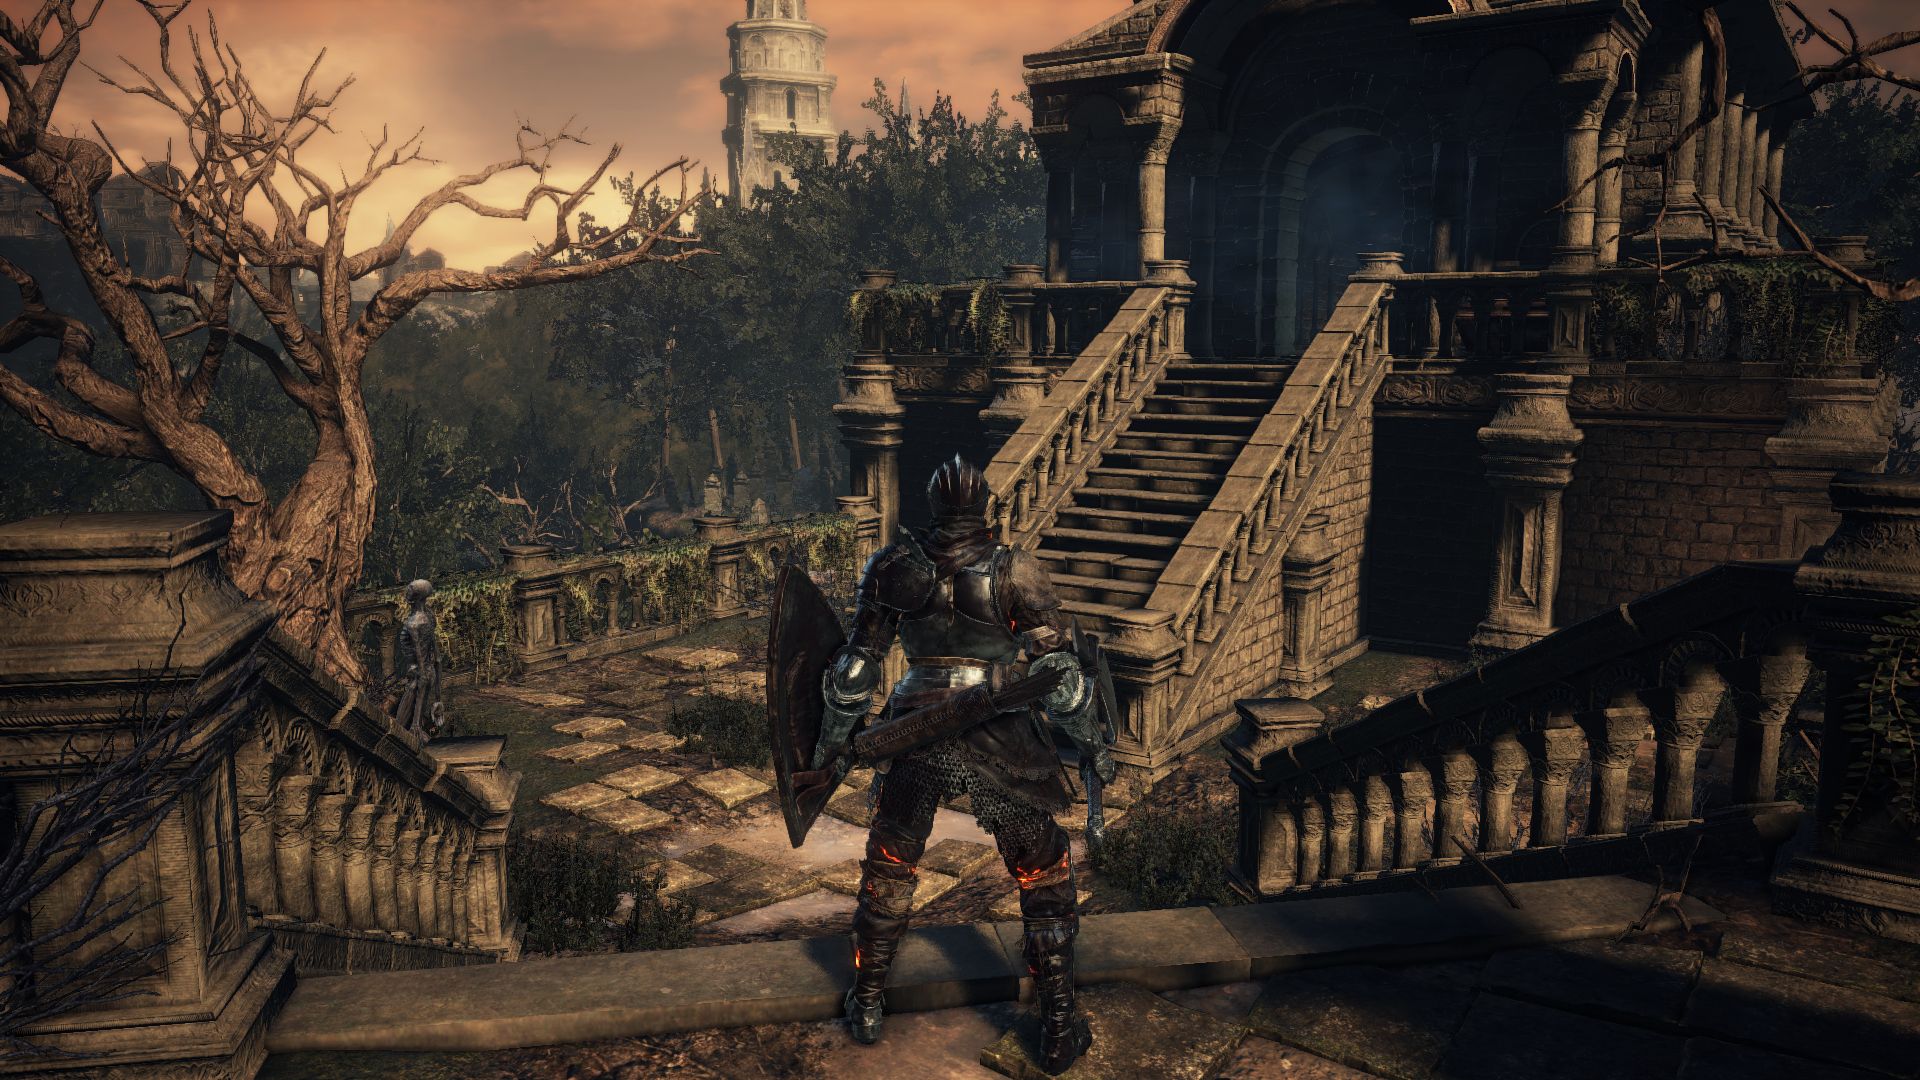
As you exit the building prepare to fight a maggot beast to the right side. Take it out and if you look at the gorge to the right, you’ll notice 2 more maggot beasts down the path. Let’s not head there yet. If you go left from when you exited the building, you’ll notice a shortcut back to the main entrance; loot the corpse for the Titanite Shard but don’t drop down unless you have to.
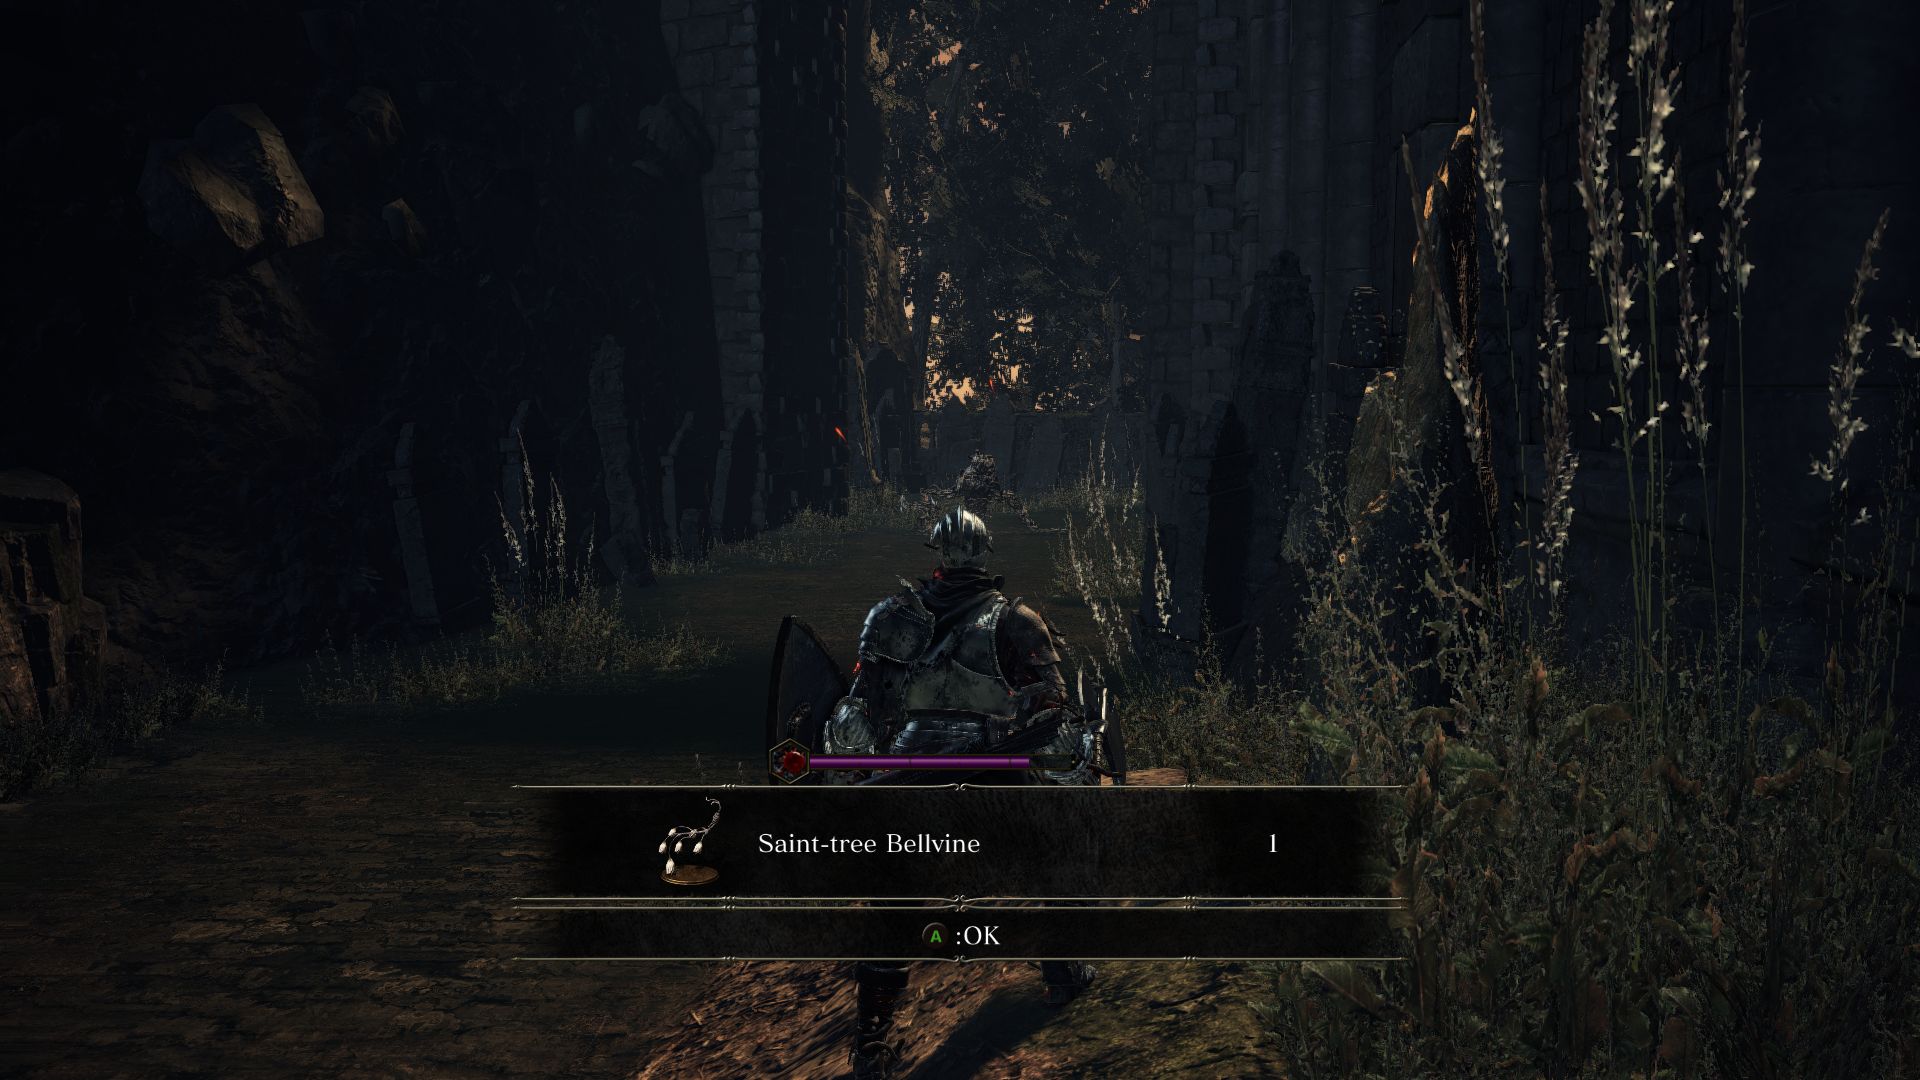
Keep going and you’ll find yourself face to face with a Giant Crystal Lizard, like the one at the Cemetery of Ashes. Kill it to obtain a Titanite Scale. There should also be a small Crystal Lizard nearby that will yield a Twinkling Titanite. Behind the Crystal Lizard is a small room with a Maggot Beast. Kill it to obtain the Poisonbite Ring. Go back out and proceed to the back of the building where the small crystal lizard was. Look for a path going up to an overlook where you will find another Titanite Shard. Head back around and you’ll come across another Crystal Lizard that will give you a Twinkling Titanite and a corpse holding a last Titanite Shard. If you continue down this path, you’ll see yourself back in the gorge with the maggot beasts. If you haven’t taken them out already, do so now and loot the corpse nearby for a Saint-tree Bellvine. When you’re done clearing this area, go back up the ladder to the mausoleum and proceed to the main stairway.
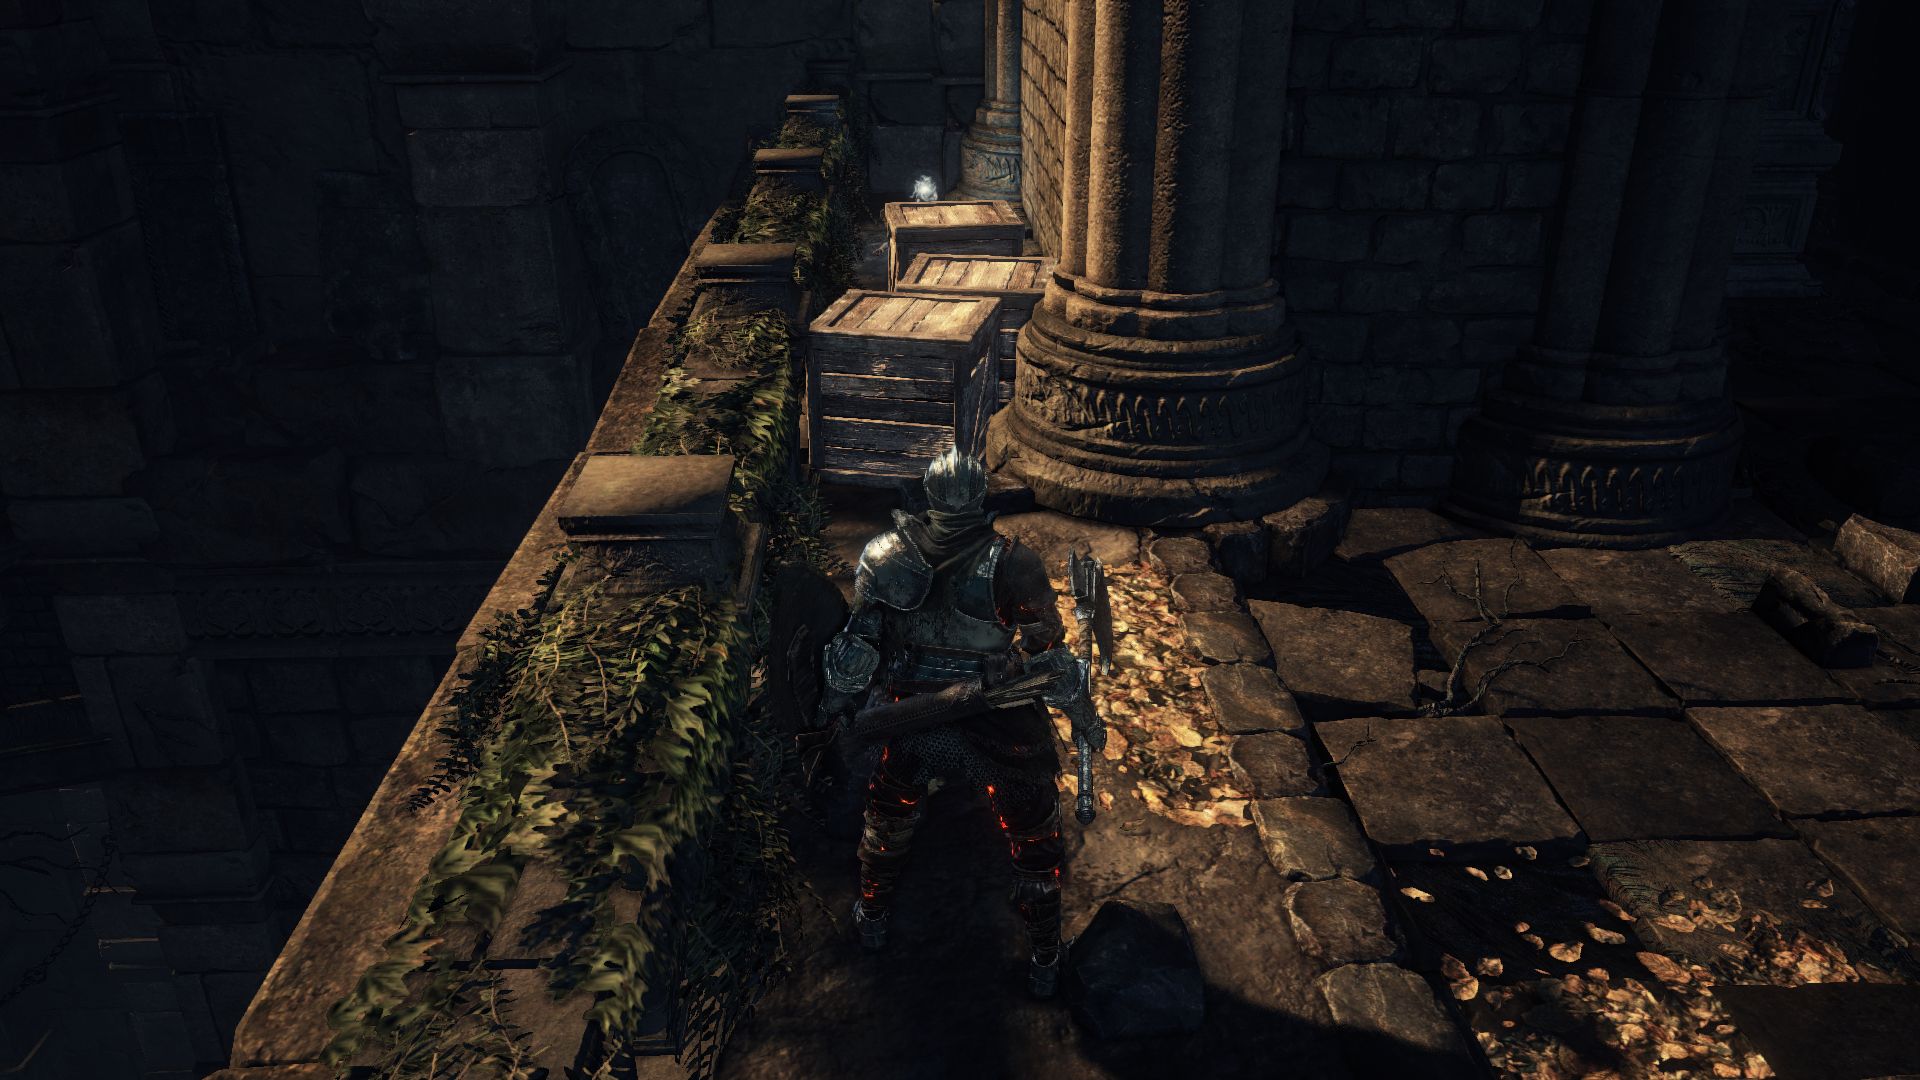
Proceed up the staircase and you’ll find yourself in front of a huge door that leads to the entrance of the Cathedral, but we can’t go there quite yet as it is sealed. To left side of the door you’ll find a few crates. Clear the path and loot the corpse behind the crate holding 2 Rusted Coin. To the right side of the door you’ll find a Red Bug Pellet (useful against the boss of this area), and some enemies on the rooftop ahead.
On the first rooftop, you’ll see a shield-wielding Hollow. But as soon as you step onto the roof, an archer will emerge on the other side to take pot shots at you and a suicidal hollow you climb over the railing to charge at you. So it’s best to draw the shield-wielding hollow back a bit to take it out by itself before proceeding to take the others. The archer has a tendency to jump down from its vantage point to chase you, so force it to drop to your level and then charge at it for the kill.
Look to the left and you’ll see that you have some treacherous rooftops to cross. Be very careful up ahead. Proceed through the rooftops to the other side but be wary of the suicidal Hollow who will charge at you. When you’re on the other side, another suicidal Hollow awaits, including a couple of Thralls above you (get ready to face a lot more of these from this point). You can shoot the Thralls to force them down.
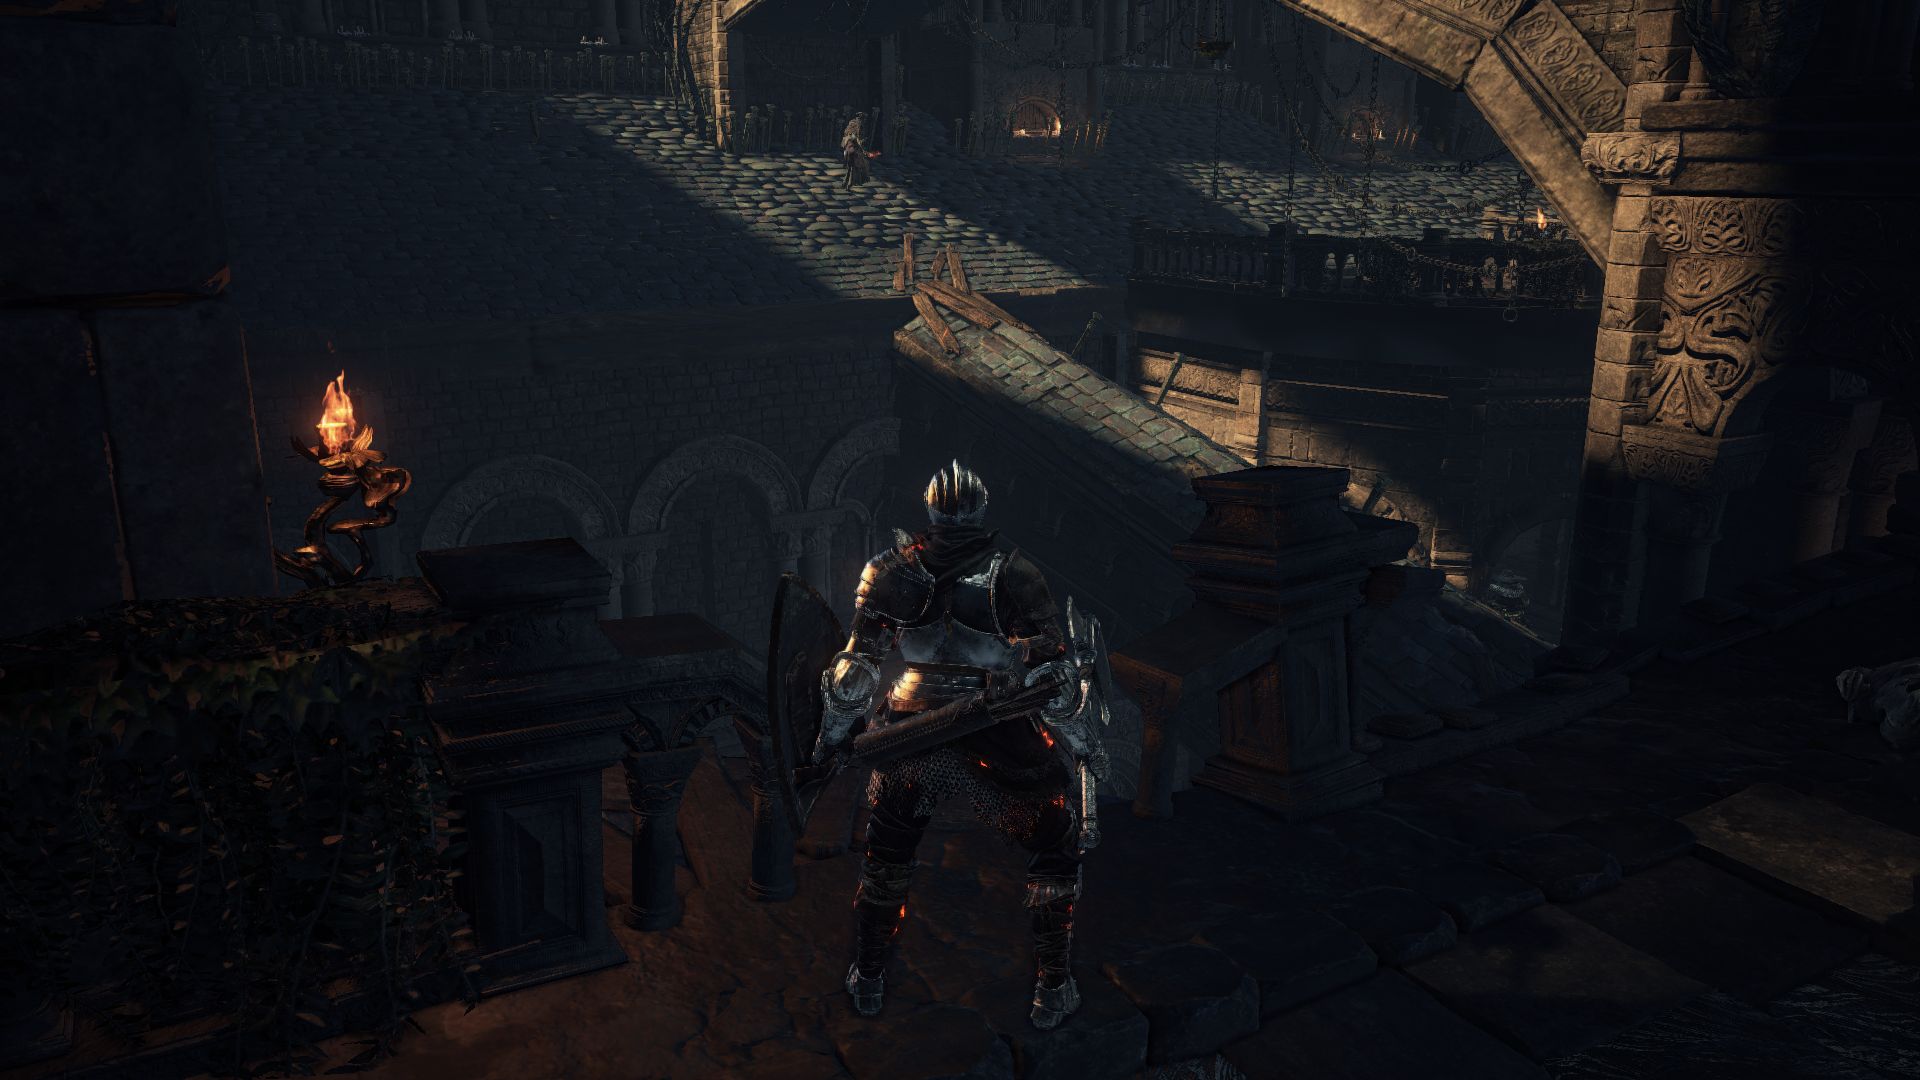
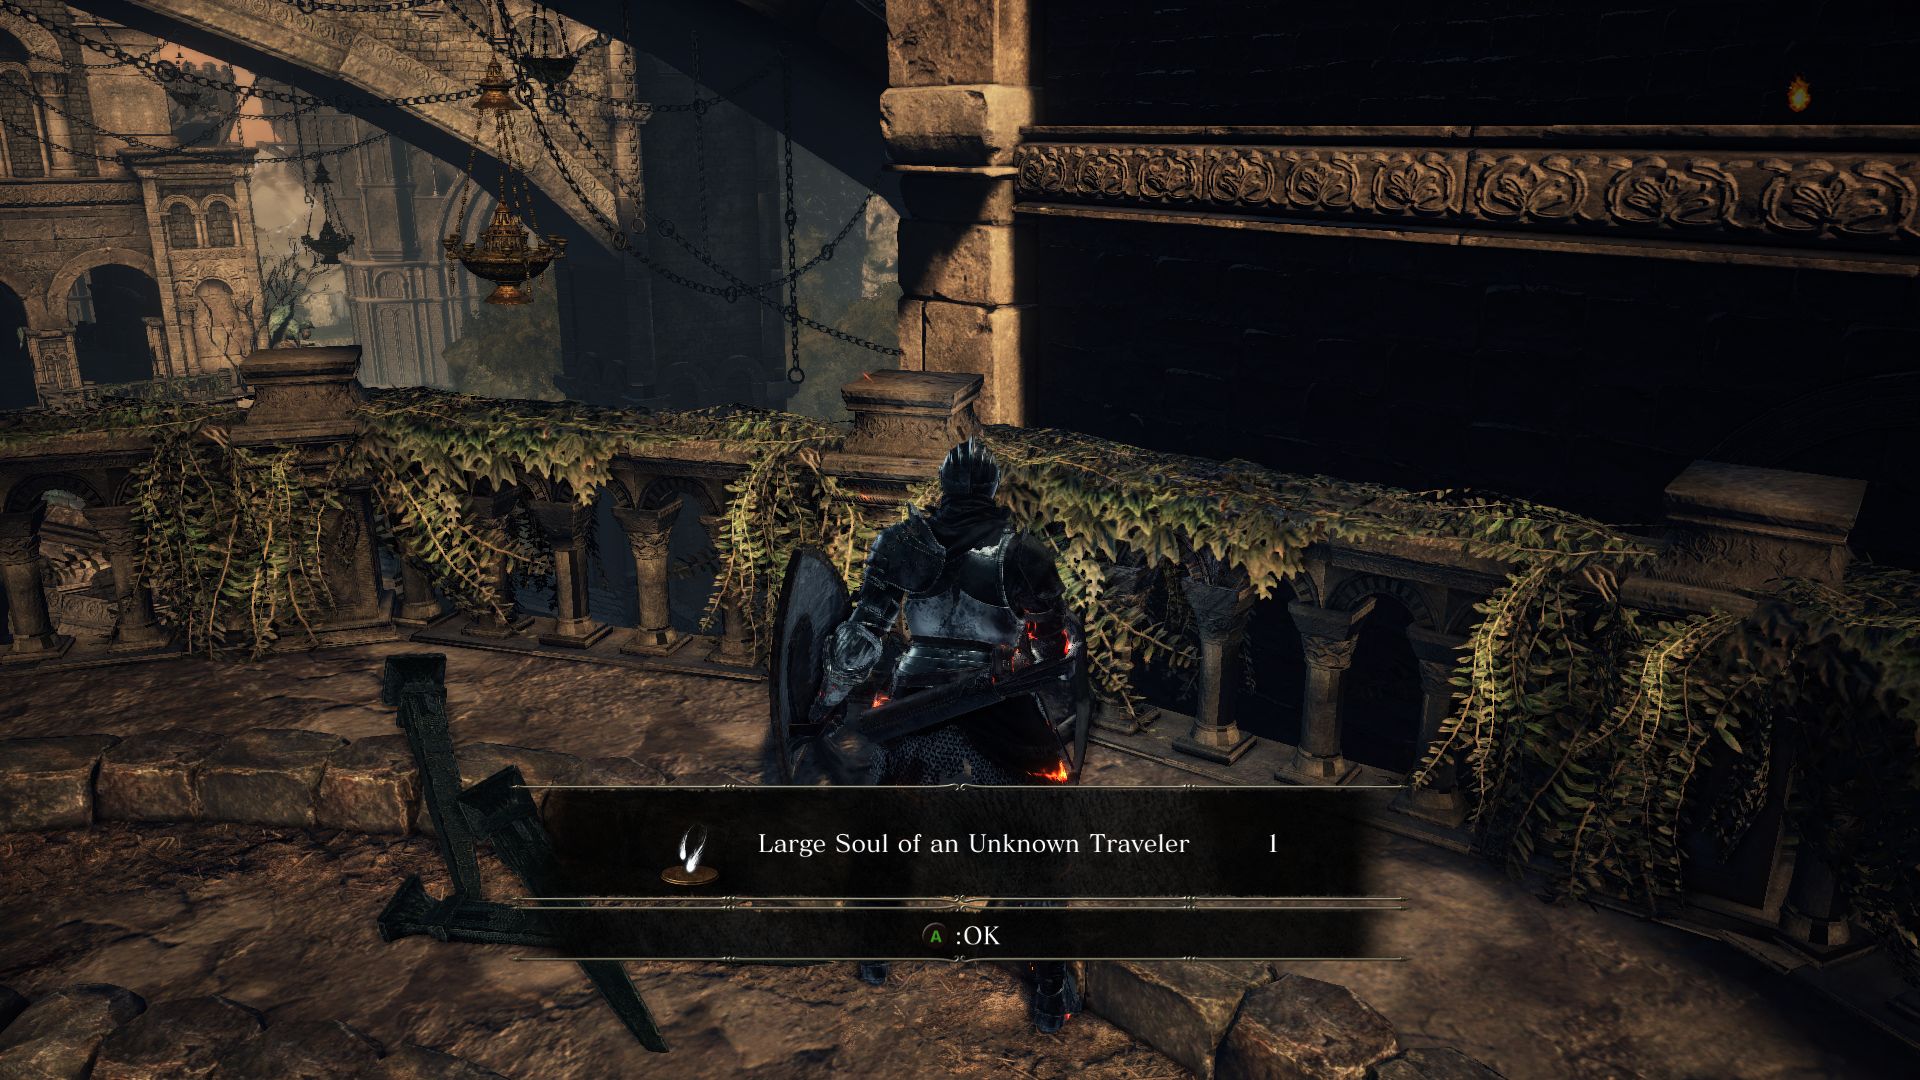
Notice an item to your right as you make your way forward. When you approach the corpse containing a Large Soul of an Unknown Traveler, more hollows will climb the railings to attack you. You can take them out before then can get a footing.
Proceed forward and down the sloping path to the right. Have your shield up as you go down because of the 3 Archers in the small area below along with a spear-wielding Hollow. You can dash at the archers while strafing their shots to take them out and then take on the melee Hollow.
Go up the short flight of steps to find 3 Red Bug Pellet to the right, but watch for the 2 Thralls on top at first. If you go left you’ll find an Evangelist along with some Hollows. They’ll attack you when you draw their attention. Try to outrun the suicidal Hollows, lure the faster Hollows away from the Evangelist and finally take it out solo. After you kill the Evangelist, loot the corpse there for 3 Undead Hunter Charm.
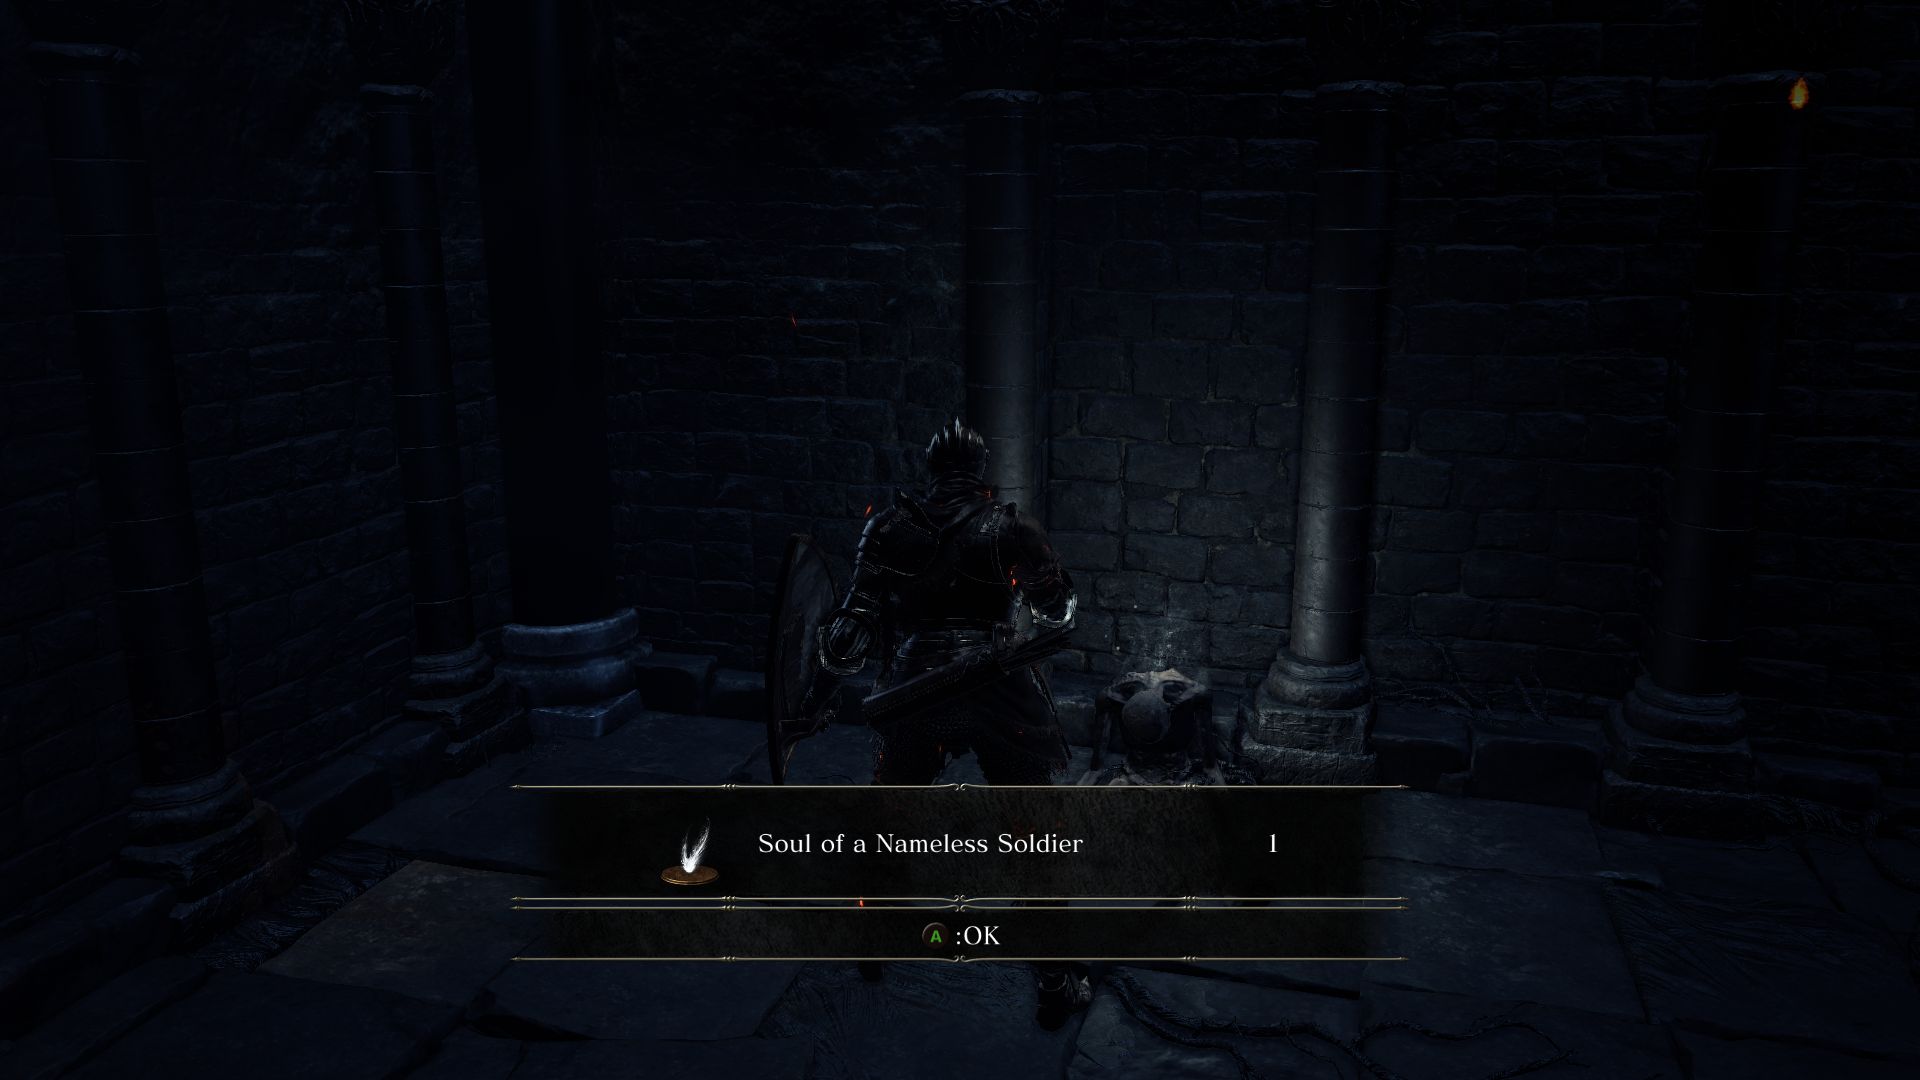
Now go back to the area with the 3 archers. Take the stairs heading down where you will face a Hollow with a halberd. As you move forward, notice the alcove on the left where a Thrall is lurking. When you try to fight him, 2 more will jump down from above. If you don’t want to fight them in the narrow confines, draw them back to the area with the 3 archers. You’ll find a Soul of a Nameless Soldier in the alcove.
Continue forward to find a few more Hollows. Take them out and go up the stairs. Notice two patrolling Grave Wardens and watch their pattern. Try to lure one when the other is a bit farther away. This way it’s easier to take them out. Kill one and then the other, but watch for the 2 suicidal Hollows in this room as well.
After you kill them, move up the stairs to find yourself in front of the rooftop entrance of the Cathedral. Be prepared to fend off the Hollow who will ambush you from the left as soon as you exit the stairs. Further up you will notice a bunch of Hollows worshipping around a corpse (which contains an Ember). If you approach them, you’ll draw the attention of a greataxe-wilding Hollow, as well the worshippers who will try to burn you. So go ahead and take them out if you want to risk it. Sweeping weapons are great for these cases (and for the boss fight of this area, as you’ll find out later).
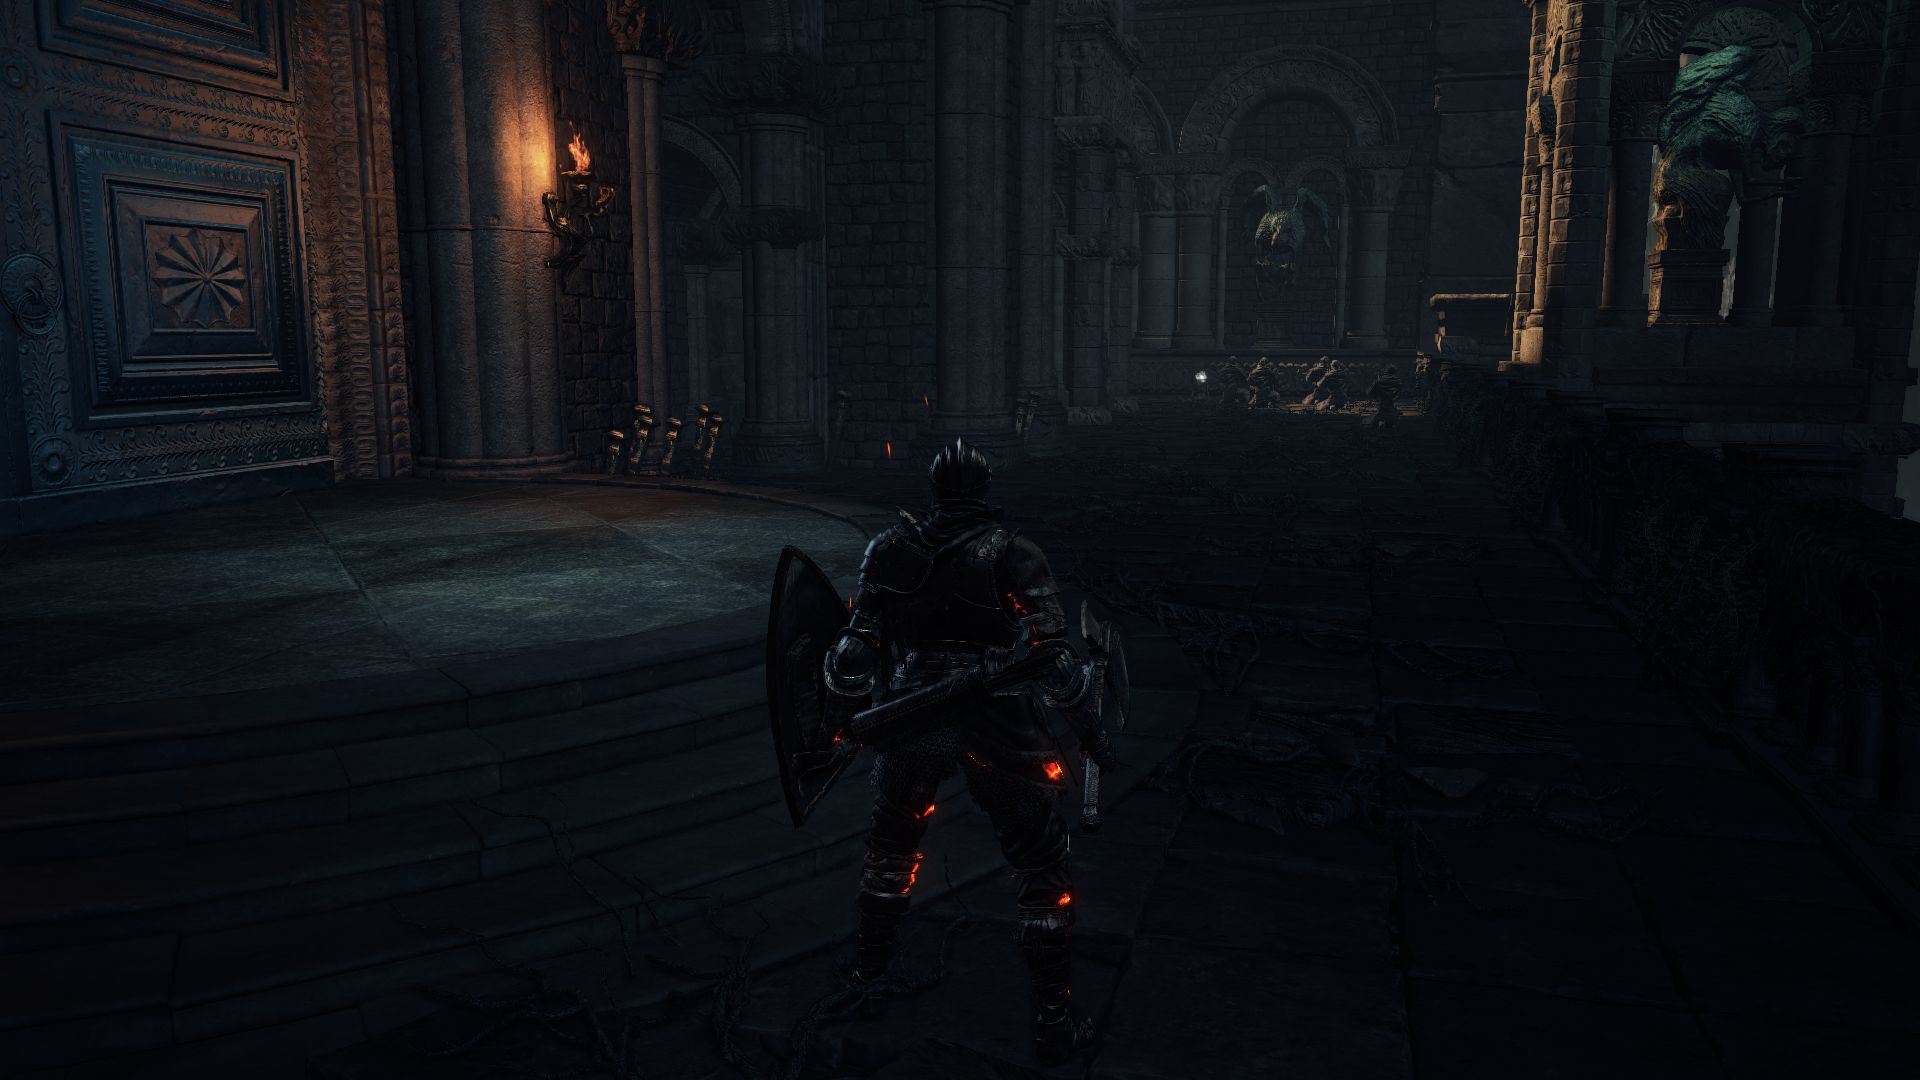
Now we’re finally inside the actual Cathedral. You’ll find yourself on a balcony overlooking a chained giant. From here he won’t cause you any harm. But you will eventually have to face the giant, and whether you want to kill him or avoid him is up to you. Keep in mind that if you had made peace with the giant archer back in Undead Settlement, killing any other Giants will break that pact (and you won’t get his help throughout the game).
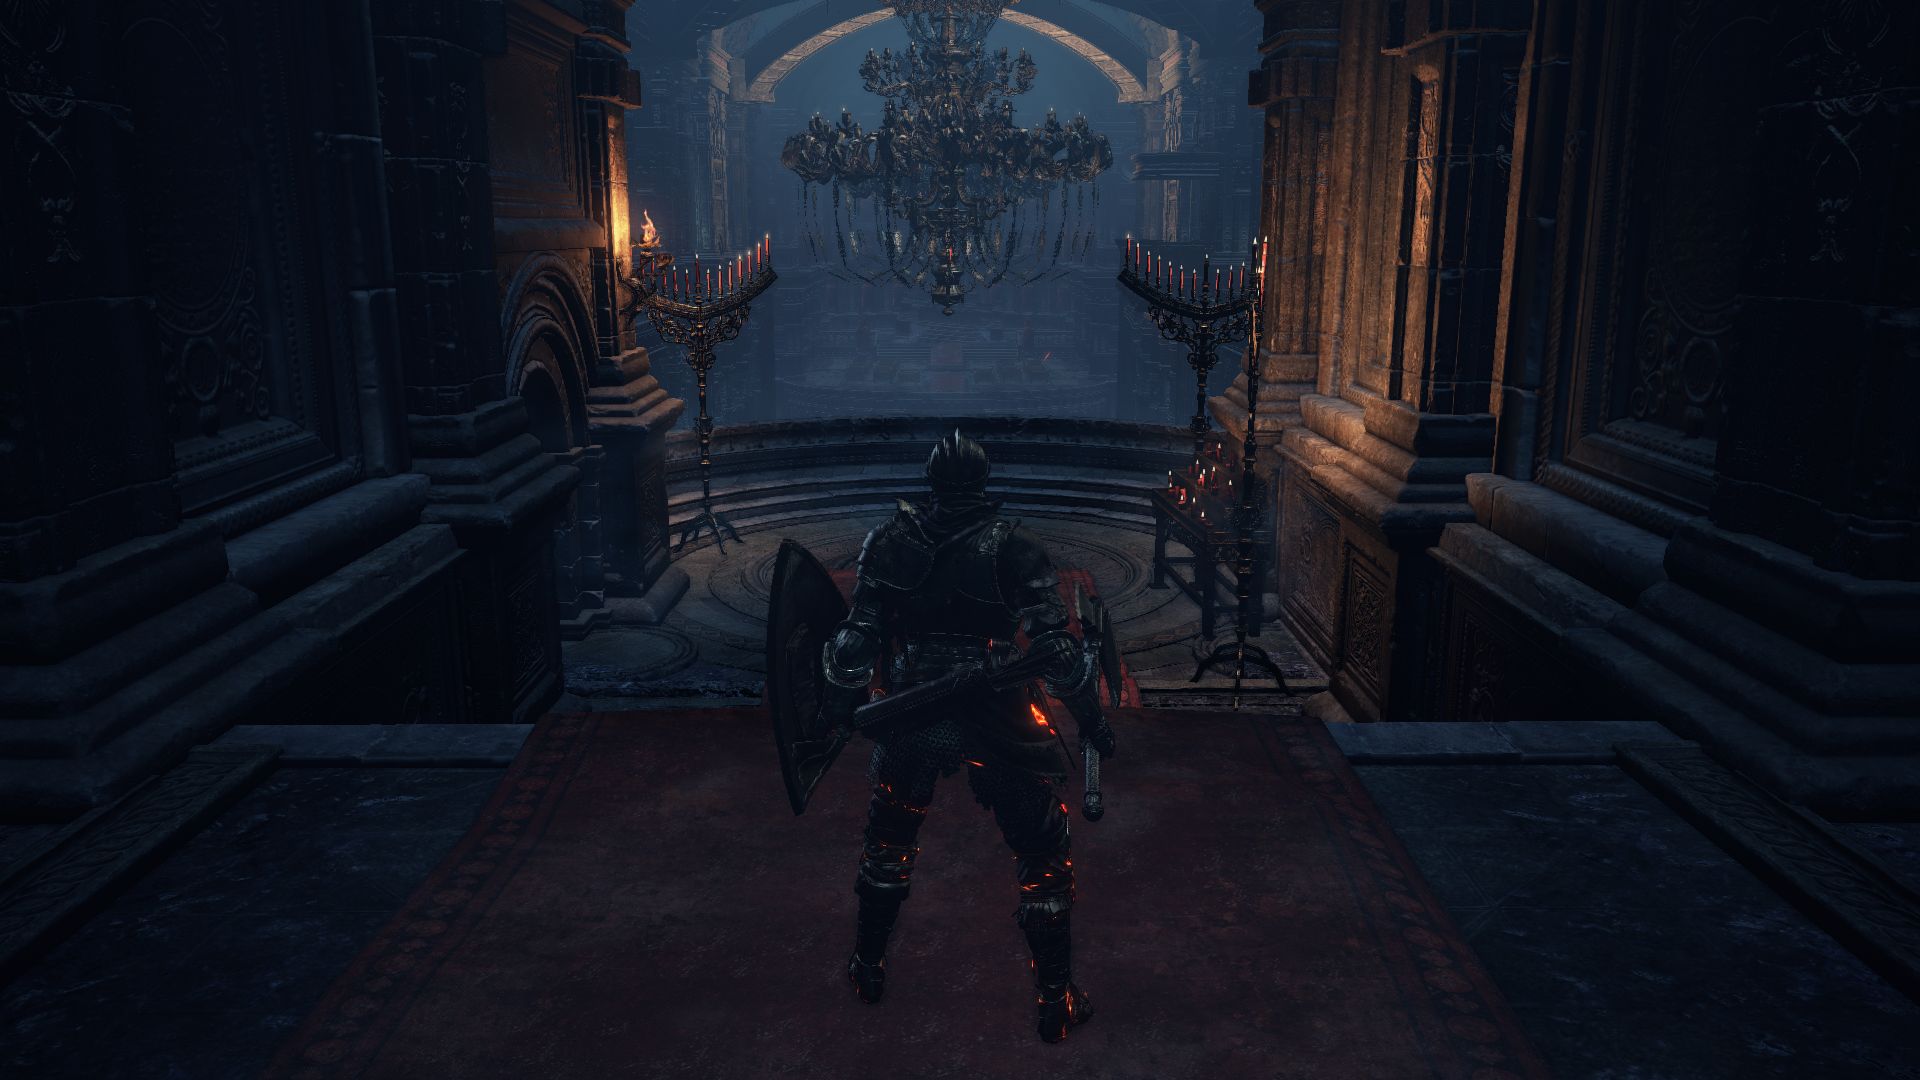
Go left from the balcony and kill the Slime creature. Don’t get too close and don’t let it devour you. Proceed down the stairs to obtain a Duel Charm. To the right, you’ll find a large room with 3 red-eyed Deacons. They die really fast if you get close to them and get a few hits. But from range, they’ll try to burn you with fireballs. So either use those Red Bug Pellets you found earlier, or weave past their fireballs to take them down. On a side note, you’ll be facing a lot of these deacons in the boss fight of this area.
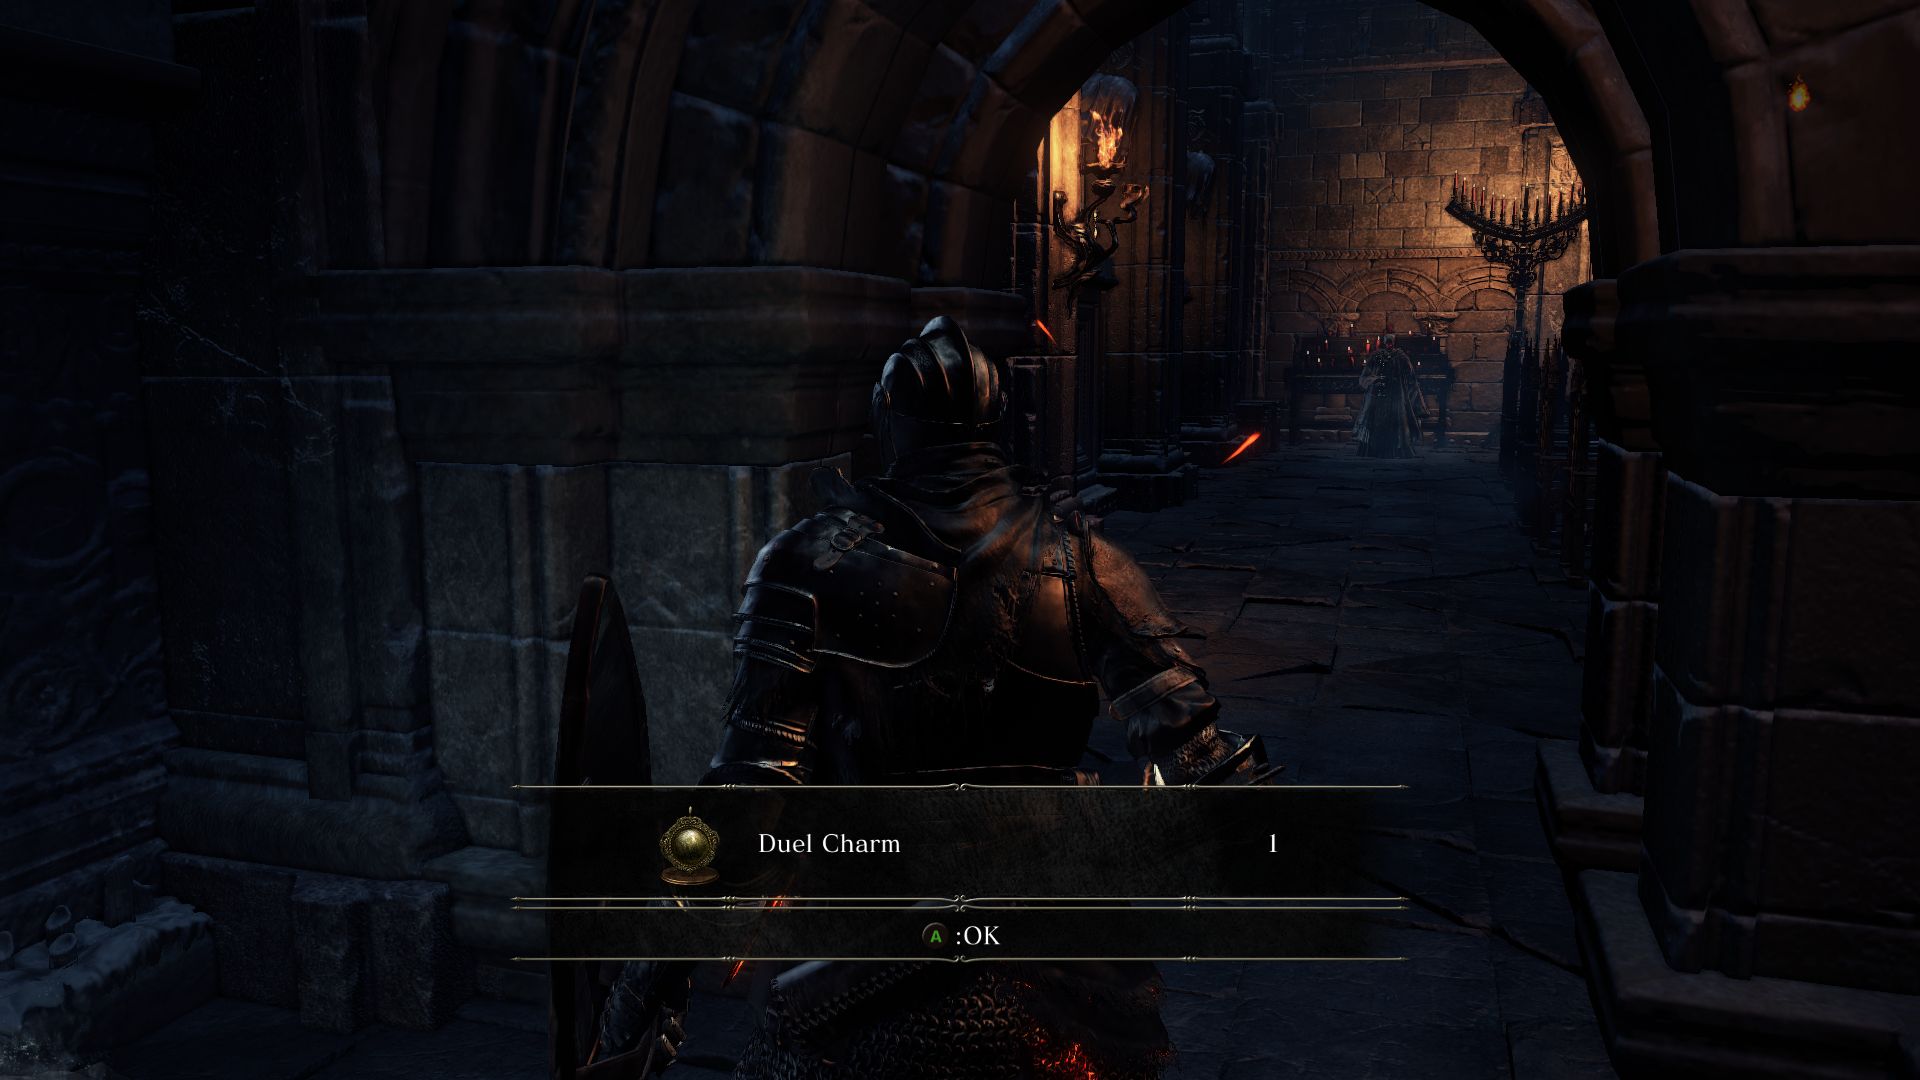
After this room you’ll see a path going left, and stairs going down. Go left first to find a lift that will link this path to the Cleansing Chapel bonfire by opening one of the locked doors from the proper side. Go back up the lift and proceed down the stairs to face an evangelist. Kill it and loot the Deep Gem. Go back up but be wary of the Slime creature who will drop down on you as soon as you hit the top most step.
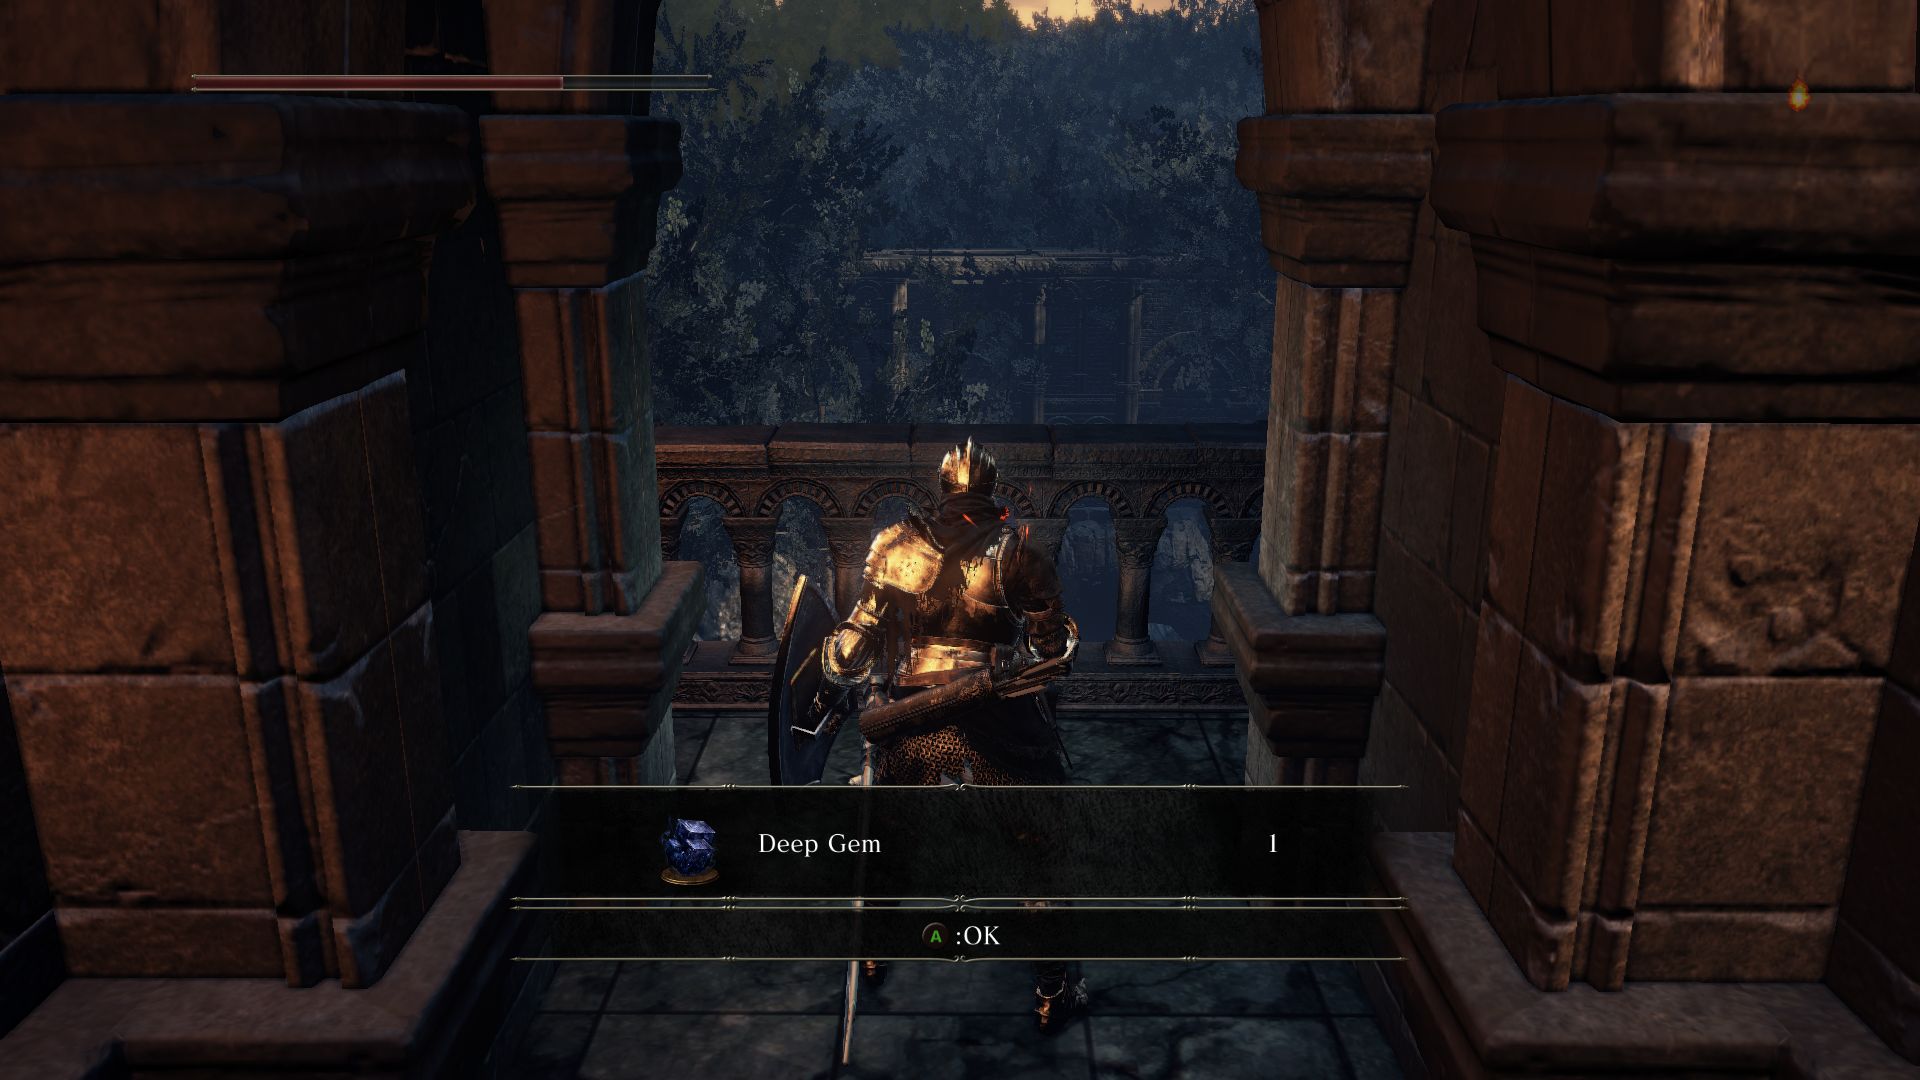
Now go right and you’ll find yourself in the room with the Giant, and this time he’s much closer. As you make your way across the balcony get ready to dash because the Giant will start attacking you. Keep moving and ignore the suicidal Hollow. If you stop moving, you’ll most likely get smashed. On the way, if you’re feeling brave, you can loot the corpses to obtain Soul of a Nameless Soldier, Lloyd’s Sword Ring, and Exploding Bolts. As you approach the other side of the balcony, have your shield up or dodge the Sniper’s bolts from up ahead. Another Hollow will drop down and follow you into the corridor so be prepared to take it down. But you’re safe from the Giant inside the corridor.
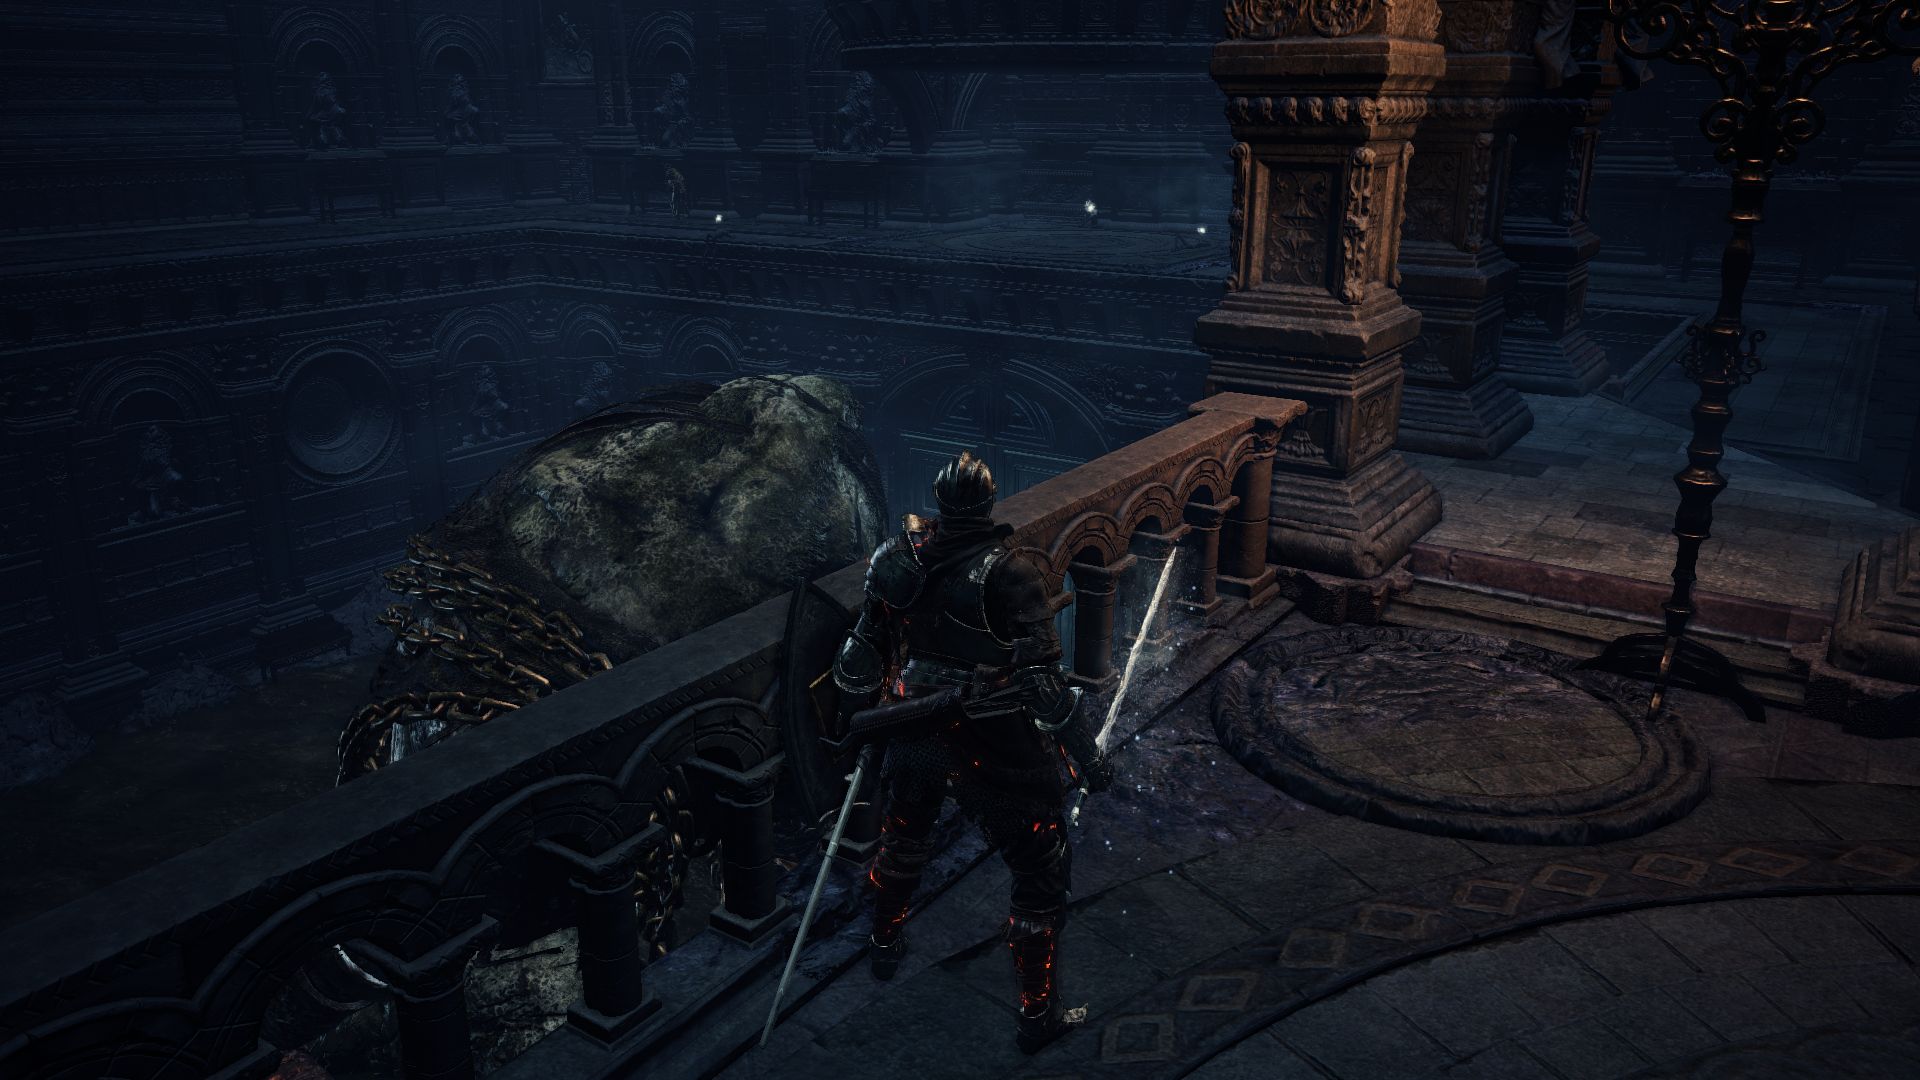
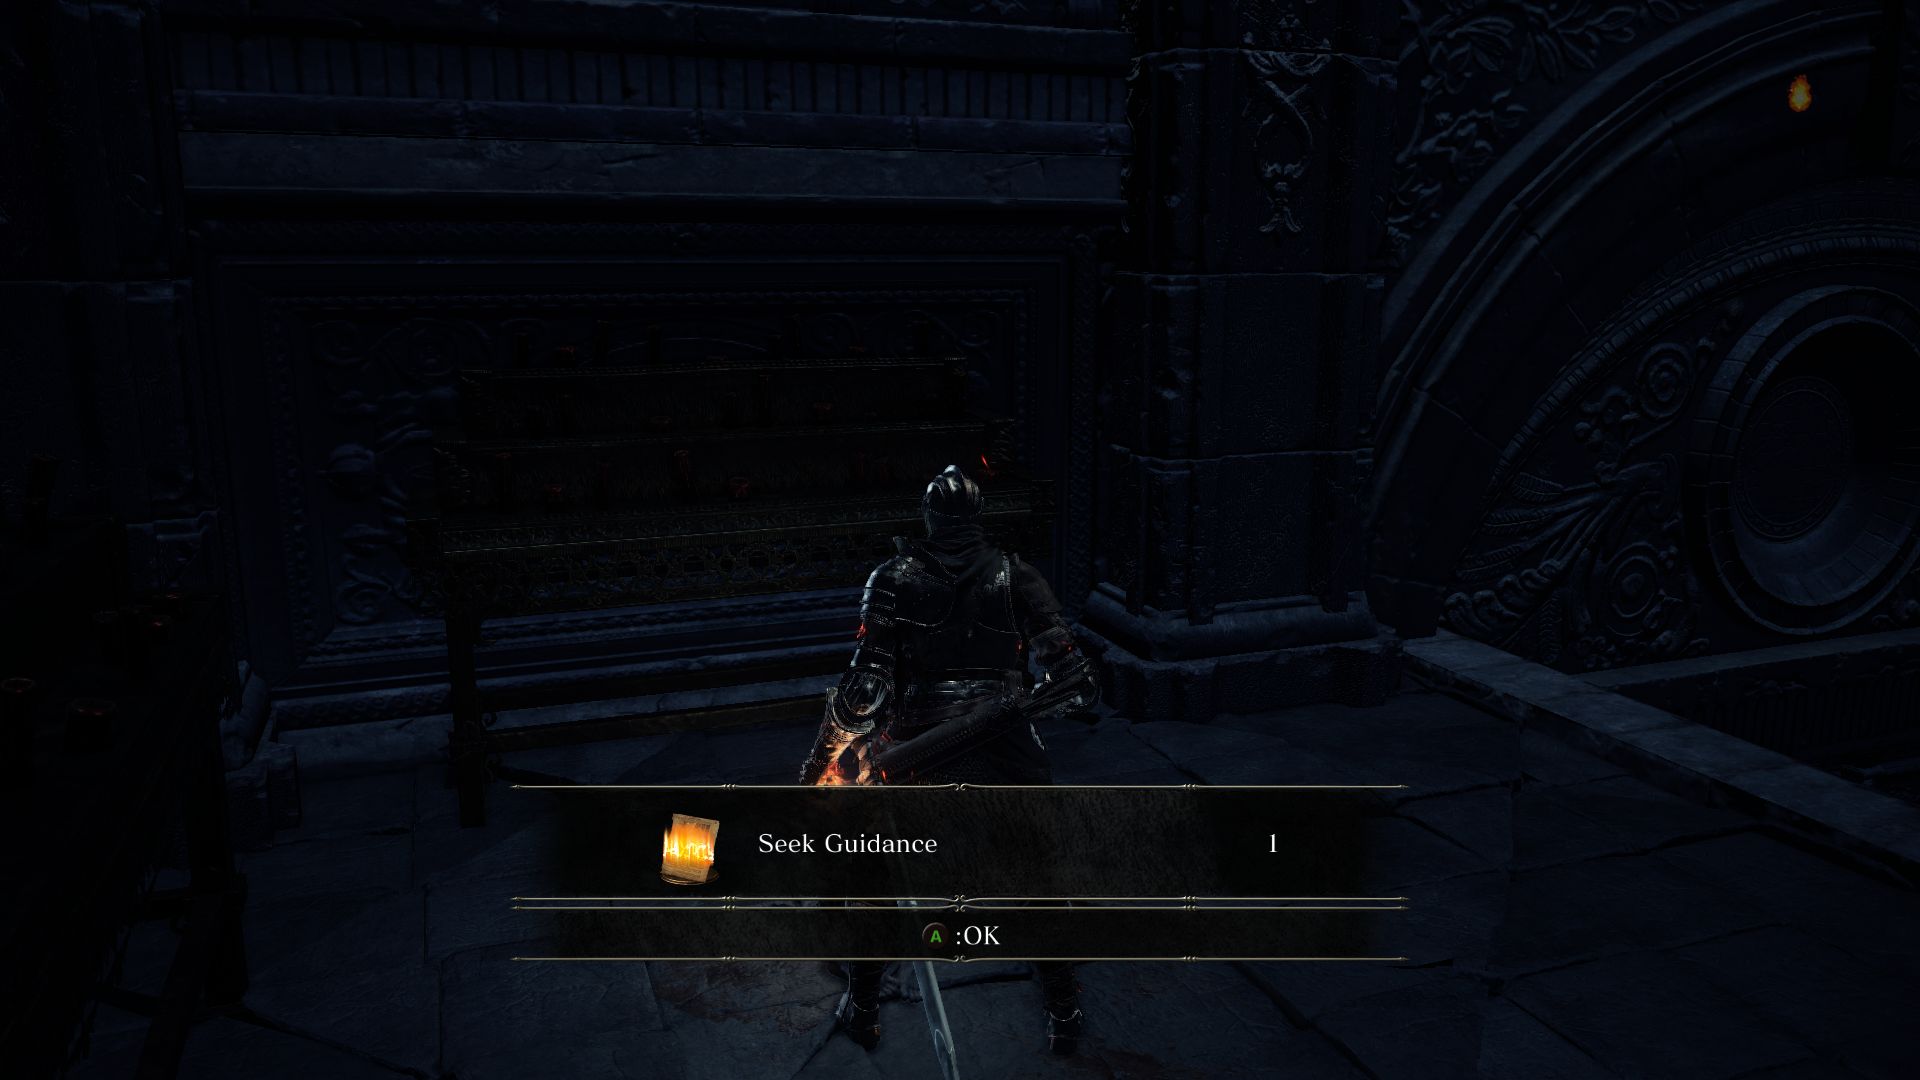
You’ll find yourself at yet another intersection. Let’s go left first. You’ll step onto some platforms overlooking a large room which we will get to in a bit. Don’t drop down yet. To the right you’ll notice an item that will yield a Seek Guidance miracle. But while you walk towards the glowing orb, 3 Thralls will ambush you, one from each side and one from the ceiling. Take them out and then before you loot the item, look up. A slime creature is waiting there to drop down and devour you. Snipe it down, then kill it. Loot the Miracle and go back to the other side of the room. Notice the ladder and climb up. Be prepared to fight the Evangelist. Then take out the sniper and loot the Ember on the balcony.
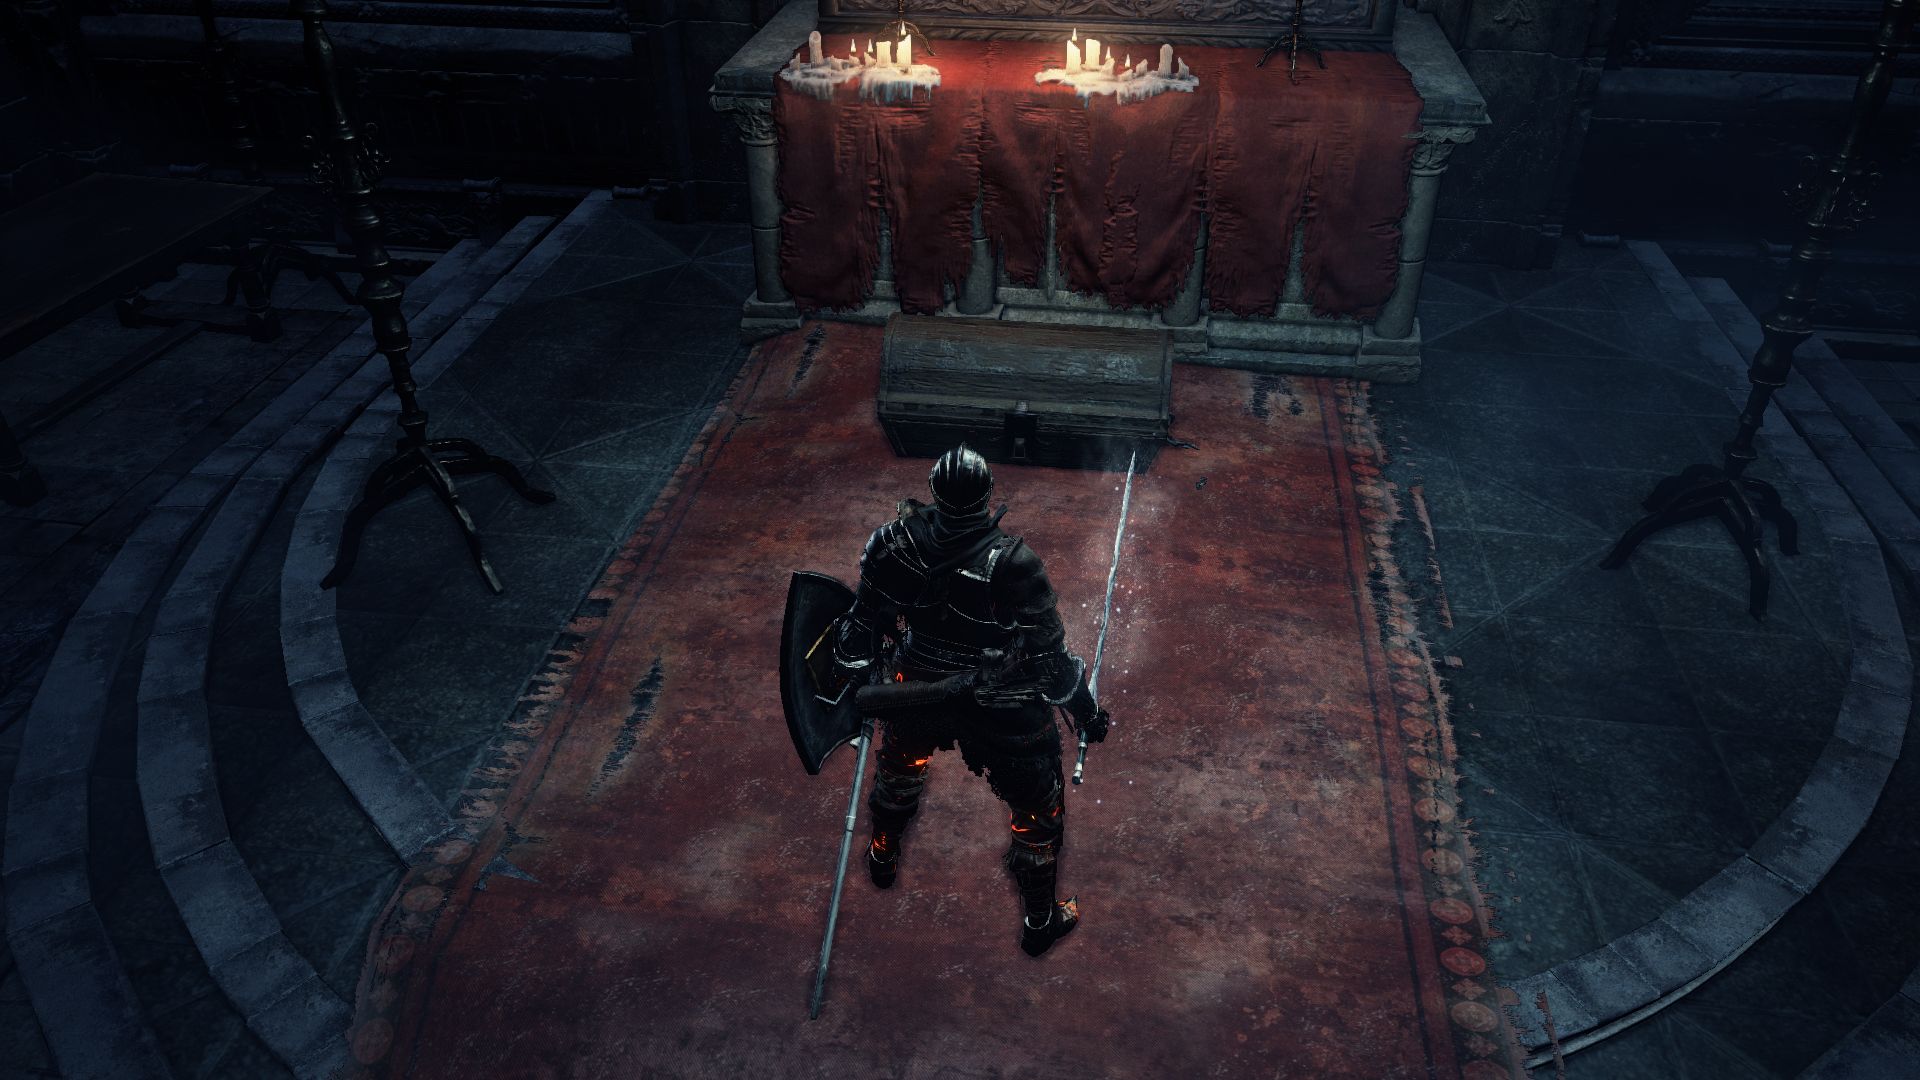
Go back to the intersection and head down the stairs now to find a familiar looking chest in front of an altar. It’s a Mimic. So get as much damage done on it as you can as it transforms into the monster. Killing it will reward you with a Deep Braille Divine Tome (you can give it to Irina, but if you give her one more tome with dark miracles, it’ll cause her distress and you’ll strain your relationship with Eygon).
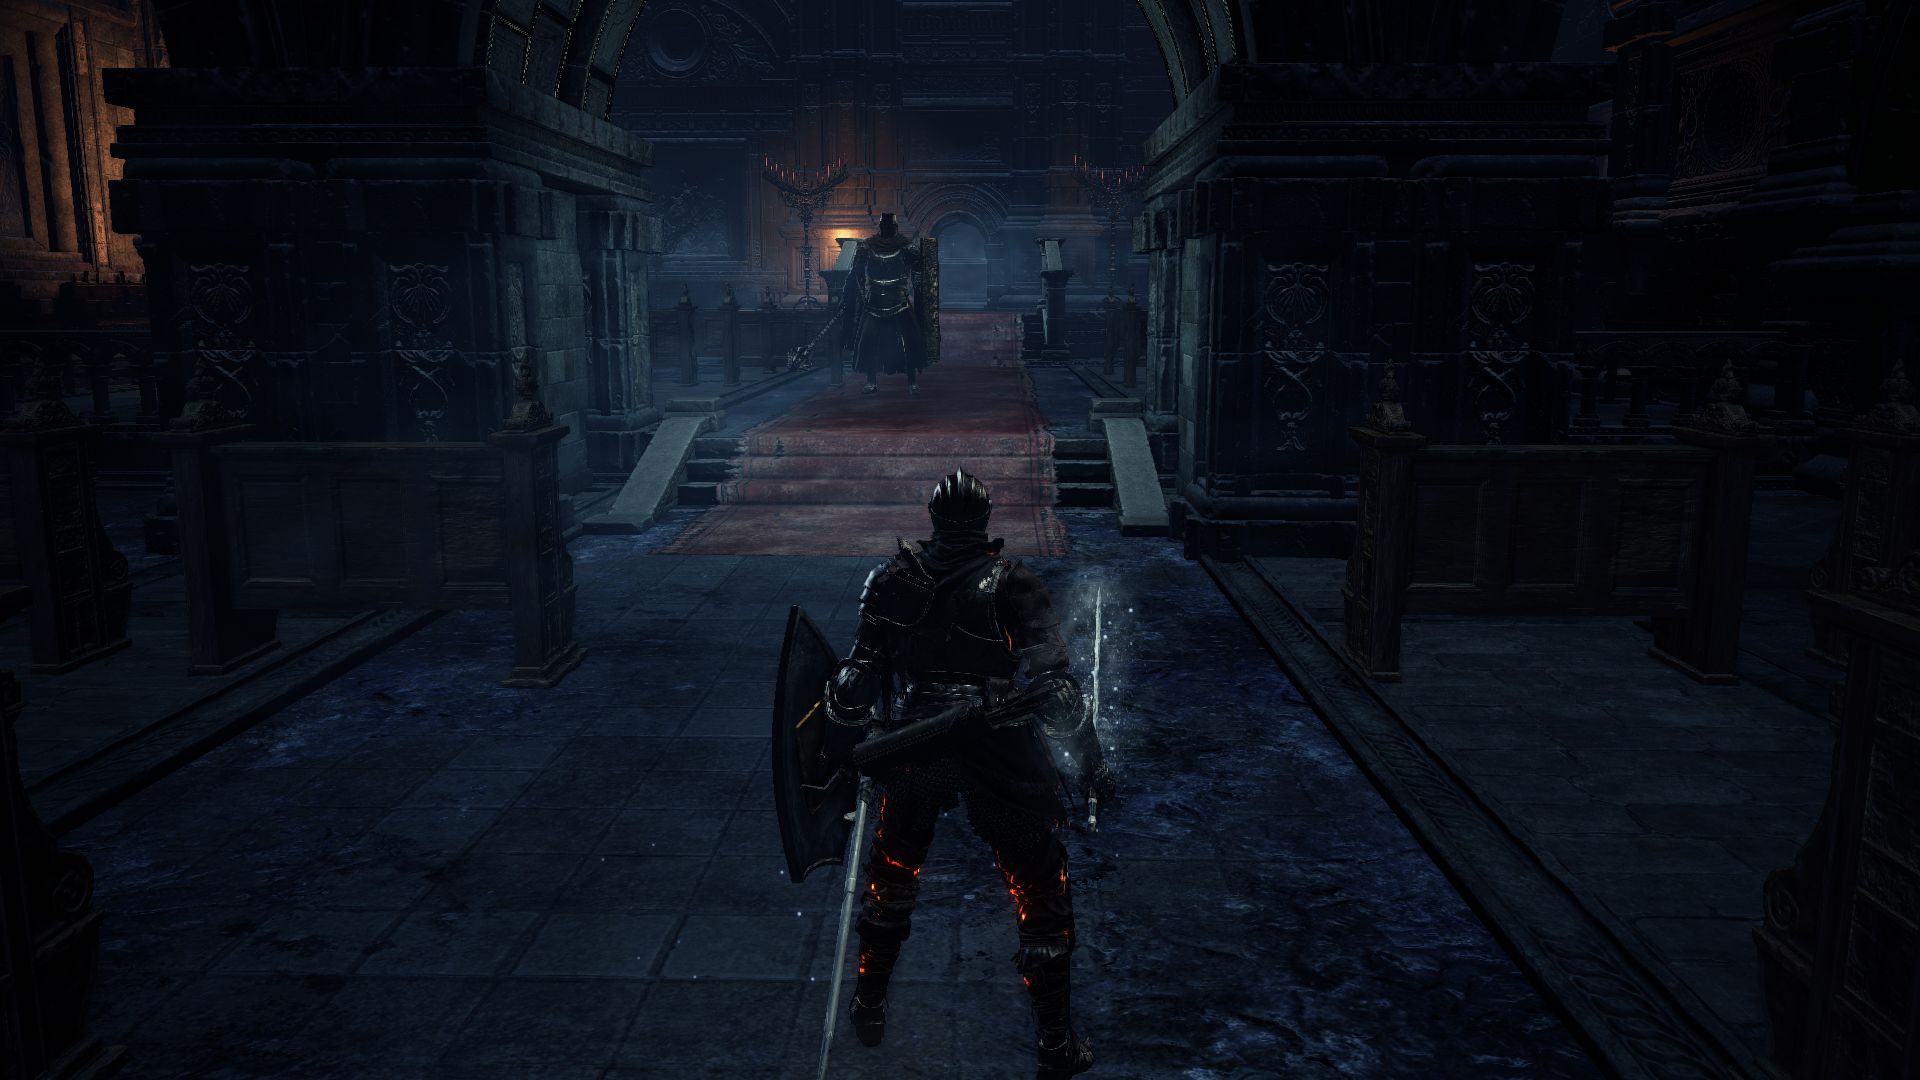
As you descend down the stairs, you’ll find yourself in the large room you were overlooking earlier. On the other side of the room is an imposing enemy, the Cathedral Knight. They carry a greatshield and a large mace which he will swing in wide arcs. He will also cast a miracle that causes his attacks to leave behind orbs that explode. When he does that, move away from the orbs and fight on a different spot lest you take unnecessary damage. When he’s casting the miracle, it leaves him open to attacks, so seize the opportunity. You can also dodge behind him when he does his shield bashes to land a few hits from behind.
There are two doors in this room. The door the Knight had emerged from leads to a large room with a corpse that contains an Ember. Of course, things aren’t always this easy. As you enter the room, a Lion Spider will drop down and attack you. It can be a very challenging fight, so if you simply want to loot the Ember and run out of the room you can (it can’t follow you outside the room). But if you want to defeat it for its Aldrich’s Sapphire loot, watch out for its bites, leaping attacks, and the deadly mist it sprays.
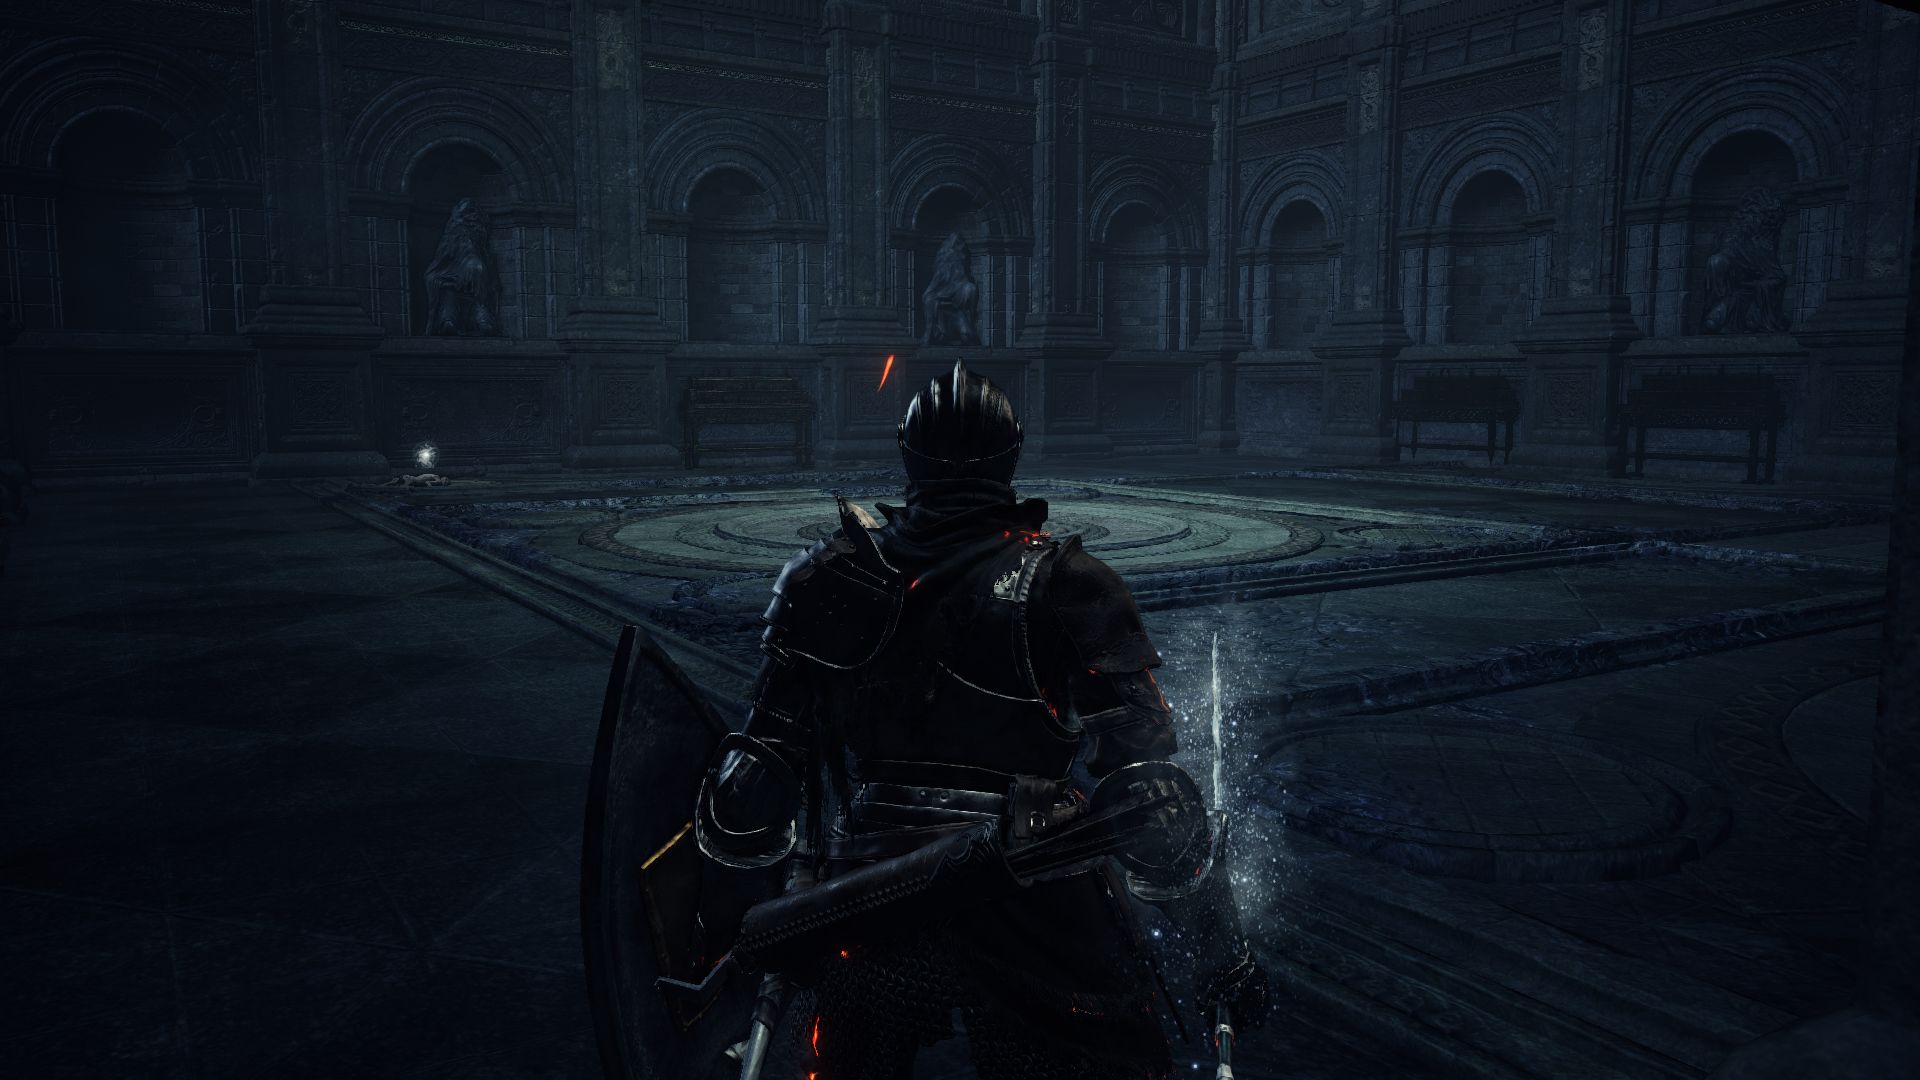
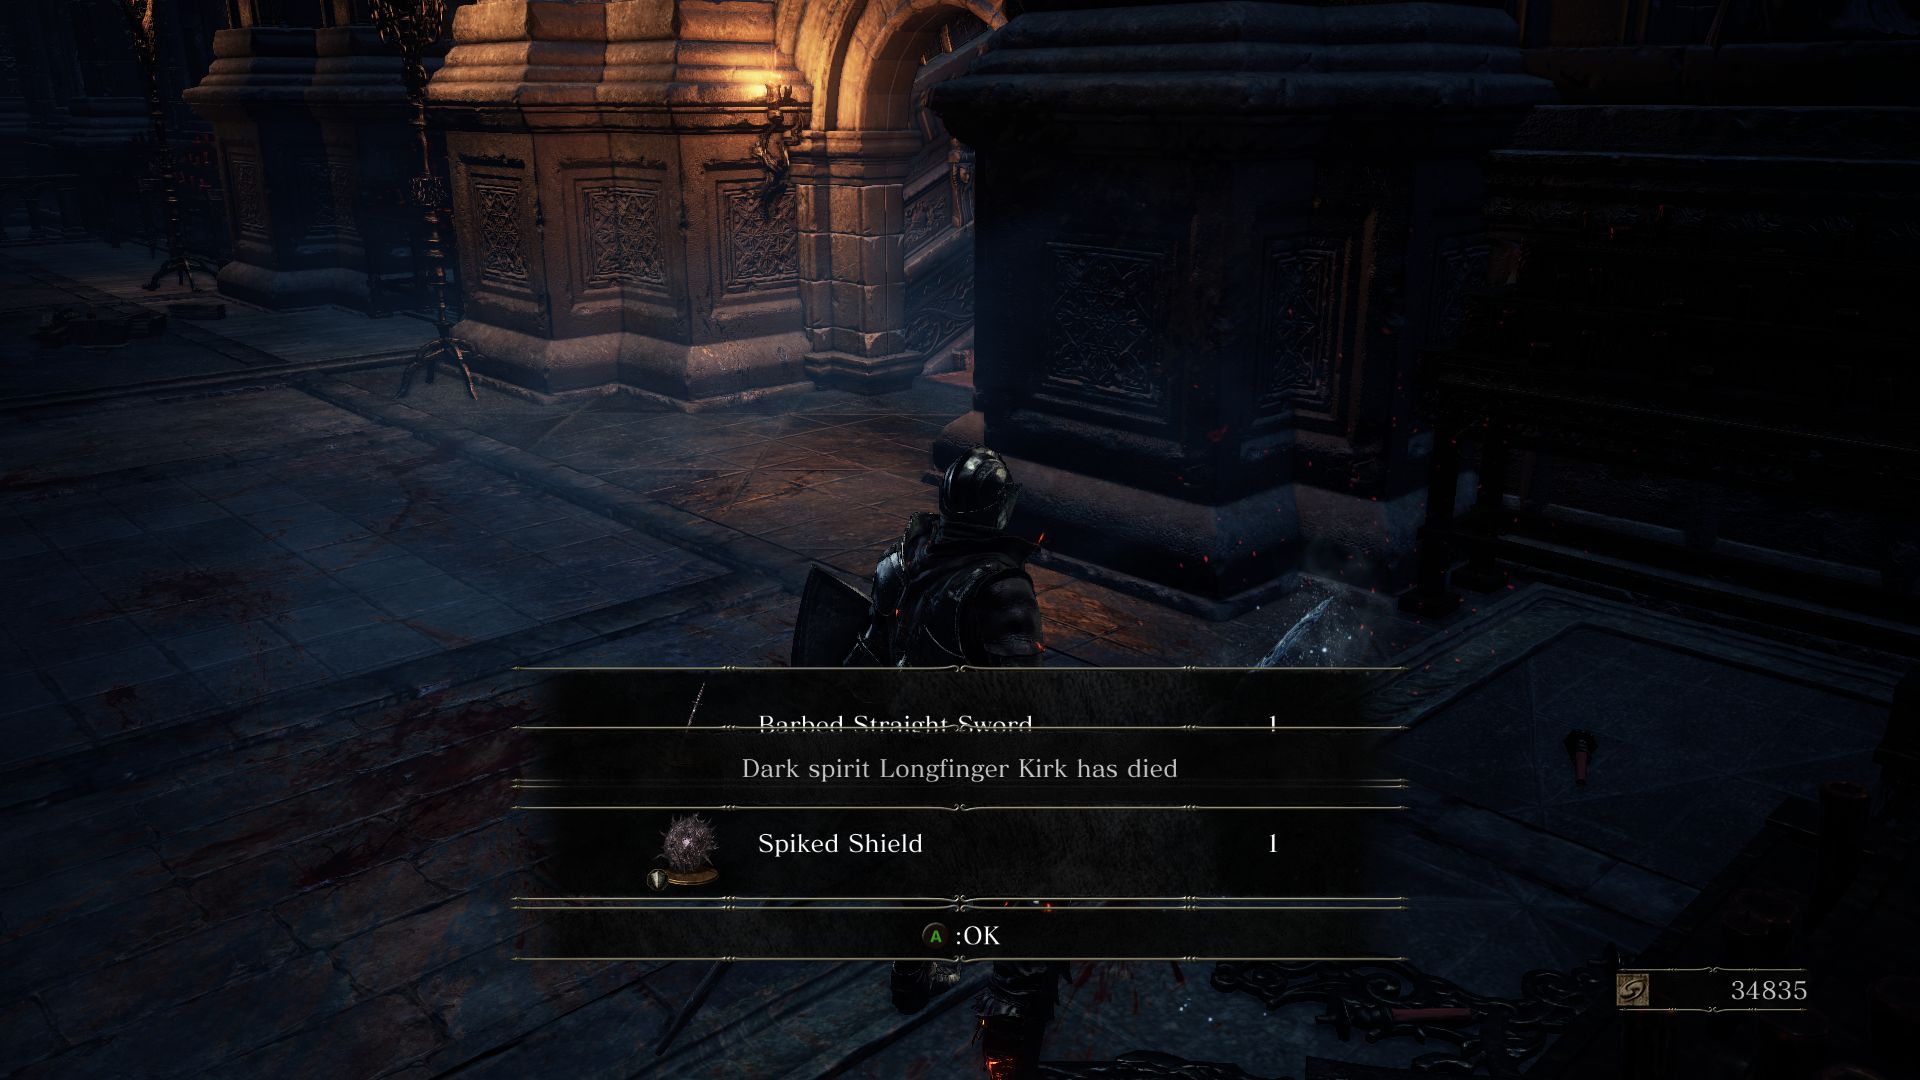
Going through the other doorway leads into the main hall where the giant is chained. Keep an eye out for the patrolling Thralls as well. At this point, if you are embered, you may be invaded by Longfinger Kirk, and this is no easy fight. He is fast and will dodge around your attacks a lot. He won’t heal as much as the other invaders, and if you’re packing bleed resistance, he won’t hurt as much. But if the fight goes on for too long, it won’t bode well for you. He will drop a Spiked Shield and Barbed Straight Sword.
As you make your way through the hall, be wary of the patrolling Thralls. You’ll notice that there are actually two giants on either side of the hall. You already met the one on the left who was trying to crush you as you made your way across the balcony above. Also notice that the area the giant is in is filled with a green slime which slows you down. This makes it rather difficult to fight or dodge the giants. And as mentioned before, if you kill any giants, you forfeit your treaty with the Undead Settlement giant archer. So it’s up to you whether you want to kill the giants or try to sneak your way past.
If you do decide to take on the giants, try to stay as close to the feet and behind him as possible. He’ll raise his foot to stomp on you, which you should dodge. He also does a large swipe, so watch for that as well. After you defeat the giant on the left, loot the full Maiden Armor Set. Open the door behind the giant to approach the back porch where you can loot a Saint Bident and 2 Homeward Bone.
If you would rather not tackle the giants yet and want to find your next checkpoint, proceed to the other side of the Hall from where you entered it. You’ll find another Cathedral Knight there as well as some Thralls. Kill these enemies and proceed through the small doorway and the stairs leading outside. As you make your way here, you may notice a familiar area (below you had slain the maggot beast earlier for the Poisonbite Ring). Continuing along the path to the left leads to the main bonfire! Along the path you’ll also find a lift, but don’t take that yet. It takes you up to the archer you had faced earlier just outside the cathedral entrance on the rooftops.
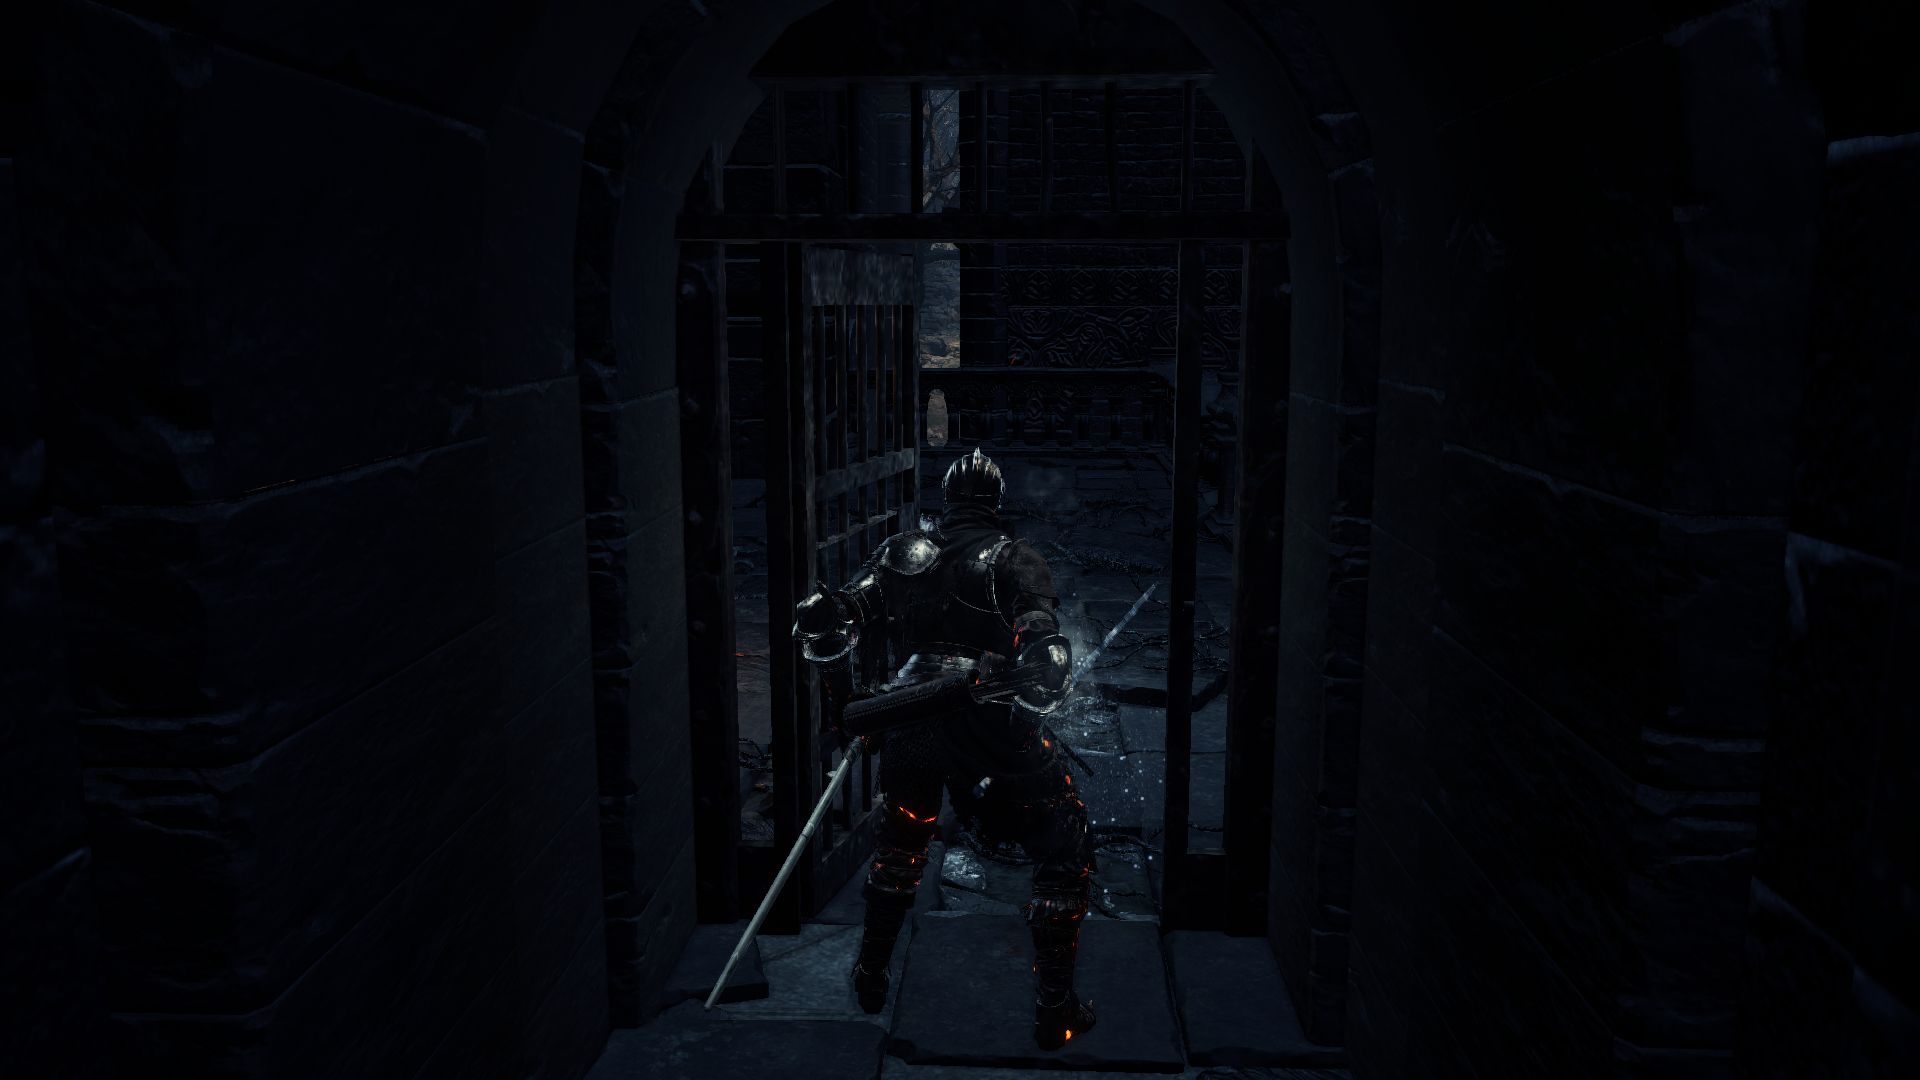
After establishing the shortcut, head back to the main hall. If you had rested at the bonfire, keep in mind that the enemies should have spawned again. To get up to the altar, you’ll need to go past the other giant. Before you do, explore the other side of the hallway where the giant is chained. The floor here is filled with water instead of slime. In the corner you will find a lever. If you pull on it, it’ll raise a gate to create a pathway on the top. Similarly, there should be another lever by the pillar where the Cathedral Knight was patrolling. Pull that to raise another gate. These conditions are needed before the 3rd gate can be raised.
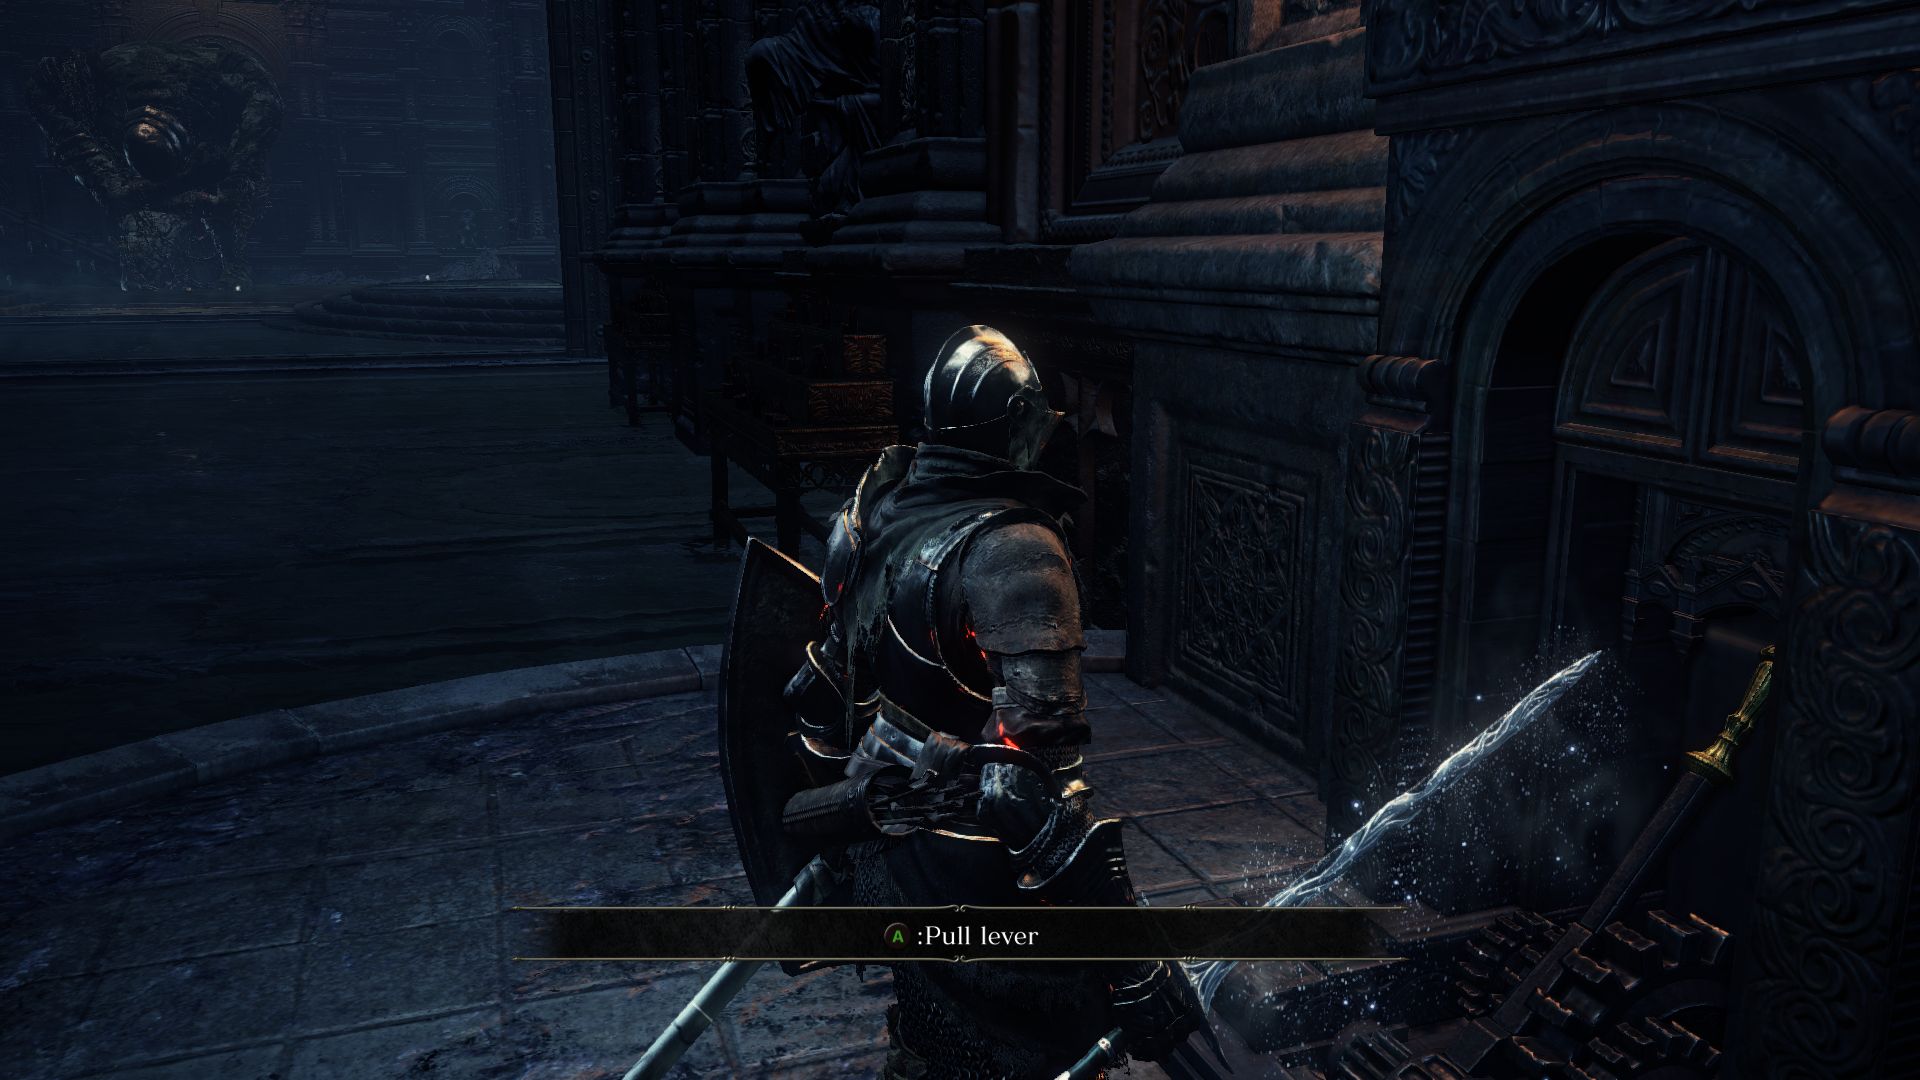
After raising these gates, it’s time to face the giant by the altar. Again, if you want to maintain your peace with the giant archer, you could try dodging past it, but this may be a bit difficult here because of the slime creatures moving about around the giant. If it’s getting too troublesome, you can lure the slime creatures from a range to clear the area before you face the giant. If you want to kill the giant, use the same method as before. You’ll see multiple loot around the giant, these contain a Pale Tongue, the Drang Armor Set and Hammers, and a Large Soul of an Unknown Traveler.
As you move past the giant and up on the main altar, don’t enter the area yet. Notice that there is one Knight standing vigil at the front. There are two patrolling Deacons. And some worshippers and Cathedral Knight sitting on benches. Good news is that as long as you don’t destroy the benches (either accidentally or on purpose), these Hollows and Cathedral Knight won’t bother you. So when you fight the Deacons, be careful not to disturb the others. You could hug the wall and sneak around instead of drawing any attention. At the other side of the altar will be an Ember. Behind the main altar itself is the boss fight, but we have more work to do.
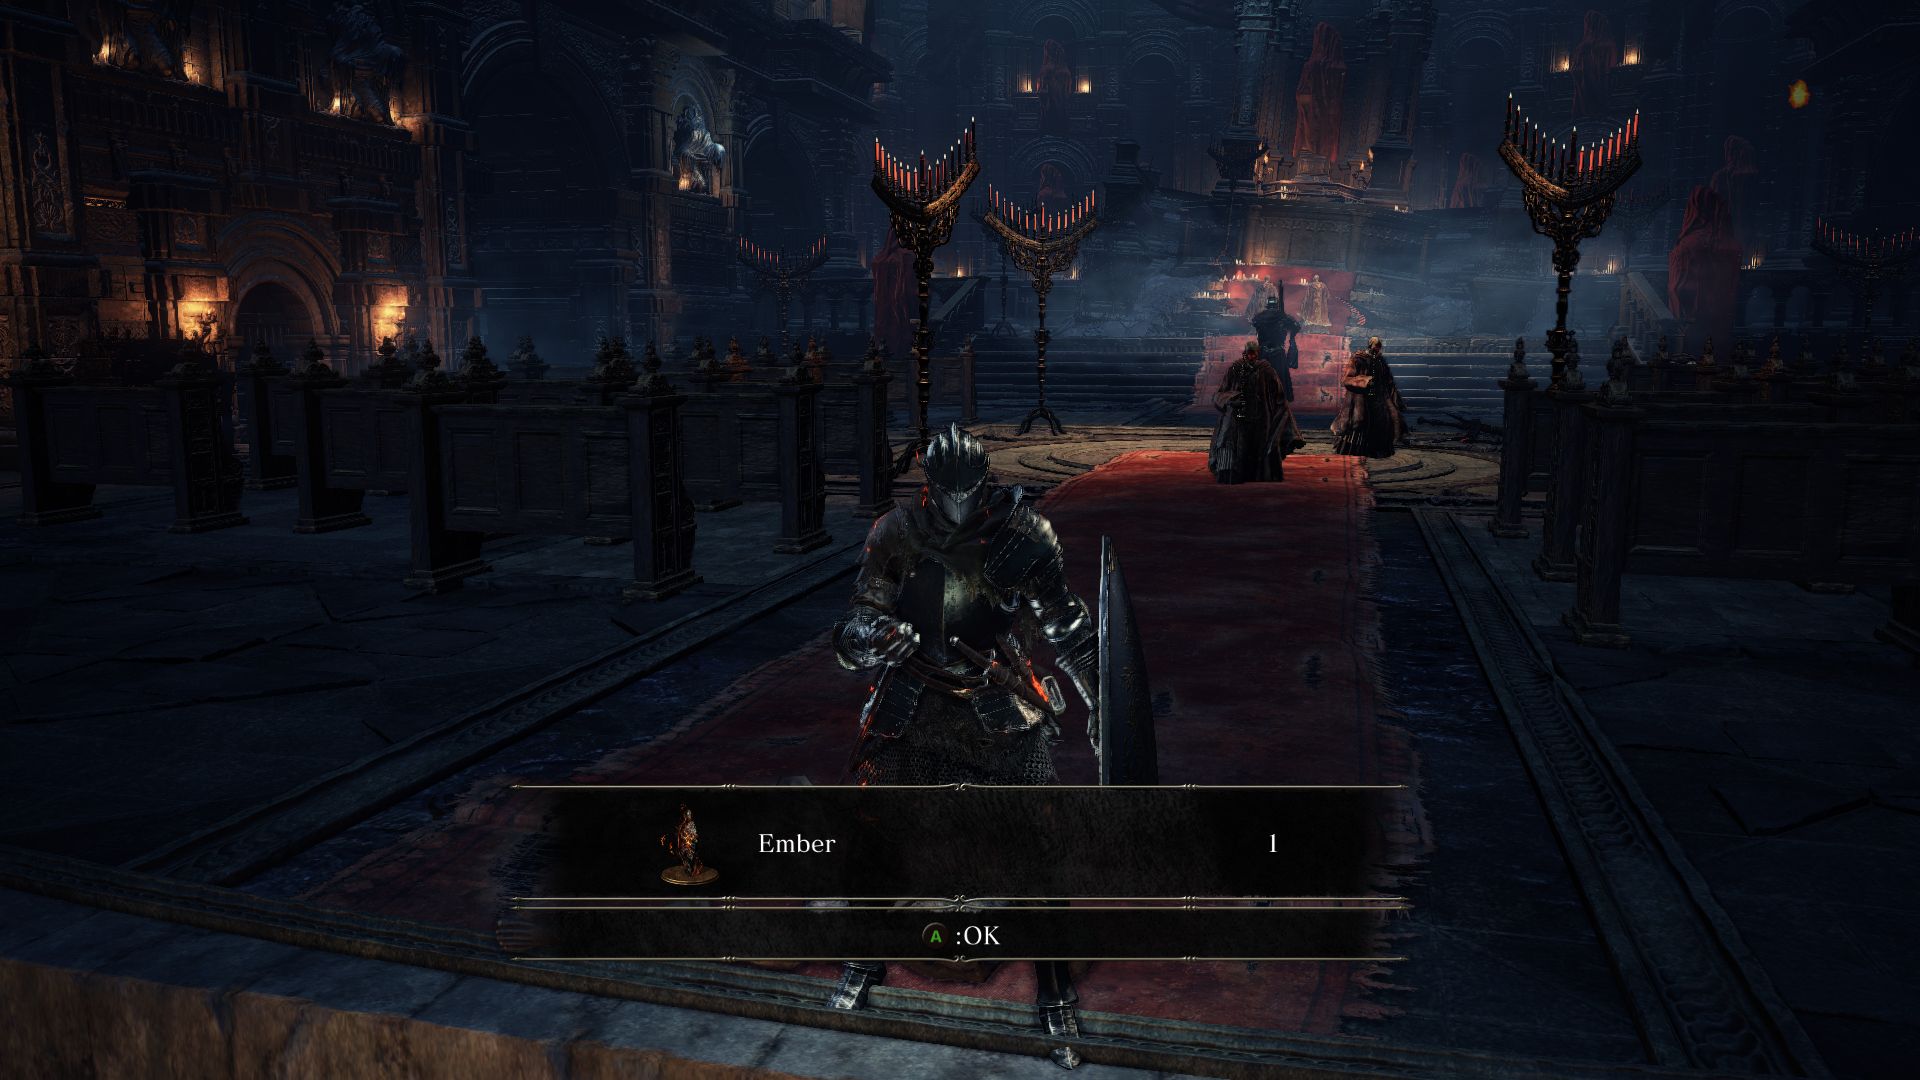
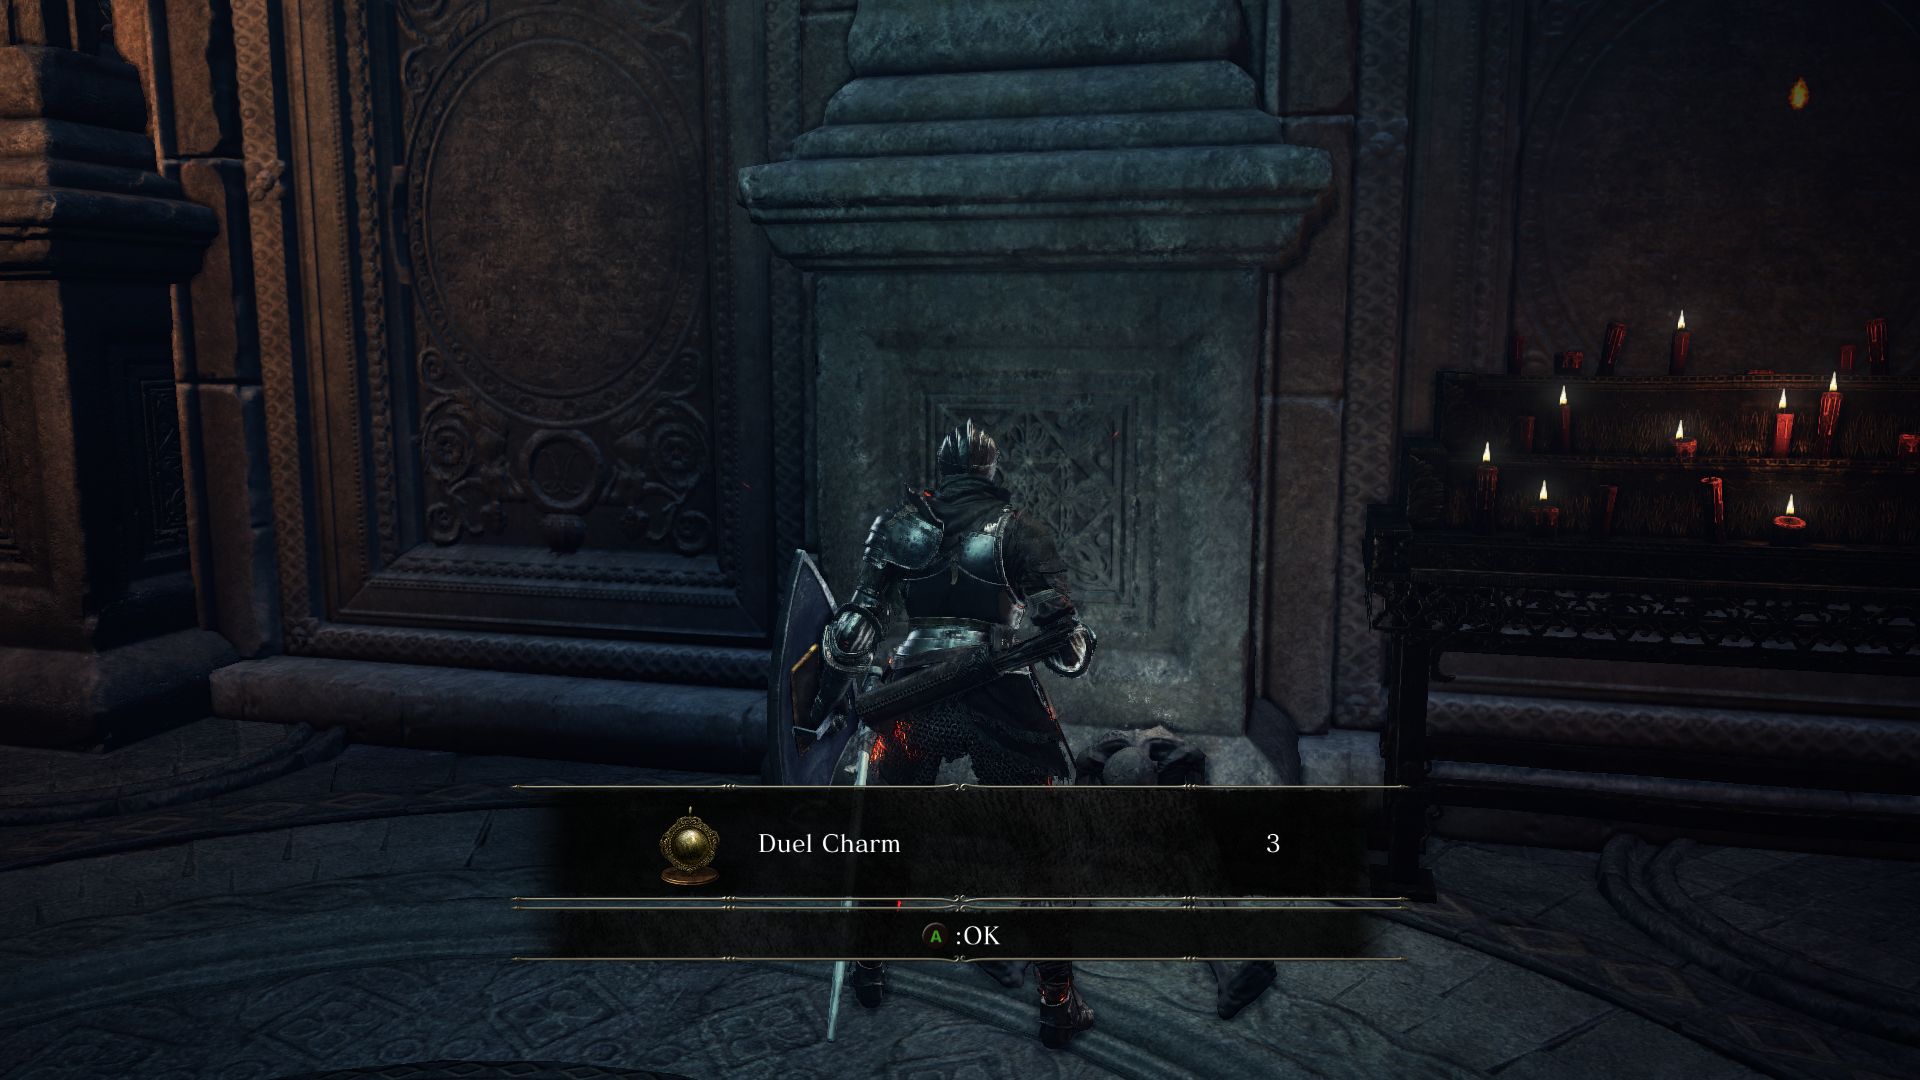
When you’re standing at the other side of the altar, you can draw the Deacons close to you to kill them. Again, be careful not to destroy the benches where the other enemies are sitting. You can take on the Knight with a backstab and then proceed to defeat it. On the other side you’ll notice a passage, where you will find a lift that leads you to the large doors by the roof when you had initially head out from the Cleansing Chapel through the graveyard. This could serve as a shortcut to the boss. Make sure to check the stairs and enter the balcony to find 3 Duel Charm.
If you notice, you haven’t raised the third gate yet to cross to the other side. To do this, you need to get out of this area, whether with a Homeward Bone or just run out, and return here. You will see that the 3rd bridge has been raised! And standing by the bridge is Siegward. He will encourage you to cross the bridge, but when you do so, a cut scene will follow and the bridge will start to lower. It’s a trap! If you hadn’t killed the giants already, be careful.
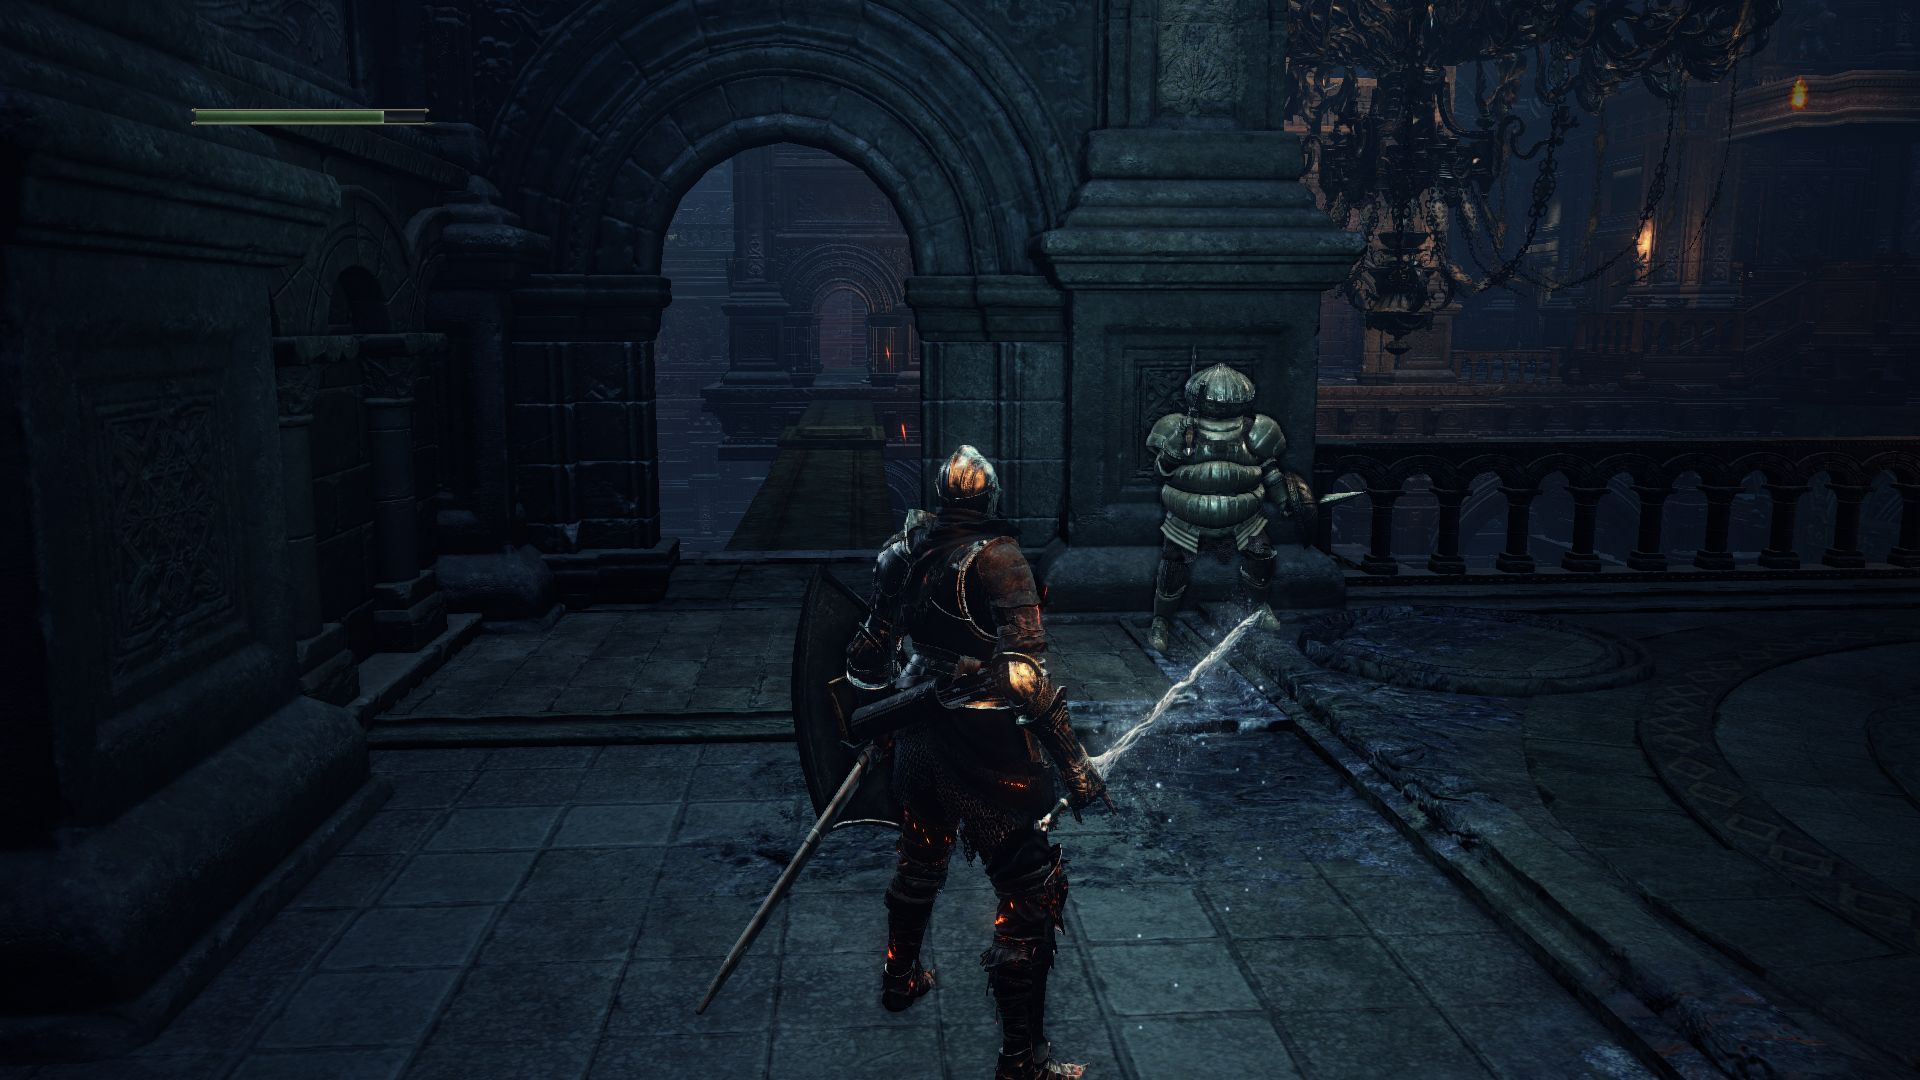
So what’s going on exactly? Clearly that wasn’t Siegward. Go back to the Cleansing Chapel Bonfire. Head out the main door and look for a well to the right (just behind the sitting Hollow). You will hear a familiar voice. It’s the real Siegward, and he’s trapped down there without his armor. We have to do something about it since we know who has it.
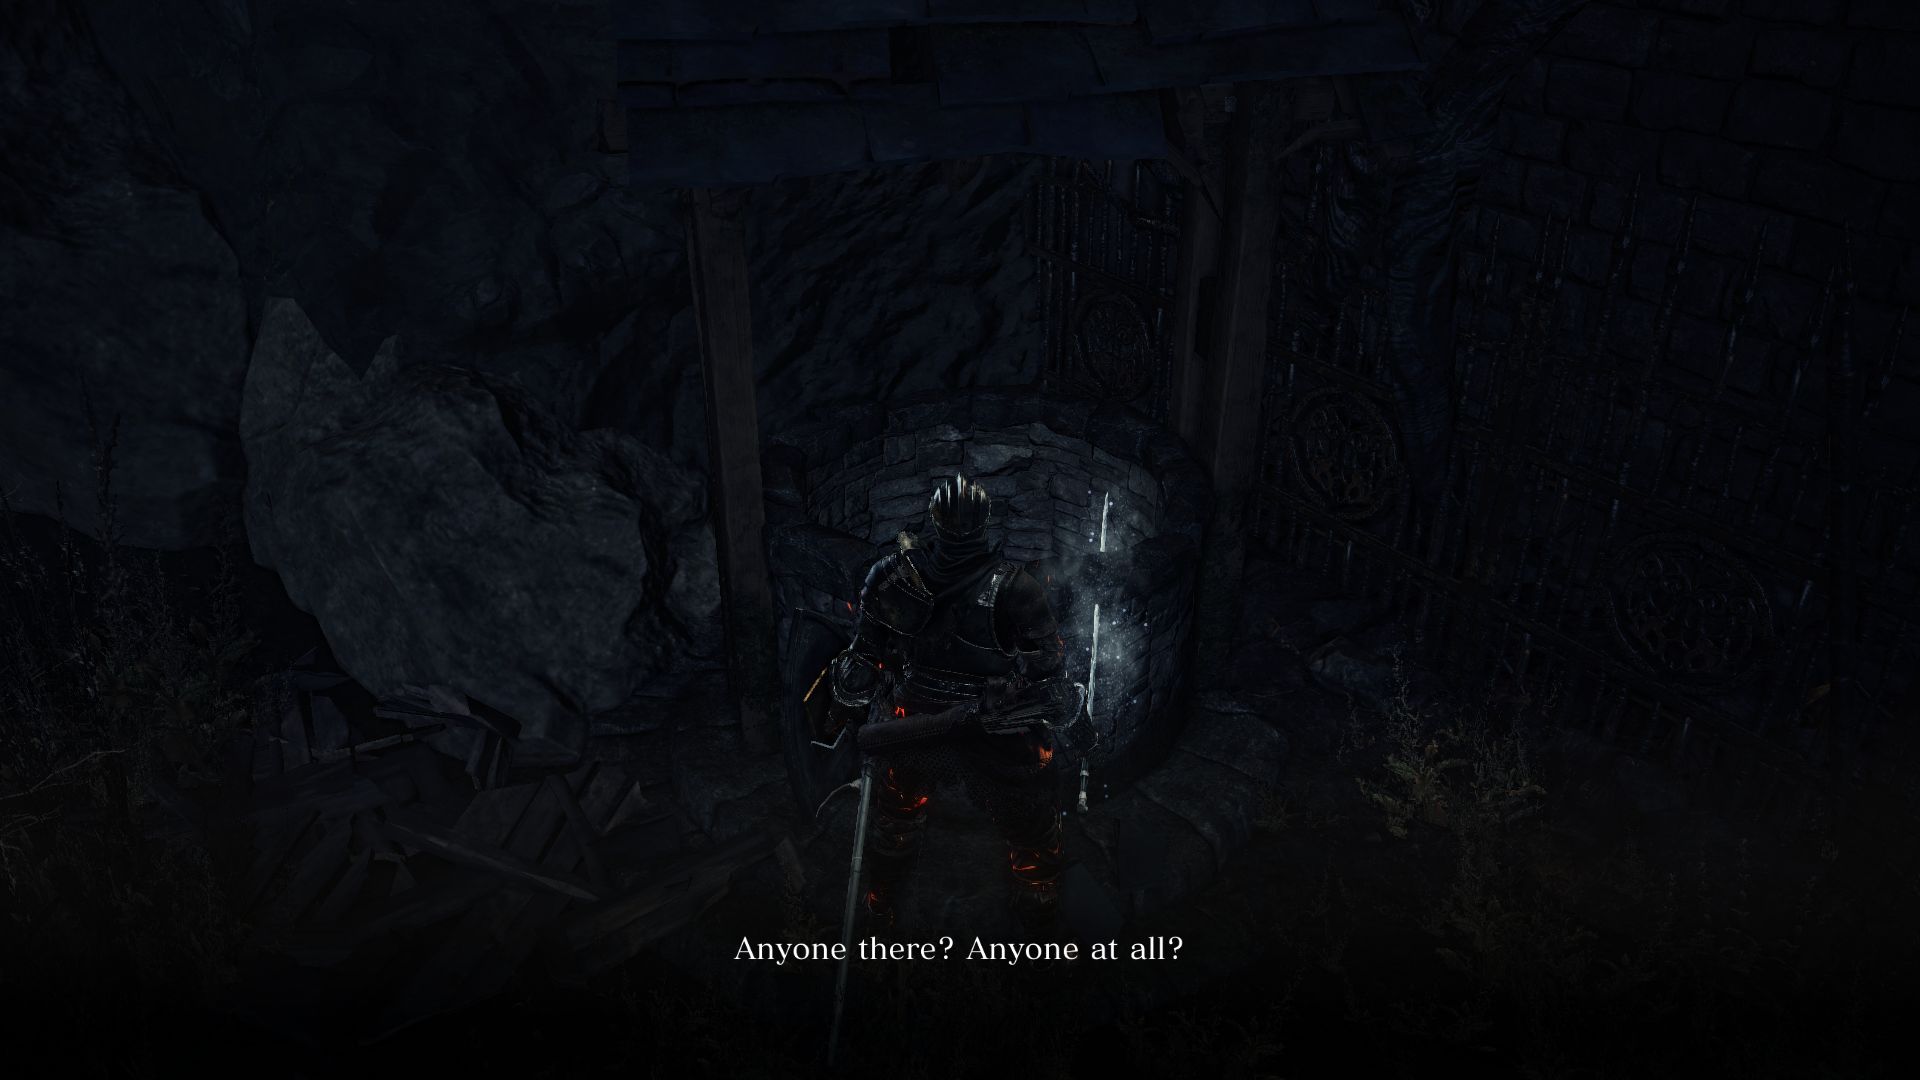
Go back inside the chapel and take the door to the left. Remember that lift we had ignored earlier? We’re going to take that lift now up to the tower. Take out the sniper there, but don’t jump down! Walk onto the balcony and move around to the left along the balcony. You’ll find a ladder you can climb. At the top you’ll find a Deacon holding a Deep Ring. Now walk onto the planks and makeshift bridge to jump down onto the roofs you haven’t explored yet. Beware of Thralls that may have respawned in case you have rested or died.
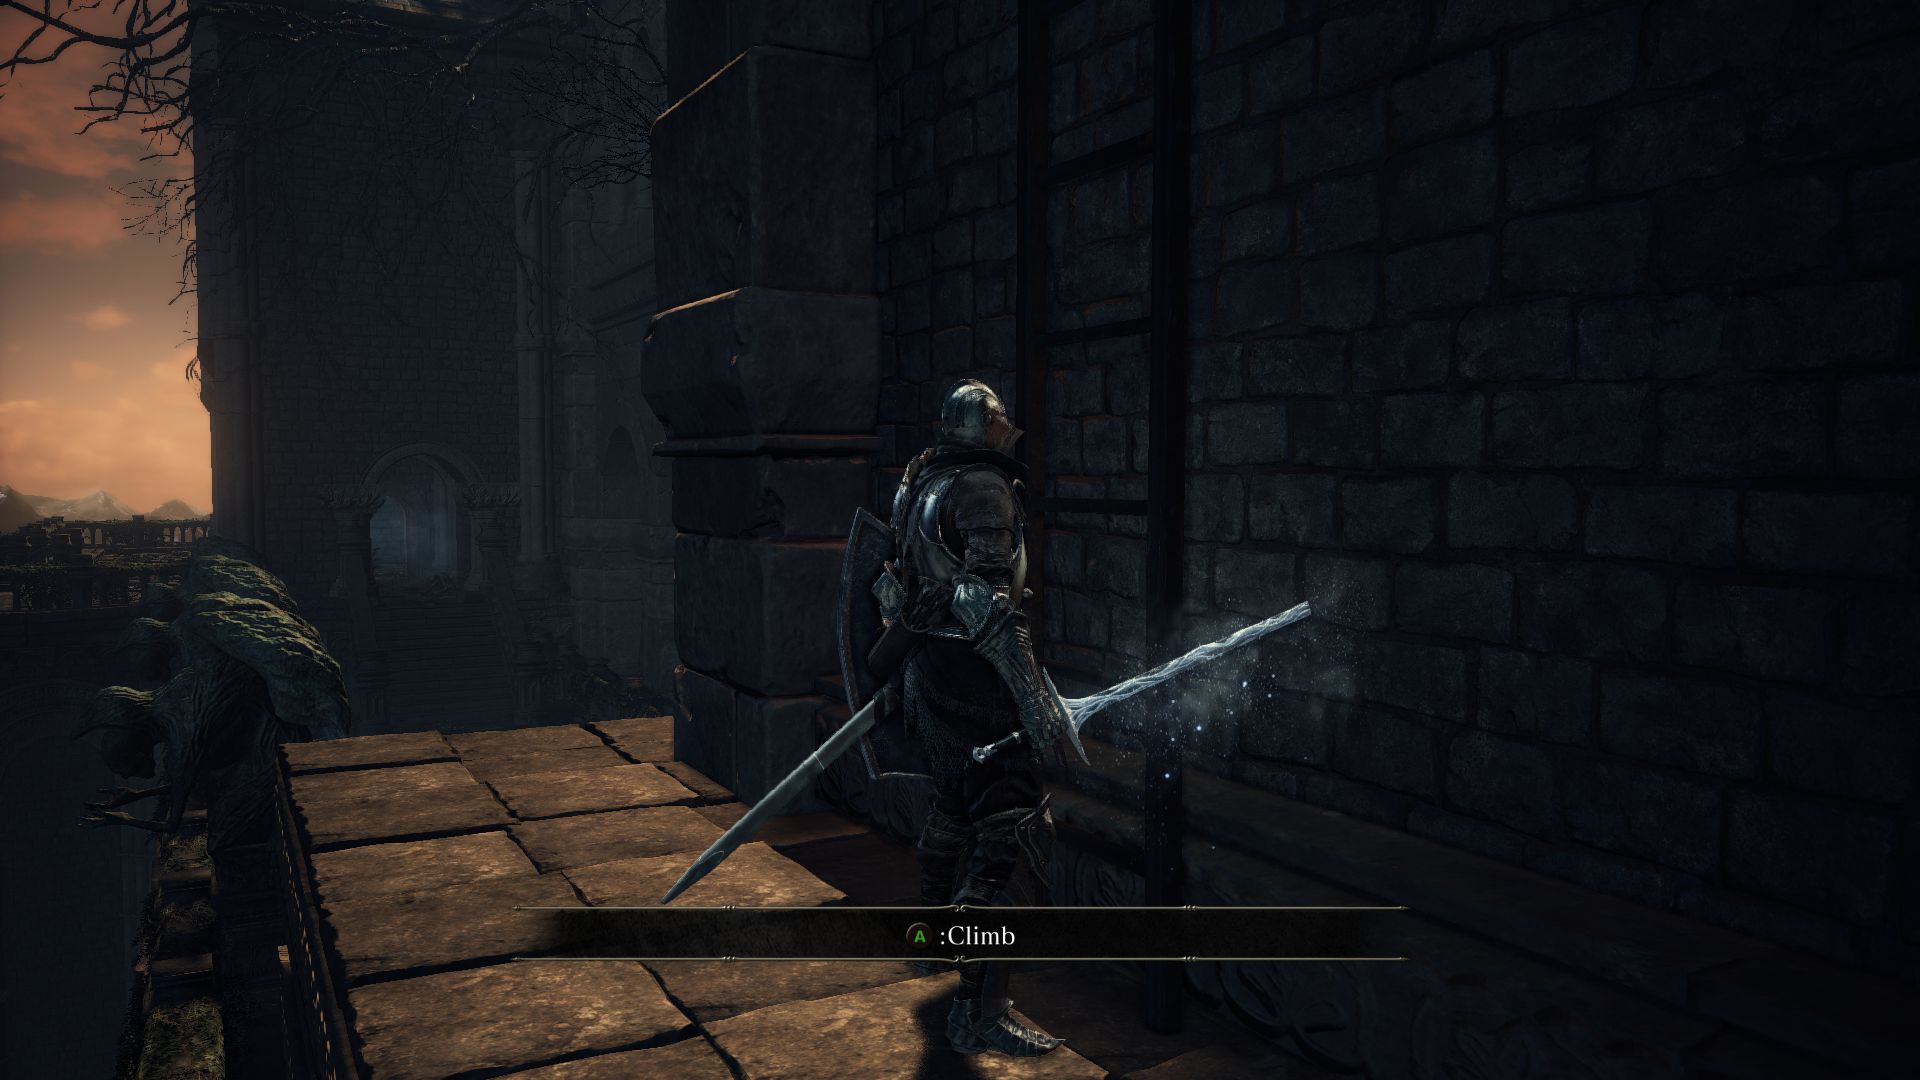
When you reach the other side, you’ll find a greataxe-wielding Hollow to the left. Proceed to the path on the right and you’ll see some doorways to your left which we won’t take yet. You’ll encounter a halberd-wielding Hollow in the middle. Take it out, and look for a bridge on the right that leads to an Arbalest. It’s not free though, as Thralls are waiting to ambush you. At the very end of the path you will find a couple more Thralls. Kill them and loot the Pale Tongue.
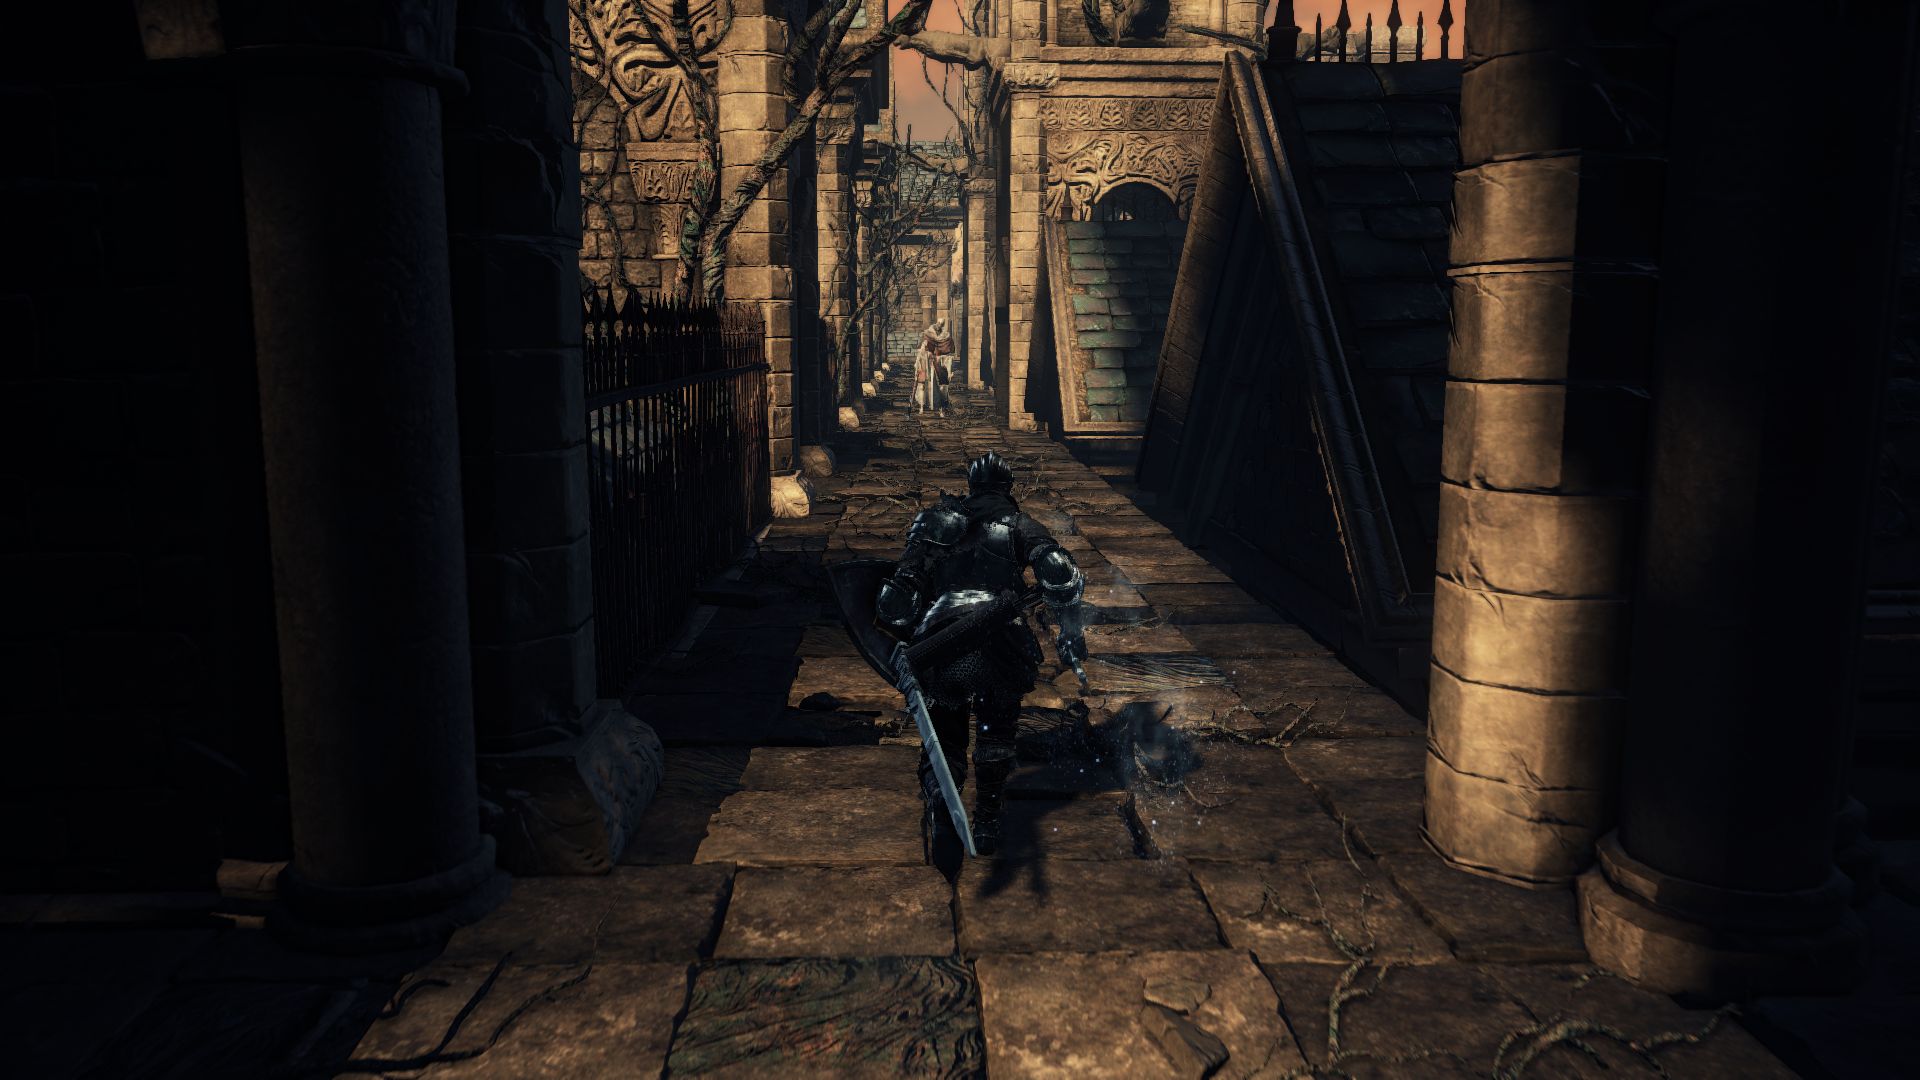
Now you can take any of the open doorways that lead onto the rafters. You’ll notice three Cathedral Knights, and fighting them on the rafters can be very difficult. A trick is to keep running away from them and make them chase you past sharp turns. Chances are while they are trying to attack you around these turns, they’ll drop to their deaths below. If you’re having difficulty using this trick, you can simply lure them back to the rooftops to deal with them there where you have more room to maneuver around.
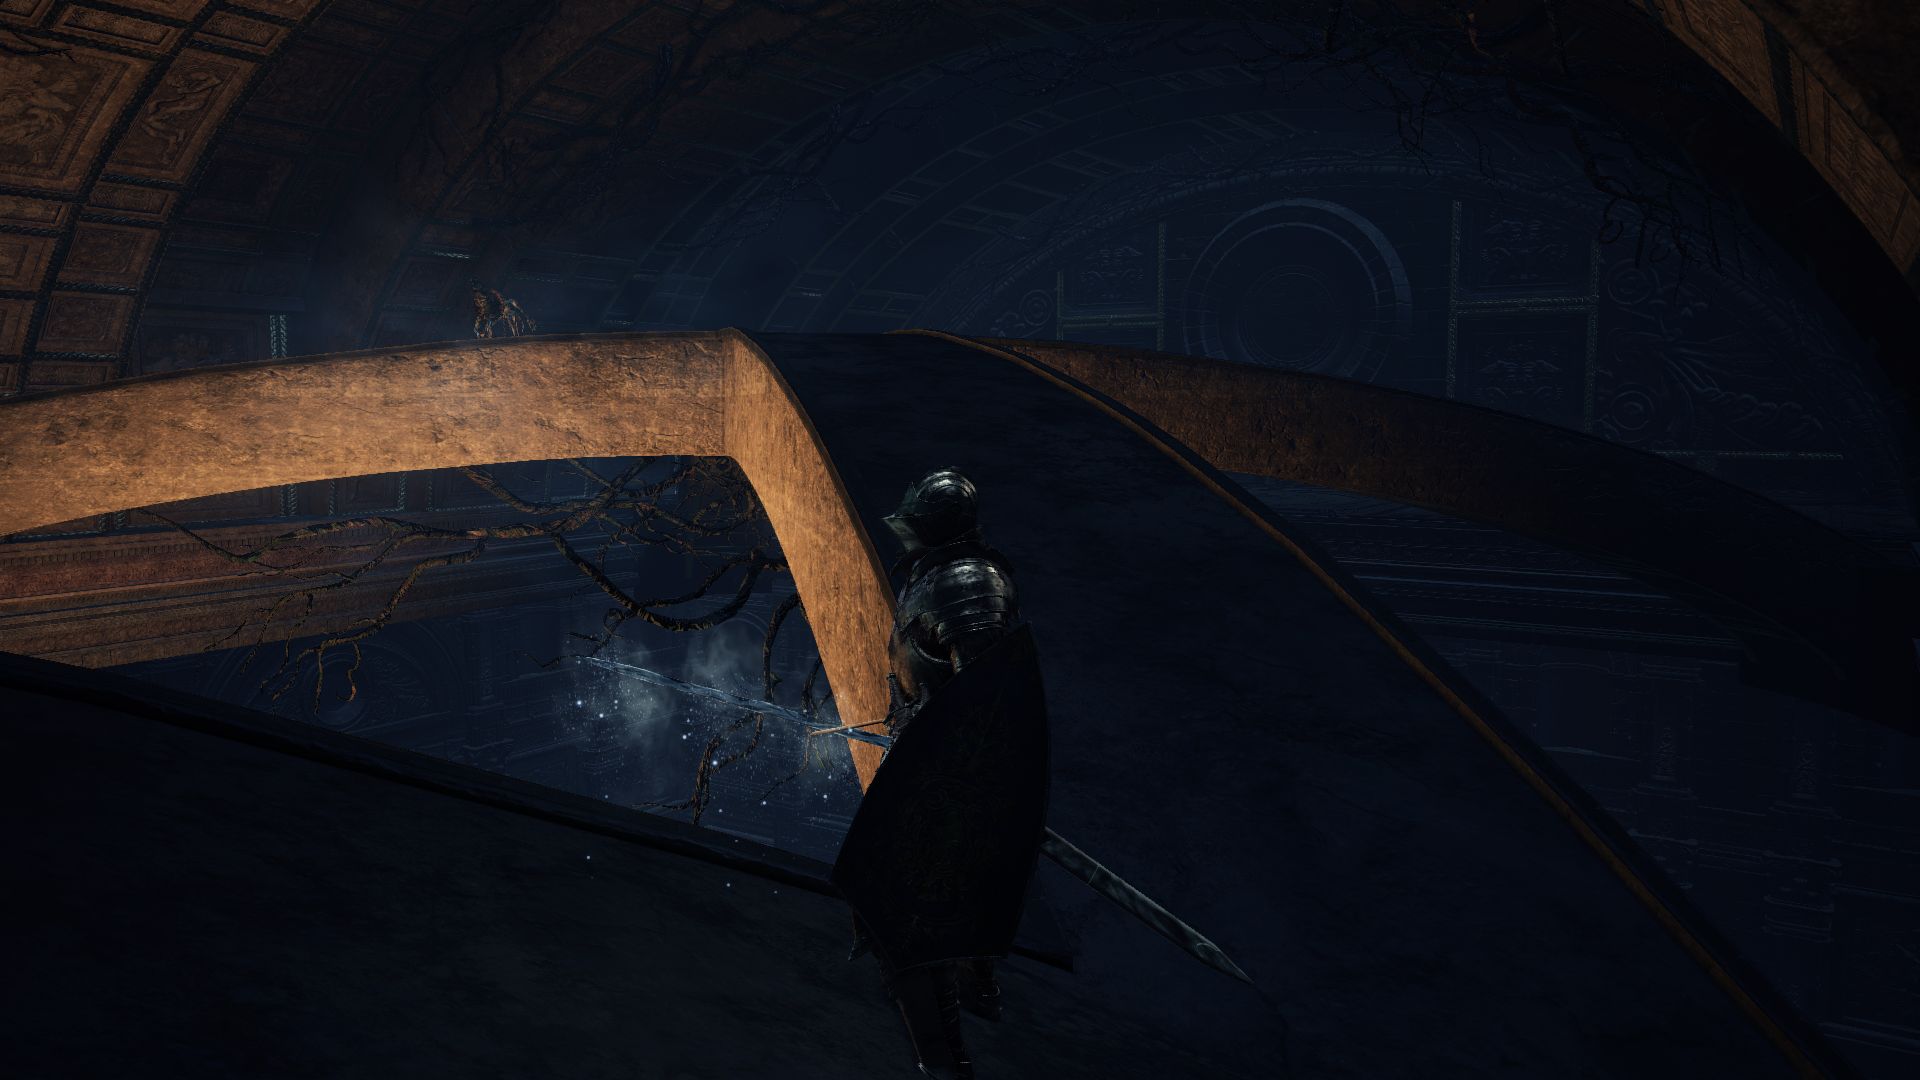
The Cathedral Knight on the very right is on large platform so this one is fairly easy to deal with. Take it out and loot the corpse for a Blessed Gem.
The Cathedral Knight at the far left is equipped with an Arbalest, so have your shield up as you approach it. Once you kill the Knight with the Arbalest, look for a platform you can jump onto close to where he was. From there, you can jump onto another lower platform and this brings you to the other side of the balconies you couldn’t reach earlier.
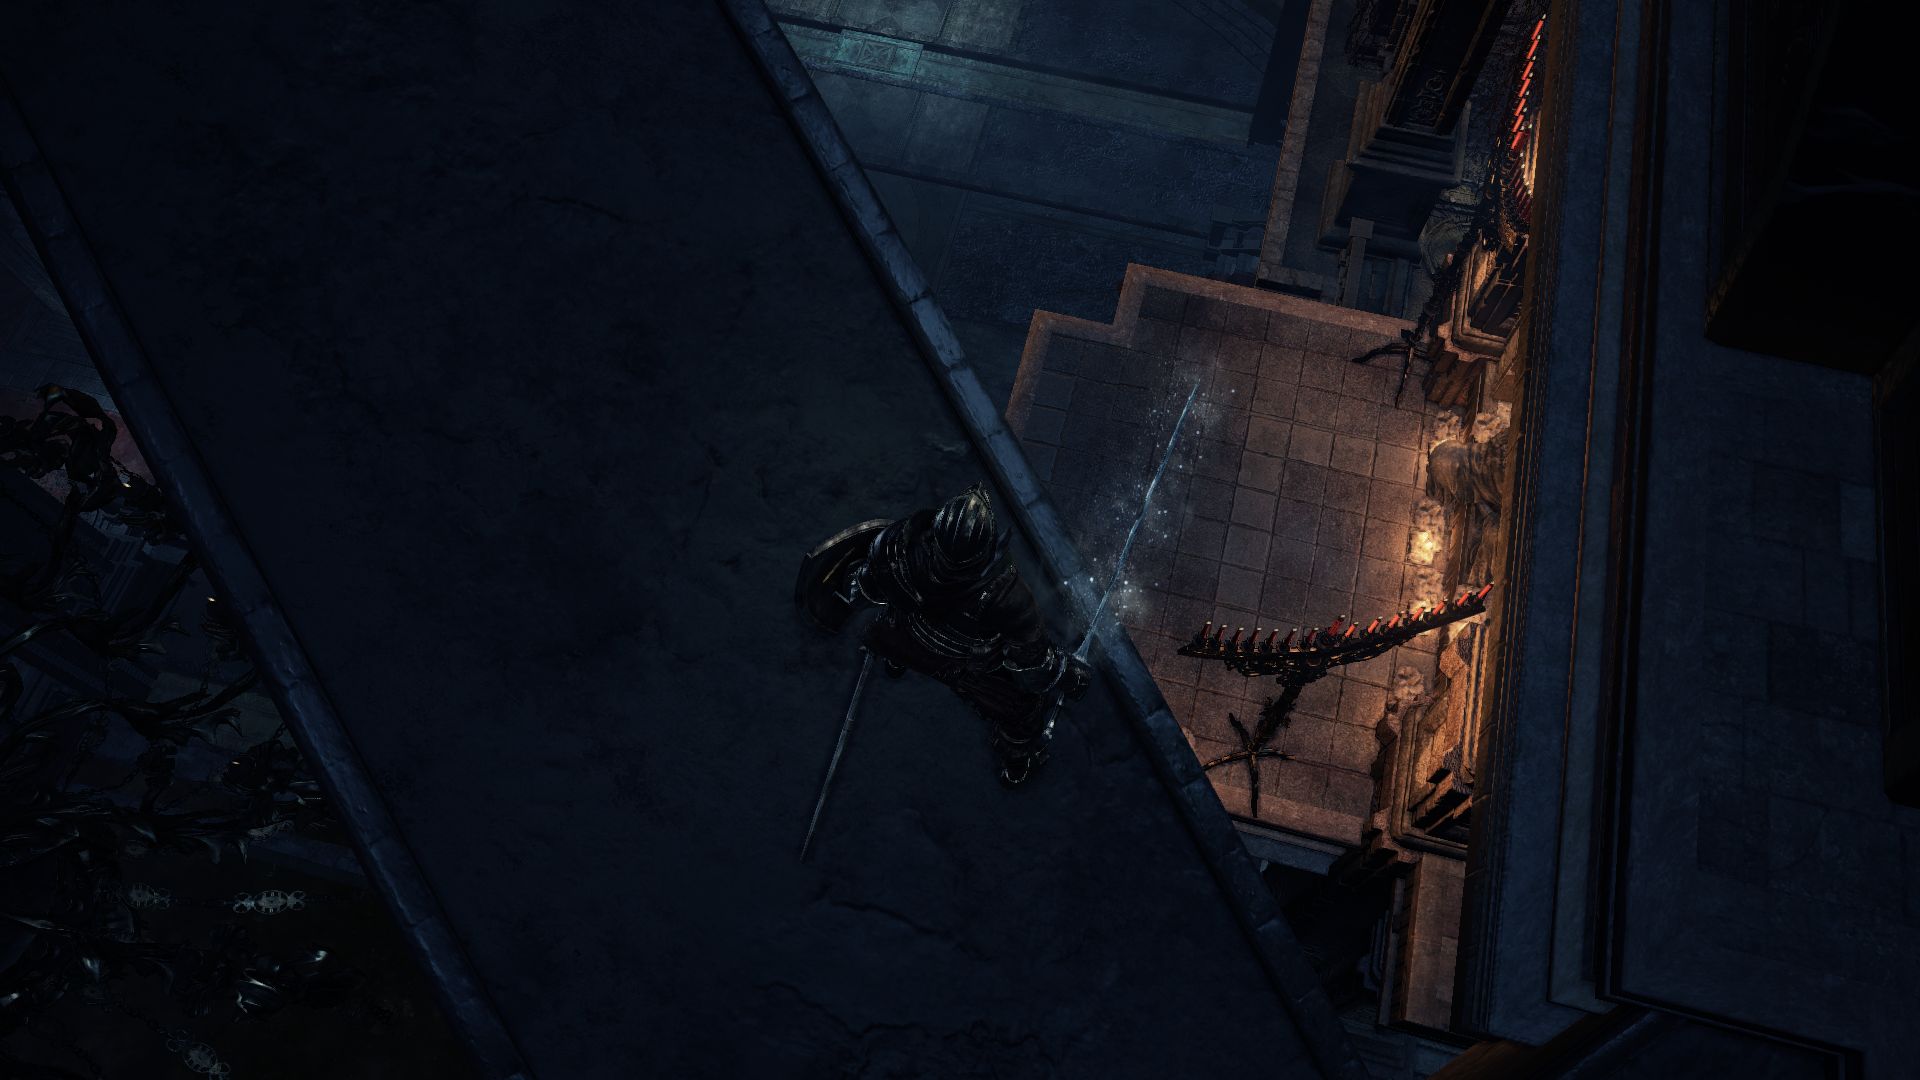
In this area you’ll find a few Maggot Beasts including one Maggot Cleric who will use projectiles. Clear the area and then talk to the person who had been disguised as Siegward.
RECRUITING PATCHES: Meet Unbreakable Patches. Talk to him to gain a Rusted Coin and the Prostration Emote. He’ll sell you items (such as Siegward’s Armor Set) and take residence at the Firelink Shrine after. If you buy Siegward’s armor and return to the well to give it back to him, you’ll be rewarded with the Rejoice Emote. When you return to the Firelink Shrine, if you go up to the Belltower and take the elevator all the way up, you’ll find that Patches has trapped you inside, again. You can drop down on the side and go to the upper level of the shrine to find Patches, who will be surprised that you’ve lived through it again. Whether you forgive him or not, he’ll offer to sell his items. If you refuse to forgive him, he’ll give you a Gold Rusted Coin. When you return to him later and talk to him, you’ll receive the Patches Squat Emote.
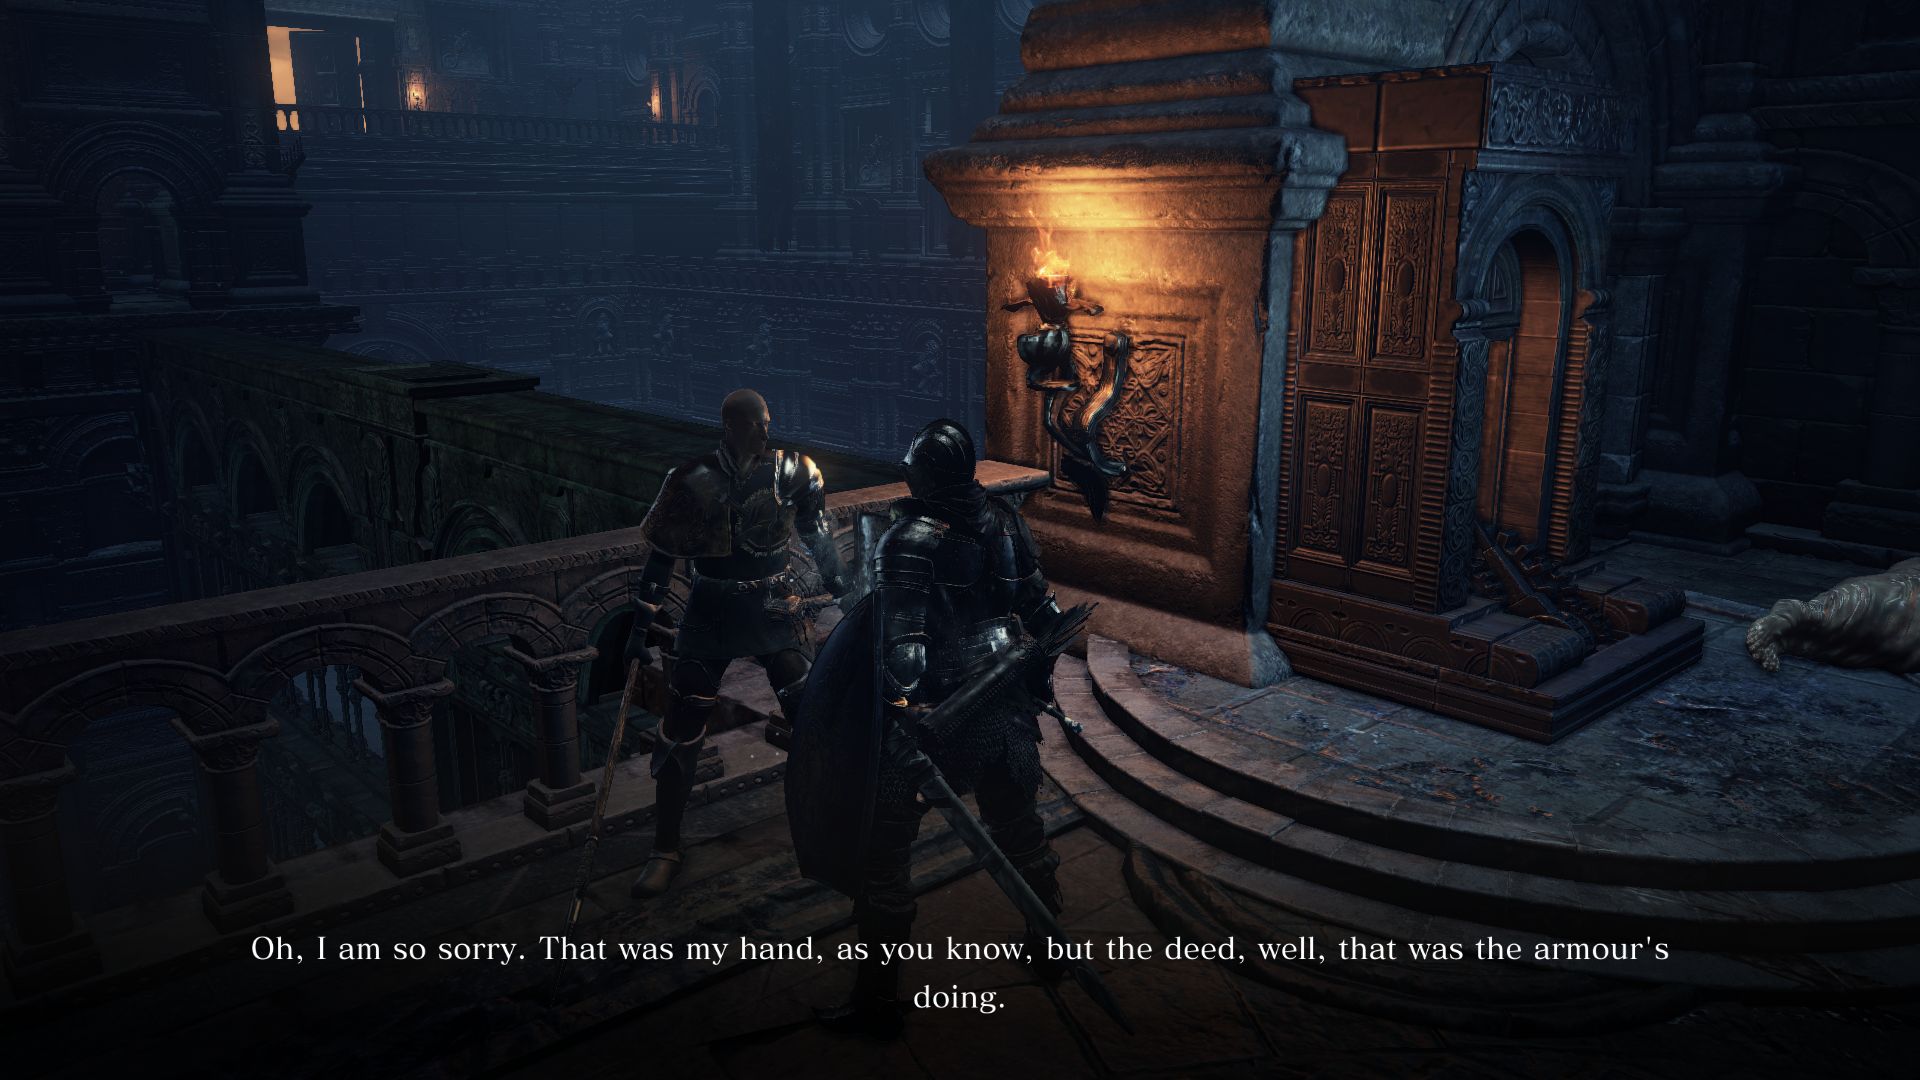
Now, let’s get back to where you met Patches. Move further past Patches and you’ll come to an area teeming with Maggot Beasts. Don’t get overwhelmed and take them out while dodging the Cleric’s attacks. After you clear the room you’ll see that the last Cleric isn’t attacking you. Kill the Cleric to obtain a Red Soapstone. Open the door to your right and you’ll find yourself in the lair of Rosaria, Mother of Rebirth.
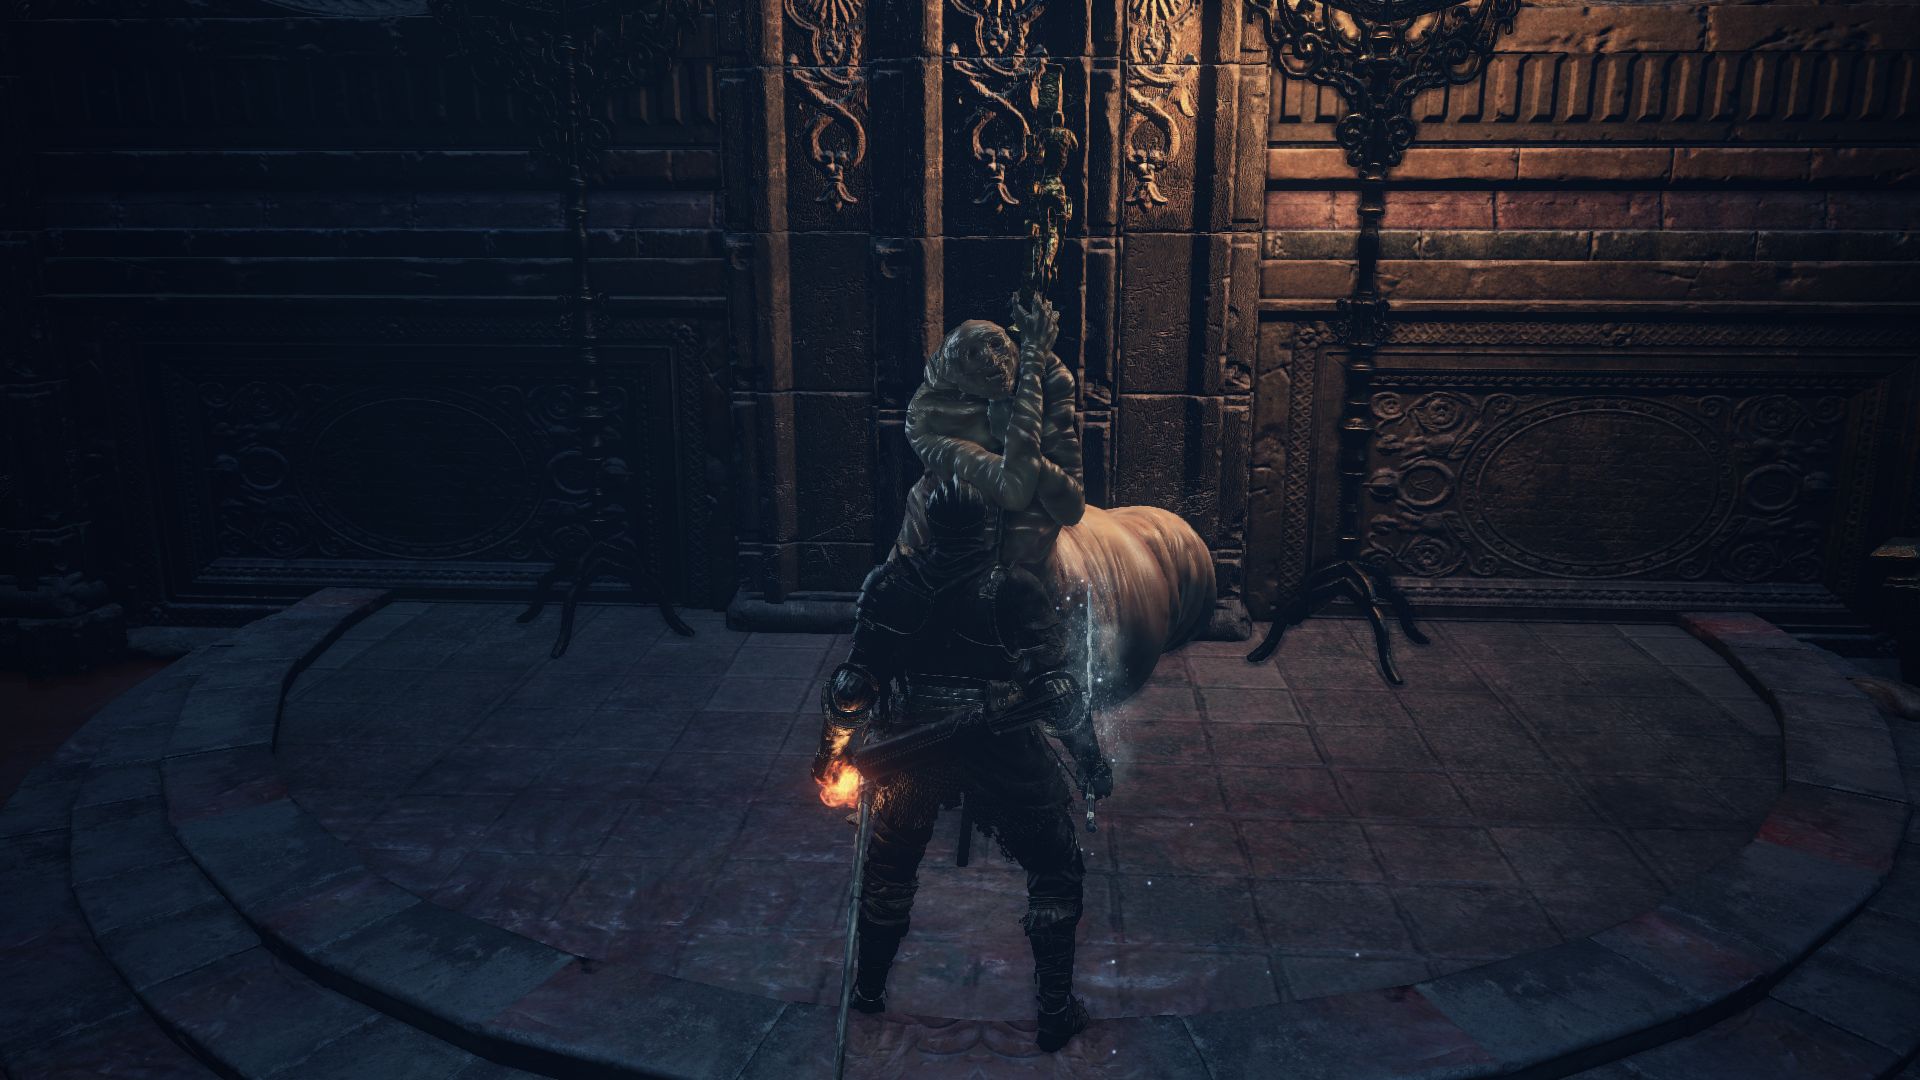
COVENANT ROSARIA’S FINGERS: Rosaria is the leader of the Rosaria’s Fingers Covenant. You can talk to her and accept her offer to join the covenant. You can offer Pale Tongues to increase your standing which allows you to change your skill distribution or your appearance. However, keep in mind that aligning with Rosaria will make Sirris of the Sunless Realms your enemy. So, if you do want to use her services, it is best to join this covenant after you’ve finished Sirris’ quest chain.
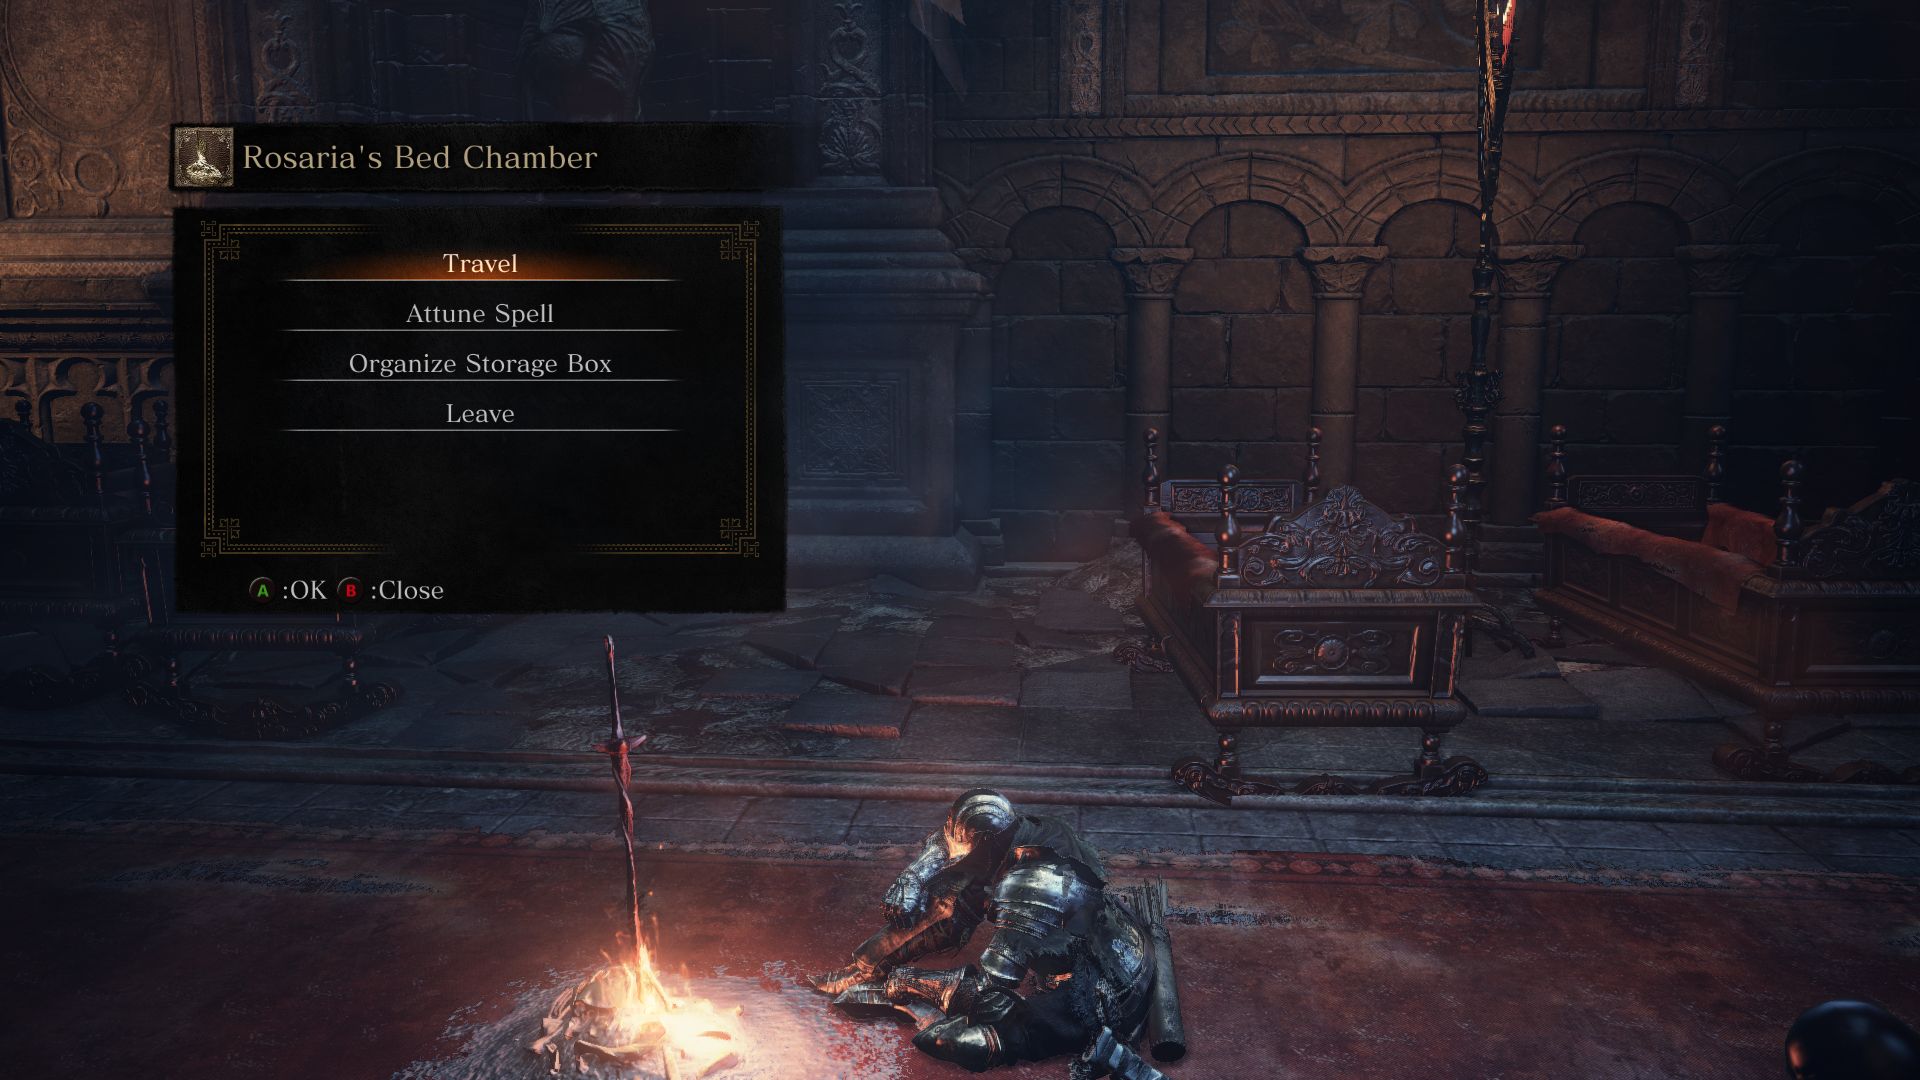
In the lair you will find the Rosaria’s Bed Chamber Bonfire and the full Thorns Armor Set. After this, you can head to the boss, either from here, or from the Cleansing Chapel, whichever suits you. Go to the main altar with the Knight and the two patrolling Deacons. Behind the altar you will find the fog that leads to the boss room. Otside you should see summon signs for Anri and Horace, as well as Sirris (if you haven’t joined Rosaria yet).
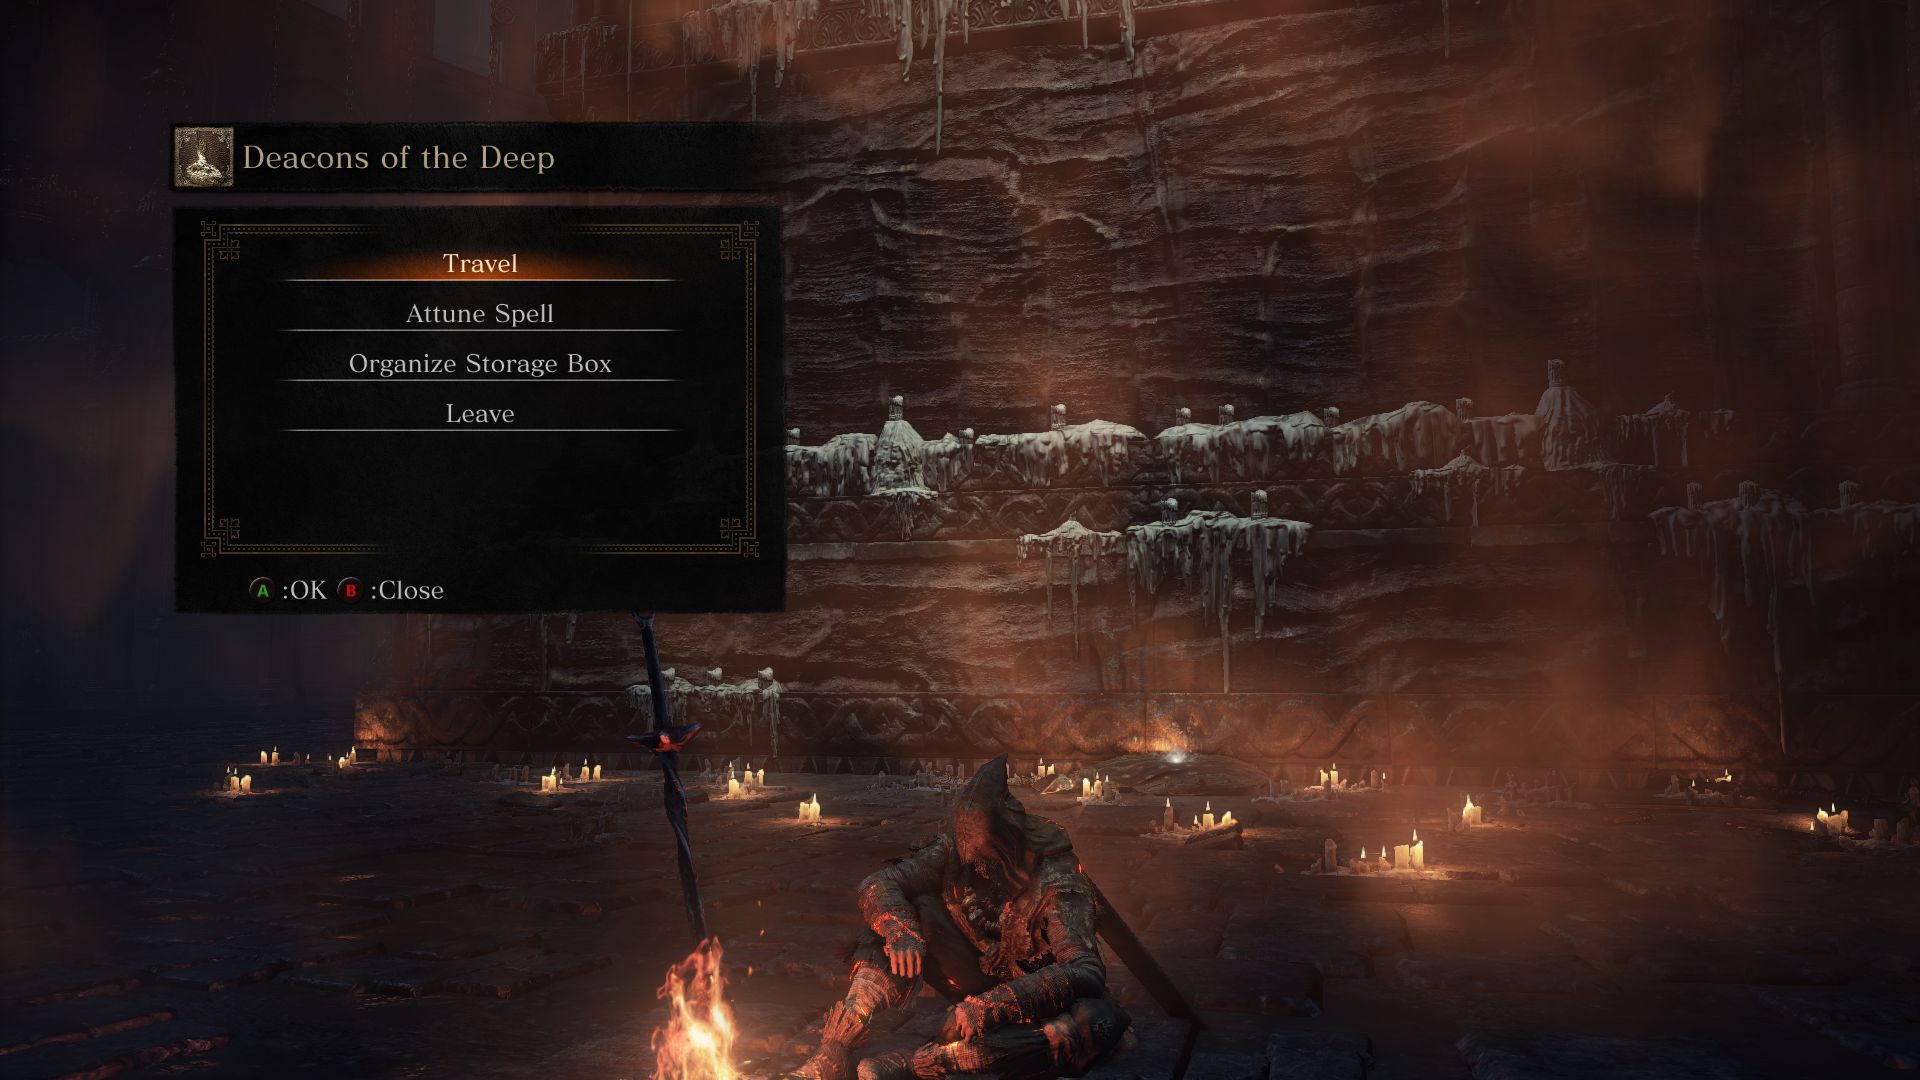
BOSS FIGHT – DEACONS OF THE DEEP
This is a very interesting boss fight that isn’t like the others you’ve faced so far. Instead of one big monster as you’re used to, this room is filled with a horde of Deacons. They’re just like the other Deacons you’ve been facing through the Cathedral: slow and easy to kill, but they shoot fireballs with the occasional lunges. And like the zombies in the cemetery, they’re infinite in the sense that if you take them down, they’ll respawn again.
To kill the Deacons of the Deep, you need to look for the one Deacon in the midst of it all that is glowing red. When you damage this glowing deacon, you will be damaging the boss itself. But the target isn’t always fixed, as the glowing aura moves around from Deacon to Deacon, so you have to move around the room and find the new target.
This boss is weak to physical damage, and since there are so many Deacons bunched together, a sweeping weapon like a Hollowslayer Greatsword or the Farron Greatsword (if you had decided to brave Farron Keep before coming here) are amazing. Pontiff’s Left Eyes is also super useful here since you regenerate a lot of health back with each hit, effectively keeping you at full health. Same goes with Butcher’s Knife which was probably made for this boss fight, allowing you to hack through the Deacons to get to your target while replenishing any health back. Try stacking Fire Resist with items or spells or equip armor with Fire Resistance, and it will make the fight even easier. If you’ve learned the Pyromancy spell Great Chaos Fire Orb is very efficient at clearing the horde so you can reach your target quicker.
Phase 1 is simply finding your target with the glowing aura and killing it while making your way around. Phase 2 things get a bit more interesting. The Archdeacon shows himself who you have to kill. Two blue Deacons will spawn who heal the boss, so you should try to take them down as soon as possible. Luckily, they don’t respawn. Another thing you have to look out for in phase 2 is the chanters who are summoning a huge black mist in the air above. You will see the room start to darken. You need to take out a few of these chanters to interrupt this spell. If you don’t and they manage to summon the Curse, it will kill you no matter where you are in the room.
After you defeat the Archdeacon, the rest of the Deacons will disappear too. You’ll be rewarded with Soul of the Deacons of the Deep, and a Small Doll, a key item for later in the game. Loot the corpse of the boss to obtain the Archdeacon Armor Set. After you’re finished here, light the bonfire and prepare yourself for Farron Keep.
