MISSION 14 – The Breaking
Objective: Reach Cortana
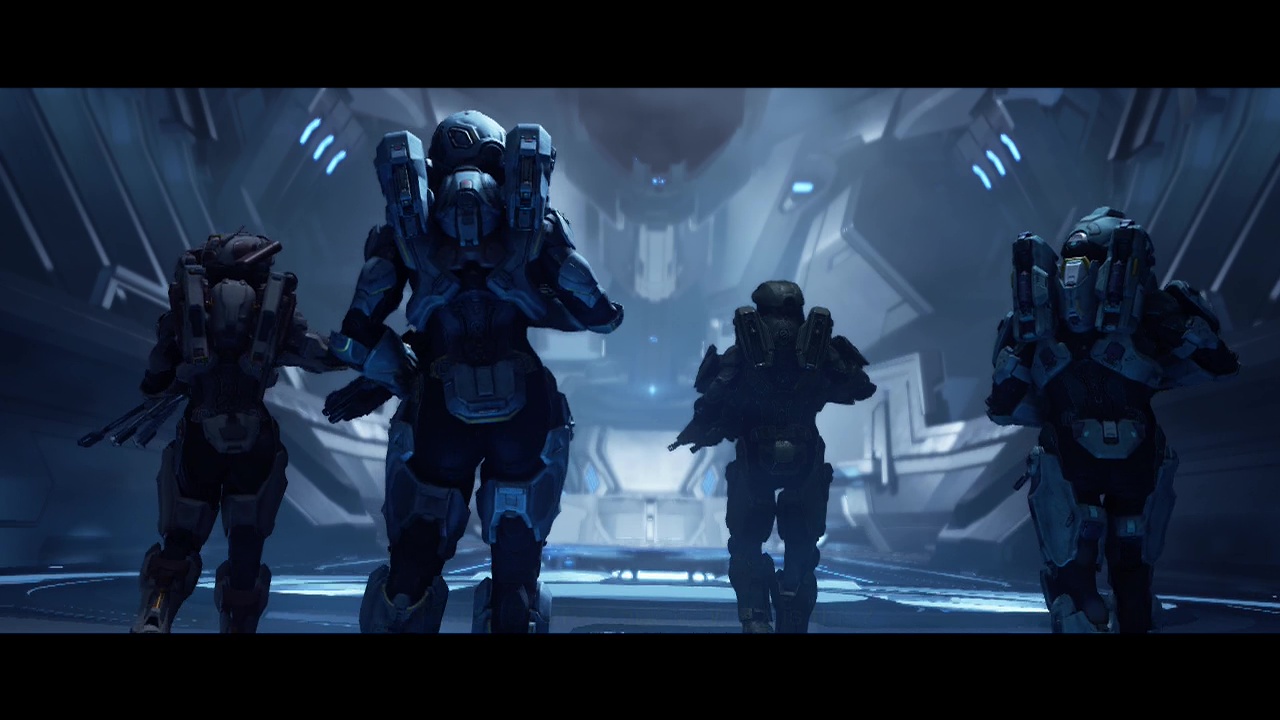
After your little spat with the Warden during the mission's starting scenes is over you'll once again be Master Chief inside a forerunner facility. Turn around and use the forerunner console on the left for some intel, then get the intel out of the one on the right afterward. Start heading down the linear hallway and pass through the sliding doorway at the end.
CHECKPOINT
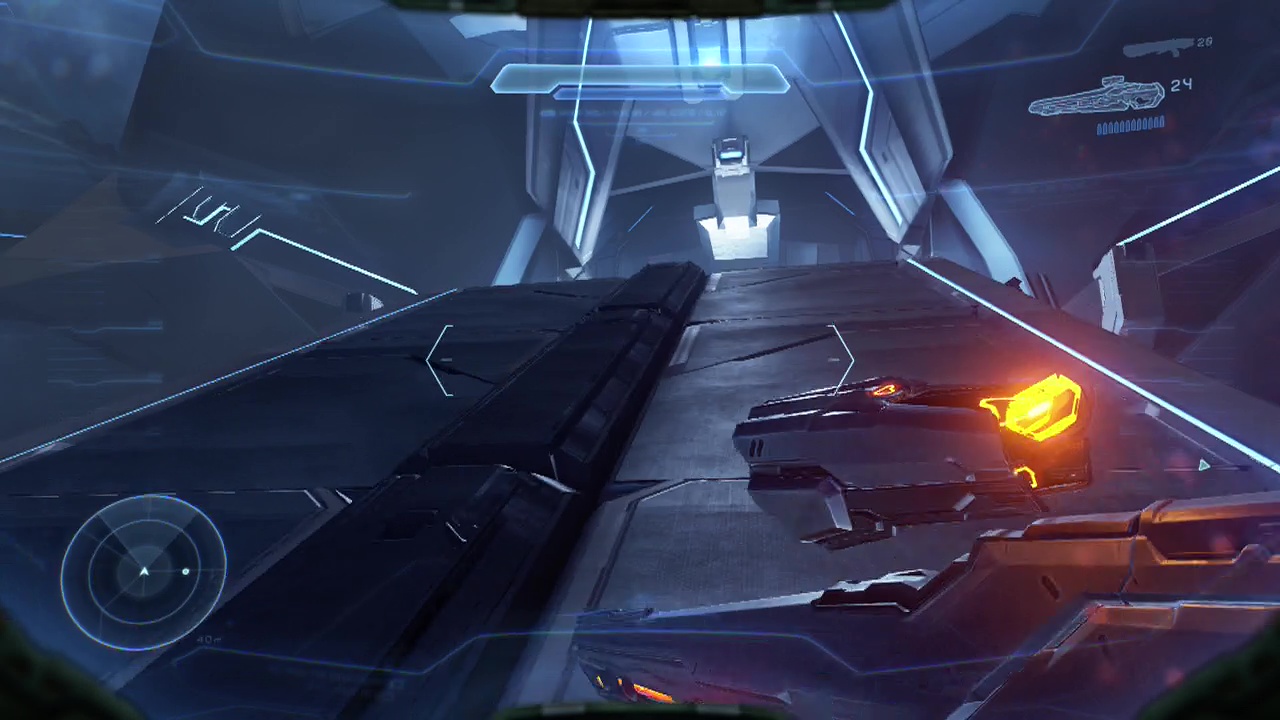
After you go through the second door, you'll emerge onto what seems like a massive floating platform, stretching off in a straight line ahead of you. Seriously, take the time to look at the drop over the side, you don't want to fall off this thing. A few seconds later, five or so crawlers will rush down the small ramp in front of you. Use your magnum and the panels to the sides as cover to deal with these small pests. Make sure to grab a boltshot from next to one of the fallen bodies behind the panels (at least until you can get your hands on a light rifle) to replace your magnum. As an early word of advice: as soon as your UNSC weapons run out, immediately swap them for a light rifle and whatever else you can find (boltshot, incineration cannon, scatterguns), just avoid the suppressor as it still sucks balls.
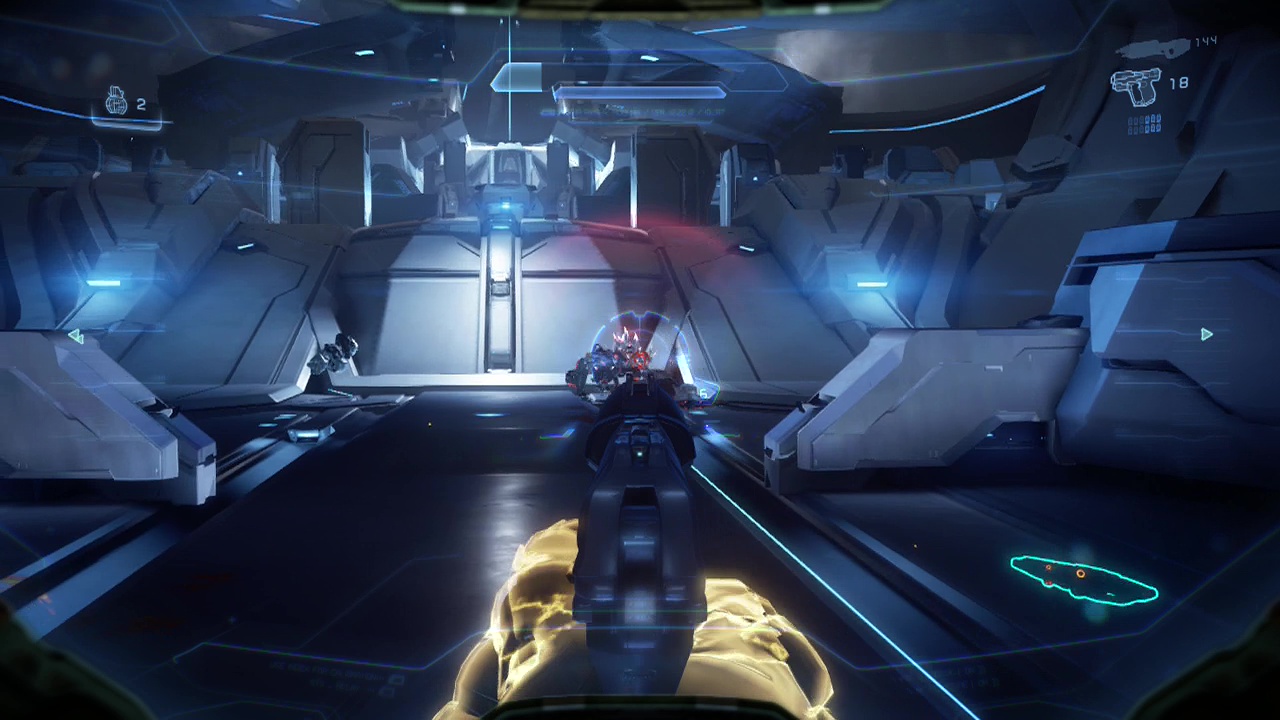
More crawlers will be waiting for you at the top of the ramp so ascend carefully, ducking back down if there are too many and lobbing a grenade if this is the case. Keep pushing forward after the remaining crawlers, using the raised panels as cover. There should be a stand with additional boltshot ammo on the left before you climb up the second ramp (using the left or right outer ramps) after the crawlers. When you reach the top of this one however, crawlers will appear on platforms ahead to the right, while watchers will spawn in the sky overhead and a pair of soldiers will appear at the back of the area. You'll want to move up quickly behind one of the panels and start picking off the watchers to make things easier for yourself. Make sure you get rid of all the watchers and crawlers before you even attempt to go after the soldiers.
You'll have to move up to get in range to use your boltshot and assault rifle effectively, just make sure you aren't caught out in the open as your AI allies will likely all get gunned down trying to save you if you do due to the openness of the area. One of the soldiers should be wielding a light rifle for you to take as well. By this point you should be holding a light rifle and boltshot (there's plenty of stands in this area to keep the boltshot stocked). Use the boltshot on everything except soldiers and knights, using the light rifle for those during the rest of this level. Move past the small bridge in the middle of the area as you move along one of the ramps to the left or right. There is a console just past the small bridge below that you can access for some intel when it's a bit safer.
CHECKPOINT
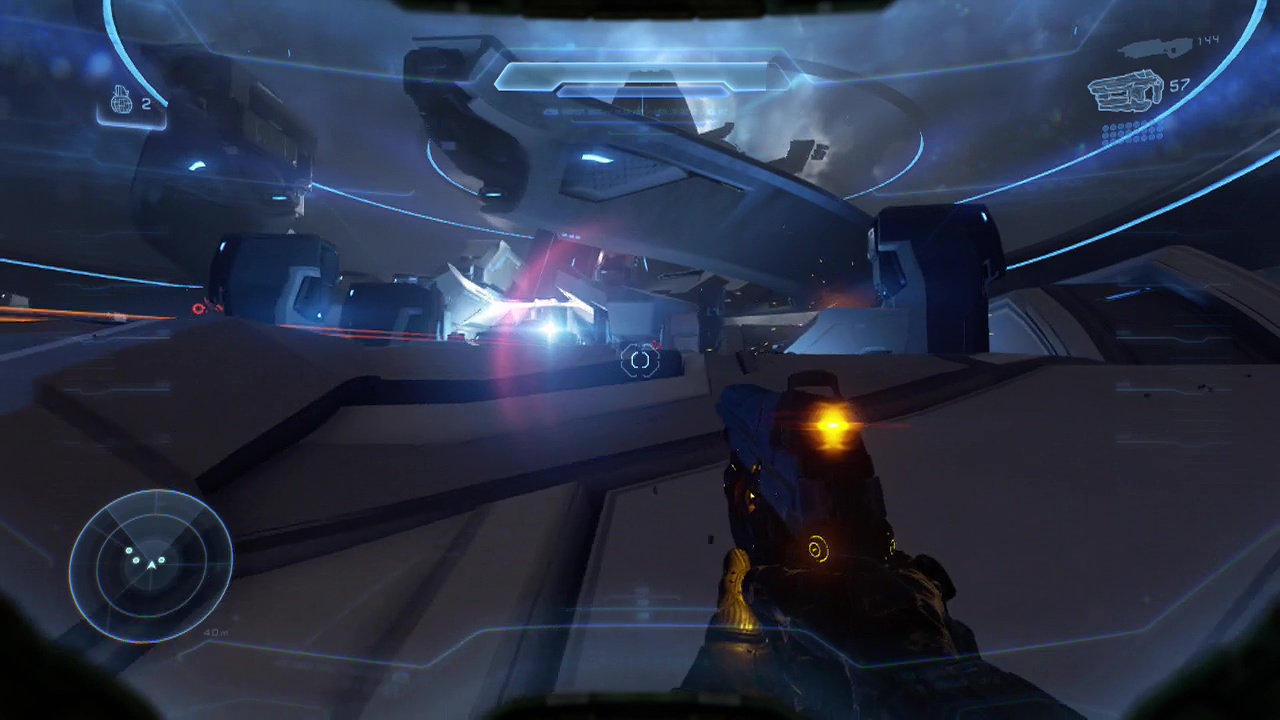
A pair of knights with incineration cannons some crawlers and a few soldiers will teleport in as you reach the open area ahead. Back up and use whatever cover you can as a shield against the barrage while you pick at them with your light rifle. Your main goal here is to avoid the incineration cannon blasts at all costs as they are an instant kill. Hopefully by now you are accomplished at nailing the mouth shot on a knight or else this is going to be a real dangerous fight (as you'll somehow need to get behind them to hit their final weak point). Clear out the crawlers and soldiers when they leave cover and expose themselves but play cautiously here due to the knight's dangerous weapons. Restock what you can from the stands (there are light rifle ammo stands on the right edge of the area) and soldiers when you're done and enter the door that opens itself at the far end. You may want to take an incineration cannon with you instead of the boltshot temporarily until you empty it. You'll step out onto a strange platform that acts as an elevator, raising you up and moving you further into the complex.
CHECKPOINT
When you reach the far side of the gap, a mass of promethean enemies will spawn in the area ahead. There are scatterguns on the stands to your left and right if you want an advantage against the swarm of crawlers that are rushing towards you. Soldiers with splinter turrets will also begin bombarding you from the back of the area, so keep moving while you deal with the crawlers, taking cover to the sides when the torrent is stemmed. From here, take out the turret using soldiers with your light rifle (the rest of the squad should deal with any remaining crawlers). When you are relatively sure the enemy numbers have been reduced enough, move up the ramp and take cover behind the panels on this level. Finish off any remaining turret soldiers and crawlers before restocking what you can. Leave the turrets for now (as you'll want them in a little bit). Swap your incineration cannon back in if you dropped it for a scattergun earlier before moving up the ramp at the back of this area (you'll circle around facing back the way you came above).
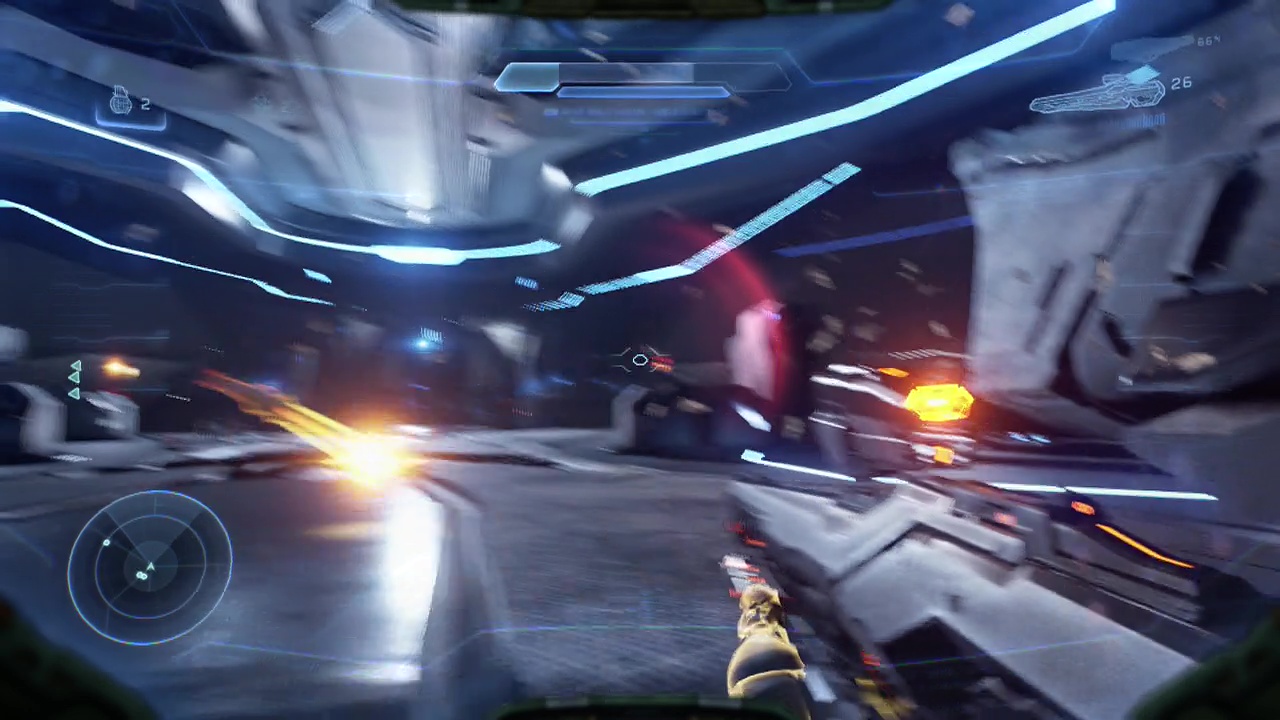
When the enemies start teleporting in on this upper level take out the small group of three crawlers. Note the additional incineration cannon on a stand up here as well. Another floor filled with crawlers will be ahead of you. When the crawlers are clear, run back down the ramps and grab one of the turrets then head up to the topmost level. When enemies start spawning in (and promethean turrets) move as quick as you can back to the level below as the enemies will follow you down the ramps (soldiers with scatterguns). Taking these guys down fast with your turret is key as they will teleport close to you and kill you with a single scattergun shot if they get the chance. After you deal with the pair of teleporting soldiers, move up the ramps cautiously and empty your turret and incineration cannon on the turrets to finish them off fast. Grab ammo for your light rifle from the stand at the top of the ramp and you'll finally have the upper level to yourself. Enter the doorway up here and you'll be in a narrow hallway.
CHECKPOINT
As you leave the tunnel, the Warden will appear on a ledge in front of you and quickly vanish. There is a console underneath the platform he appears on you can use later for some intel. When you do access it, turn to the side you'll go around a wall into another tunnel behind where the console was to find this level's skull on the ground. Unfortunately the Warden summons in two or three sniper soldiers on the lower level and three soldiers with splinter turrets on the level above. Back up immediately as the amount of splinter turret blasts is going to get ridiculous. You'll need to use your light rifle to bring down the snipers rapidly so they don't just gun you down. Then you can carefully move forward and target the turret soldiers on the upper level, staying far enough back in the tunnel to avoid being killed by their turrets. Restock what you can and grab one of the turrets as you go up the ramp to the upper level where the turret soldiers were to take on the heap of soldiers in raised positions at the back of the area. Grab cover at the sides of the area and start unloading the pilfered splinter turrets, then keep picking away with your light rifle again. When the area's clear backtrack for an extra turret then keep moving along the metallic walkway restocking ammo as you go. Step onto the elevator that appears at the end of the walkway and go for another ride.
CHECKPOINT
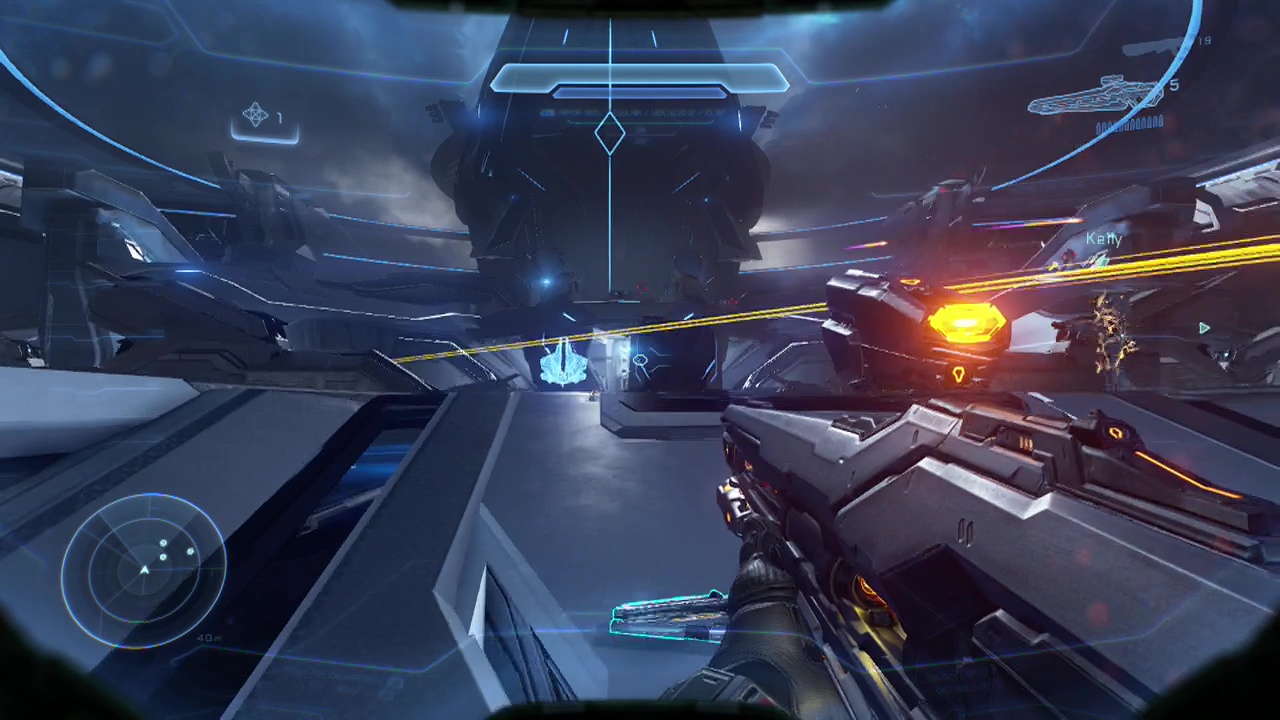
You'll have a ramp directly in front of you when you stop. When you reach the top soldiers will teleport in directly in front of you making wonderful targets for your splinter turret. You'll want to stick to the cover on the sides of this area, moving up between the panels and pillars to take out any soldiers in sight. Once the five or so soldiers are gone, climb up yet more sloping ramps ahead, backing downwards when the turrets appear at the far end of the area and more promethean forces warp in. The stands directly ahead at the top of the ramps should have light rifle ammo, but trying to restock is risky with those turrets in play. One of the best methods is to try and get your squad to fire on them while you shoot them with a light rifle, doing each one in turn. When the second turret falls, you can restock your light rifle and go to town on the remaining soldiers.
More turret using soldiers and even knights will start spawning in as you move past the man cannons in the center of the area. You can investigate the lower area in the middle to find a forerunner console with the final piece of intel for this mission here. Keep pushing forward here using the dropped turrets to deal with the bigger threats. A few snipers will also appear so keep an eye open for their binary rifle's red beam in your view. This long gauntlet will really test you, so take your time and line up your shots well. Make sure to pick up an incineration cannon from one of the stands near the end of the area when the area is free of enemies before you move to the back of the area. When you eventually reach the end, you'll be in for your final confrontation with the Warden. And yes this IS the hardest Warden battle.
CHECKPOINT
======================================================
BOSS BATTLE: WARDEN (fifth encounter)
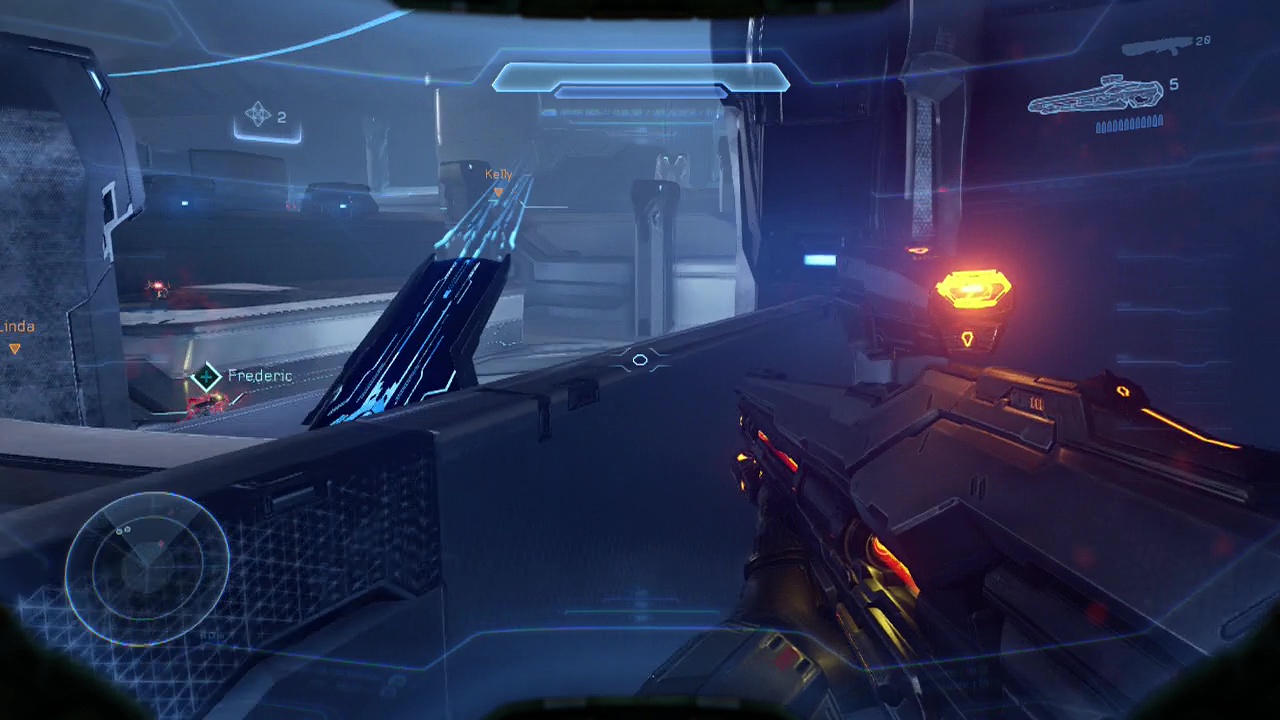
This time you'll be facing THREE Wardens at once. Yaaaaaay. The key here is that there are three phases to this fight. Each new phase is triggered by the death of a Warden. You'll also want to be fast as the more of your squad that survives until the second and third phases, the easier things will be for you. So I hope you've refined that scattergun back attack to an art form as you're going to need it. Oh, thankfully they don't summon enemies this time which would have made this impossible.
Phase 1:
Initially the Wardens will only move towards you if you get close to them (although they will still fire projectiles at you). So quickly jump up onto the platform on the right and grab a scattergun from the rack up there to replace your light rifle (You should have a fully stocked incineration cannon and a scattergun now). You'll want to take out this first Warden (on the right) with a single shot from the incineration cannon followed up by rapid shots from the scattergun rationing your use of the cannon for later (saving at least one shot for the third phase as it's the most deadly). By now this should be second nature to you and the others shouldn't move to assist unless you get too close to them. When he disintegrates, both of the remaining Wardens will move to attack you as you enter phase 2.
CHECKPOINT
Phase 2:
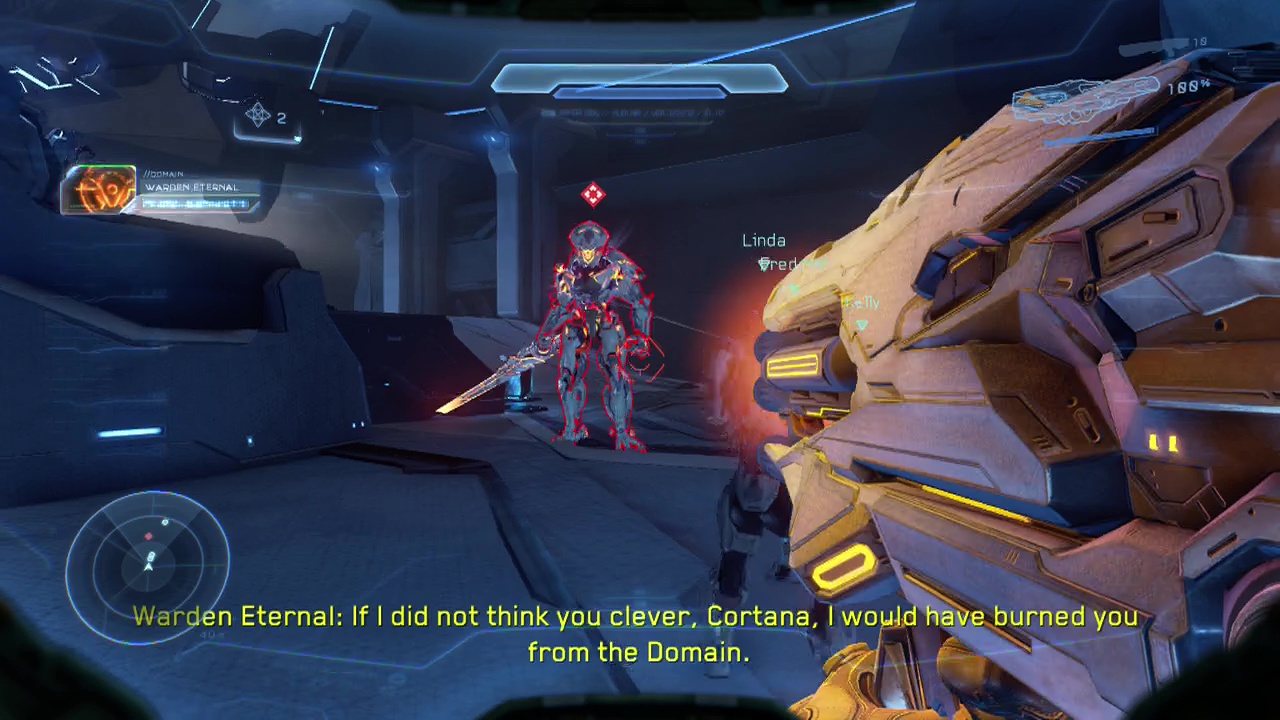
This one is much more dangerous as you'll be dealing with two mobile Wardens (like your fourth encounter). You'll need to kite (lure) one away (preferably breaking the other Warden's line of sight) before you turn around and fire your incineration cannon and blast him in the back with the scattergun. Try if you can to only use one shot from the cannon, but you can get away with having only one shot left, it just makes it a little more difficult.
CHECKPOINT
Phase 3:
Now onto the most dangerous portion of the fight. When the second Warden goes down, half the walls of the circular area will spawn turrets in, that will charge up and kill anything in the open. You'll want to rapidly restock your scattergun before dashing for cover on the opposite side to the turrets (there are two large walls on the far side that will shield you from them). The only problem? The Warden will chase after you relentlessly here (no matter where you run). So you're going to need to run to cover and immediately fire your cannon as soon as he gets out of sight of the turrets so you can run behind him and unload your scattergun in cover from the turrets. It's very tricky to pull this off properly but it was the most effective strategy I found overall. Watch from 41:49 – 42:39 on the video if you're having trouble grasping what I mean. If you managed to conserve a second shot in the cannon, you can do this another time if you don't finish him off with the first assault.
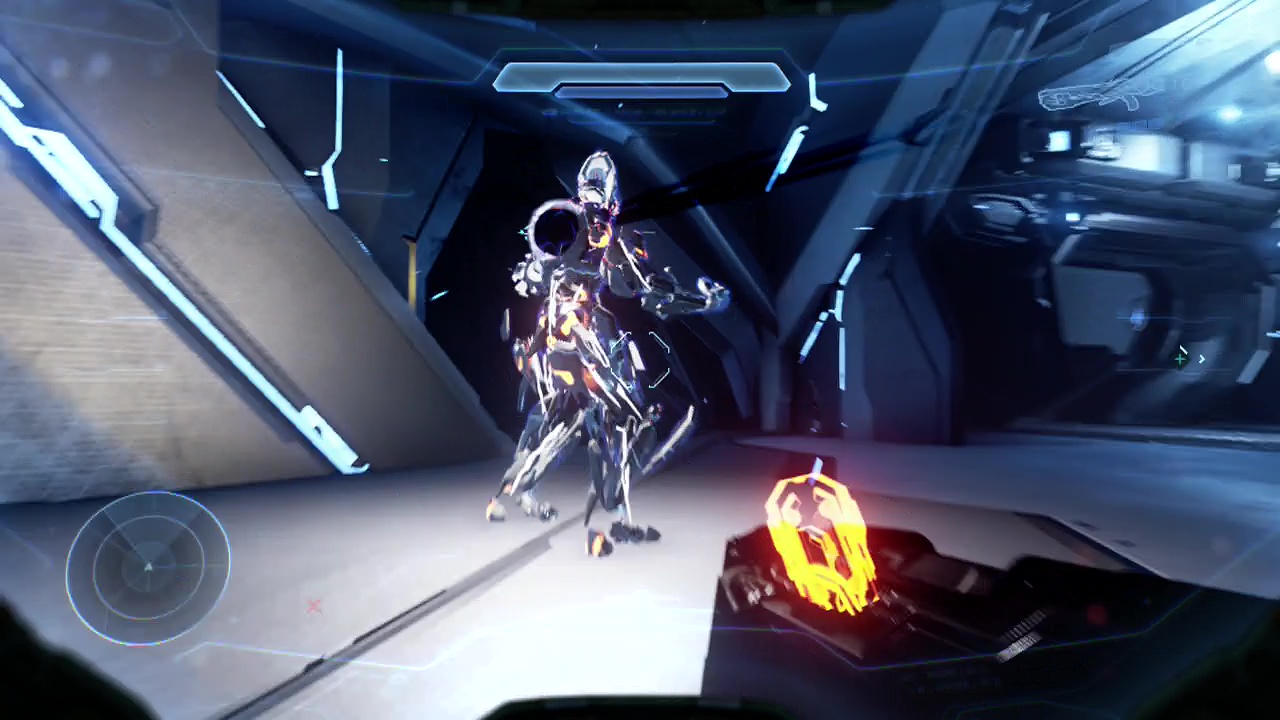
Rejoice, that's the last time you have to deal with the Warden!
======================================================
CHECKPOINT
Enter the doorway at the back of the room to trigger the end of level cut-scenes and move on to the final level of the game.
