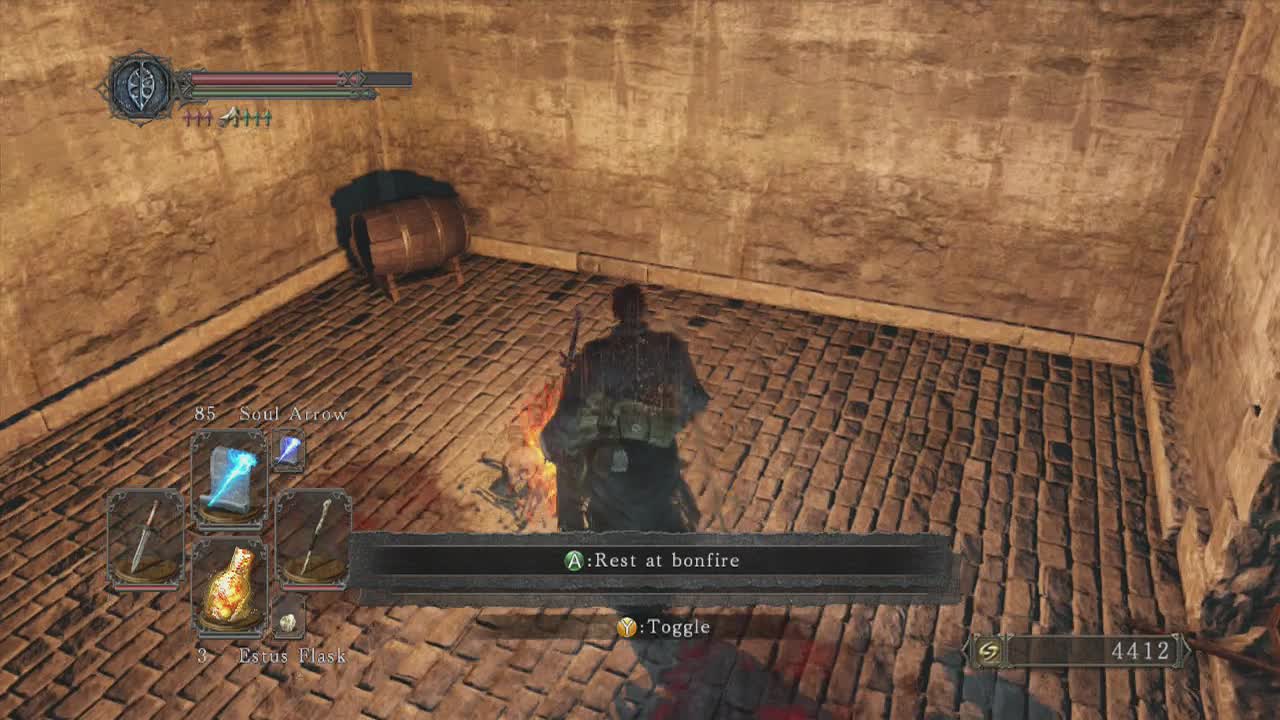
First, a little bit of introductory information about this area. It IS optional. You can access the next area (The Lost Bastille) via the eagle ride in the small area after the Pursuer boss in the Forest of Fallen Giants instead. The main things here to interest you are an Estus Flask Shard and a mini boss, the Flexile Sentry. There are also assorted items to grab, the first proper sorcery/ pyromancy trainer in the game, a pyromancer flame and fireball spell. If nothing there tickles your fancy, take the eagle to the Lost Bastille instead. For those that still want to see No-Man's Wharf, let's set sail… er, at the end of the area anyway.
From the bonfire at the entrance to No-Man's Wharf (accessed via the tunnels found beyond the Dragon Rider mini boss in Heide's Tower of Flame), head up the darkened tunnel until you can look left around the wall at a decrepit set of docks and what looks like an old port town. First thing to note is the archer shooting flaming arrows standing on the small jetty nearby together with a vangarian bandit. All archers in this area shoot flaming arrows so they can work in conjunction with the varangian bandits (hereafter just referred to as bandits) who throw oil bombs. These coat you in black oil and the flame arrows set it off, dealing massive fire damage to your character. You can wait a minute or two for the oil effect to wear off (visible on your character) but make sure to wait a good twenty seconds past when it is no longer visible. I've been killed by flaming oil when it was no longer visible by going straight back into combat. You need to be very cautious and avoid situations where the oil bombs can hit you as much as possible to keep your Estus Flasks intact. The other thing to notice is the slouched axe wielding hollow on the wall to your immediate left.
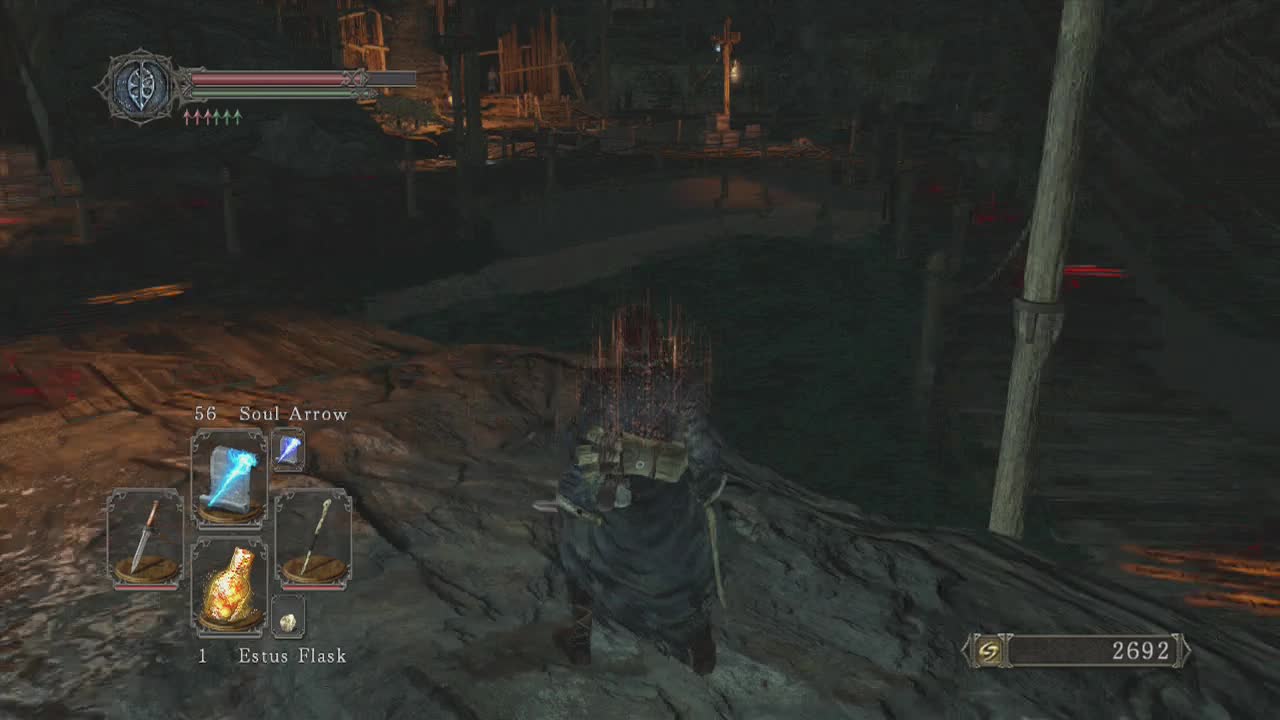
Now that you've scoped out the first threat, quickly run to the slouched hollow and activate him before moving back to the cover of the wall (to avoid the arrows). He will follow you and should be easily dispatched. Next up should be the bandit, travel along the dock, towards the archer while strafing to the sides to avoid the flaming arrows. As you get close, the bandit will begin to come after you. Retreat back to the end of the dock (so you have room to roll away from his oil bombs) and engage him. Once he is down, you can deal with that pesky archer. Walk back down the dock while strafing to avoid arrows and quickly close on the archer so he doesn't have time to start swinging his close range weapon.
The small dock should be clear now and to your left (from where the archer was) you should see two directions to go, To the far left is a small structure with a bandit on the roof, waiting to throw oil bombs down on you. Inside this small hut are two hollows to contend with (note that the bandit on the roof may drop down to join in the fun). Run inside and clear out the two hollows, In the corner you will find a staircase that leads up to the sword and shield wielding bandit (if you haven't had to deal with him already). Next to where he was standing is a corpse with a Soul of a Proud Knight on it. In the small upper room you just ran through is a chest with a Titanite Shard inside against the wall.
Back down on the dock, it's time to take that other path towards those two dilapidated huts. Inside both of them is a hollow, and on the one closest to you, up on the roof is a bandit who will drop down and engage you as well. The left hollow and bandit will most likely attack you at the same time as you approach, with the second hollow getting stuck on the steps of it's hut (although sometimes he will work it out and all three will attack at once). Be careful of retreating up the narrow dock behind you, side rolls are out of the question as they will easily lead to death. You can either face them directly, move backwards while ranged attacking or retreat back to safer ground to take them on.

Once all three have been removed from your path, check the closest small hut for a Dark Pine Resin. To the right (past the second hut) is a darkened stone building. Be very cautious about approaching this as inside is a green monkey shaped enemy known as a bloathead. These guys deal significant damage with their large swing arcs, inflict bleeding status and have a sizable chunk of health. The only upside? They aren't armoured, so they don't take as much punishment as the sentinels you fought earlier before they die. If you are a caster or archer, you can kill it off quickly before it even reaches you. Melee characters on the other hand will have to block it's horizontal swipe attacks and dodge it's heavy overhead slam attack while they try to damage it. Inside the hut, once it is dispatched are some Iron Arrows to pick up.
Next up are the nearby stairs to the second tier of the town. The path will split in three directions here with a bandit throwing oil bombs down at you from the middle path ahead. The left path leads through a small archway at the base of a building that you can use to ambush the thrower from the side, but you will have to contend with two bandits (one on the upper floor of this building and the second one against the wall to the right as you exit) before you can reach him. This is a valid strategy for melee characters as it allows you to take cover from thrown oil bombs and quickly dispatch the enemies before they can cluster, the full strategy will be detailed below. The second option is to rush up the middle stairs and deal with the three bandits and dog up there but this is rather foolhardy for any class.
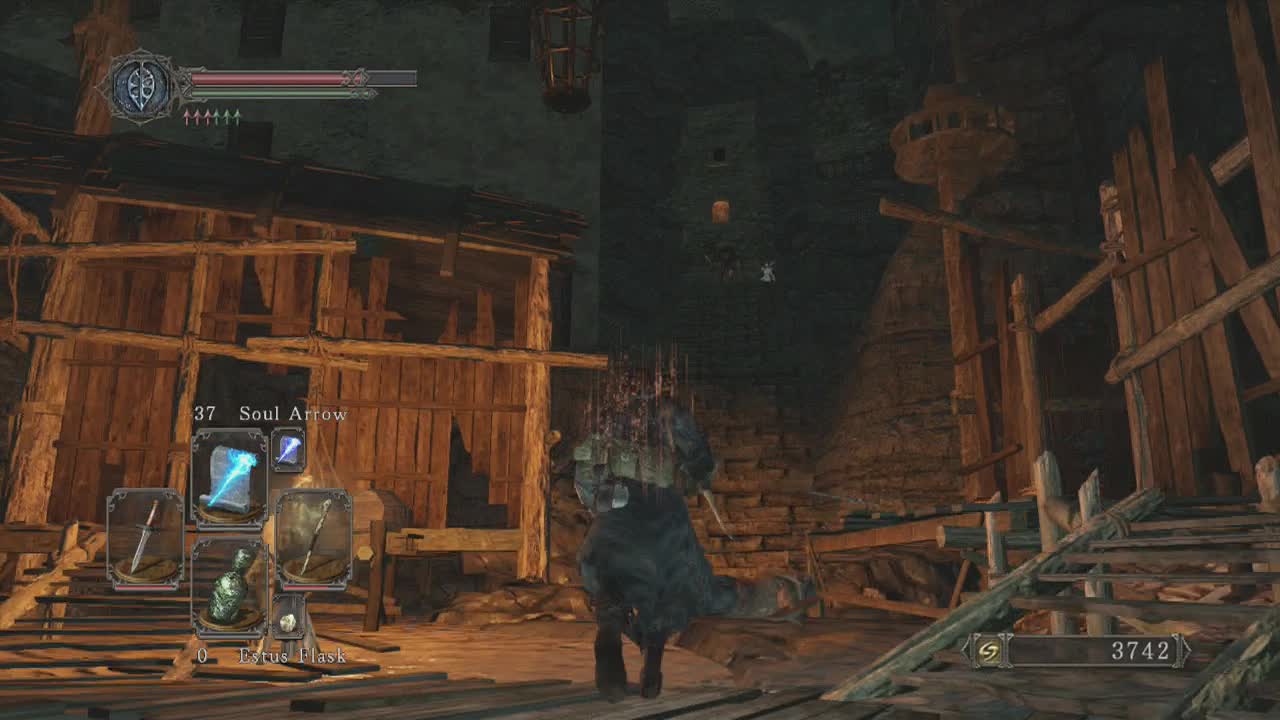
Ranged Character Path:
The best option for casters is to take the right path here, leading to a bandit and his dog next to a fire (not a bonfire sadly). The bandit will charge as you approach as will his dog, beware dogs if you are a ranged character as when they near you they will leap towards you, screwing up your ranged attacks. Instead, back up until they stop leaping at you and then take your shots. Once both have been lured out and dispatched, stick to the left side of the rock wall as you move up the path towards the fire. As you approach you will see why, two fire archers on the rooftop of the building ahead will open fire. The small rock wall should block their shots while you plan your attack. If you are a caster you will have to get in close to target the archers and lure them into a position where they are exposed enough to blast.Not easy but doable. Archers on the other hand will have an easier time just picking them off.
You can take a little excursion here to the right side of this outside area to find a spot to place a Pharro's Lockstone (face looking indentation in the ground). This lockstone point activates the lanterns hanging overhead in this area. This is especially useful when dealing with the bloathead enemies as they hate light. This limits them to buildings and only attacking if you get quite close, making them much less of a threat. Consider how useful this is to you as there are several bloatheads you must kill to unlock the shortcut between the two parts of town and a couple more that you must kill each time you attempt to reach the mini boss (until you exhaust their respawns anyway). Some players may think this is worthwhile, others not. There is also a Large Soul of a Proud Knight and a Small Smooth and Shiny Stone to drop down to, this requires you to drop further down and walk back up again.
Now that both archers are dead are dead, head near the doorway and strafe left and right until you can see the first two bandits inside (there is a third at a table to the right of the door as well). You can shoot through the door frame to take down one of the bandits quickly. The second two will emerge from the door and you should have ample time to take care of them while their pathfinding gets confused over the steps. If you do get hit with an oil bomb, be thankful that you already took out both archers. Head inside and open the chest behind the low wall to the left to pick up a Bandit Axe and the full set of Brigand Armour. Now, before going up the stairs, be aware that there is a bandit who may or may not drop down and try to impale you as you head up. Generally it is best to quickly walk or run up the stairs to trigger him dropping down behind you as you pass and then quickly dispatch him before he recovers

Grab the Repair Powder and Titanite Shard from the chest here and then head out to the balcony. To the left is a door that you cannot open from this direction but you will probably be coming here a few times later to reach the mini boss quickly, so make a note of it. What interests us at the moment is the short jump that can be made off the end of the balcony to the right to reach the other side of the upper area. This allows you to attack a bandit through the window and then his dog freely when it appears. You should also be able to easily spot that bandit who was at the top of the middle path and a second bandit against the wall of a building in front of you. Don't head up the stairs to the right yet, and when you do make sure you are stocked up with at least 15 damaging spell casts or enough arrows to take down three bloatheads in a row minimum.
For now, deal with the middle path bandit and his nearby lackey (the buildings on the right past the one the bandit and his dog were in are empty of enemies so you won't get flanked unexpectedly). Move up the the lit doorway the second bandit was lounging next to and look to the right as you enter to spot a second bandit. The stairs down here lead back to the three way path split from before. Once he is dealt with, head back to those stairs and make sure you are stocked up enough as stated above.
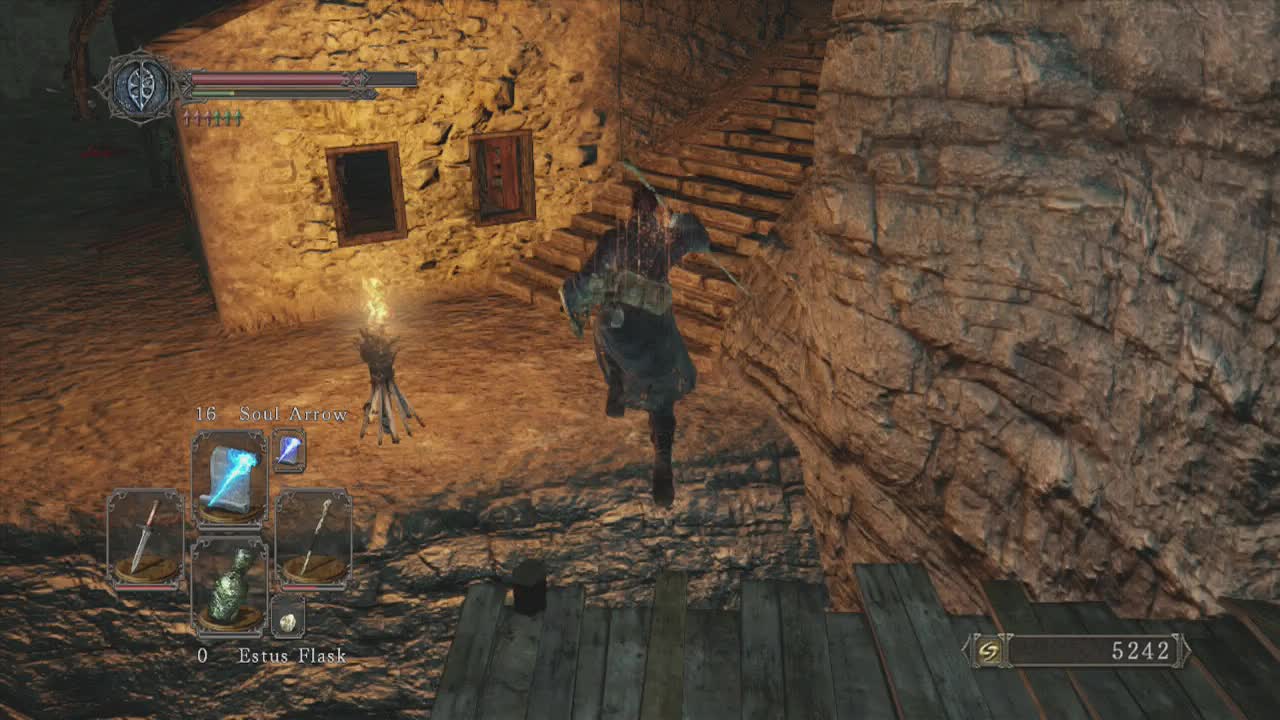
Melee Character Path:
Melee characters on the other hand are better off doing this as two separate sections (left path and right path) instead of jumping across the gap and doing it all as one big section. From the three way split, take the left path and enter the door to the building. A bandit will be waiting for you to your right as you ascend the steps, with another behind the wall just outside. Finish the first one off quickly so they don't double team you. Outside you should be able to see the bandit who was throwing oil bombs down the middle path before and just beyond him a hut with a smashed open wall. Inside that hut is another bandit and his dog so try not to aggro all three at once. Quickly dispatch the first bandit and then retreat a bit to make sure you have room to deal with the second bandit and the dog (dogs are easily blocked with shields, just make sure they don't exhaust your stamina with their rapid leaping attacks).
Past the hut are two fire arrow shooting archers, but unless you have some ranged weaponry to deal with them you'll have to leave them for now (don't worry, we'll meet them shortly). The nearby stairs are where we are coming back to after clearing out the right side of this area, so make note of them. Head back down the middle path (it's now clear) and take a left at the bottom to spot a bandit and his dog next to a fire nearby (not a bonfire unfortunately). Lure them towards you and then rush them from the safety of the narrow path (don't move too close to the fire as two archers are waiting on the rooftop, remember?). Approach the area the enemies came from by sticking to the left wall (protection from arrows) and walk quickly to the door while preparing to fight the three bandits within (you don't want to be caught outside with the arrows from the roof above coming at you). Two will be seated to the left of the door, while the third is at a table to the right. Use the tables here to your advantage and keep your shield up. Oil bombs won't really be a worry here, provided you don't head back outside or don't wait for it to wear off before going upstairs.
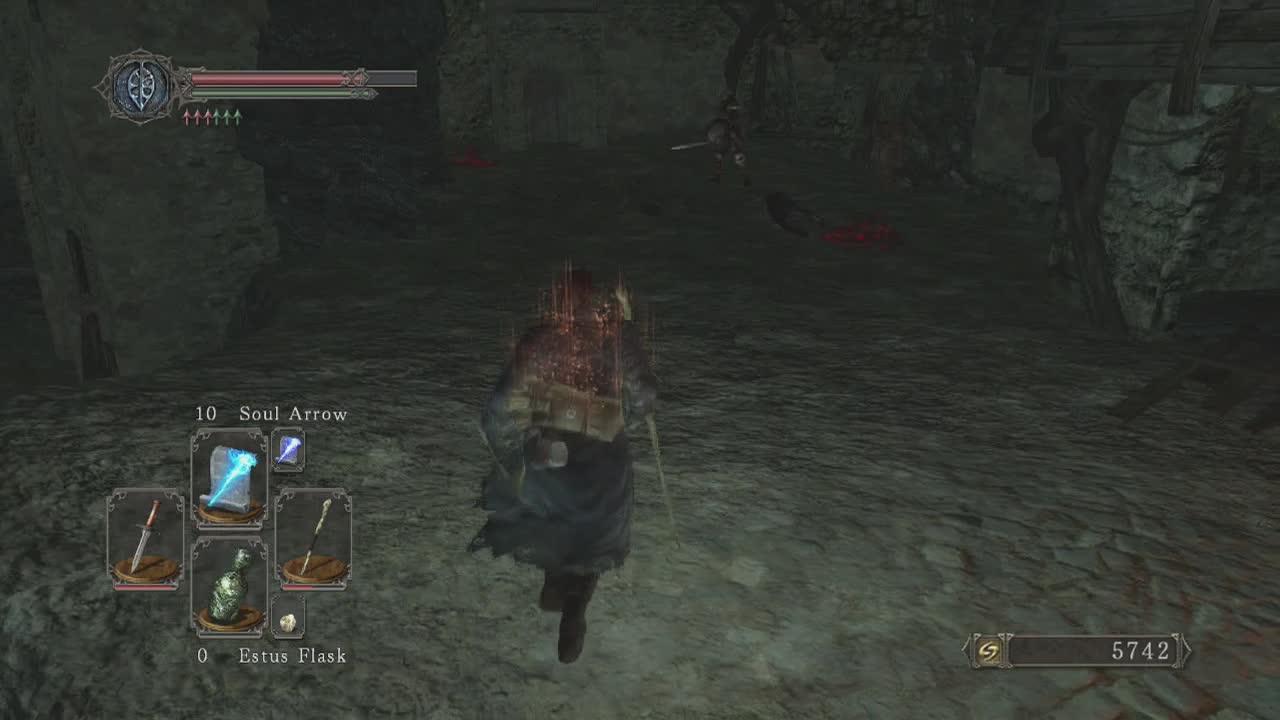
In a chest in the corner of the room is a Bandit Axe and a full set of Brigand Armour to pick up. Make sure to wait out the oil if you were hit by an oil bomb before going upstairs. A bandit is waiting above who may try to impale you if you walk up the stairs slowly, so run or sprint up the stairs and turn around to deal with him while he is still recovering. If he didn't try to impale you, just walk over and engage him while keeping an eye on the door to the right (where the archers are waiting). Finish him off quickly and then head outside and take out your vengeance on the two archers. Head back inside and grab the Repair Powder and Titanite Shard out of the chest here.
You can take a little excursion here to the right side of area back outside (now the archers are gone) area to find a spot to place a Pharro's Lockstone (face looking indentation in the ground). This lockstone point activates the lanterns hanging overhead in this area. This is especially useful when dealing with the bloathead enemies as they hate light. This limits them to buildings and only attacking if you get quite close, making them much less of a threat. Consider how useful this is to you as there are several bloatheads you must kill to unlock the shortcut between the two parts of town and a couple more that you must kill each time you attempt to reach the mini boss (until you exhaust their respawns anyway). Some players may think this is worthwhile, others not. There is also a Large Soul of a Proud Knight and a Small Smooth and Shiny Stone to drop down to, this requires you to drop further down and walk back up again.
Now that both sides have been pacified it's time to head for that staircase we passed up before. Instead of tromping back around, jump off the edge of the balcony where the archers were for a shortcut to the staircase. You may want to make sure you have some healing ready as above you will have to face three bloatheads in quick succession.

Note: Both class type walkthrough resumes here
Head up the stairs and look to your right for the first bloathead. You will want to lure him a little bit if you are melee to make sure you don't trigger the second one in an alcove to the left behind him. Same deal with the second in the alcove to the left, except with the third one further down the path. The third and final one is in plain sight and doesn't have any backup so you can move forwards for this one. Remember to wait out the bleeding effect before engaging the next one in the series to avoid taking additional damage. On a ledge to the right after the third bloathead is a body with a Large Soul of an Undead and the Emit Force spell. In the window of the nearby building you should see a strange figure. This is a merchant by the name of Gavlan who specializes in poison items. To reach him you will need to deal with a bloathead though the door in the lower level (if you run it crashes through the wall after you), as well as two more in the room above. If you manage to fight your way through you will be able to talk to and trade with him as well as grabbing the Greatsword out of the left chest and carefully opening the trapped chest on the right (poison, roll backwards immediately) to find a Silver Talisman.
Back outside, head to the right well lit area. Slow down as you pass the small cave area in the wall to the left and peek around into the well lit doorway to spot a bandit waiting. Deal with him and climb the stairs to deal with a second bandit. Out on the timber bridge through the doorway are several sets of steps that lead to a square platform. A pull chain here can be used to activate the bell above it. This summons a ghostly galleon which will glide through the waters below and dock at the pier. In the depths of this ship is the area's mini boss, but we need to reach him first. Drop down onto the large stone ledge next to the bell pull and grab the Life Gem and Homeward Bone off the corpse here. Don't drop down to the ground below, it's not a good idea. Instead, use the smaller drop nearby to safely descend. Turn around and enter the doorway. A Fire Arrow can be found halfway down the stairs but first concentrate on taking out both bloatheads on the lower floor.

Open the door to find yourself on the ledge you avoided jumping down to before. A nearby slope will descend down to another building and a walkway overlooking the docks. Enter the small building and carefully climb the stairs to spot a bandit on the level above. On the next floor up, a metal door will greet you, as well as a doorway to the left which leads to nothing. Use the pull chain next to the door to unlock a shortcut back to this area (this is connected to the rooftop with those two archers on the right path of the three way fork). Opening this door saves a lot of time trekking to the mini boss. Now might be a good time to retreat back to the bonfire and stock up before moving on. Head back to this doorway and deal with the bandit in the house to rejoin us.
Back on the ground floor of the metal door building (ship side), head outside and look to your left for another house to enter. Two bandits are inside, waiting for you to open the door. Ranged characters can pick them off through the doorway, melee characters should lure them outside to make use of the roll space. Once they are taken care of, enter the building and be careful of the pots. The pots contain poison, so you may want to hit them with a ranged attack or just smash and roll backwards. Behind the two pots on the left is a corpse containing a Throwing Knife and a Flame Butterfly. In the other corner of the room you will find a chest with an Estus Flask Shard inside (yay!).

Head back to base of the other building and look for stairs down to the right. At the base of the stairs is a wooden shack containing two bloatheads that will try to attack you as you pass, so make sure to deal with one at a time. The second one's pathfinding can be taken advantage of by making it move to the right and getting stuck on the wall of the wooden hut. Once they are gone, move along the wooden dock to the left, not into the water and move along until you reach a fork in the wooden path. You should be able to see two bandits clinging to the edge of the pier, waiting to ambush you. If you have a form of ranged attack, you can hit them and knock them down into the abyss. If not, you will have to activate them and take them out quickly as they rise up. Another bandit can be seen in the water nearby (easily picked off with ranged attacks, if you are a melee fighter you will need to wade into the water near the start of the jetty to take him on). In the water on a small boat nearby is a corpse containing a Human Effigy and a Life Gem. Now the way is clear, head up the path the two bandits were clinging to and head along the narrow path to meet Carhillion. He will be your first spell merchant (he sells a large range of spells) and can strengthen your pyromancy flame. He has two rings you can buy, including one that reduces cast time which is very handy for beginning magical characters. Talk to him and he will give you a Northern Ritual Band +1.
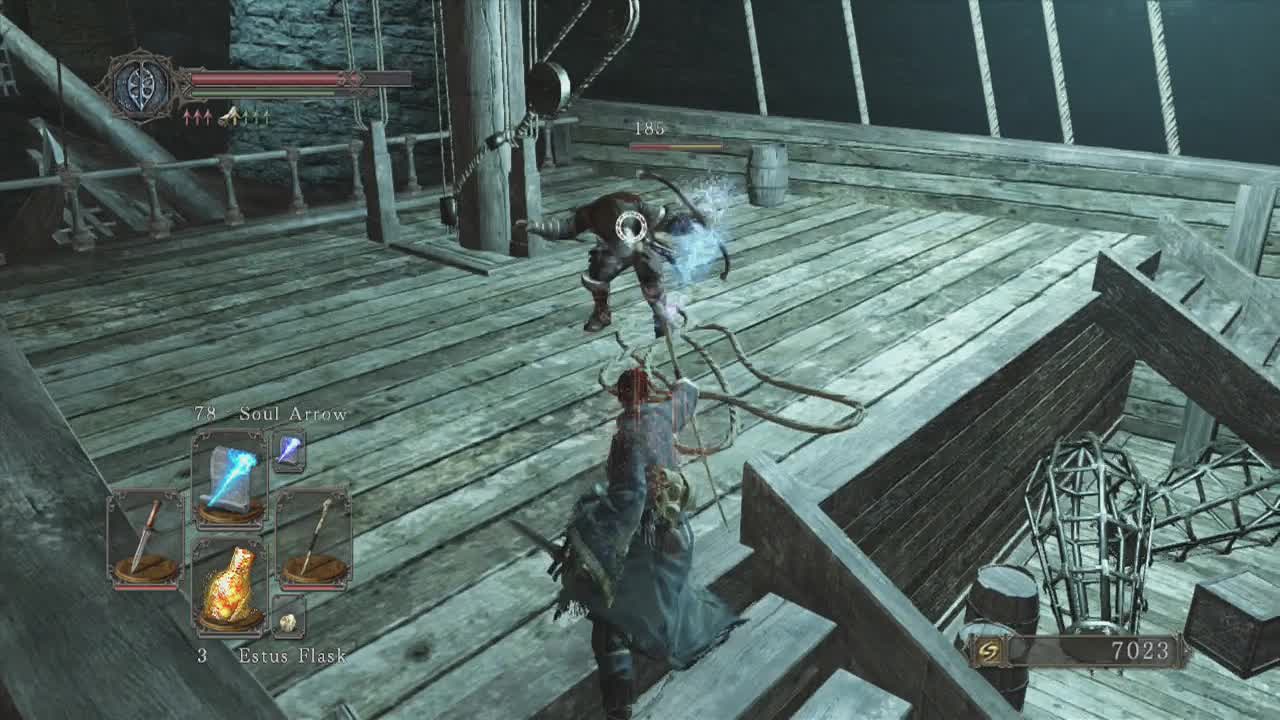
Now hopefully you are ready to confront the strange ship, it's crew and the mini boss inside. If you aren't, retreat to the bonfire and deal with anything that you need to do. You want at least fifty shots if you are a caster before attempting it or a hundred or enough arrows to kill four bandits and melee weapons to deal with the boss. When you are prepared, approach the vessel and immediately turn left as you board and engage the archer at the top of the steps. Another archer on the other end of the ship will still keep shooting at you so remember to keep on the move. Shortly after killing him two melee bandits will head for your position. Use the large area and your superior position to deal with them quickly. Cross the deck to the other end of the ship to find another archer to finish off. If you were a character with a bow, you could pick off both archers and then deal with the bandits.
Now the deck is clear, head down the steps into the lower area to find a mist door. Behind it, you guessed it is the mini boss for this area. The Flexile Sentry.
_________________________________________________________
Boss: Flexile Sentry
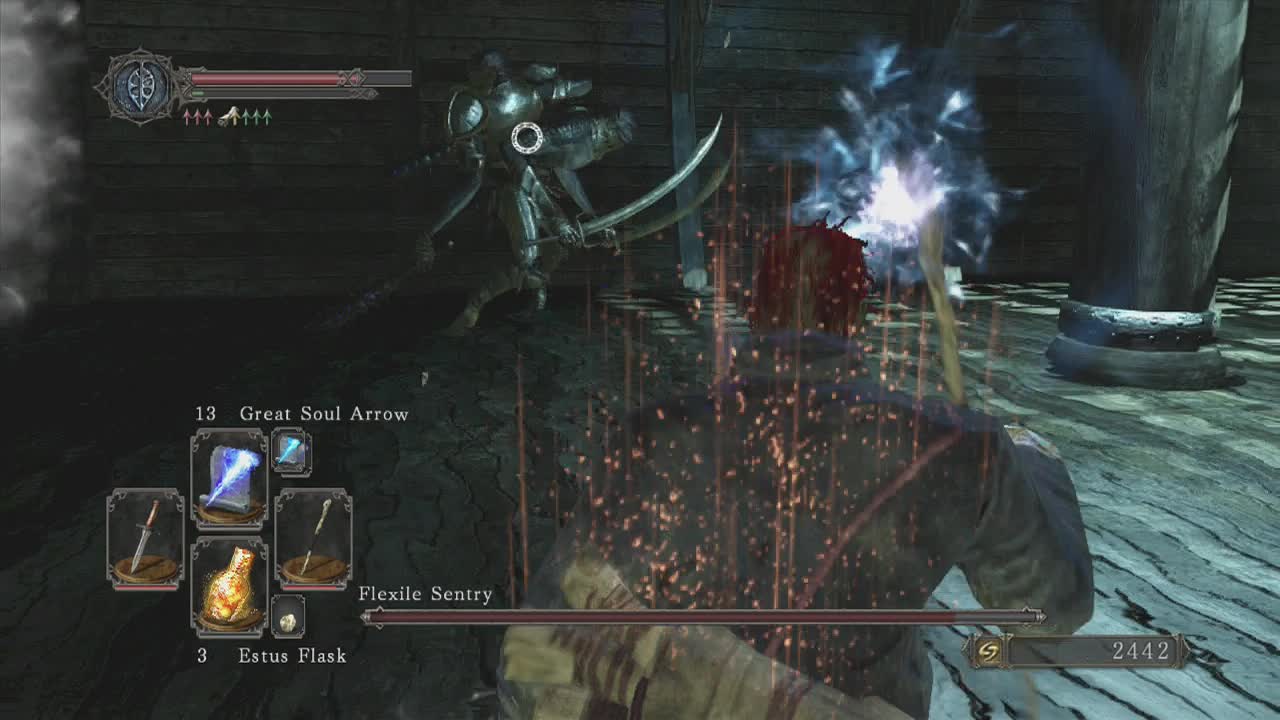
Personal Death Count: 1
Attacks –
Mace Side
Note: Some of the attacks that are listed as having two hits can stop at the first hit instead.
Leaping Overhead Smash – The Sentry raises his clubs over his head and then leaps towards your position, slamming them both down as he lands. A dodge roll to the side avoids this attacks quite easily.
Double Hit – The Sentry moves both clubs behind his body and then swings them towards you, followed by a crushing slam into the ground. A backwards roll will keep you out of trouble here. The recovery animation for this attack is quite long, so you can use it to heal or get in more than one attack.
Double Slam – The Sentry lifts his right hand club in the air and then slams it into the ground towards you, he then follows this with the left hand club. A relatively slow attack that you can dodge easily to the side or backwards with a roll.
Sword Side
Double Slash – The Sentry crosses his blades, while lifting them up slightly and then slashes both towards you in a large arc. He then follows this with a uppercut-like slash into the air. Roll backwards/ away from this attack to avoid it.
Whirlwind – This is one of the most dangerous attacks the Sentry uses. He quickly whirls his blades in an arc in front of him, followed by a spin kick in the direction he is travelling and then creates a whirlwind of blades as he quickly closes on your position (ever played as the barbarian in Diablo II?). Roll backwards from the initial attacks and then away again as best you can from the whirlwind. This attack can take off a major chunk of health so avoid this one at all costs. The only way he managed to kill me personally was by using two of these in a row, all the other attacks were a joke to dodge in comparison.
The Sentry is our first dual wielding boss, so dodging to a particular side won't provide any advantage. A thing to note about this battle is that the longer it drags on, the worse it is for you as the water level in the room is slowly rising. This slows down your dodge and evade capabilities while having no impact on the boss. So you have to deal damage whenever possible to bring this guy down fast. After most of his attacks you will be able to get in at least one (and in some cases two) before he can attack again. He also inflicts the bleeding status with all of his attacks, but if you are being hit enough for the bar to fill, you are probably dead anyway from pure damage.
The main attack to watch out for is the devastating whirlwind attack by the Sword side of the Sentry. The initial swipe and kick are easily avoided, but the homing whirlwind is a pain to avoid. Try and use the base of the mast to your advantage to mess with his pathfinding (and reduce the distance covered by his attacks). In all honesty, his slow movements and attacks leave him open to damage quite often and he will probably be one of the easier bosses you face despite his fearsome appearance and the small area you fight him in. It should only take a couple of attempts to learn his attacks and defeat him. Oh, he's weak to lightning too if you are playing with a weapon imbued with it (or in NG+).
_________________________________________________________

Once he is downed and you have received your reward, head into the room beyond to find a ladder to climb up. In this upper level, you can find a nearby chest containing a Pyromancy Flame and the Fireball spell (nice little bonus). A nearby device can be interacted with to set the ship a sailin' to the entrance of the Lost Bastille.
Head along the pier until you reach a doorway into the strucure. Hop into the lift and then at the top, activate it and run out before it closes. Then run onto the top of the elevator and ride it down the shaft to access the room you probably spotted while going up and the Scimitar and Repair Powder on the corpse inside. Drop down through the hole and then go back up again to find yourself in a hallway with cells lining the walls. In the upper elevator room is a cell with a Soul of a Proud Knight on a skeleton. Further up the path is a cell with a Common Fruit on a skeleton inside. You will pass through the area seperation point along the hallway, but seconds later in a small cell to the left is the bonfire. Depending on which approach you want to take, you may advance from here or use the one accessed via eagle in the Forest of Fallen Giants. Select your path and read on in the Last Bastille section.
