Hunting the Monster
You’ll start out still on the dam, but with the objective now to pursue the convoy you saw leave in the previous Case. There will be some soldiers left here, so clear them out, then grab the nearest vehicle and follow the waypoint marker. You’ll come across ruined vehicles at each waypoint, which will then move further up the road as you go. Follow each waypoint, either driving or fighting your way through the massive zombie crowds as you go.
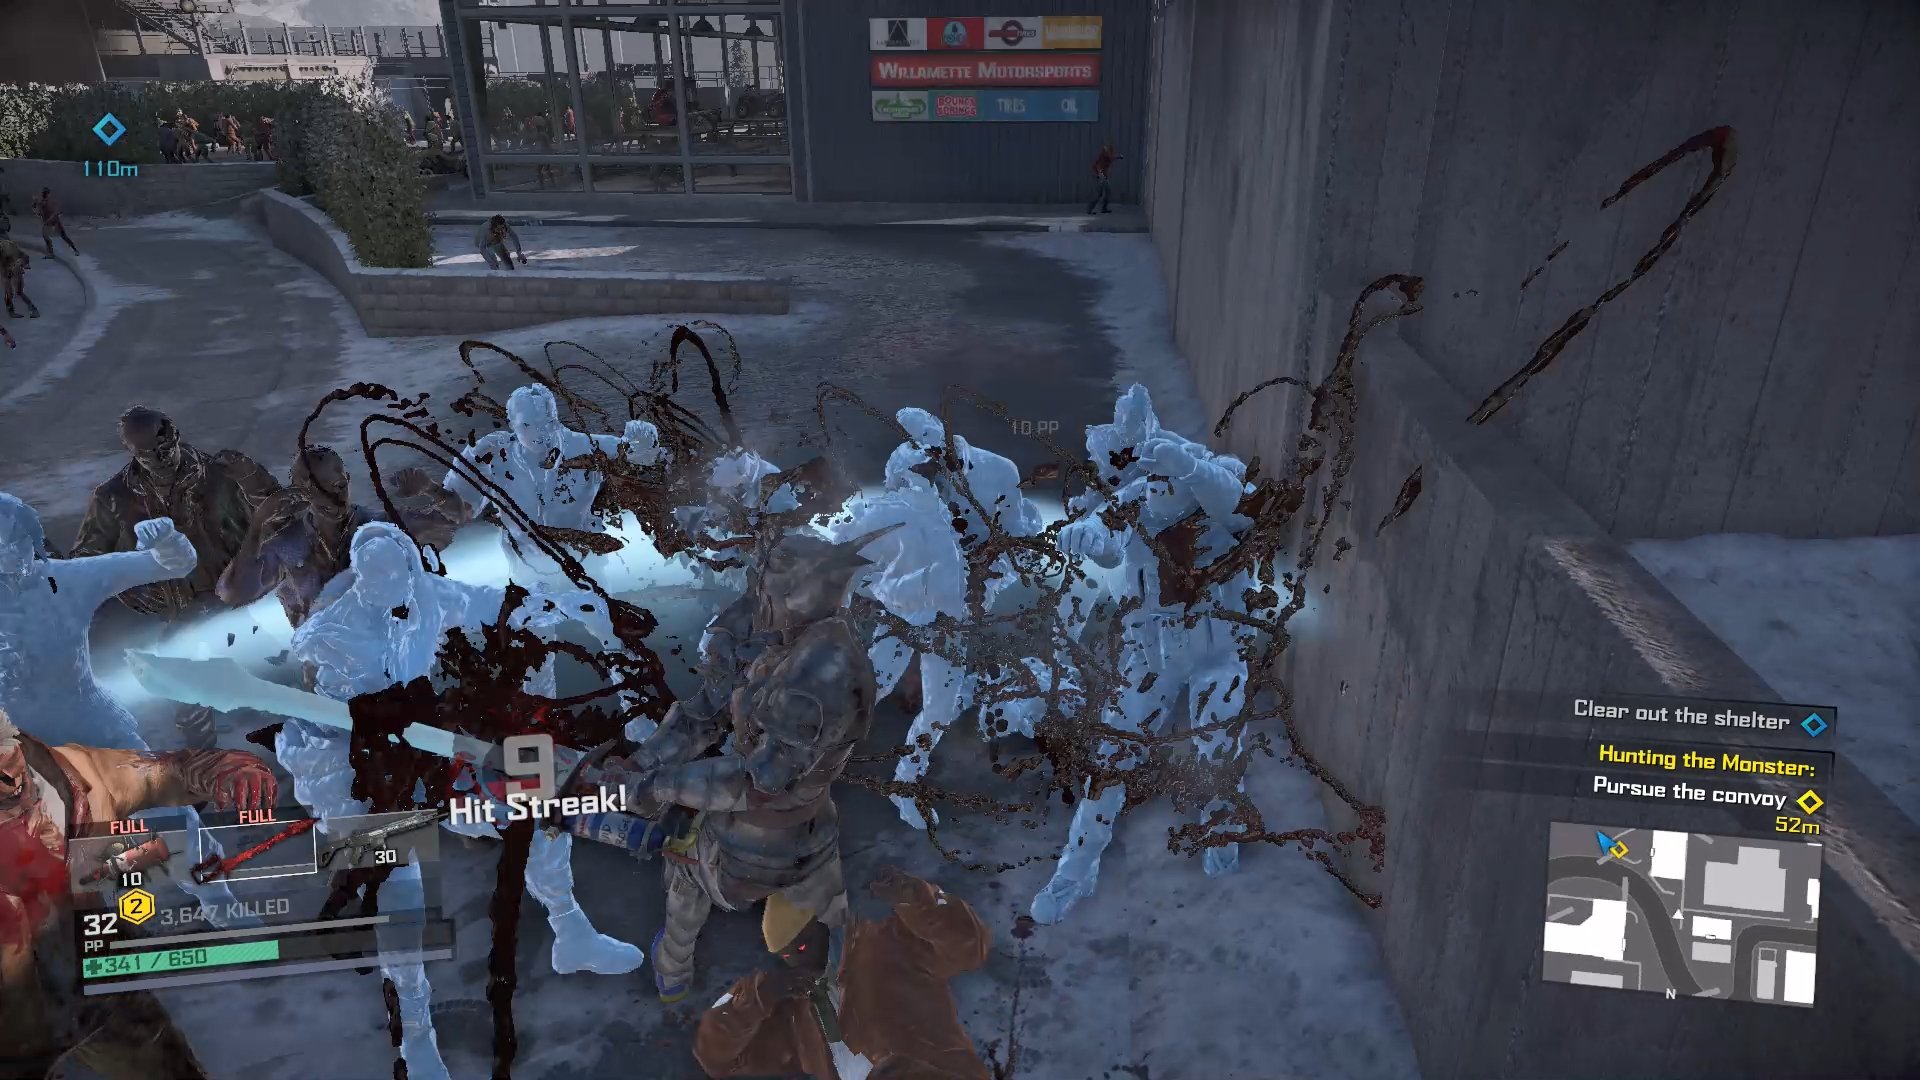
Eventually you’ll reach the gates of an army base. Head inside and talk to the convoy survivor, who’ll send you to the nearby emergency shelter to get him a fix of morphine. Follow your marker to the shelter and head inside. Now you don’t need to clear it as part of the mission, but it’s only beneficial for you to do so, so we’d recommend you clear it out. Note that this shelter has 3 levels, so you need to clear all 3. It’s also pretty well infested with zombies, so if you have a good crowd control weapon, now’s the time to use it.
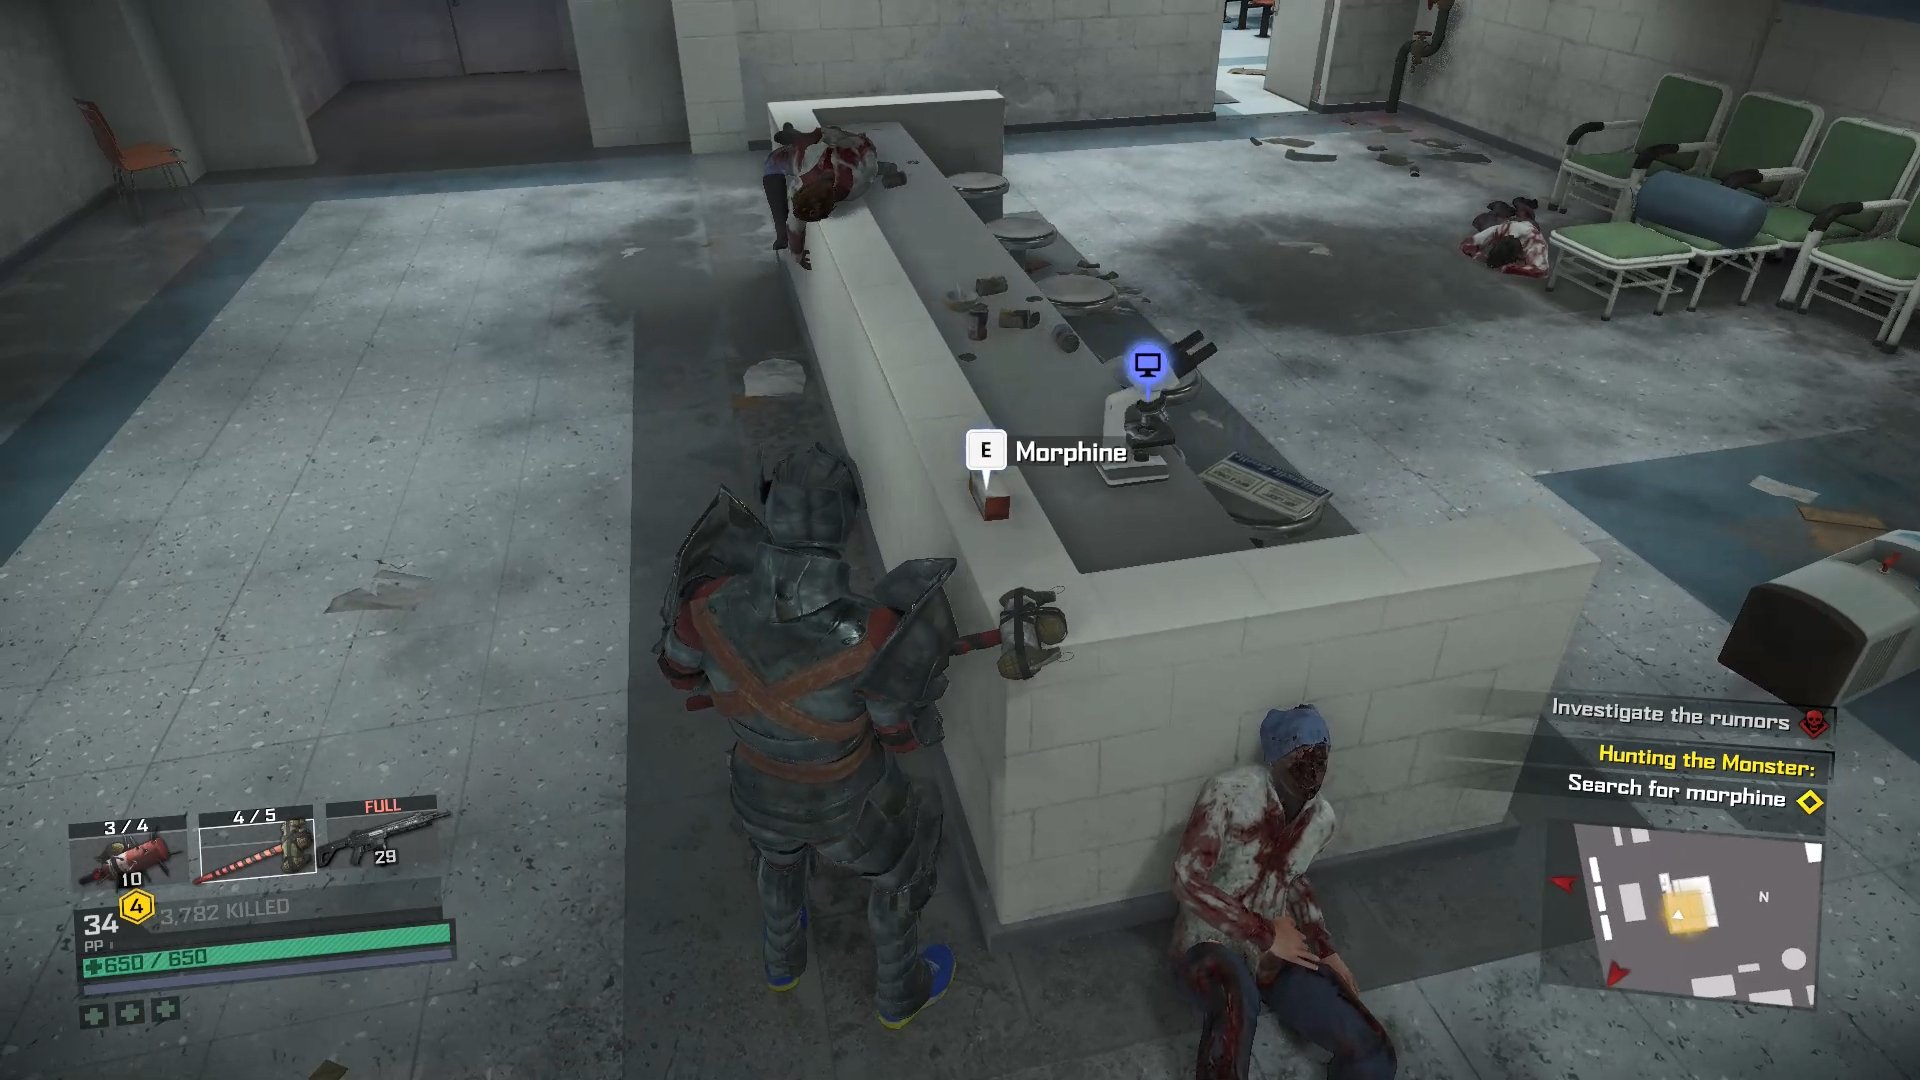
The morphine is on the bottom shelf, sitting out on the edge of the counter. When you have it, head back outside, get a vehicle and jump it off the ramp to the left of the shelter. This will act as a shortcut back into the base.
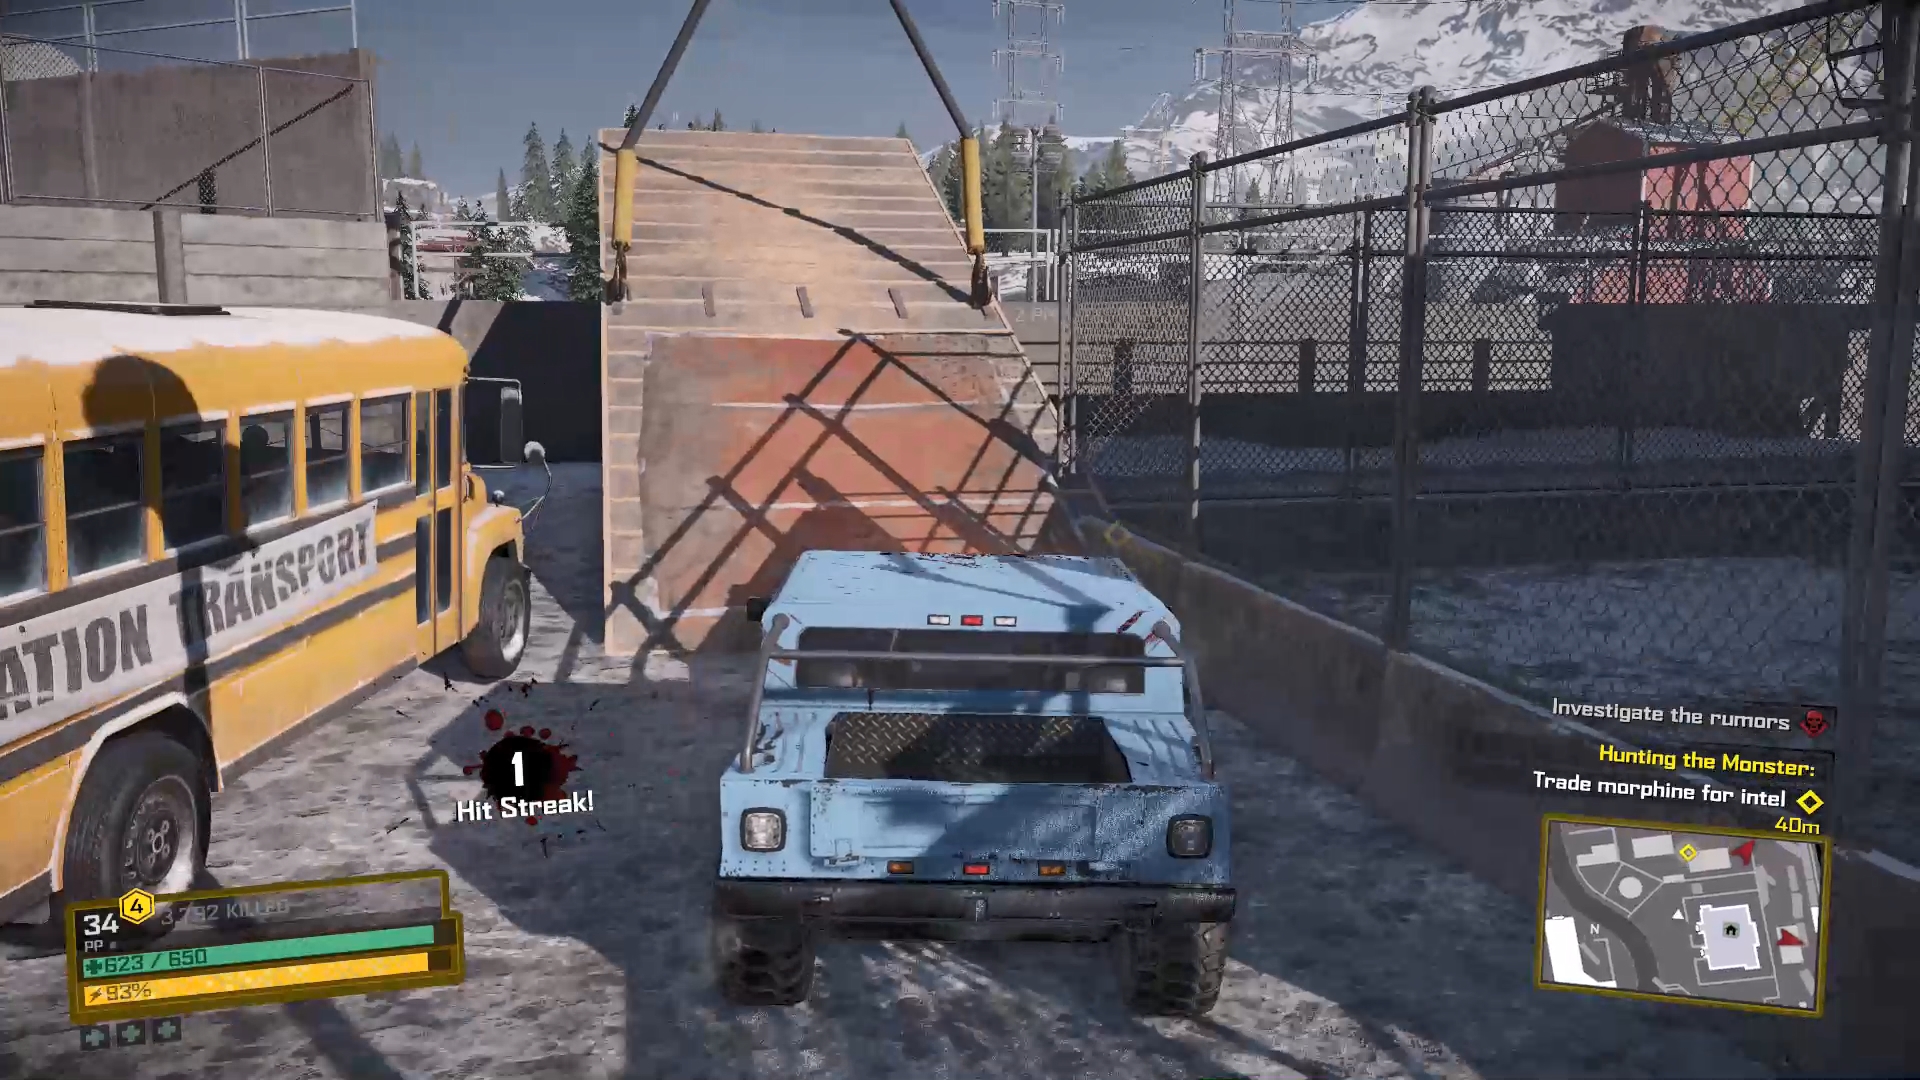
When you’ve landed, give the morphine to the survivor and that’ll start a new investigation.
To complete it you need:
A picture of the buckled doors on the ground beside the trucks
A picture of the 3 strung up soldiers on the wall to the left of the survivor
With that done, you now need to follow the wreckage along the train tracks. There are also a LOT of zombies along the way, so we’d recommend stocking up on some explosives (the Blambow is an excellent choice here) to help clear your path. Hack, shoot and explode your way down the tracks until you reach the tunnel. A word of advice here is to save any of your heavy guns as you’ll be facing some tricky enemies soon.
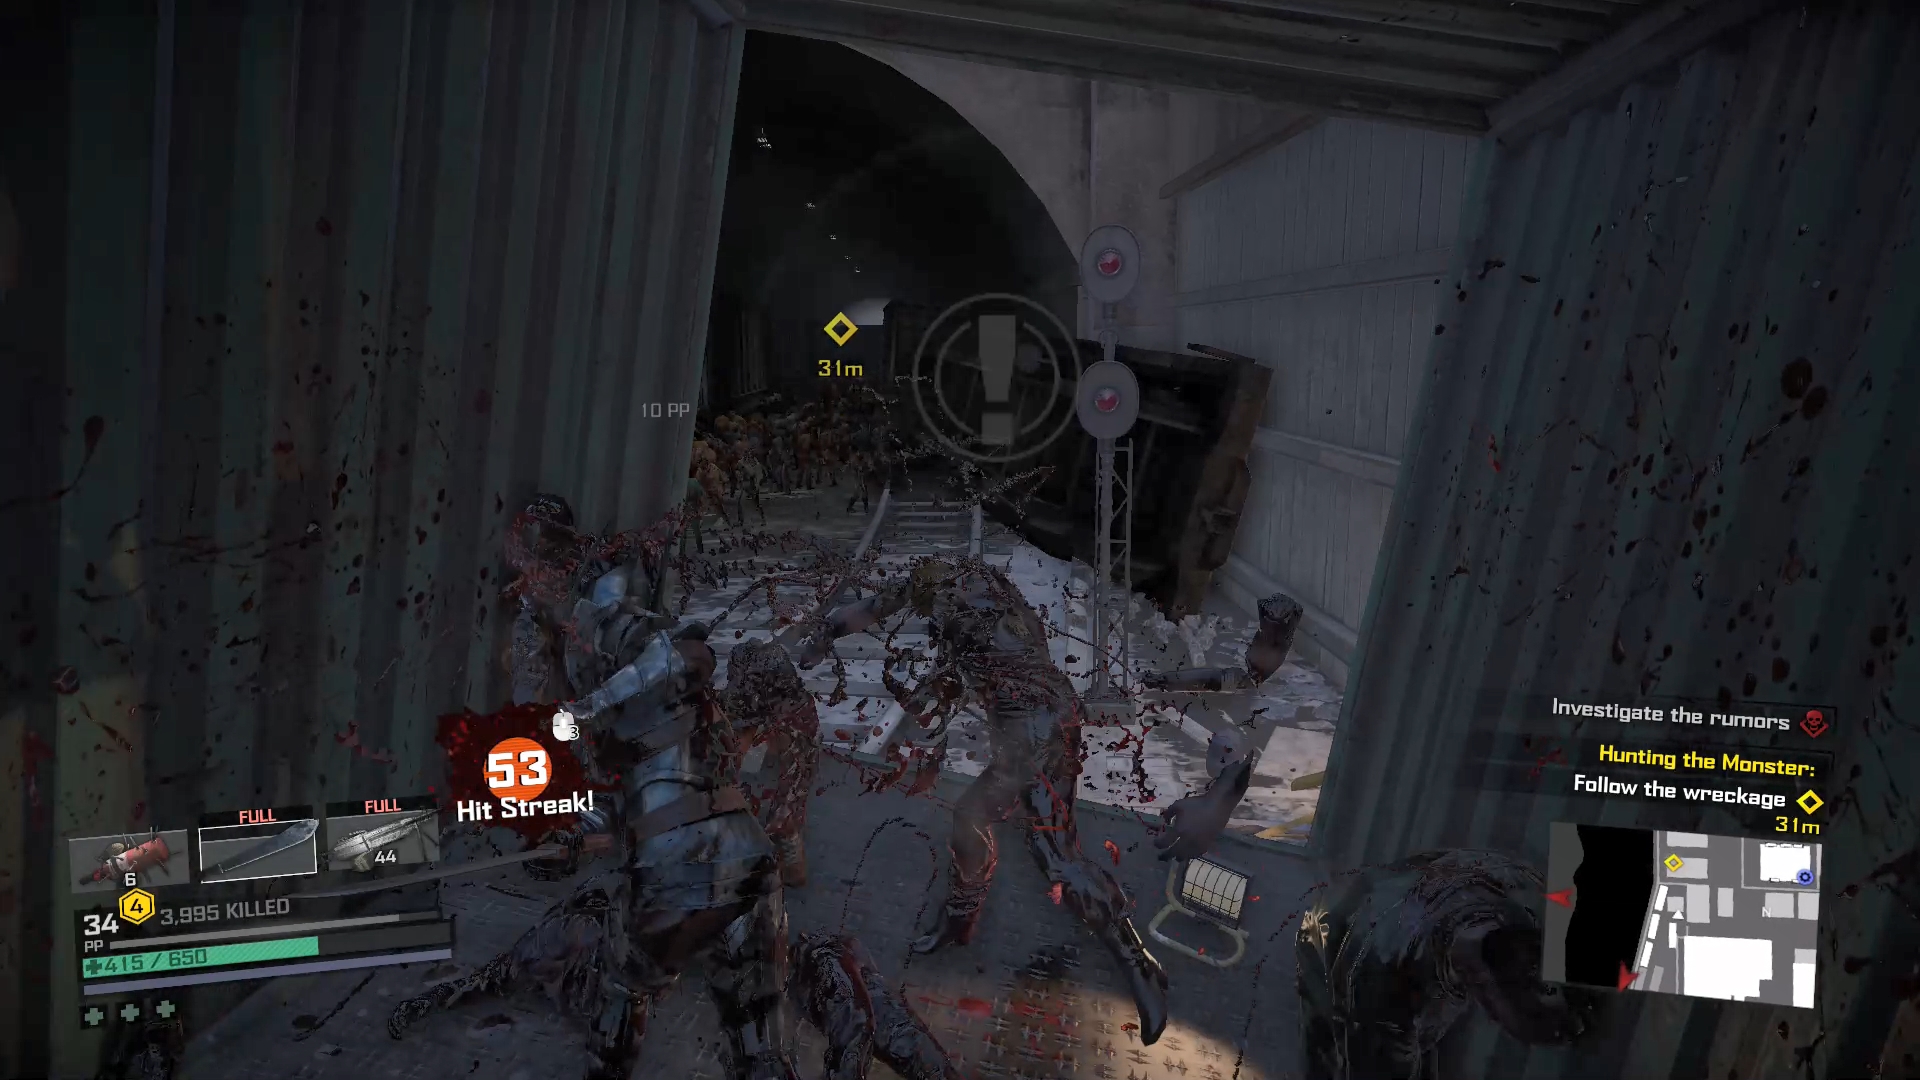
Get through the tunnel and enter the marked door to arrive in the sewers. Follow the tunnels towards the marker. Along the way there will be some zombies, nothing to worry about really, and also a lot of weapons and healing items. Stock up on these if you need them and keep going until you reach a door, go through it to enter a big junction of tunnels. There are more weapons and healing items here if you need them, then head for the marker to start a short cutscene, and a miniboss intro.
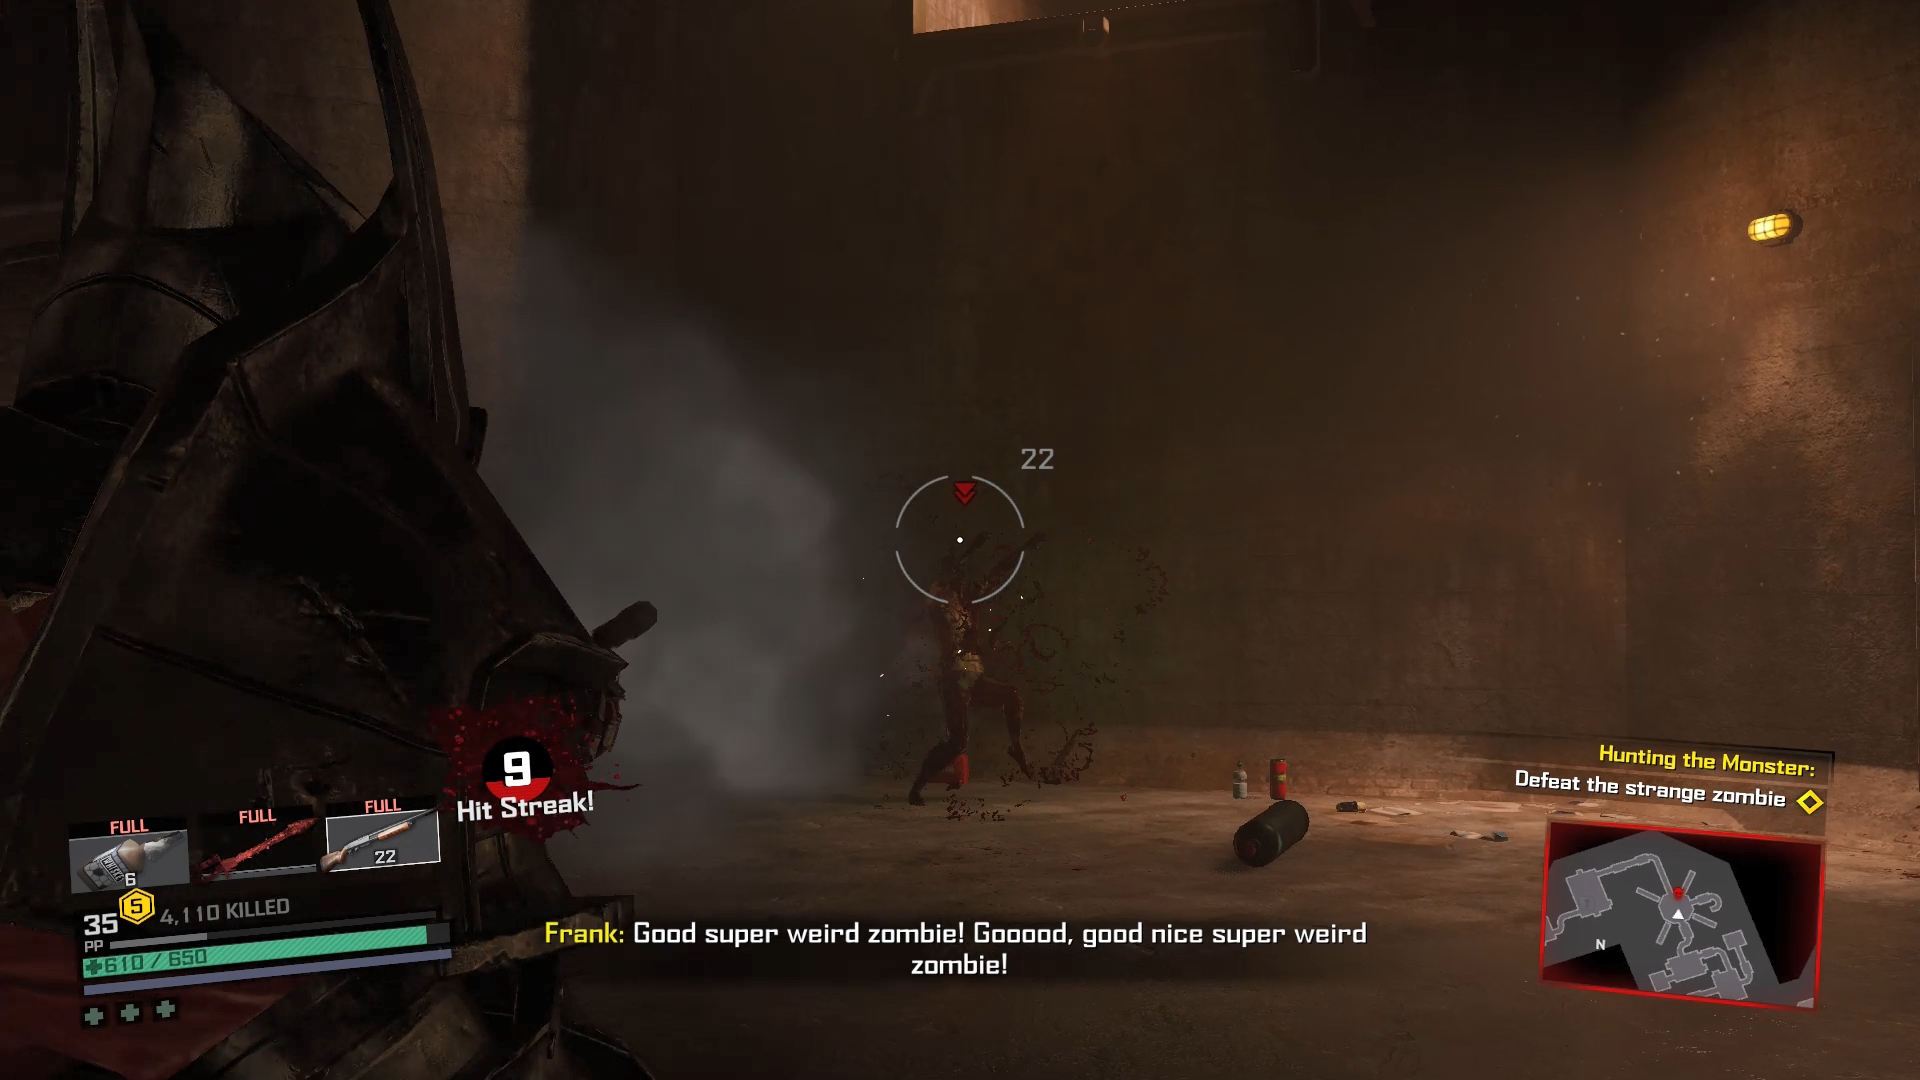
These are Evolved Zombies, and despite their looks, aren’t too bad. They are fast and can absorb a lot of damage though so the best strategies are to either use something like a shotgun to knock them down then throw an explosive, or trap them against a wall and use a heavy melee weapon to wail on them. The Blast from the Past is a useful one here. Once you kill the first one, you’ll be faced with a couple more, plus some regular zombies. The room is littered with explosive barrels and cans, so stay on the move and use these to your advantage. Any heavy weapons such as the LMG can make short work of most of the bad guys here, as can any combo weapons. One they’re dead, you’ll get a call from Blackburne telling you to come meet her.
Tracking the Signal
Use the shortcut to get back to the underground parking garage, then follow your objective marker to get to Blackburne. When you get to the house, there will be a good number of zeds, plus a few Obscuris soldiers, including an exo suit guy. Use the zombies to your advantage and let them distract the soldiers as you run around and kill them all.
![]()
When that’s done, head inside the house to meet with Blackburne. After the cutscene, you’ll need to complete a short investigation where you only need to take a picture of the picture in the frame. Then you’ll be given an exo suit to help you clear the hoard. Use the ice upgrade in the garage and then set to work. The melee from the ice upgrade is ridiculously powerful at crowd control, so just wade in and start killing zeds. You can rack up absurd hit counters during this, as well as gain about 10 levels (no seriously) so get your money’s worth out of the unlimited exo suit power and destroy everything.
![]()
Exposing Barnaby’s Secrets
Once you get out of the housing estate, you’ll be giving the objective to go to the winery. When you get there, you’ll find more Obscuris soldiers guarding the place, take them out as per usual then head inside.
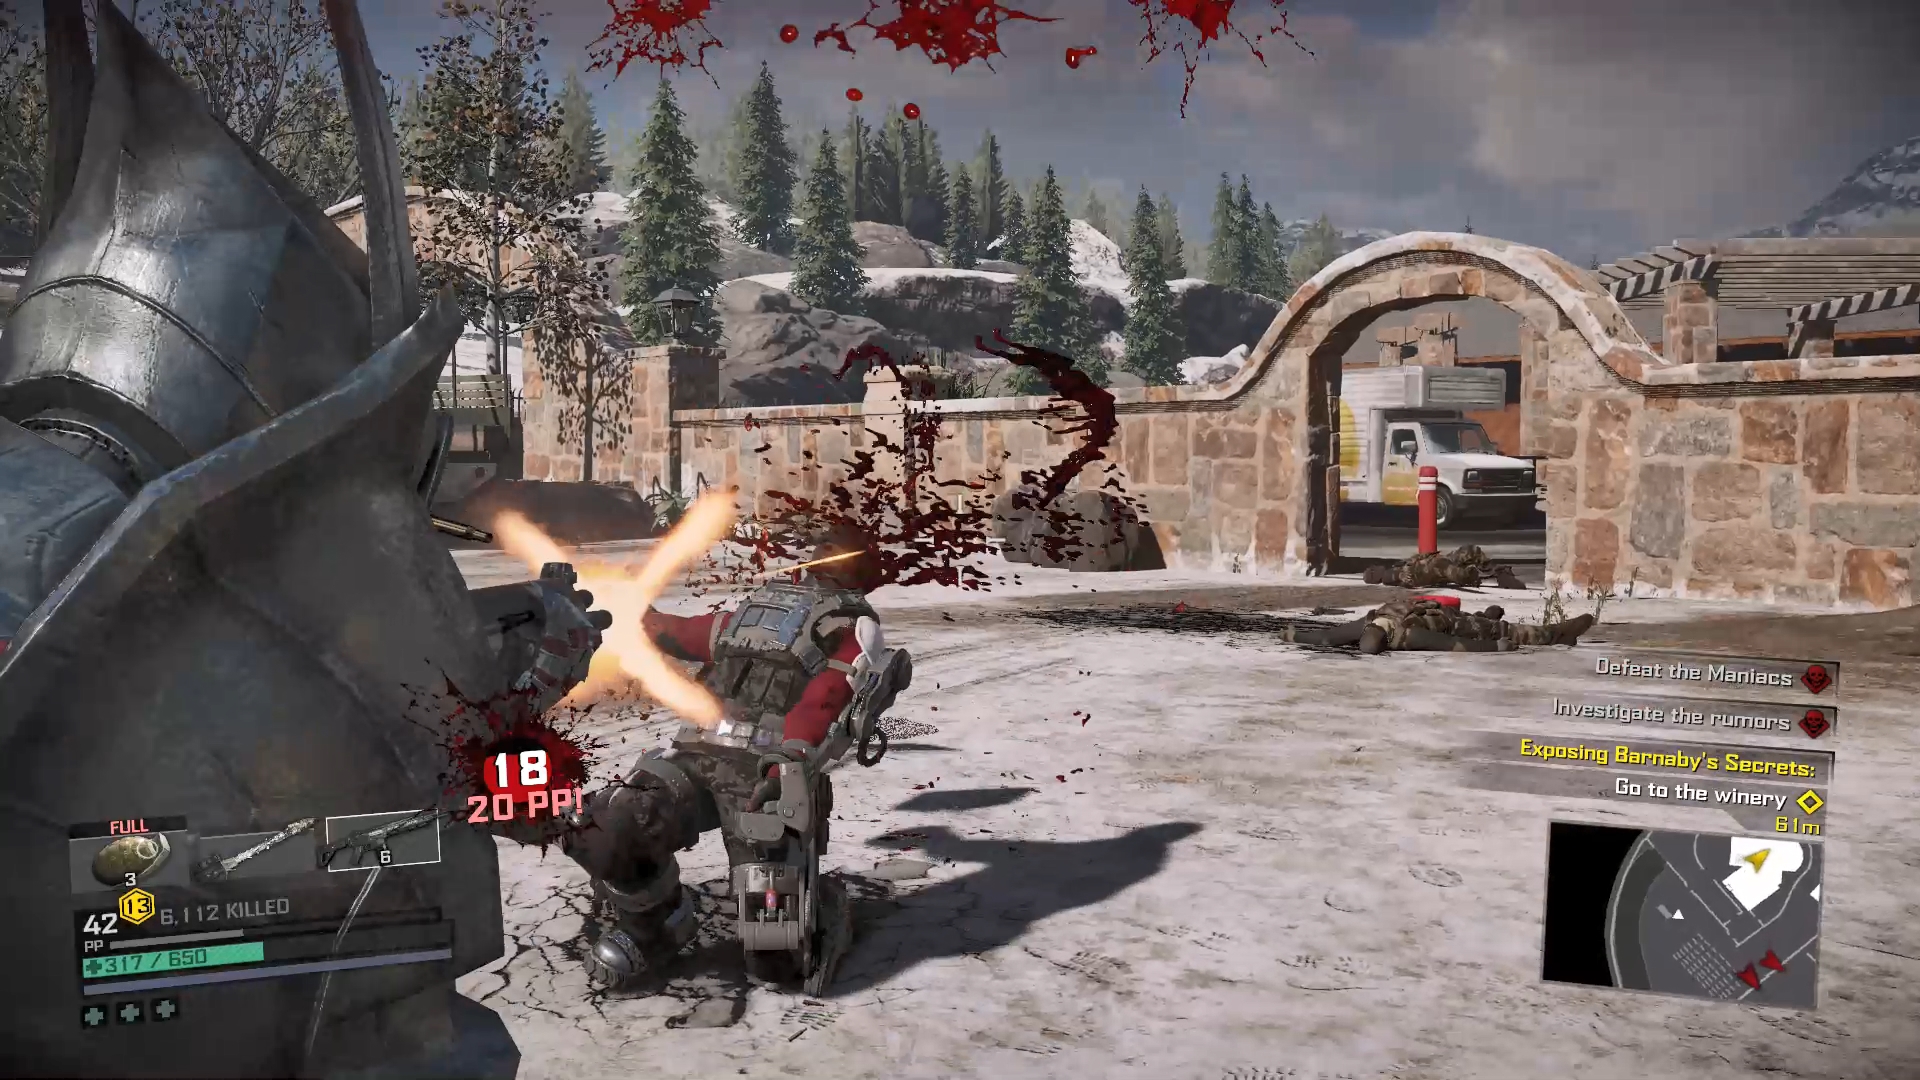
Go downstairs into the wine cellar, then follow the blood trail to the back of the room where there’s an empty wine barrel that’s been destroyed to reveal a corridor behind it. Go through here and you’ll come out in Barnaby’s lab. This will start an investigation.
To complete it you’ll need:
A picture of the filing cabinet will open drawers
A picture of the damaged server box
Use the analyzer on the safe in the office to open it, then take a picture of the inside
With that done, wait until your objective changes then investigate the other door. Head through it and inside the chamber to start a cutscene. When it’s over, you’ll have to survive until the countdown finishes. This fight is much the same as the one you had in the sewers, and the same tactics work. Stay on the move, use heavy weapons against the evolved zombies and use the explosives dotted around the room to control the regular zombie population.
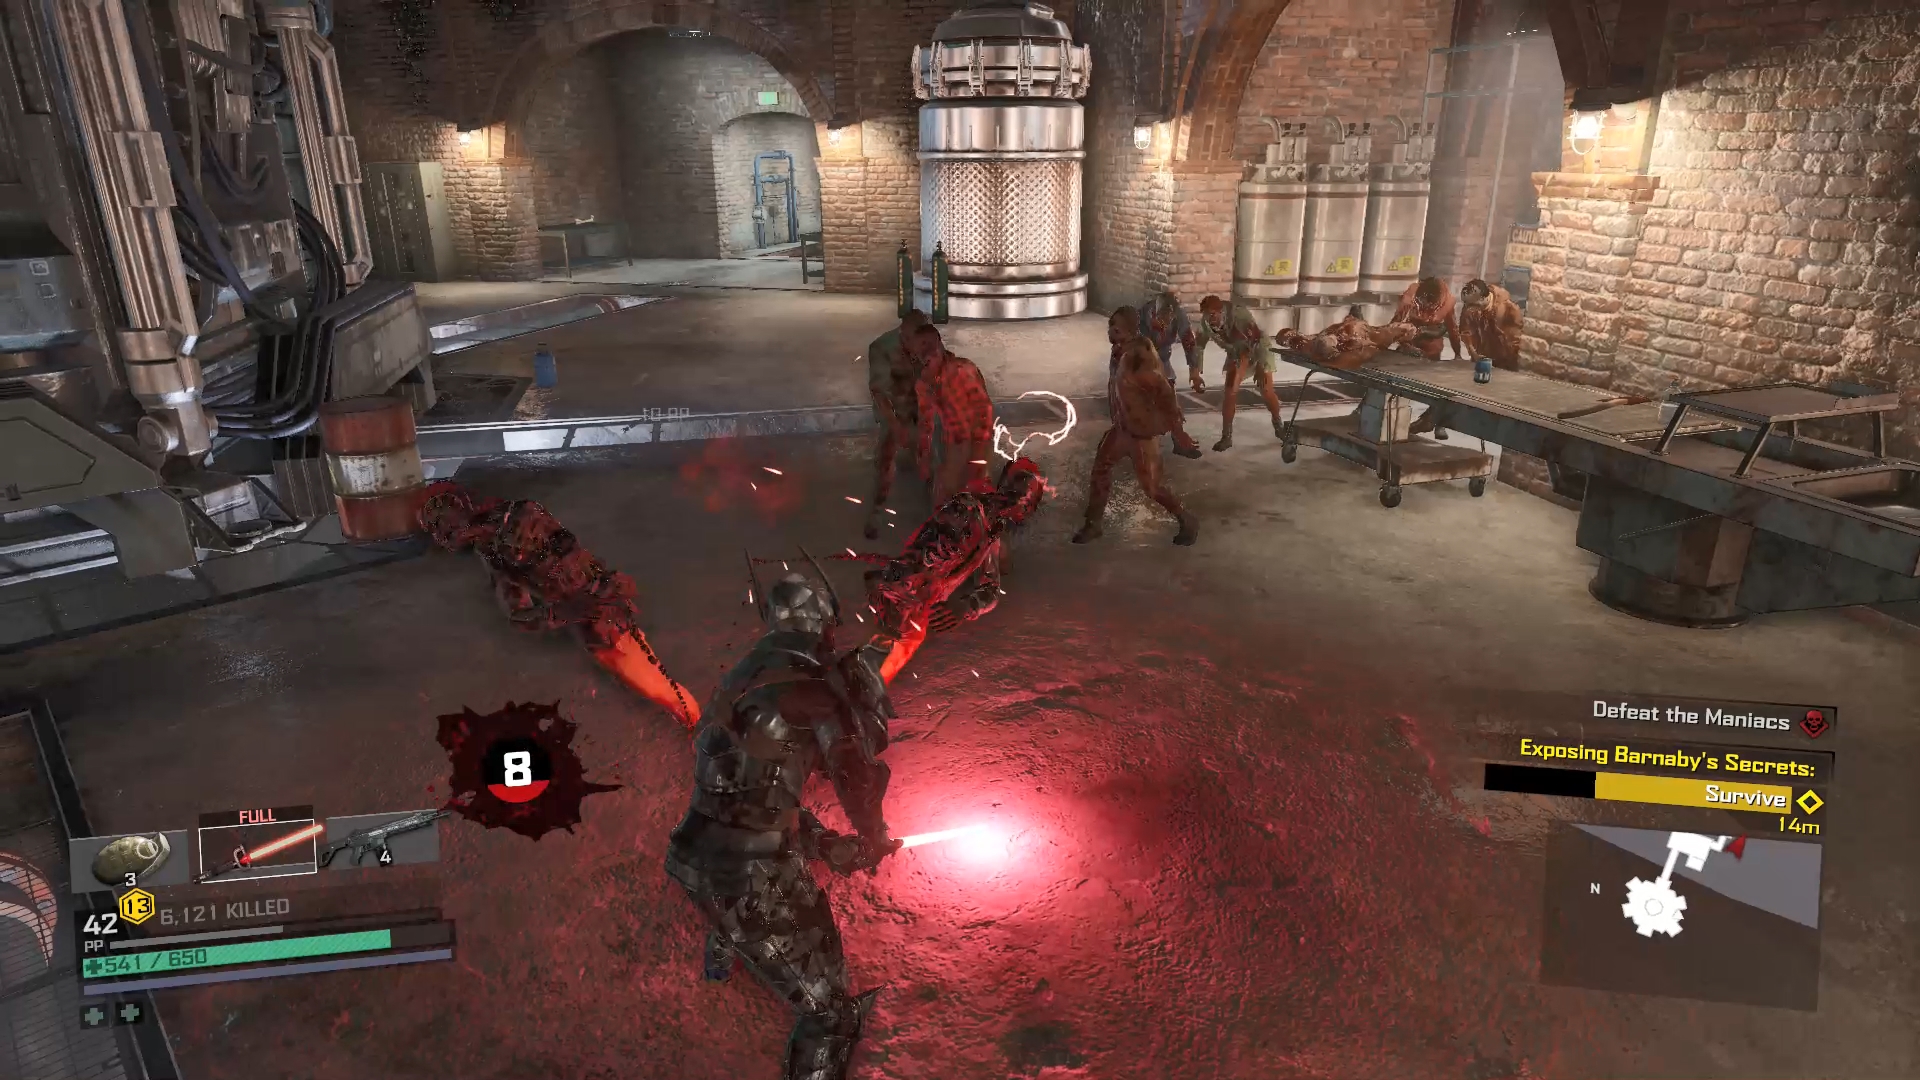
If you have crowd control combo weapons like the Blambow, Laser Sword, Blast from the Past or Ice Sword put them to good use, but you really don’t need them to survive. Keep yourself alive until the counter runs down then sprint for the door when it opens to finish the fight, and this Case.
