MISSION 05 – Unconfirmed
Advised weapon combo: Battle rifle + light rifle/ DMR —> Incineration cannon + scattergun (warden fight)
Skulls: 1
Intel: 7
Objective: Find Blue Team
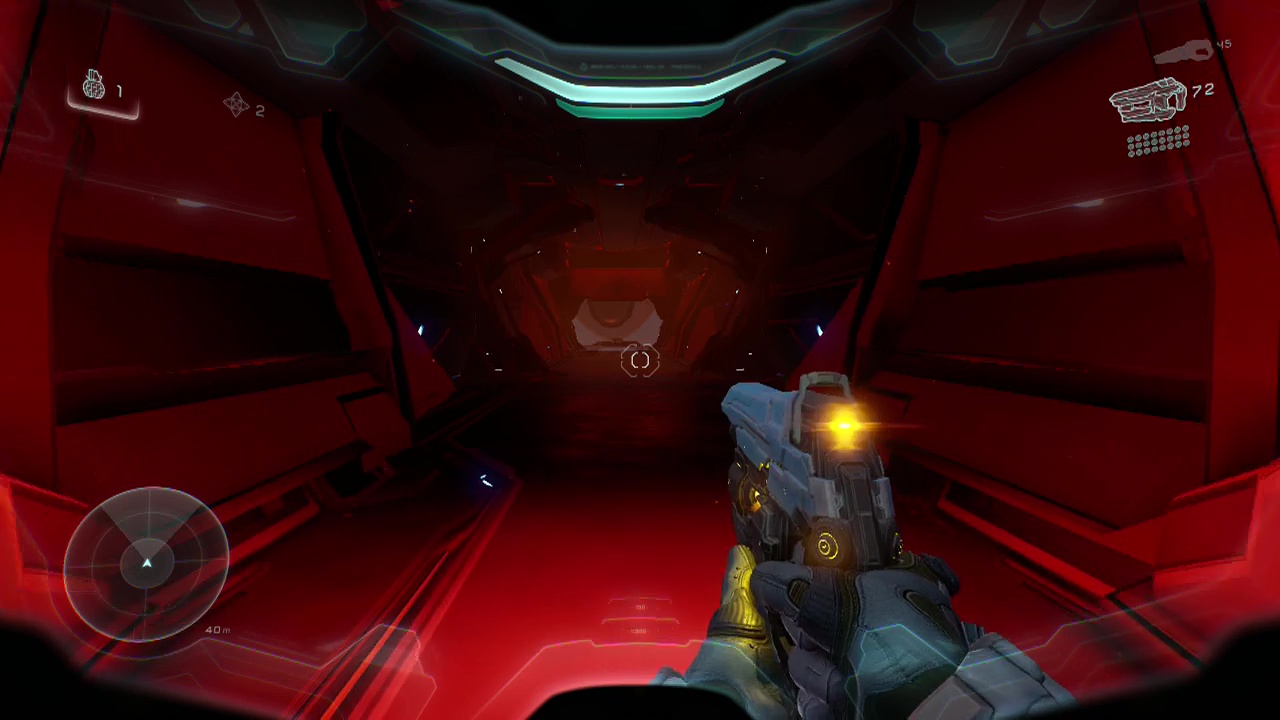
After jumping down out of the pelican as the mission begins, check your weaponry to see you start with a battle rifle and a magnum. Follow the left wall around until it juts out, then circle around until you are in the left corner of this part of the wall to find some intel amongst the rock debris in the corner. Advance up the stairs directly ahead of you. Taking the first door on the right will lead you to a small room with a battle rifle inside (although you shouldn't need ammo for it at this point, you can come back if you need to refill your ammo). Back at the top of the stairs, looking at the far left corner of this room will net you a splinter grenade. Entering the room at the far right with lines of chairs, you'll spot another piece of intel sitting on one of the chair armrests.
CHECKPOINT
Trundle up the second set of stairs leading upwards to find promethean forces attacking the colonists. Three or four crawlers will be at the main entrance (with another couple on the street below firing at you from range). You can pick up a battle rifle from the fallen colonists on the floor here and start laying into the crawlers with head-shots (easy at such close range). Keep in mind that there is a chaingun turret on a lower platform against the left wall which will come in particular use against the next wave of enemies.
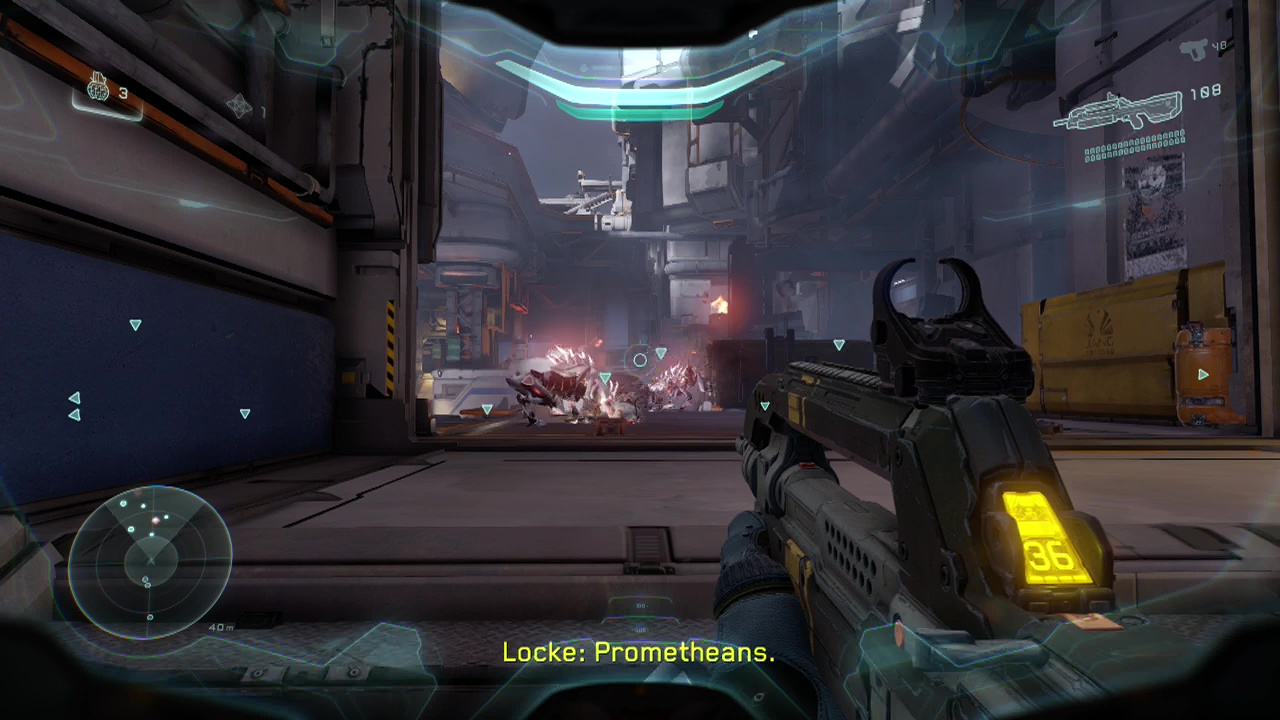
Take advantage of it if you can. There is also a hydra in a case on the ground on the balcony to the right, along with an ammo cache to refill your assault rifle at. One interesting thing you can do here is get your team members to pick up powerful weapons (like the hydra launcher) for use during the level. Just look at the weapon and press up on the D-pad to get them to pick it up.
As soon as the crawlers go down, two soldiers will begin teleporting in surrounded by another four or five crawlers. Use your battle rifle to deal with the soldiers while emptying your magnum or assault rifle into the crawlers. Use the crates to the right as cover when you need to to avoid the hail of crawler fire. As usual, focus fire on the soldier's heads immediately after breaking their armour (when they glow red and are stunned for a second) for a one hit finisher with the battle rifle.
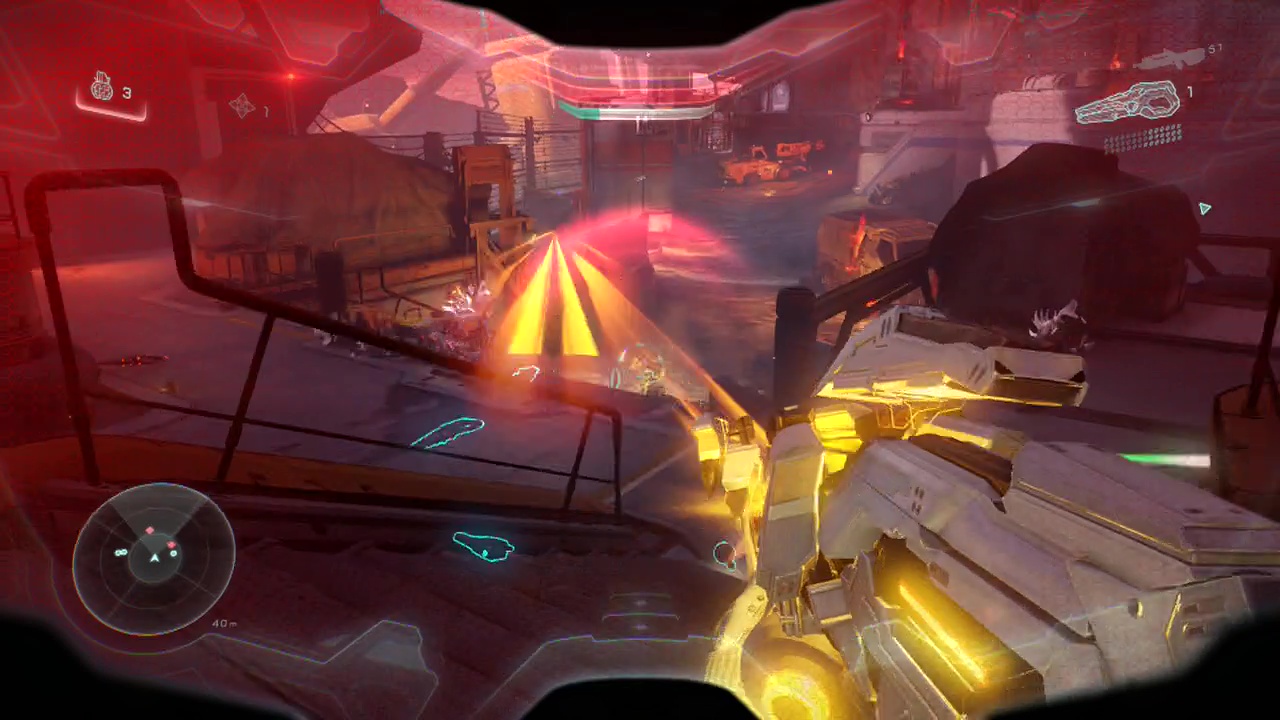
Remember to use the turret against the left wall if you want to clear them faster. You can jump on and off it, using the crate next to it as cover if the incoming attacks damage you too much. More crawlers and soldiers will spawn in as you start thinning out the second wave of enemies. Don't forget to grab the turret from the ground and use it when it is destroyed by incoming fire. When the area is finally cleared of enemies, you may want to pick up one of their light rifles, as you are going to be dealing with promethean enemies for the rest of this level. Note that there is a DMR on a balcony to the right halfway along the street if you want to grab it, just keep in mind you are unlikely to find much ammo for it, so be prepared to swap it out when it runs dry. There is also a battle rifle on the crate to resupply you. In a small room slightly closer to the street entrance than the DMR, immediately to the right of the stairs you went up to reach the street, you can find some intel on a set of seats next to the wall.
CHECKPOINT
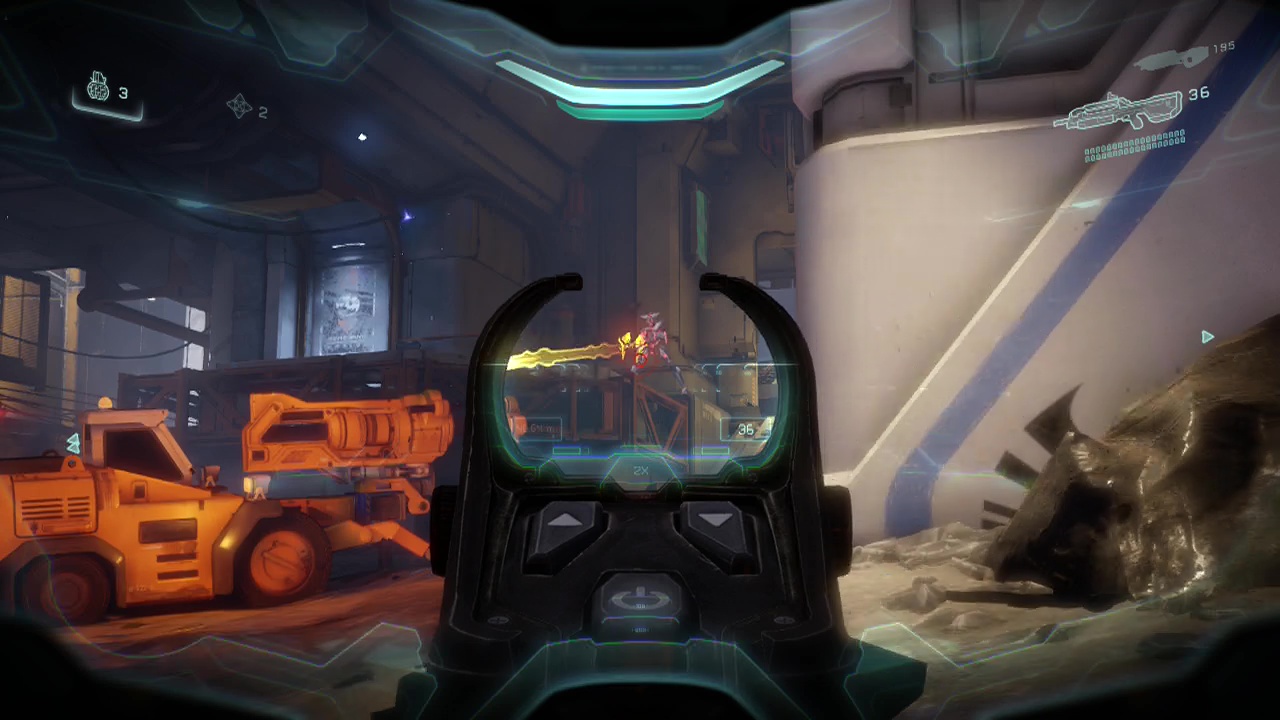
Moving forward along the street will bring you under the fire of a lone soldier on a ledge further ahead, but he should be easy prey to your battle or light rifle. As soon as you get close to the ramp leading back inside the complex at the end of the street, more enemies will spawn in. A soldier with a splinter turret, as well as another trio of soldiers that will try to flank you using the catwalks on the sides of the area. Immediately focus on the soldier with the splinter turret as his shots deal massive damage, making him the biggest threat. Once he is down, you can turn your attention to the remaining soldiers. Bringing them down with the usual tactics of battle/ light rifle head-shots. Make sure to reload your light rifle from their fallen weapons
CHECKPOINT
Head up the ramp into the complex once again, to see crawlers running around on the level above at the top of some nearby stairs. You can jump up over the railing on the right after entering the door into the complex to find some intel sitting in the corner. Use the assault rifle or recently dropped splinter turret to bring them to heel as you ascend to the upper level.
CHECKPOINT
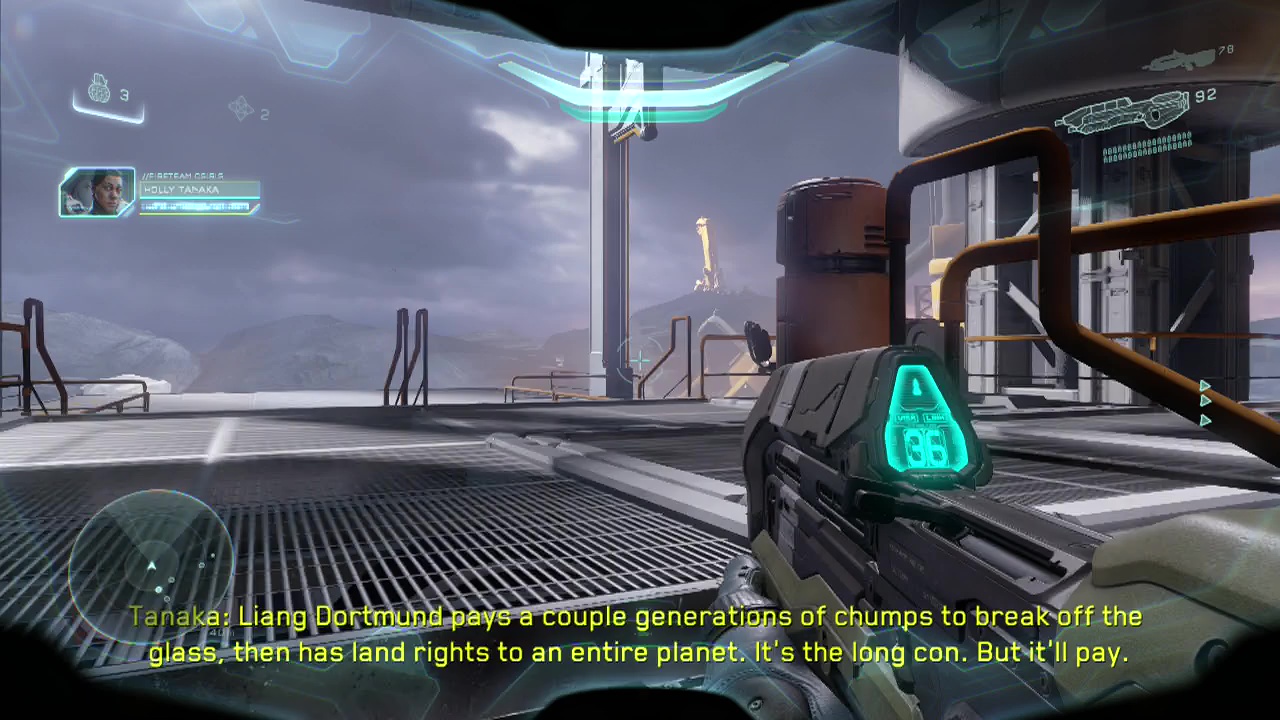
You'll pass by a landing pad as you work your way up several sets of stairs leading to the upper area overhead.
CHECKPOINT
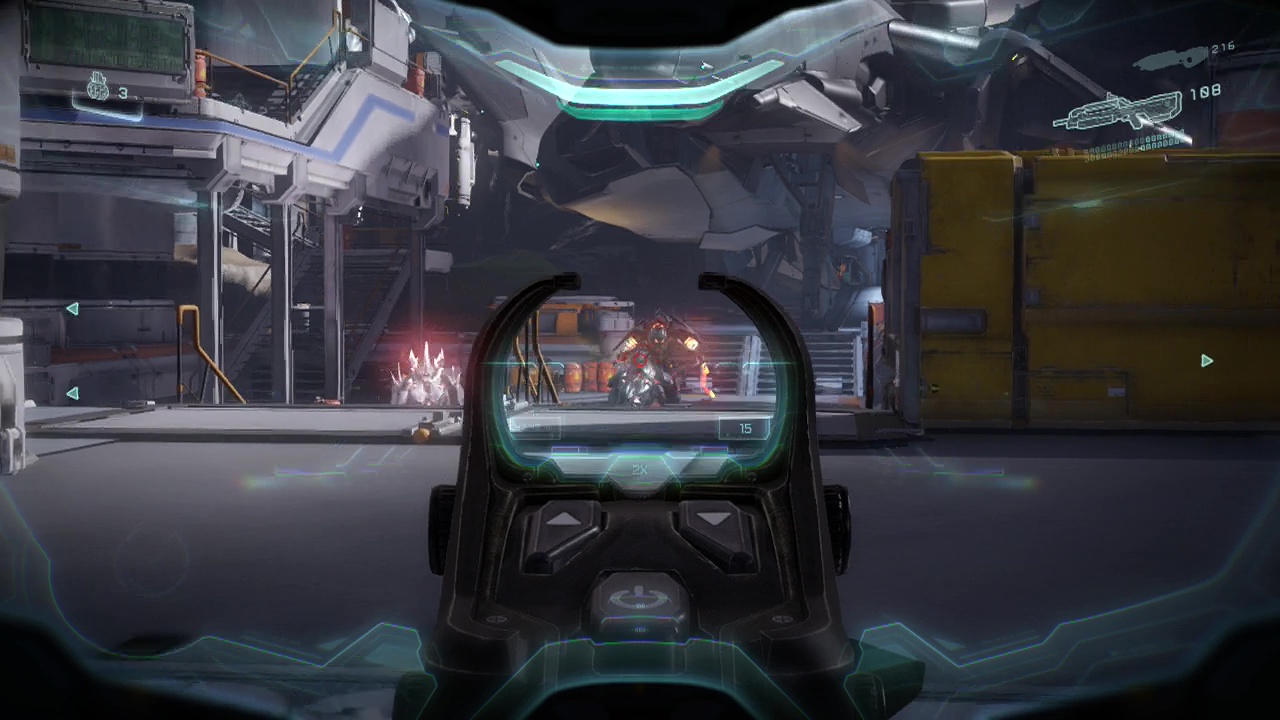
At the top of the final set of stairs, you'll be facing a large area with a ship (prowler) hovering above the ground in the center. Your attention should immediately be drawn to the knight in the middle of the area, surrounded by a two or three crawlers. Before opening fire on the knight, deal with any crawlers that get close and look for a watcher (hovering drone that fires at you as well as repairs the armour of and shields damaged promethean enemies). As soon as you see it, open fire on it as destroying it will make dealing with the knight much easier as leaving it alive will allow it to repair the knights armour, wasting your ammo.
Another watcher will show up as well as another knight and crawlers after you kill a few of the crawlers around the first knight. Take cover behind the large shipping container to the right and peek out to take shots at the second watcher and any crawlers that get close. Be careful here as the knights occasionally like to charge you in this position, which can result in a quick death. If you continue along this right walkway and up the stairs, you'll find a hydra launcher which can be very handy against the knights, just make sure you destroy all the watchers first.
You'll also see an SMG on the ground here as well if you want to use it. You can use this position to flank the knights by getting your team to focus fire on them either from below or up here, flanking the knights yourself while they distract it. Further along this platform/ walkway, you can find a shotgun as well, which can be nice to have if the soldiers get in your face. When nearly everything is dead, three or four more soldiers will spawn in from the stairs opposite the ones you arrived from. Continue your battle against the knights and these new soldiers. Once the area is clear, a new wave will warp in.
CHECKPOINT
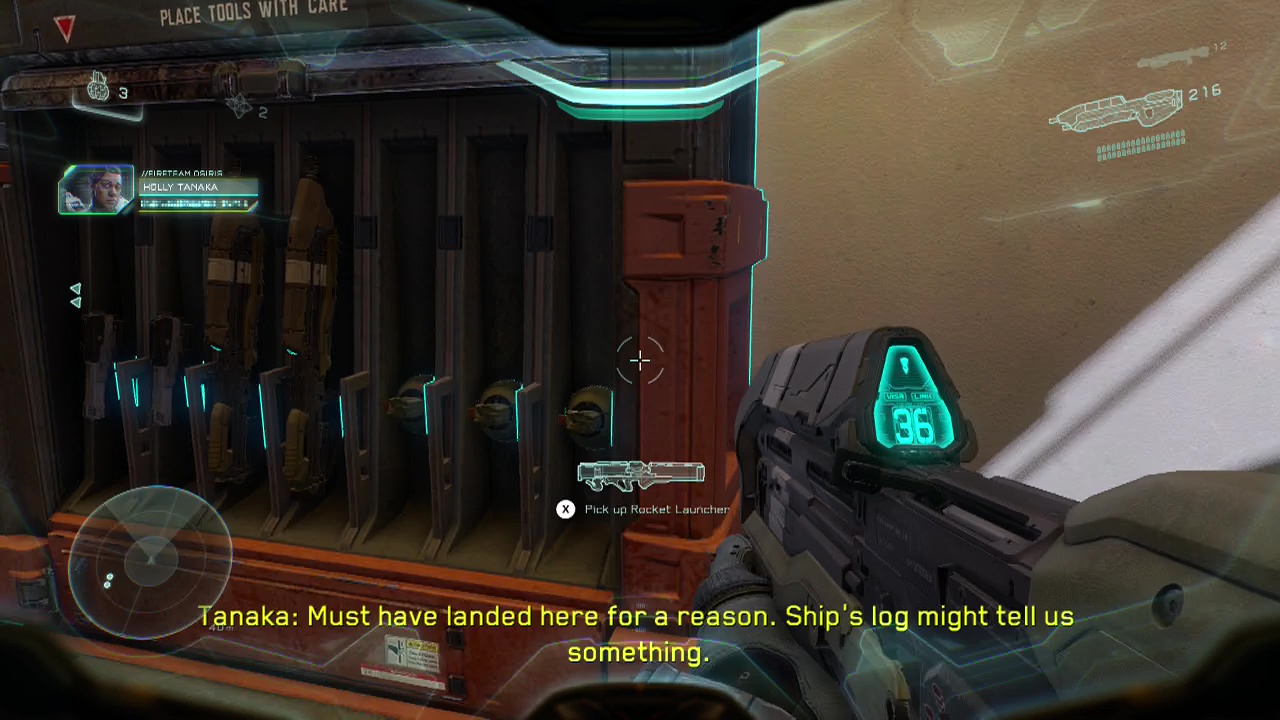
This wave will include two watchers, as well as four soldiers to deal with. By now you should have plenty of practice bringing down soldiers. Work together with your team focusing on one at a time with mid range weapons, while dodging into cover when the others shoot at you. Keep whittling their armour down and you'll emerge victorious when they dissipate upon death. Don't forget the light rifles they drop if your battle/ light rifle ammo is running low. After the area is clear, you can take the time to loot it. Look under the stairs against the left wall to find a weapon cache, as well as a rocket launcher just lying on the ground beside it which might be worth giving to one of your team. There is also a DMR leaning against a concrete barrier just in front of the prowler's ramp. Up the stairs above the rocket launcher, you can find another hydra launcher in a case as well. Before entering the prowler, you can use the raised platform on the left hand side of the area to jump onto the top of it, moving all the way to the back to find some intel just above the rear thrusters (how the hell did it end up there?).
CHECKPOINT
Objective: Investigate prowler
When you are done exploring, head up the prowler's open ramp to find a stash of weaponry (sniper rifle and grenades), as well as an access panel. Interact with it for some additional information on a potential lead on Master Chief's whereabouts.
Objective: Pursue Chief and Blue Team
Looks like were heading into the mines. Unfortunately these ones aren't made of cubes that you hit with a pick-axe. Use your objective location to find a marked door nearby to head through.
CHECKPOINT
Inside the entrance corridor, you'll find a case with a DMR inside at the first corner. Be careful moving through the next door as several promethean snipers are at the top of a nearby hill, preparing to fill you with lasers if you poke your head outside. Look through the left door to see a crate outside with a sniper rifle on the ground next to it. You can use this or the DMR pointed out a second ago to begin dealing with the snipers shooting down from the balconies up the hill, using the large crate for cover.
You should also notice a grate in the wall to your right from the crate. You can break through this and climb up the pile in the small room to reach an upper path that has cover you can use to approach the dug in enemies above, however make sure you thin the snipers ranks a bit first or you are likely to be gunned down almost instantly as you sprint between cover. Keep sniping the snipers until there are only one or two left and then take this alternate path. From the upper pathway, you should be able to get off shots at the remaining snipers and soldiers more easily.
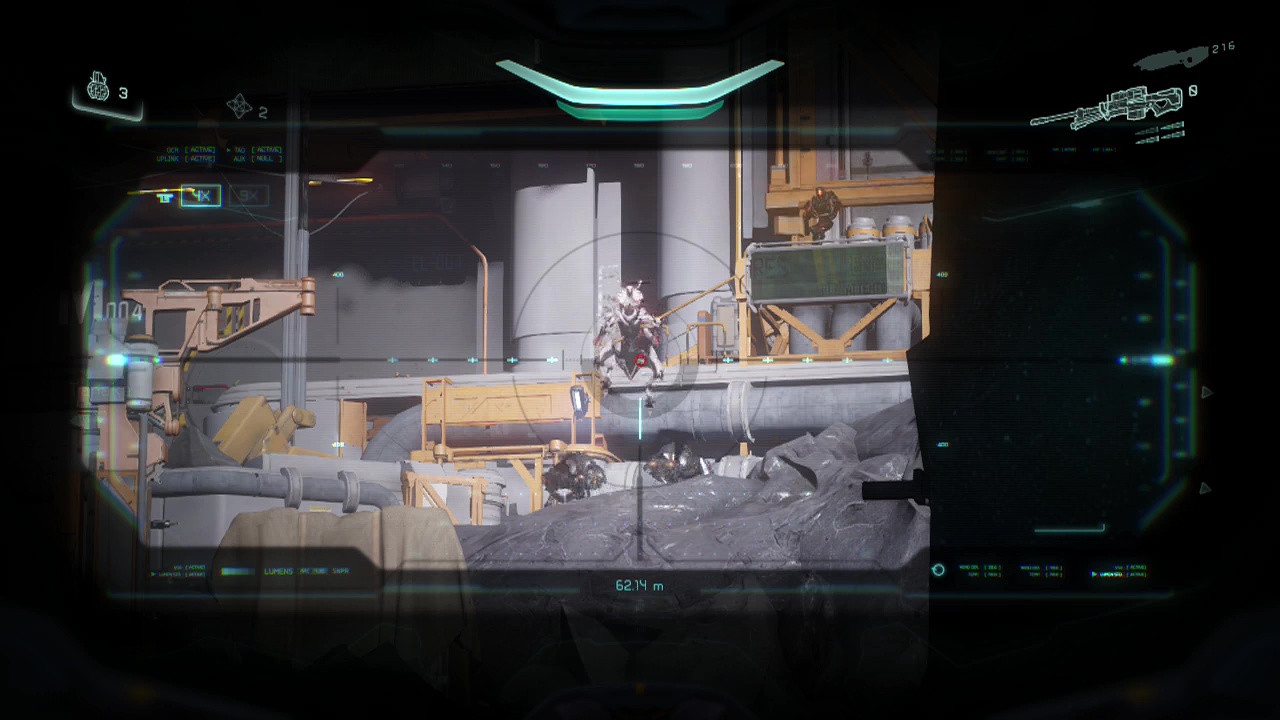
When the top of the area is secured, examine the small yellow building with a grate on a wall inside. Smashing through it reveals some intel, a railgun and frag grenade. The railgun is worth taking along if you've exhausted the earlier sniper rifle and DMR, although if they still have ammo take one of them instead. With that out of the way, head up the ramp into the entrance of the mine proper. You'll want to walk along the raised ledge on the left, looking up and at the opposite wall to see a walkway you can jump up to. Duck down through the hole in the beams to the right and then you'll find a short rock shaft with the skull at the end. Drop back down to the main path and when you reach a large closed metal door, a checkpoint will trigger before it slowly opens.
CHECKPOINT
As soon as you take a step or two past the door, soldiers will begin to open fire from ledges in the room. Concentrate on taking out the sniping soldiers on the walkway on the left side of the area (where they tend to appear), use the red glowing lines to focus on them. Your railgun/ DMR/ sniper rifle should allow you to bring them down in rapid succession. Just aim carefully with your railgun shots if you're using it because they like to move around a fair bit.
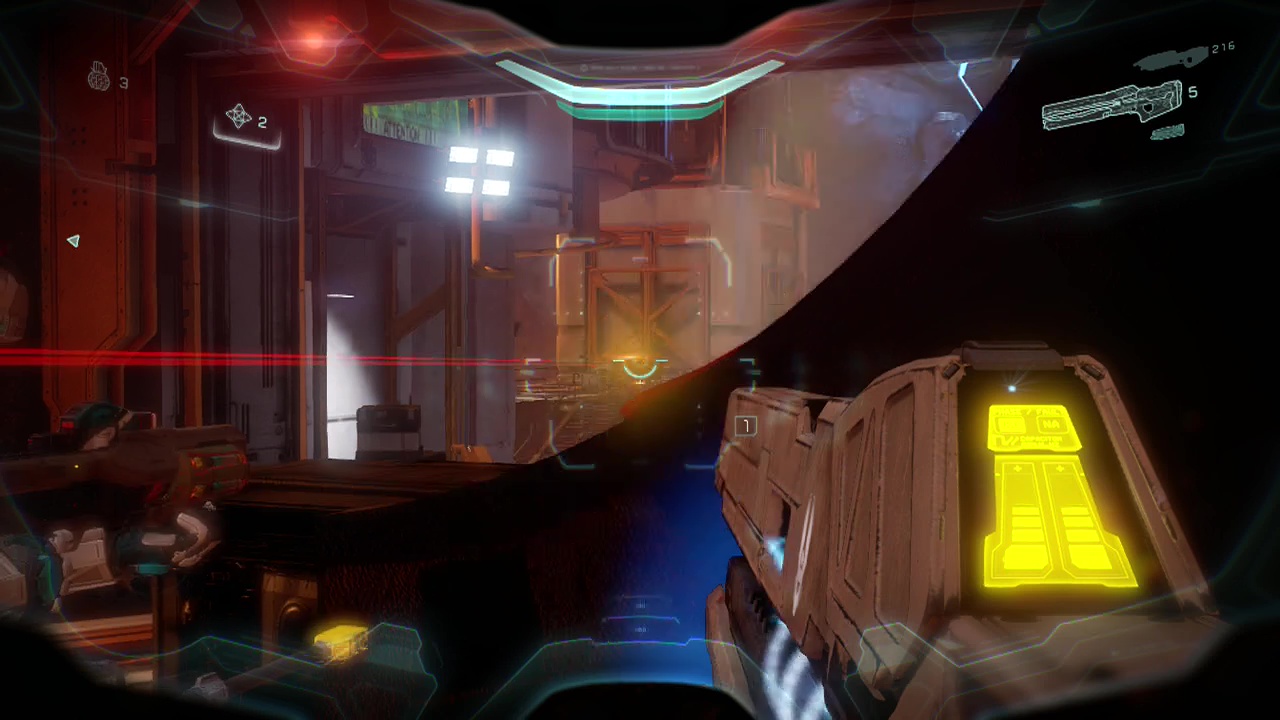
With the two sniper soldiers to the left out of the way, you can start taking on the regular soldiers in the main central section of the room. Work your way forward, emptying your remaining ranged shots on the soldiers ahead. You can find a SAW on the steps directly in front of you. Taking those steps up to a platform will net you an ammo cache with more SAWs in it, so feel free to swap out your assault rifle temporarily to unleash some mayhem. Before moving forward further, enter the small room next to the ammo cache to find a console you can interact with to activate the area's auto turrets, making your life much easier.
Direct your squad with covering fire from the turrets to quickly mop up the remaining enemies in the surrounding area. More crawlers and soldiers will run forward through the gap between halves of this large area, with you waiting for them. When the smoke clears, the this half of the area the bad men should be pacified with extreme prejudice. And if they're still in there, they ain't happy. Before moving forward onto the second half, return back to the top of the ramp next to the large metal door you entered the area through and look for a large set of four pipes on the right side of the area, you'll see one rise up as a ramp you can ascend to reach a raised area on the right side. In the corner of this area is a bit of intel to grab.
CHECKPOINT
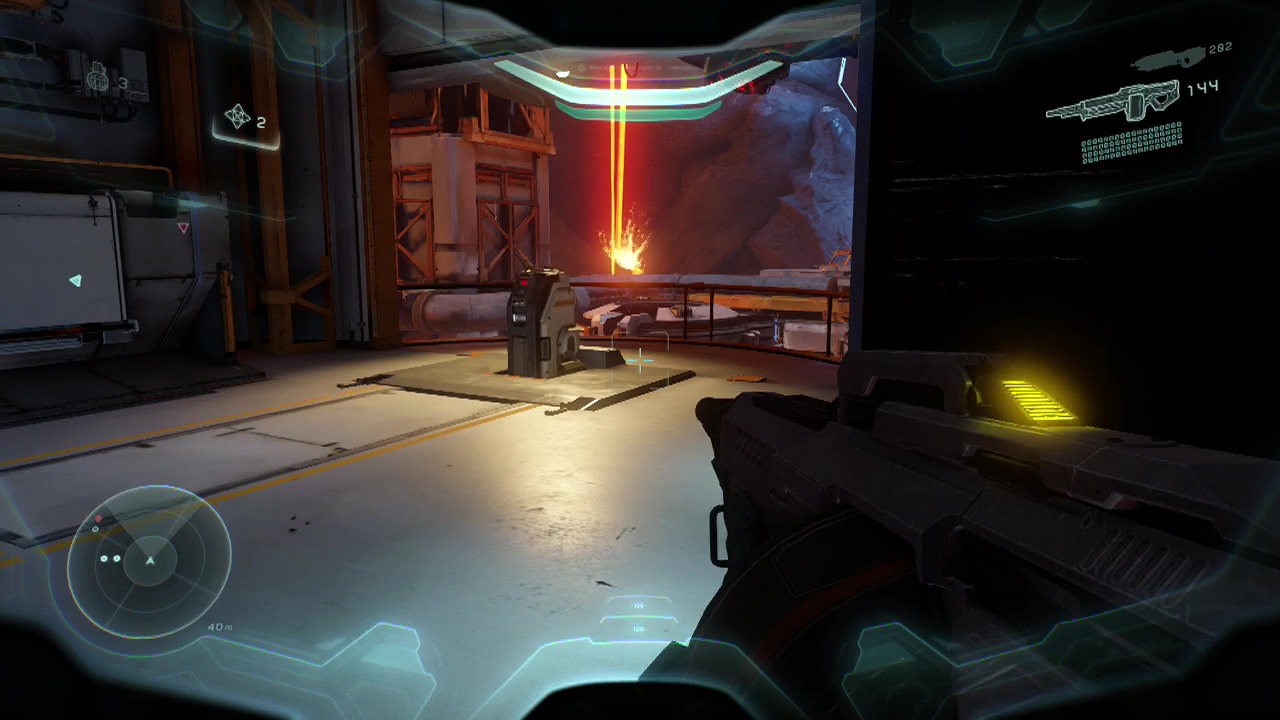
You can pick up one of the binary rifles dropped by the sniper soldiers or a sniper rifle on the ground next to them on the platform on the left hand side before continuing forward. Jump down onto the group of four large pipes which act as a path below, next to the platform where the sniper soldiers were. Jump up onto the large platform in front of you at the start of the second half, and you should see a rocket launcher lying enticingly against the wall. Get one of your team to grab it as the next wave of enemies appears in front of you.
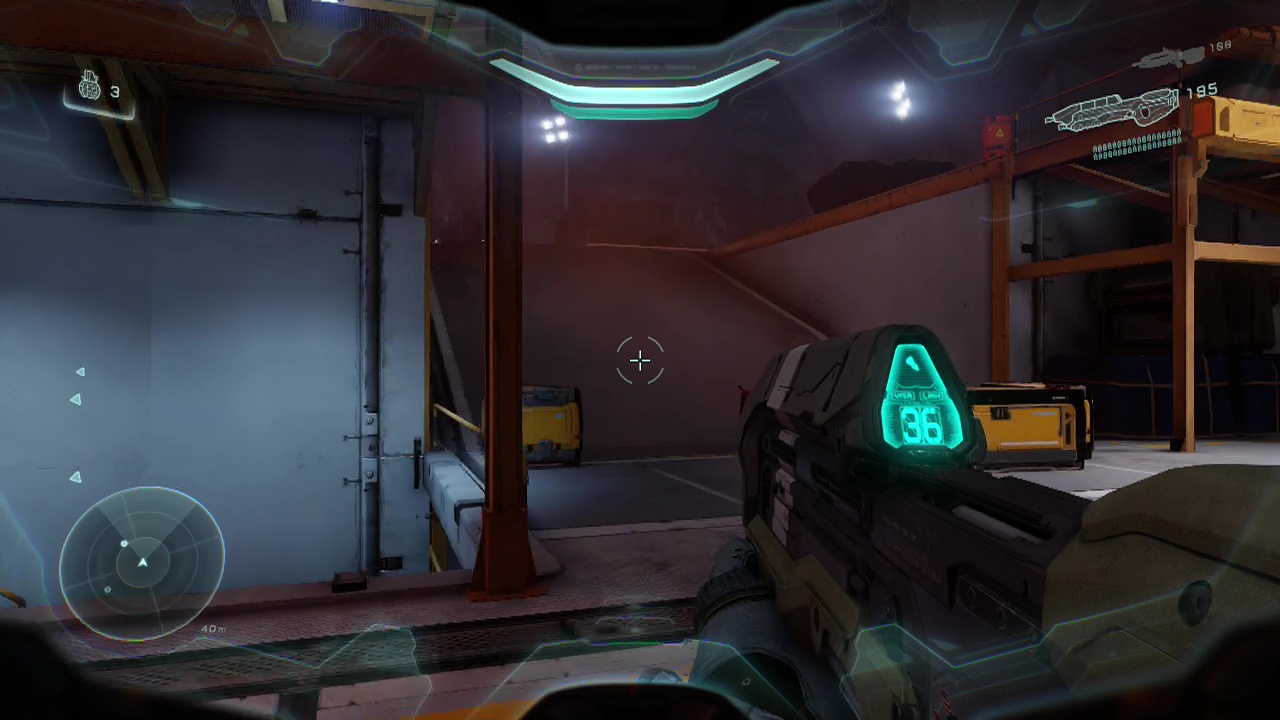
Use your good cover position to start unloading your sniper/ binary rifle on the soldiers below. Don't move forward using the crates in the open area below. Why? Because it is very easy to get flanked and your AI companions will get strung out and killed in the open, leaving you solo. When the first wave of soldiers is taken care of, move to the left side of the large platform and move slightly down the stairs to trigger the next wave before backtracking to your previous position. This second wave contains a decent number of crawlers which will rush your position, so use your SAW or assault rifle to clean them up when they get close. The additional two or three soldiers can be mopped up with your long range weapons afterwards.
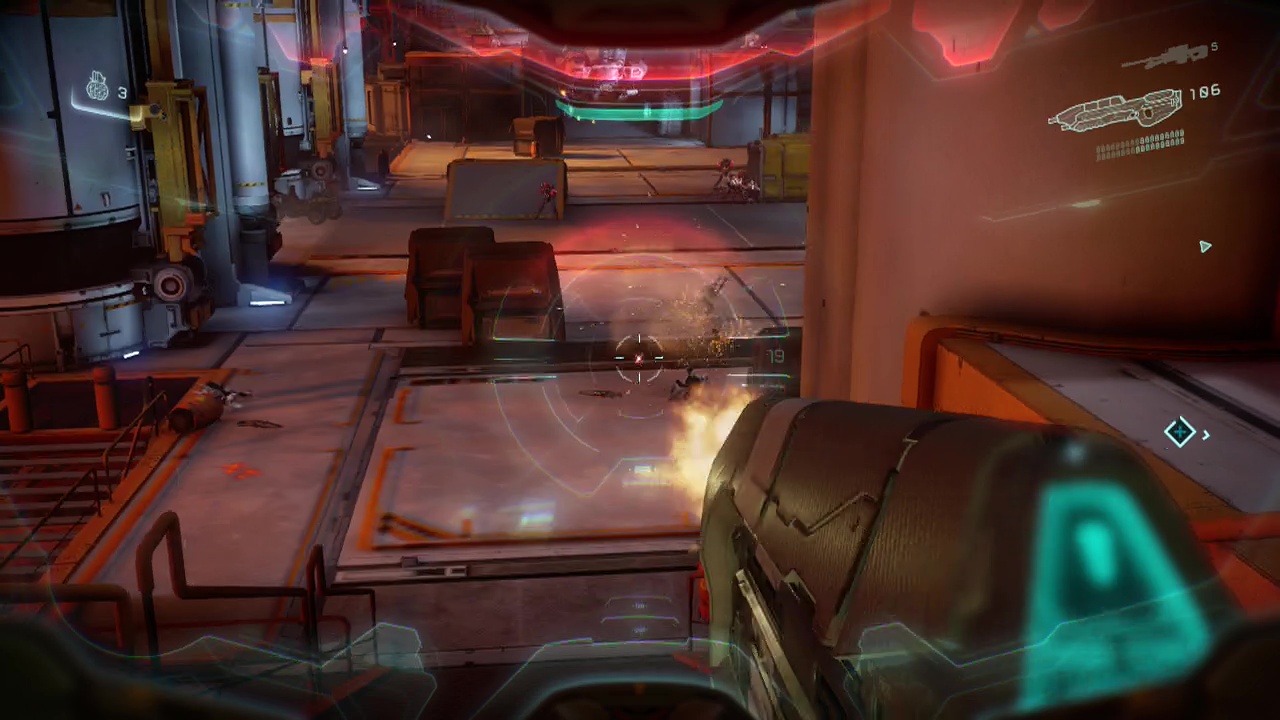
Another wave of crawlers and a couple of soldiers will warp in as you begin to run out of enemies from the second wave. If you run low on ammo around this point, you can run down to the large crate closest to you on the right side of the open area. In between this crate and a smaller crate next to it you will find a battle rifle. On the wall directly behind you is also a weapon cache full of assault rifles and SMGs that you can use to resupply. When the dust clears and the enemies are dead, you can continue past where the weapon cache was, past the large mining vehicle to find a SAW sitting on a box. On the opposite (left) side of the area is a lower catwalk that leads to a shotgun as well.
In the middle of the area (just in front of the slope leading up to the next section) is a set of stairs leading down to another SAW. Finally, you can also find a railgun behind some crates next to the ramp at the far end. When you're done restocking, start up the slope to the upper area at the back.
CHECKPOINT
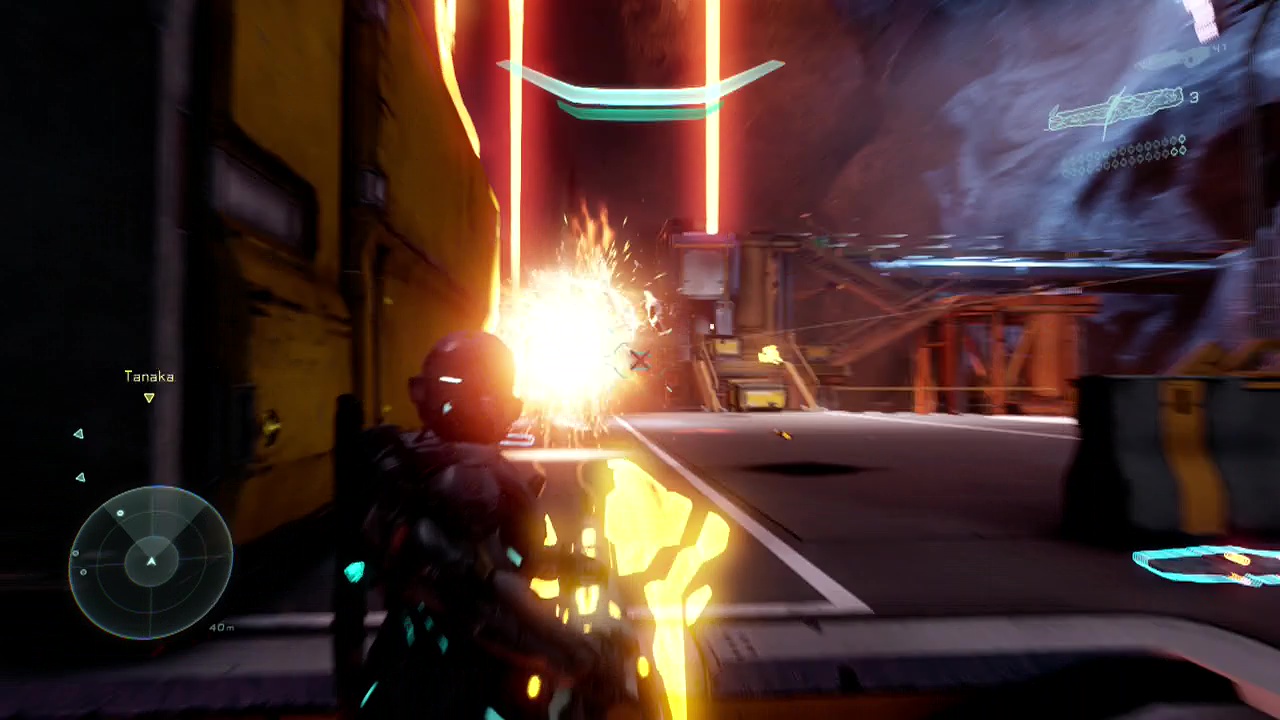
You'll see a regular soldier waiting for you to your left as you reach the top of the slope, he isn't the real threat however. Two soldiers wielding splinter turrets, as well as a knight on the other hand are. They will be supported by a total of around four regular soldiers, so make sure to keep your team in good cover here or else the two enemy AoE weapons will make mincemeat of them (Ah, fresh meat). Try an take out the splinter turret soldiers first, so you only have one huge explodey weapon to deal with. Your biggest problem will be if the knight's constant charges force you out of cover and into the firing line of the soldiers (or just getting splatted by the knight's weapon too).
Use grenades on the soldiers when they cluster together. Basically ignore the knight and try to bring down the soldiers as quick as you can. When it's just you and the knight remaining, it's a bit more manageable as it's relatively easy to avoid him. If you want you can try and get to one of the splinter turret the soldier dropped so you can finish off the knight quickly. Try to save one of the turrets if you can for an upcoming major fight, as it will make things a bit easier.
CHECKPOINT
When the knight is no more, pick up the splinter turret with the most ammo and start up the stairs and walkway on the left side of the area. Following this along will lead you to a giant pit in the ground below. Before you jump down into it (first reaction, naturally), follow the leftmost walkway to the end to find some intel. Then jump down the hole. You'll see a path here leading down to a lower platform. Walk down to the platform and stand on it to start going down.
CHECKPOINT
======================================================
BOSS BATTLE: WARDEN (first encounter)
Note: Yes, there are no checkpoints during this battle.

Ding, ground floor: men's apparel, colognes and your imminent demise. Have a nice day. Welcome to the first of many battles against the Warden. This guy will haunt your dreams on higher difficulties. While in the video I may take him down in less than a minute on legendary, that was the result of over an hour and a half of attempts at killing this bastard. Enough of my rantings, let's just get through this shall we?
The Warden is an extremely dangerous foe on any difficulty, let alone legendary. He has the ability to summon crawlers or soldiers (he will always summon crawlers first, only summoning soldiers after they have been defeated). He moves faster than you, swings his sword in a massive slash for an instant kill on higher difficulties and has an AoE ground smash that can hit you if you are directly behind him or inside the circular radius. Oh, and he fires instakill lasers from his eyes and summons tracking black holes that explode, killing you unless you have thick cover between you and the black hole. Yeah, I'm serious. He can do all this. And you've got a little pew pew laser/ gun to fight that. Fair fight much?
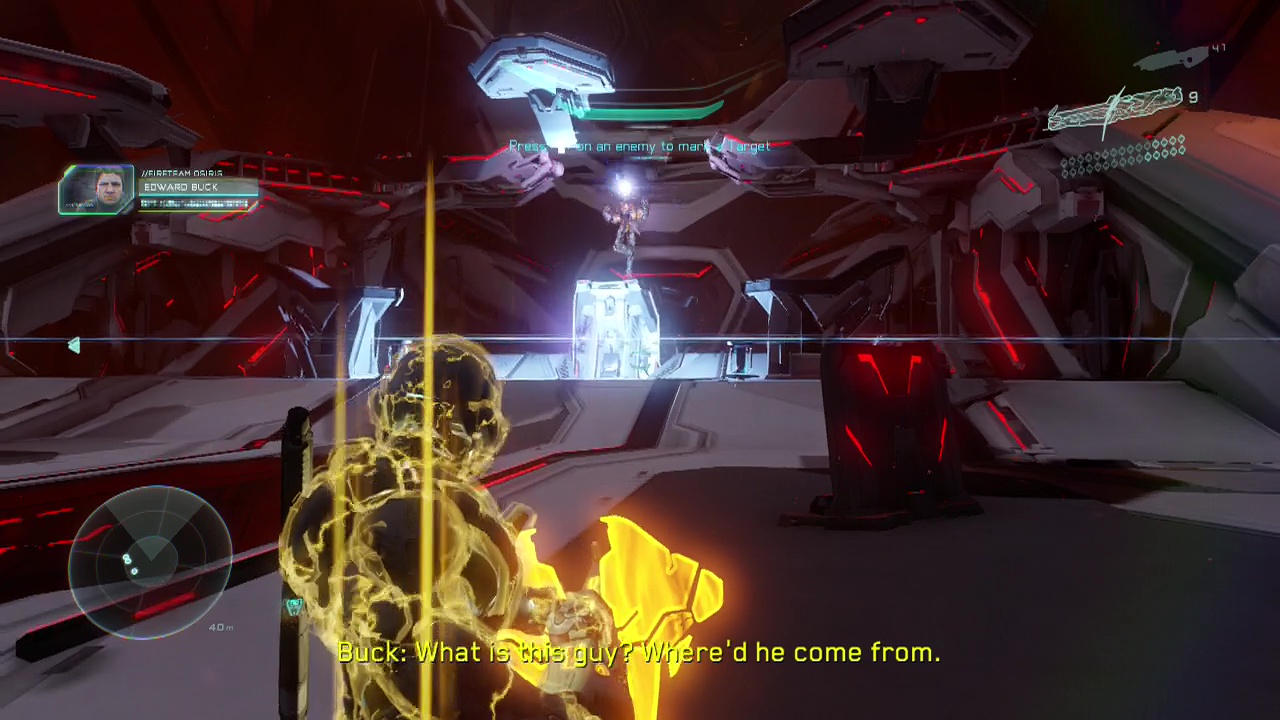
Ok, enough doom and gloom. Let me tell you the strategies for kicking this guy's ass. His weak point is a glowing orb in the middle of his back, which effectively makes your AI companions almost useless as they can't kite effectively. Of course, if you are playing in co-op and have a competent team, kiting should be a fairly simple matter. To get around the AI's lack of kiting ability however, you want at least one (preferably two) things here: Primary item is the scattershot gun. This deals massive damage at close range, meaning around five or six direct hits to the orb will kill the Warden. The second is an incineration cannon. Hitting the Warden with a fully charged blast from this weapon will cause him to be stunned for around three seconds, making it possible for you to get behind him and start unloading your scattershot at his back (bypassing the incompetent AI completely). Note that four shots from the incendiary cannon is not enough to kill this guy on harder difficulties, so you will need to deal additional damage with other weapons (like the scattershot, or competent co-op player's firearms).
There are other ways of doing this, but I found this strategy most effective: As soon as the battle starts, the Warden will spawn in some crawlers. Start moving towards the ramp on the right that leads to the upper area, firing a shot from your splinter turret (that I mentioned you should take earlier) to kill NEARLY ALL the crawlers (leaving one or two alive prevents the Warden from summoning in soldiers and prevents you getting massacred by the crawler's crossfire when you attempt your back attack on the Warden. Drop the splinter turret (use B to dash forward towards the ramp and drop the turret). Sprint to the upper level on the right to find a scattergun. From here you'll see a nearby floating platform with an incendiary cannon on it. Quickly jump across and grab this as well.
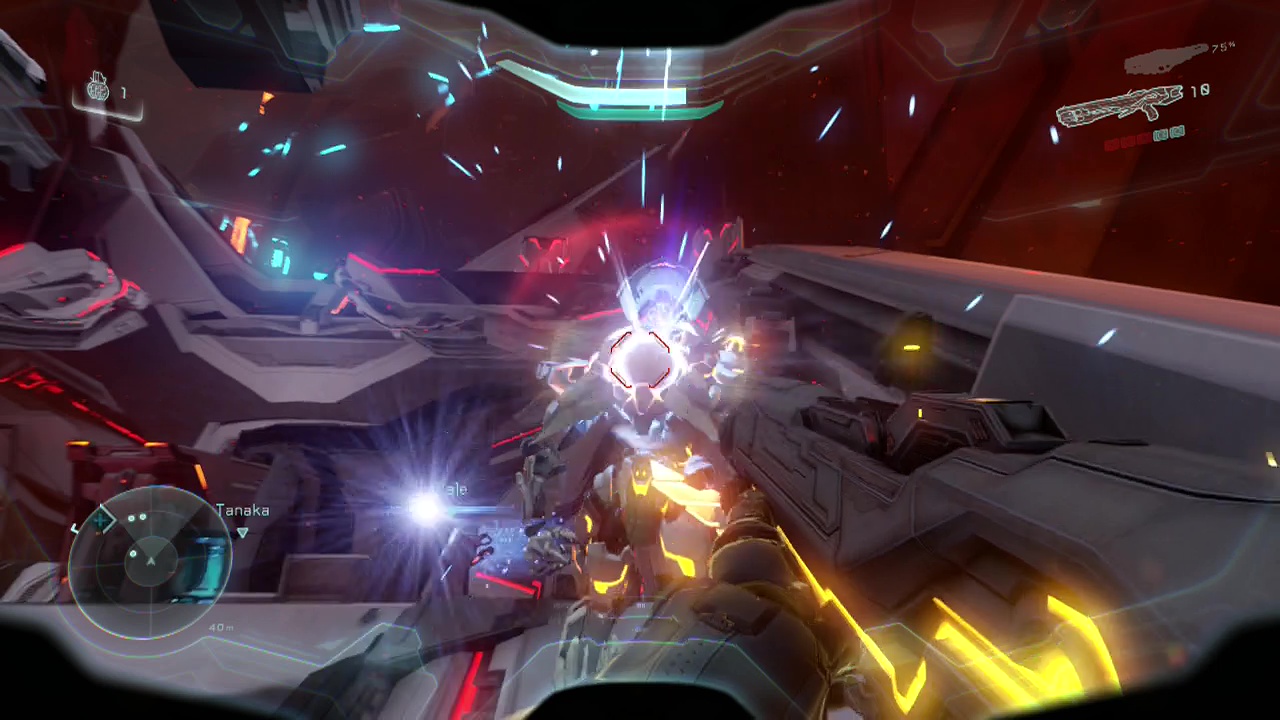
Now you're ready to take on the Warden. Get your squad to target the Warden (hopefully to distract him but don't hold your breath) as you charge up a shot from the incendiary cannon, heading back down towards the warden. When you get close (or he starts to charge his eye beam or black hole attack), release the shot and hit him so he is stunned. Immediately jump/ drop down behind him (not too close as he has a spinning slash move that hits behind him) and start firing your scattershot into his weak point. You'll empty the five shots, but keep firing as a few direct hits will stun him again allowing you to keep damaging him. Of course you could retreat and repeat the tactic, but each time you risk a mistake or him summoning more enemies. Get it right however, and you'll take him down in less than a minute as I did in the video (41:34 – 42:28). Good luck, you're going to need skill (and a ton of persistence) to kill this guy on harder difficulties. Oh, and you'll look back on this later and think this was the EASY Warden fight. Yeah.
======================================================
CHECKPOINT (Finally!)
As soon as the Warden vanishes, any remaining summoned creatures will disappear as well (keep that in mind in other Warden encounters as not every enemy in future Warden battles will be summoned, and an unexpected enemy may cheap kill you in your moment of triumph if you aren't careful. In this case however, everything should vanish. Enter the door in the middle of the lower level (behind where the Warden first appeared) to complete this level.
