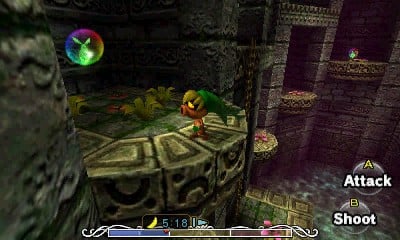
As a follow-up to Ocarina of Time, Majora’s Mask definitively sets itself apart from its predecessor thanks to its unique time loop mechanic. Players begin the game with three days remaining until the moon crashes into Termina and must cleverly manage their schedule and activities before resetting the clock ahead of doomsday. As a result of needing to be in certain places at certain days and/or times, Majora’s Mask might feature less actual dungeon locations than Ocarina of Time, but in no way are they any less inventive or enjoyable. In fact, nearly all dungeons in Majora’s Mask rank among some of the best in the series.
Thanks to Link’s reliance on the various Masks that change his appearance and abilities, puzzle-solving and combat in Majora’s Mask are just as unique as the story it tells and its uncharacteristically dark tone for the series. Sure, the stakes of every Zelda game imply that the world is in danger, but few games in the series other than Majora’s Mask actually force the player to count down until armageddon. That constant, pervading sense of doom that hangs over Link’s time in Termina makes Majora’s Mask one-of-a-kind within the franchise, and its dungeons and boss encounters tend to follow suit.
Woodfall Temple
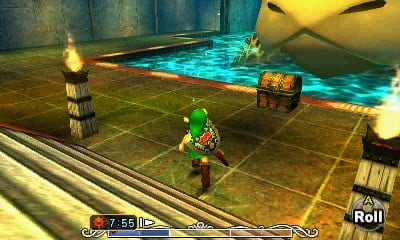
The first dungeon players will clear in Majora’s Mask is the Woodfall Temple, which happens to be a mix between the series’ traditional forest dungeons and a swamp area. Simply getting into the dungeon requires getting a nearby Deku Scrub to vacate its flower so that Link can don the Deku Mask and use it to launch himself inside. Once Link enters the Woodfall Temple, the Deku Mask is essential for transforming Link and allowing him to complete the dungeon’s puzzles and traversal challenges. Woodfall Temple establishes the clever dungeon design and tense combat encounters that will be commonplace in the rest of Majora’s Mask‘s temples.
Items:
- Hero’s Bow (Dungeon Key Item)
- Heart Container
Boss:
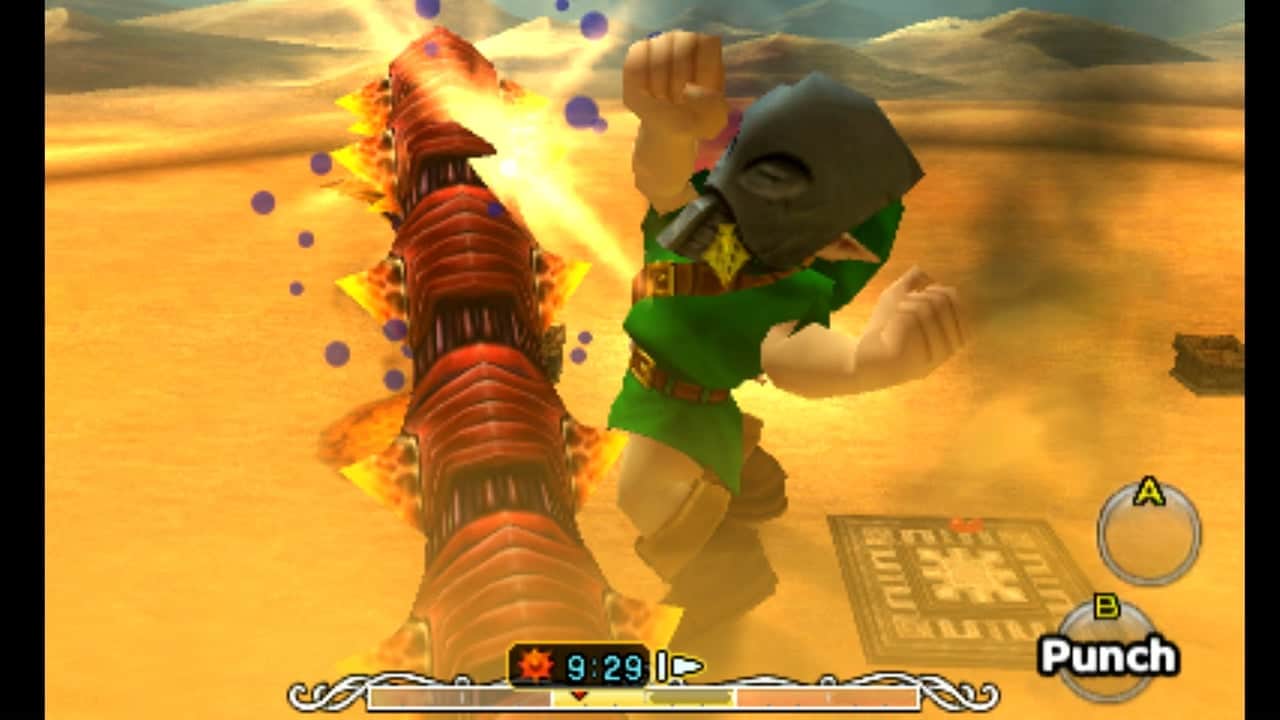
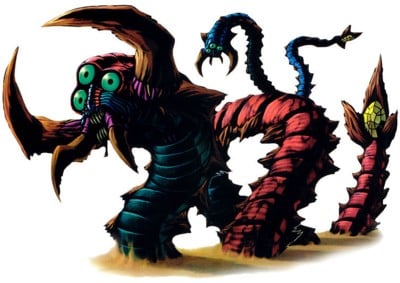
- Masked Jungle Warrior: Odolwa
 | In addition to fighting Odolwa himself, players will need to contend with the various insects that the warrior sends out during the battle. There are plentiful Bomb Flowers available within the arena that players can use to stun the boss before rushing in with sword attacks, but the Bow that players acquire within the dungeon is just as effective at stunning Odolwa as well. Notably, equipping the Deku Mask will see the bugs Odolwa summons leave Link alone, though this also renders the player unable to attack using the sword. Use this to gain some breathing room if the mobs begin to overwhelm Link. |
Snowhead Temple
The second dungeon players will traverse in Majora’s Mask is the Snowhead Temple. As the name suggests, players will need to access the Snowhead region of Termina to come across this temple and will need the Goron Mask to even get within range of the dungeon. Additionally, having the Lens of Truth and learning the Goron’s Lullaby are requirements for players to meet before being able to enter the temple in hopes of awakening the second of the four Giants. Like the Woodfall Temple and the Deku Mask, completing many of the puzzles and traversal challenges within the dungeon requires the use of the Goron Mask to transform Link and grant him new abilities.
Items:
- Fire Arrows (Dungeon Key Item)
- Heart Container
Boss:
- Masked Mechanical Monster: Goht
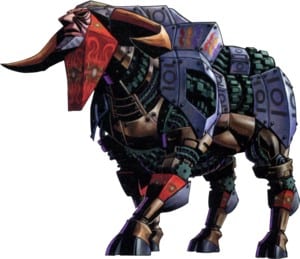 | After making his way up the dungeon’s central column to the top floor, Link will come face-to-face with Snowhead Temple’s boss, Goht. This battle begins with Link needing to free the boss from a massive block of ice using the newly acquired Fire Arrows, resulting in Goht awakening and immediately charging at Link. Accordingly, Link will need to utilize the Goron Mask to serve Goht a taste of his own medicine, using the Goron’s ability to charge as a spiked ball to deal damage then quickly transforming back into human form to slash Goht using the sword. The arena is full of plenty of resources that make this battle easier, including numerous Magic Jars to facilitate repeat Goron Mask transformations. |
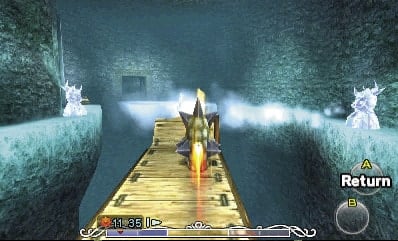
Great Bay Temple
Would it even be a Zelda game without a frustrating water dungeon? The Great Bay Temple is Majora’s Mask’sthird dungeon and the requisite aquatic location for Link to visit. Like the Water Temple in Ocarina of Time, Link must manipulate the water within the dungeon to successfully clear it. However, unlike Ocarina’s Water Temple (which requires the raising and lowering of the water level), Link needs to change the flow of the water and then swim through it using the Zora Mask.
Items:
- Ice Arrows (Dungeon Key Item)
- Heart Container
Boss:
- Gargantuan Masked Fish: Gyorg
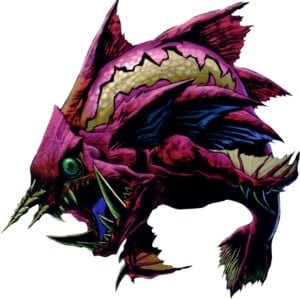 | Link enters the battle with Gyorg on a large circular platform with water surrounding him. As such, Link needs to avoid getting too close to the edge to prevent Gyorg from knocking him off and opening him up to attack. The best strategy is to use either the Boomerang or Arrows to stun Gyorg as it swims around the central platform. Afterward, while Gyorg is stunned, Link can wear the Zora Mask and then jump in the water to deal Gyorg damage. This giant piranha-like beast is one of the only bosses in the Zelda series where Link doesn’t use the sword as the primary means of dealing damage. |
Stone Tower Temple
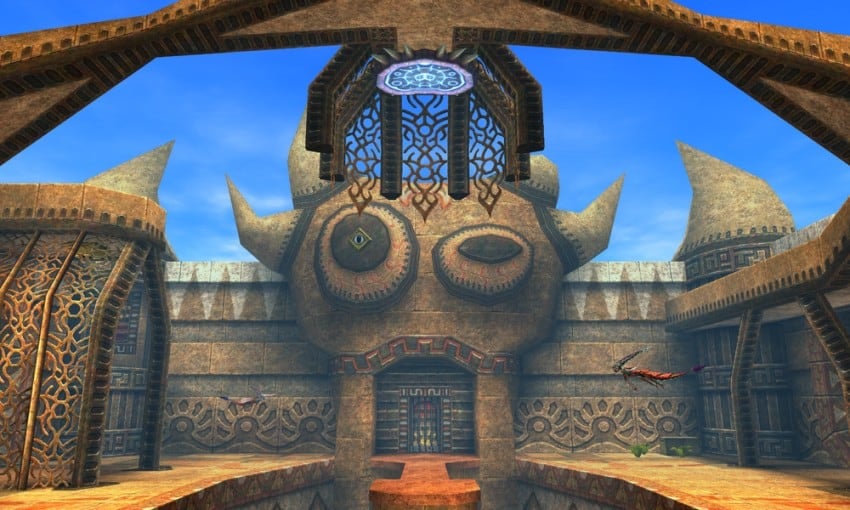
Many fans consider the Stone Tower Temple to be one of the best dungeons in the entire Zelda series, and its ingenious puzzles and excellent boss fight only serve to strengthen that argument. The penultimate dungeon of Majora’s Mask, this massive structure is almost like a “greatest hits” of the challenges Link faces throughout the rest of the game’s dungeons while also introducing a new mechanic of its own. To complete the Stone Tower Temple there are several sections where Link must flip the dungeon upside-down, resulting in some truly mind-bending puzzles and combat challenges.
Items:
- Light Arrows (Dungeon Key Item)
- Giant’s Mask (Dungeon Key Item)
- Heart Container
Boss:
- Giant Masked Insect: Twinmold
 | Comparatively, Twinmold is the largest boss that Link faces in the entire Zelda series (with maybe Calamity Ganon’s true form in Breath of the Wild being the exception). To defeat this massive Moldorm-like creature, Link needs to equip the new Giant’s Mask and grow to tremendous size. Afterward, it’s possible to attack its twin weak points (its head and tails). Link can also use Light Arrows to deal ranged damage to Twinmold’s weak points, causing one-half of Twinmold to fall and make the rest of the fight much easier. Throughout the encounter players need to keep a close eye on their magic meter and destroy the pillars around the arena to refill it if necessary. |
Inside the Moon
The final dungeon in Majora’s Mask sees Link travel to the moon threatening to destroy Termina, then subsequently entering four mini-dungeons that each mimic the main locations Link visits throughout the game. The area is essentially a vast, empty field with 5 children that Link must talk to, triggering 5 separate challenges. After completing the first four, speaking with the final child (who wears Majora’s Mask) will trigger the final boss fight with Majora.
Items:
- Fierce Deity’s Mask (Dungeon Key Item)
Boss:
- Majora’s Mask; Majora’s Incarnation; Majora’s Wrath
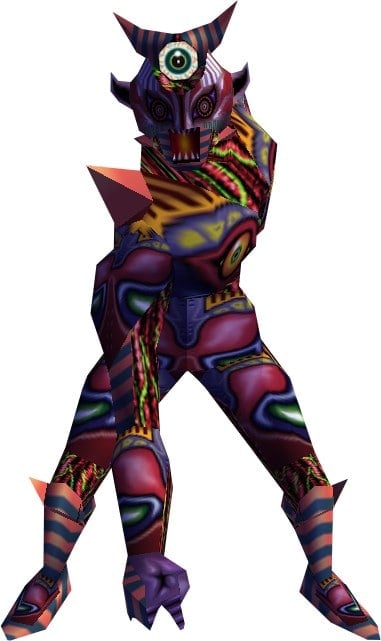 | The final battle for the fate of Termina with Majora takes place over three distinct forms, with Link needing to use both the new Fierce Deity’s Mask and his other Masks throughout each fight. In the initial phase against Majora’s Mask, Link will need to simply avoid its attacks and then attack using the ultra-powerful Fierce Deity blade. Eventually, Majora will transform into the Incarnation form, growing arms and legs and frantically running around. Again, players will need to equip the Fierce Deity’s Mask and deflect projectiles back at the being. The final form of the fight is the most challenging, Majora’s Wrath. During this last phase of the encounter, Majora becomes more aggressive and gains some new attacks thanks to some tentacles that sprout from its body. However, the strategy remains basically the same — use the Fierce Deity blade to punish the boss. |
The image featured at the top of this post is ©Gameplay screenshot.