MISSION 06 – Evacuation
Objective: Reach the space elevator
Note: To get the skull for this mission, you have two minutes from the start of the mission, so you need to hustle to that mongoose down the slope.
As soon as your boots hit the surface of the planet, start racing down the slope. Sloan will be giving orders for the colonists to evacuate, so you'll see civilians running around in panic around you. Keep heading down the dirt path passing through a large gate at the bottom.
CHECKPOINT
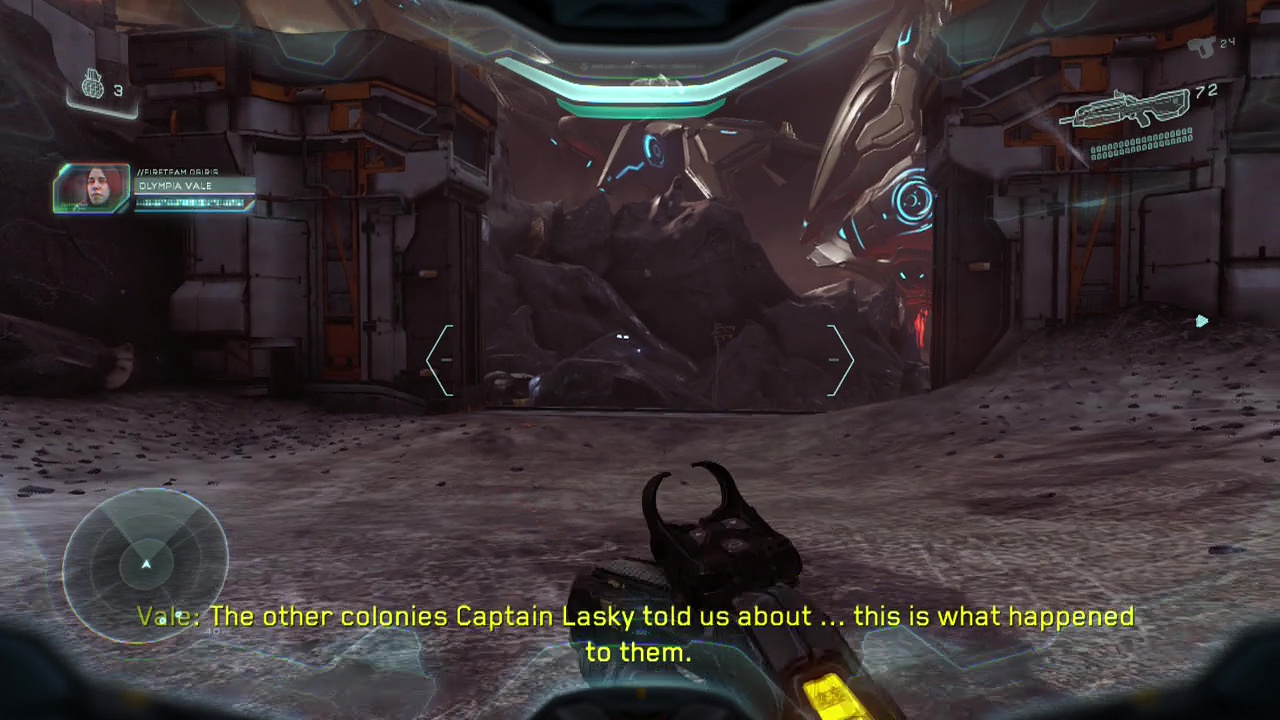
Note: If you want to just play the level normally, you can skip the two paragraphs below.
Against a rock nearby you'll spot a mongoose you can commandeer to speed you on your way. This vehicle will also allow you to trigger the skull later in this mission. To get it, you need to destroy five traffic cones in the early areas of the mission within two minutes. After getting in the mongoose, take the raised left path to find the cone on the path just past a yellow metal structure. From here, continue down the path until you make the jump down into the garage area (you'll jump off a flat metal surface landing in a large open area). Turn slightly to the right when you land, heading towards the open tunnel in the cliff ahead. When you get close to the tunnel entrance, jump off the mongoose and turn right to see and shoot the second cone at the base of a set of yellow stairs leading up. Jump over the stair rail and follow it up, picking up the intel on the ground at the top next to the defending militia.
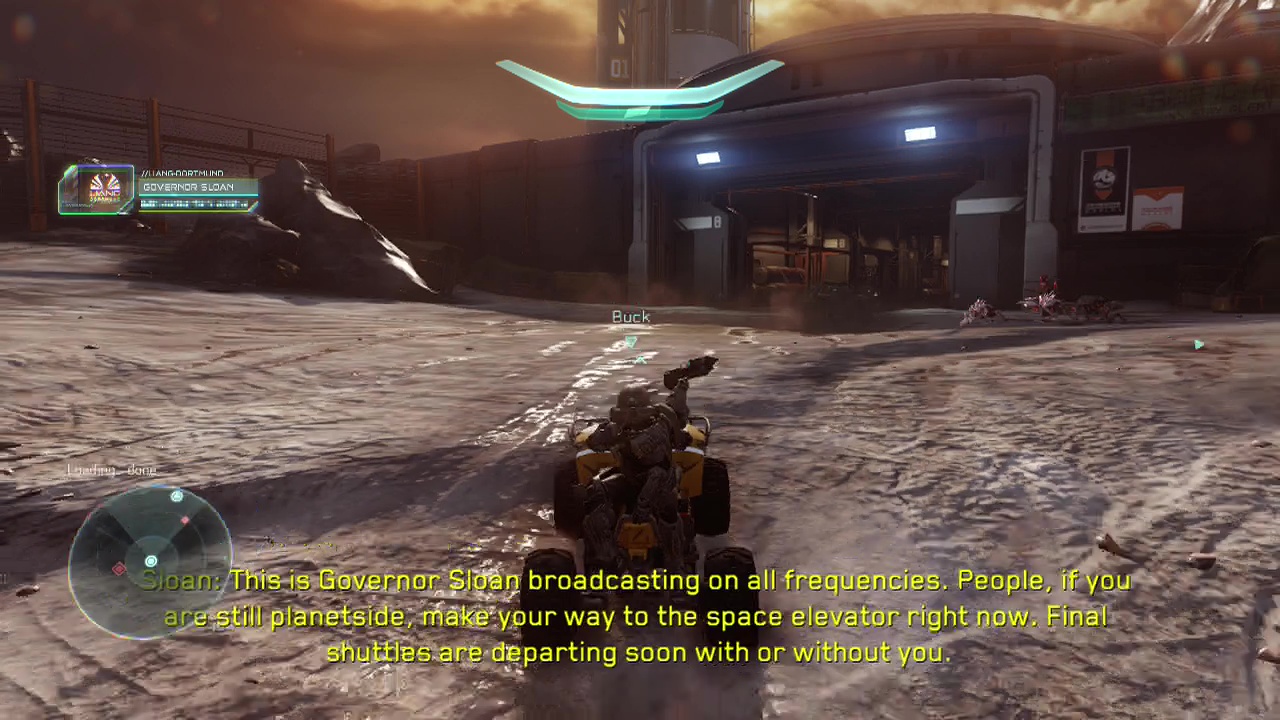
Quickly turn around the way you came and jump back down to your mongoose below. Drive along the bridge until you just pass the damage massive impact area, then look behind a burned out vehicle to find the third cone to shoot. For the fourth, you'll need to drive out of the tunnel and through the large stone arch in the middle of the area, turning through the small gap to the right after it to find the cone sitting on platform that holds a big yellow cylinder. For the final cone, drive through the next stone archway behind the yellow cylinder platform and at the top of a small hill you'll see a downed pelican with some red crates beside it with the cone to the left of the red crates. Blow it away to trigger the skull's appearance later in the level (I'll point it out when we reach it).
Note: If you followed the above two paragraphs, you can skip to the checkpoint below.
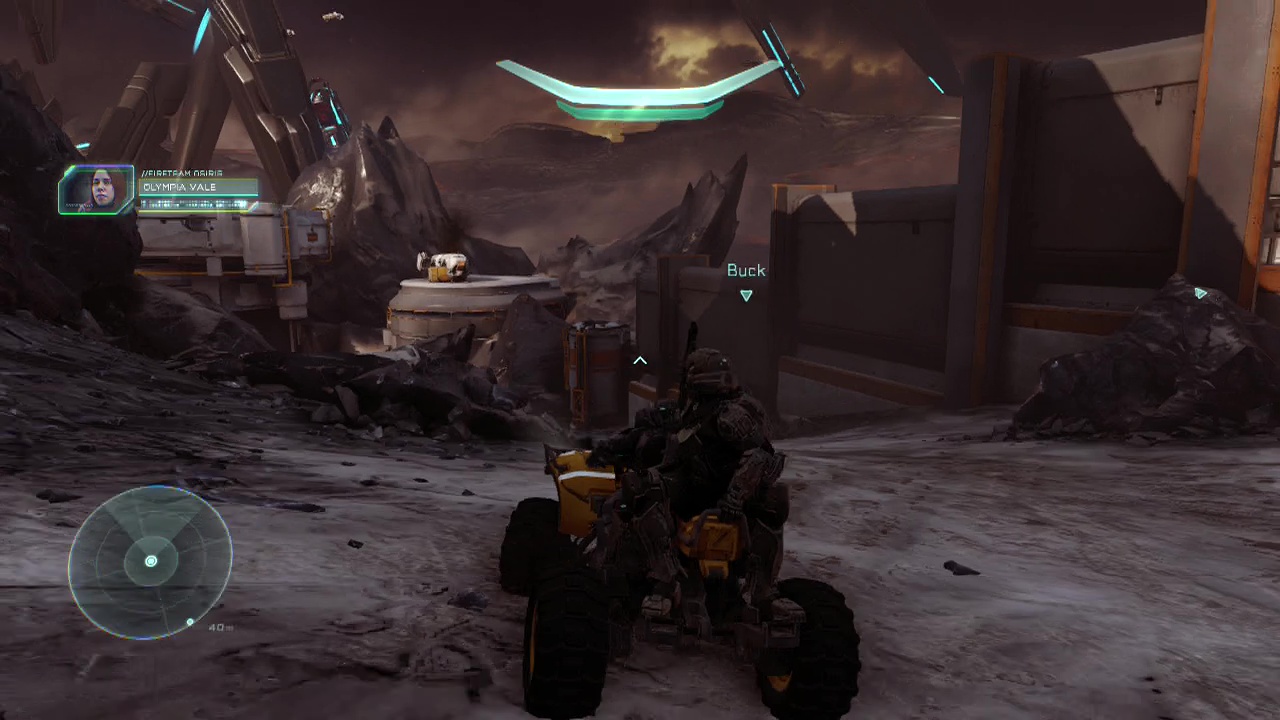
Against a rock nearby you'll spot a mongoose you can commandeer to speed you on your way. Burn rubber down the dirt trail ahead of you and after a little while you'll start encountering crawlers and other promethean forces that will fire at you as you approach. Ignore them and keep the pedal to the medal (it's easiest and quickest to just bypass these enemies) to blast past these enemies as there is no benefit for killing them. Instead keep rolling on, catching some air on the massive jump and approach the large tunnel beyond. To the right there is a set of stairs you can climb up to find some intel next to a marine on the platform at the top of the stairs. Grab it and descend back to the mongoose then race into the tunnel beyond.
Just beyond the tunnel you'll cross a damaged and warped bridge, so stick to the left side to get across safely. More promethean soldiers and crawlers will be waiting in the open area on the other side, but as you did before just keep going weaving from cover to cover to avoid their weapons fire. Move up the trails, following the slope until the path ahead is blocked by flaming wreckage. Unfortunately from now on you'll have to battle the enemies you encounter, so hop off the mongoose because it's time to get to work spartan.
CHECKPOINT
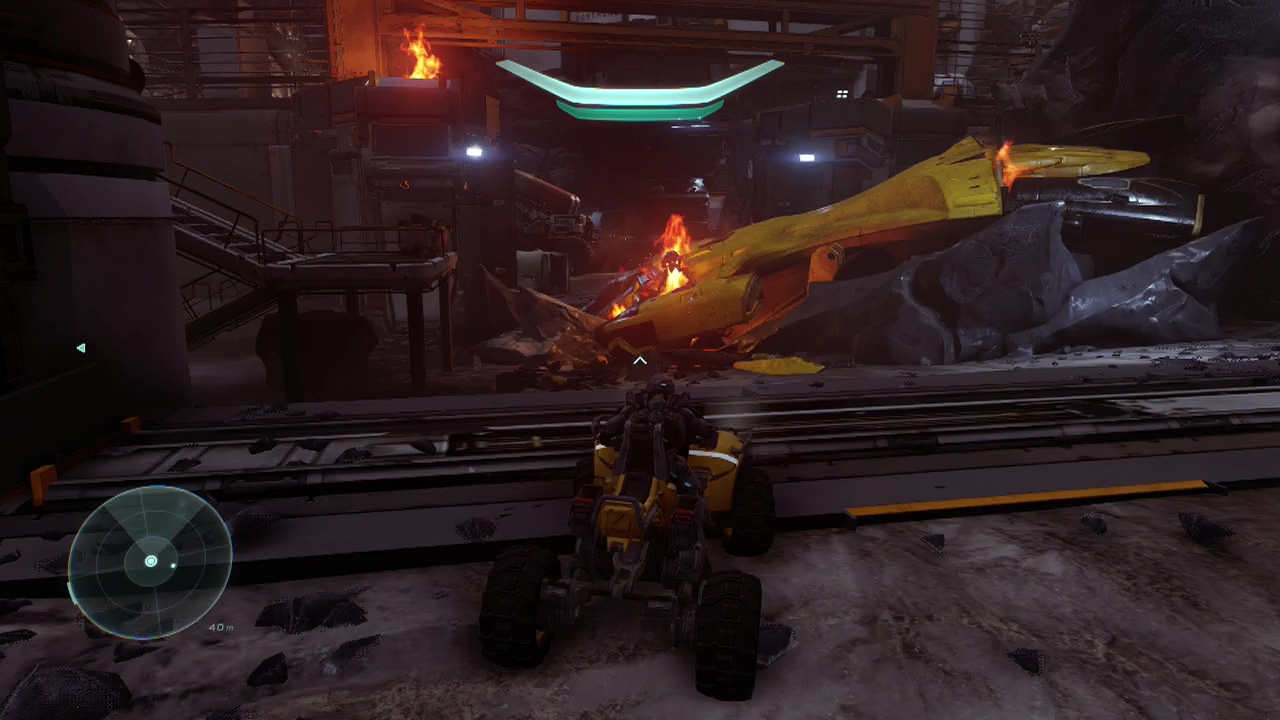
Objective: Secure the outpost
Because you ignored all the previous enemies, you should still have a fully stocked battle rifle to start the fight with. Climb up the stairs to the left of the burning debris and use the position at the top to fire down at the soldiers and watchers below. Crawlers will start scuttling in from the left hand side of the area ahead, so use your magnum or the battle rifle to pick them off with head-shots. When the open area beyond the gate is fairly free of enemies, descend the stairs and jump over the wreckage to take cover on the left side of the huge gate.
More watchers and a soldier with a splinter turret will be on the structures directly ahead of you, so make sure to target the watchers first before attacking the soldiers so that they don't repair your enemie's armour. Also keep an eye out for soldiers on the walkway halfway up a building to the left, as they like to try and blindside you while you deal with the turret wielding captain. You'll want to move over towards this building along the left side of the area when you've thinned the enemy numbers enough to make it across to the lower area safely. Enemy soldiers like to teleport down to meet you when you get close, so be ready to engage them if they appear.
CHECKPOINT
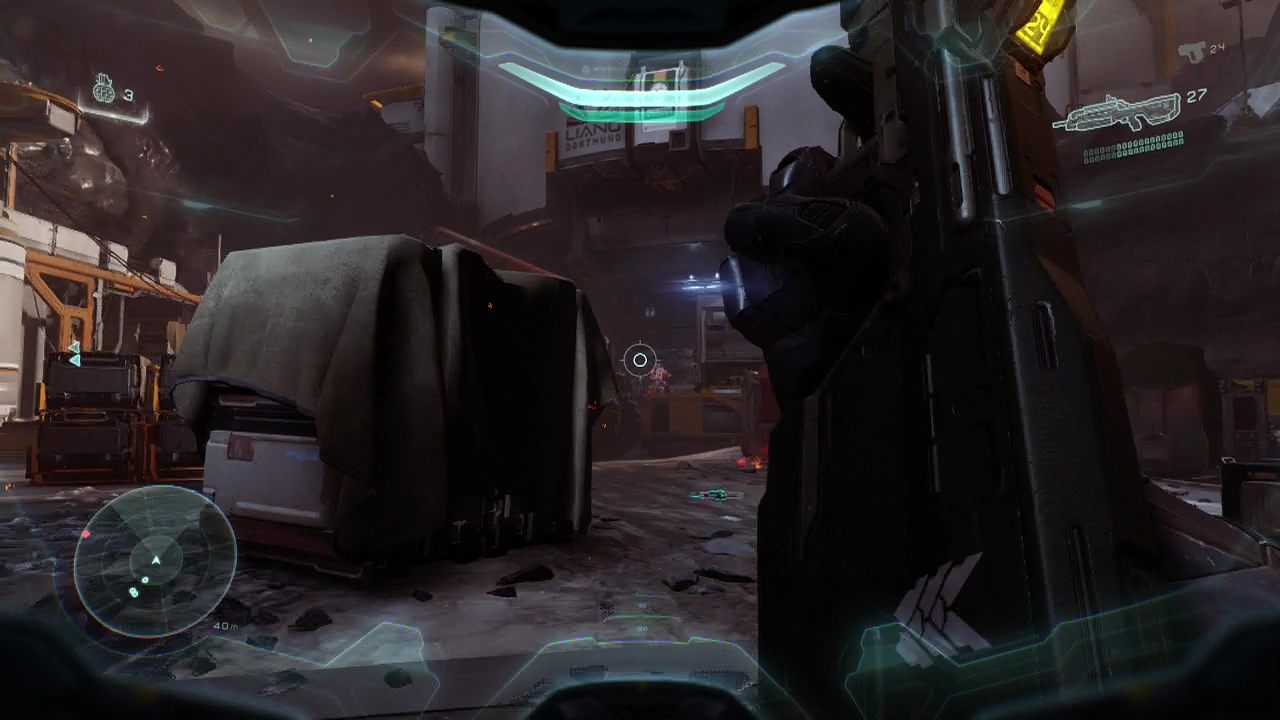
Move forward in this lower level of the left building, using the pillars and containers as cover while you take on the soldiers you can see. Against the front pillars of this building there are a couple of battle rifles, an SMG and an assault rifle to replenish your dwindling weapon stocks. Shooting out from this position will also hopefully keep your squad close enough for you to revive them safely. As the fight goes on, be careful of enemy snipers appearing on a raised platform on the right side of the area as well as an enemy on a turret alongside it. When the open area is finally free of enemies, more will begin pouring in from the metal blockade at the far back of the area.
Back up towards the entrance and take cover to get decent line of sight on the oncoming enemies. If you still have battle rifle ammo, you should be able to take down a fair few soldiers and crawlers before they reach cover closer to your position. When your battle rifle is exhausted or you need more weapons, climb the stairs to the upper level of the left building to find a sniper rifle, battle rifle and a hydra launcher just lying there waiting for you. Almost like they want to be used, isn't it? There's also a turret overlooking the back of the area as well, but using it is dangerous on higher difficulties, so stick to your sniper rifle or battle rifle and start gunning down the remaining promethean forces.
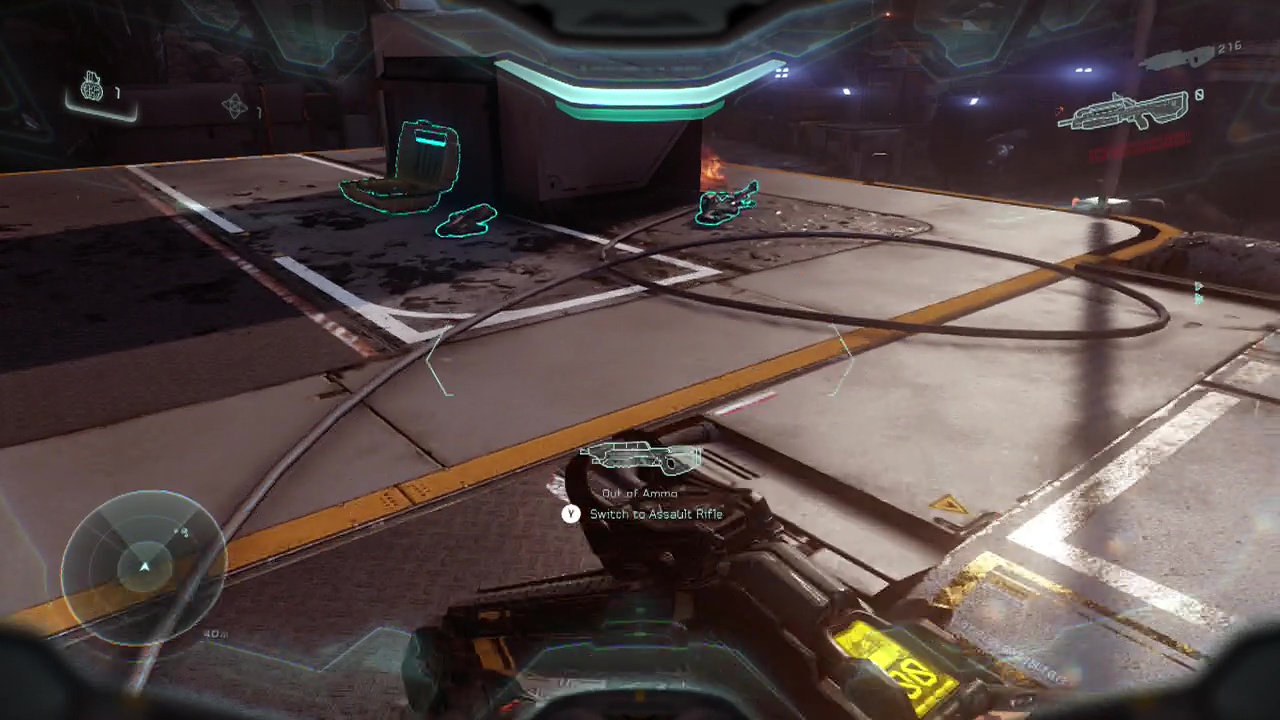
When the enemies are mostly gone, you'll need to advance on foot to spawn the remaining enemy forces. Make sure to take cover as you move up as a group of crawlers and soldiers will spawn when you get close to the metal wall at the back of the area. Your newly restocked battle rifle will be your best friend here as you take the enemies down one by one. You can also backtrack to the upper area of the left building when this wave spawns as well if you want to use the turret or sniper rifle to clear these new enemy troops out. When the final enemy goes down, the area will be secure and the huge metal doors at the back of the area will open for you and your squad.
CHECKPOINT
Objective: Reach the pelican
Stop before you reach the large metal doors with M004 on them and head to the right to find a raised platform in the corner with a radio on it you can interact with for some intel. Now head to the opposite side of this same area (to the left from where you were facing when you went through the metal blast door earlier) and turn on a elevator (glowing red control panel) over there. This will take you up to a higher level where you can look in the corner to your left for some more intel. Descend and rally up with Sloan's remaining militia forces at the entrance to the elevator. As the doors open four or five watchers and a large number of crawlers will open fire from inside. As always, focus fire on the watchers when possible to make life easier for yourself in the long run. Swap to the assault rifle or your secondary to polish off the crawlers, as you're going to want to conserve your battle rifle or light rifle ammo for later. There's plenty of cover around the outside of the lower ring, so stay down there and move from cover to cover as you deal with the enemy forces. There is some intel you can find on the elevator, you'll need to find a (passenger) car (think train car, not automobile) on the outer edge of the area that has a door you can smash open with a spartan charge (it looks like a smashable vent). Pick up the data pad inside for some intel.
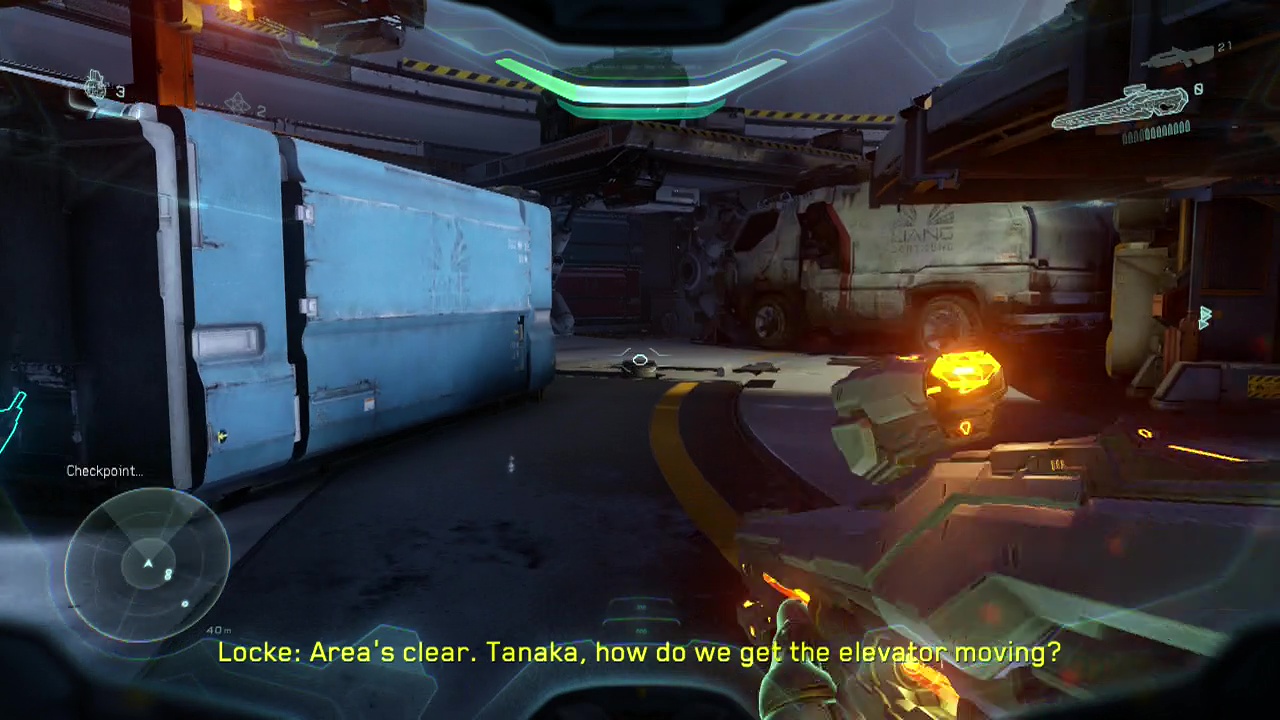
Soldiers will start teleporting in as the fight progresses, making it time to swap to your battle rifle to engage them. Hopefully by now you've managed to take out all the watchers, otherwise they are going to start repairing the soldiers during the fight. As you continue to take down enemies, you'll likely run out of battle rifle ammo if you haven't already. Grab a light rifle from a fallen soldier to replace it as you keep taking on the enemy. On a lit small raised platform (control panel) is a spare battle rifle if you need to reload and can reach it safely. Polish off the last few remaining enemies and check around the area for new weapons (there are several scattered around on the lower level). Make sure to leave any powerful/ explosive weapons (such as the hydra launcher) you find but remember their locations, as you are going to want them later in this section.
CHECKPOINT
When you're ready and restocked, walk over and activate the control panel to start the elevator on it's way upward.
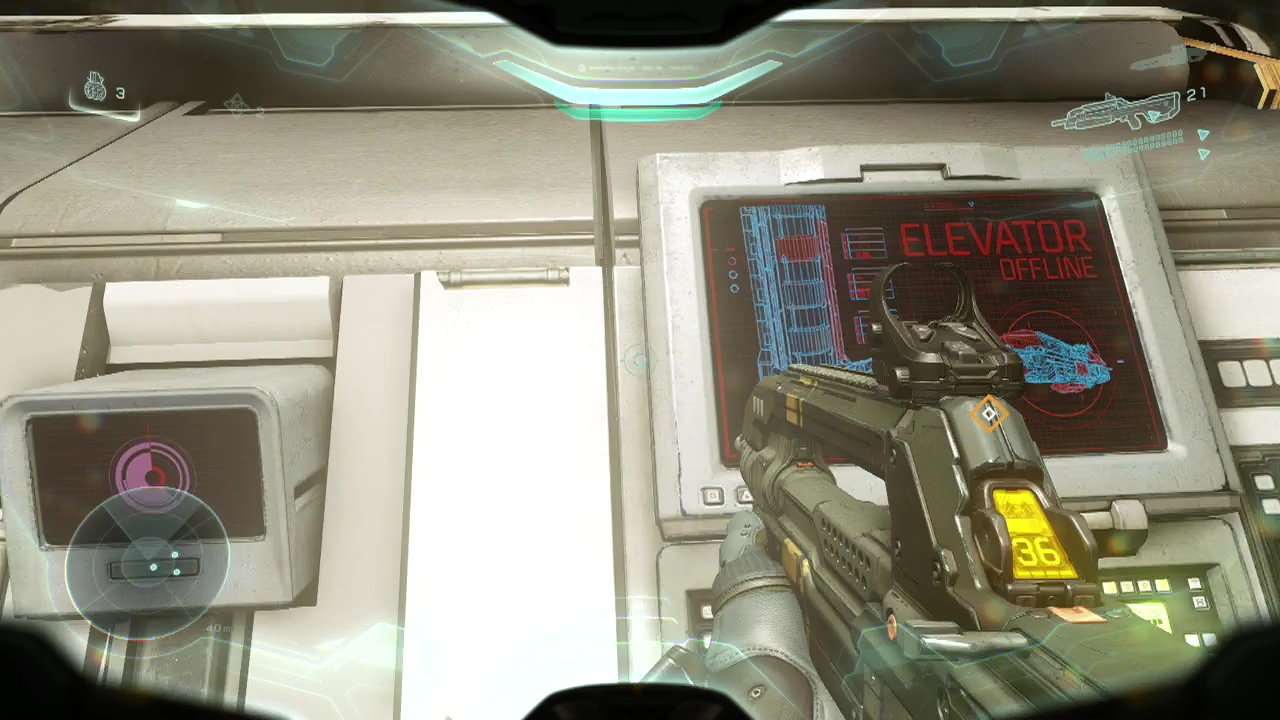
CHECKPOINT
After a conversation between Locke and his squad, more promethean forces will start teleporting into the elevator. Immediately take cover on the outer edges of the lower ring and resume your soldier and crawler killing duties. Make sure to avoid going up to the upper levels, no matter how enticing it is with it's good field of vision. It is extremely easy for enemy soldiers or crawlers to get up there and blindside you, leaving you reliant on your AI squad to try and rescue you (normally bugging out as they try to jump up to your location until you die). Keep in mind that it isn't over yet as you destroy the final enemy of this wave.
CHECKPOINT
Restock as best you can, still leaving the best guns lying around for now (use boltshots, assault rifles and light rifles if you can find them). More soldiers will swam across the lower level of the elevator so continue your killing spree. Just be careful of the soldier on the upper level using a splinter turret, as he seriously hurts and can hit a wide section of the lower area if you are out of cover. Staying on the opposite side of the area until you deal with him is the best way of staying alive. As the enemy numbers of this wave start to get low (one or two left), pick up the powerful weapons you left until now as when this wave ends, three soldiers with splinter turrets appear on the lower level to wreak havoc, and you want some powerful weaponry to bring them down quick.
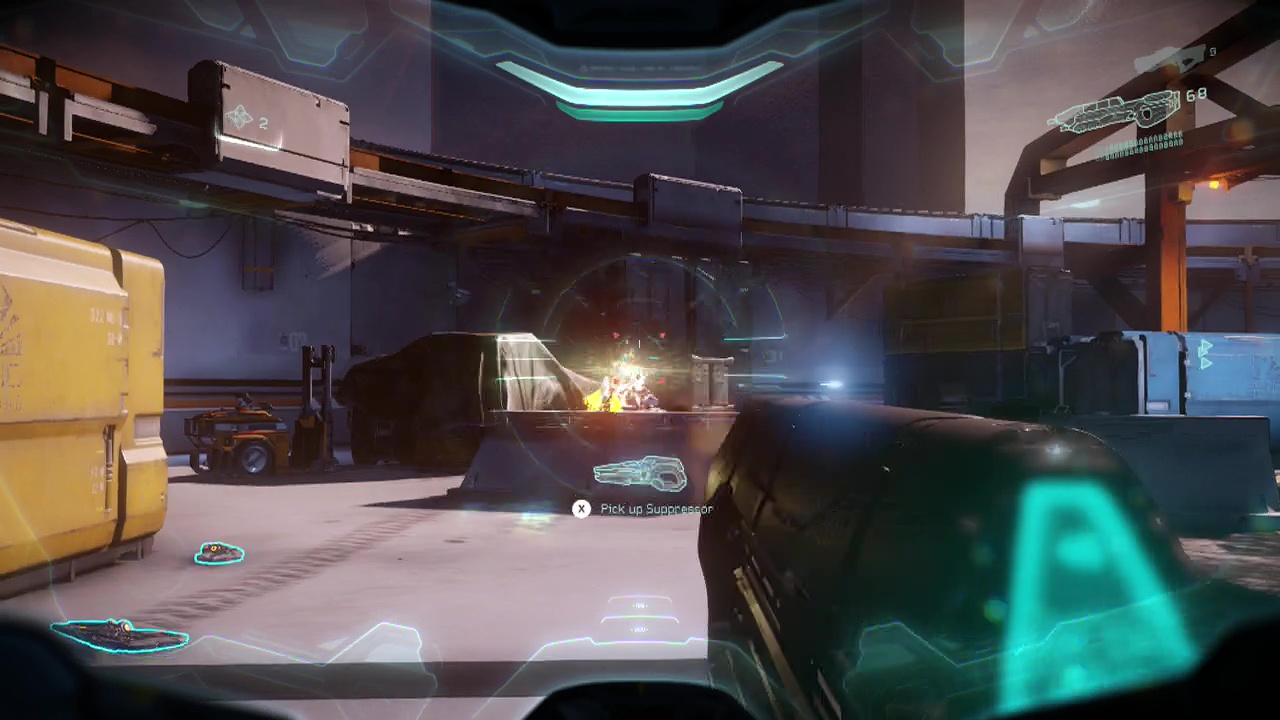
Feel free to unload your weapons, but leave the turrets as they will be extremely useful in the final wave coming up after this one. Blast away the remaining enemy soldiers while avoiding their turret fire. When the final soldier goes down, grab a turret and get into cover on the outside of the lower ring as things are about to get dicey.
CHECKPOINT
Note: There are crates and small rooms with red coloured metal vents you can use your spartan charge on with launchers and battle rifles inside if you need additional weaponry.
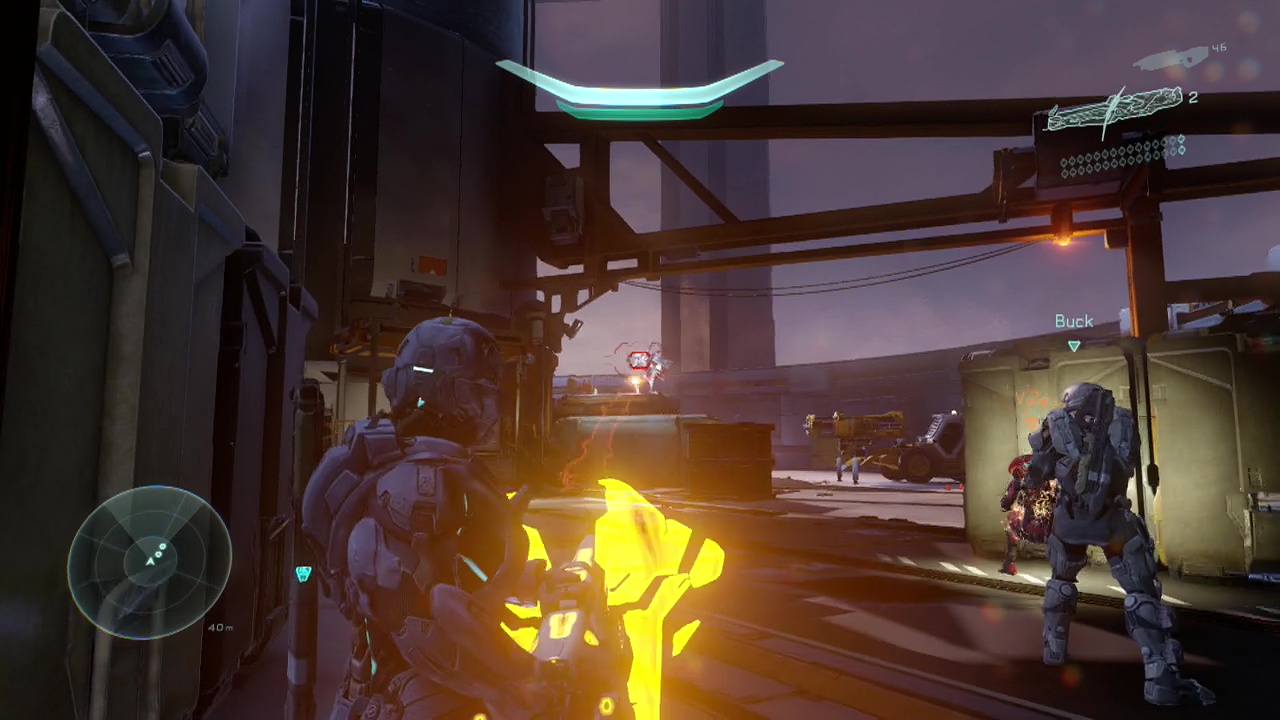
After the distress call ends, three knights will show up out of nowhere and start assaulting you and your team. This is where all those turrets and heavy weapons (read the note above if you used your other weapons up earlier), come into play. Unload your turrets from cover to bring down the knights fast before they can flank your cover position. The quicker you can bring them down, the more your life expectancy increases. Be careful if the knights move up to the second level as they can fire on most of the lower area from this position. When the knights are finally vapourised, the elevator will come to a stop. Grab a scattergun and whatever else you can find before climbing up to the marked corridor 26 or emergency (on the sign) above. Be warned that there are two tunnels out and only one has the gap in the railing to the left. If you see nothing but air to your left, you've gone through the wrong one and need to backtrack. As you come out of the short tunnel, jump over the barrier to the left and follow the linear metal walkway until you go up a set of stairs and around a corner. You should find a data pad just beyond the railing here for you to snatch some intel off. Return down to the entrance and start working your way up.
CHECKPOINT
You're going to need to run up the outside of the space elevator to reach the pelican parked far above near the guardian overhead. The goal here isn't to kill everything, rather only kill the enemies that are directly in your way as you continue to move up. Four phaetons will be flying in the air around the tower, firing in at you constantly as you ascend the exterior stairs and catwalks. Despite the annoyance, they are not worth engaging directly as they deal large amounts of damage and are nearly indestructible on higher difficulties (even to rocket launcher rounds. Believe me, I checked). When you reach fallen and tilted walkways, look over the edge of the taller staircase to see a pair of beams below with the final piece of intel on the end next to a construction helmet.
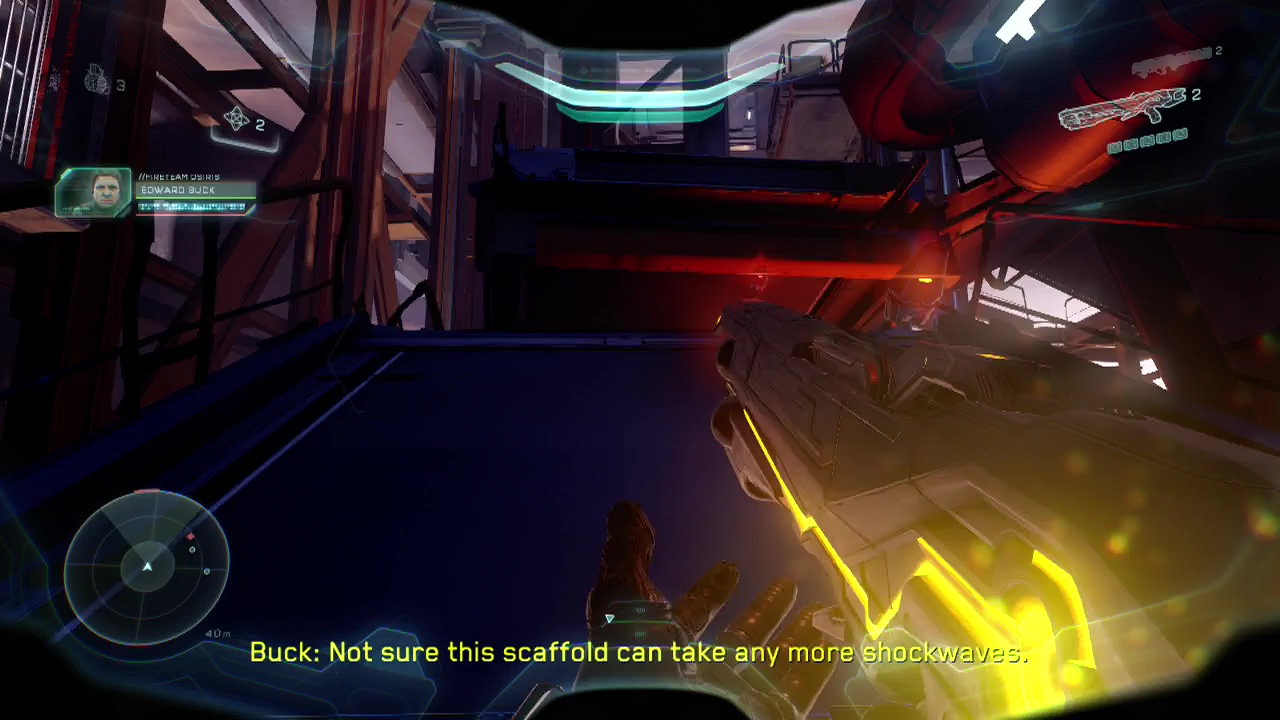
Keep moving and jumping upwards toward the marker above, only stopping to deal with a group of soldiers near the top (as they will likely shred you if you don't). When you encounter the main group of soldiers you should see a large 2A painted on the wall behind them in white paint. Race out onto the open area outside looking for the skull in the middle of the walkway if you destroyed all the cones in less than two minutes earlier. Grab it and sprint toward the pelican teetering on the edge. when you get close enough a scene will trigger and the mission will be over.
