
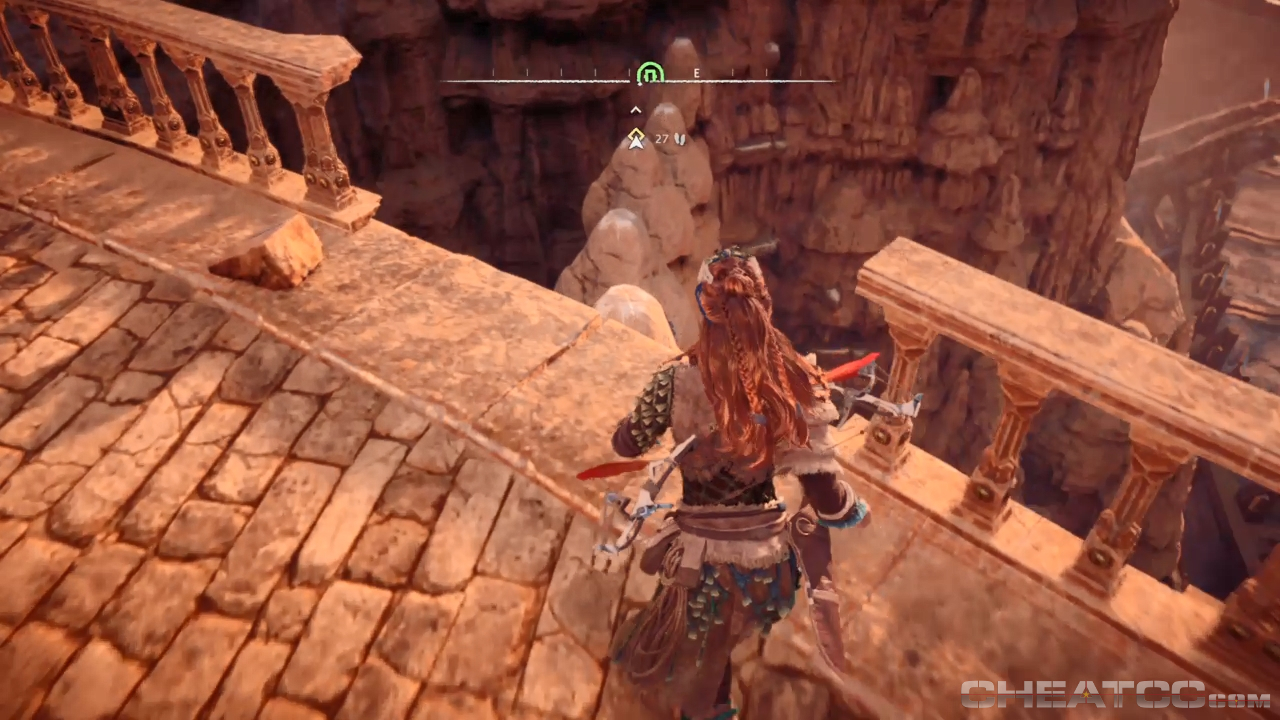
Make your way to Sunfall and head up into the city to the courtyard where a short cutscene will trigger. Once it’s over, keep going to the upper courtyard where Sylense will inform you that your taking down of the Focus network was successful. Follow your waypoint up into the palace to trigger another cutscene. When it’s over, head outside then drop down from the balustrade, then hop across the rocks to the cliff face and make your way down to ground level.
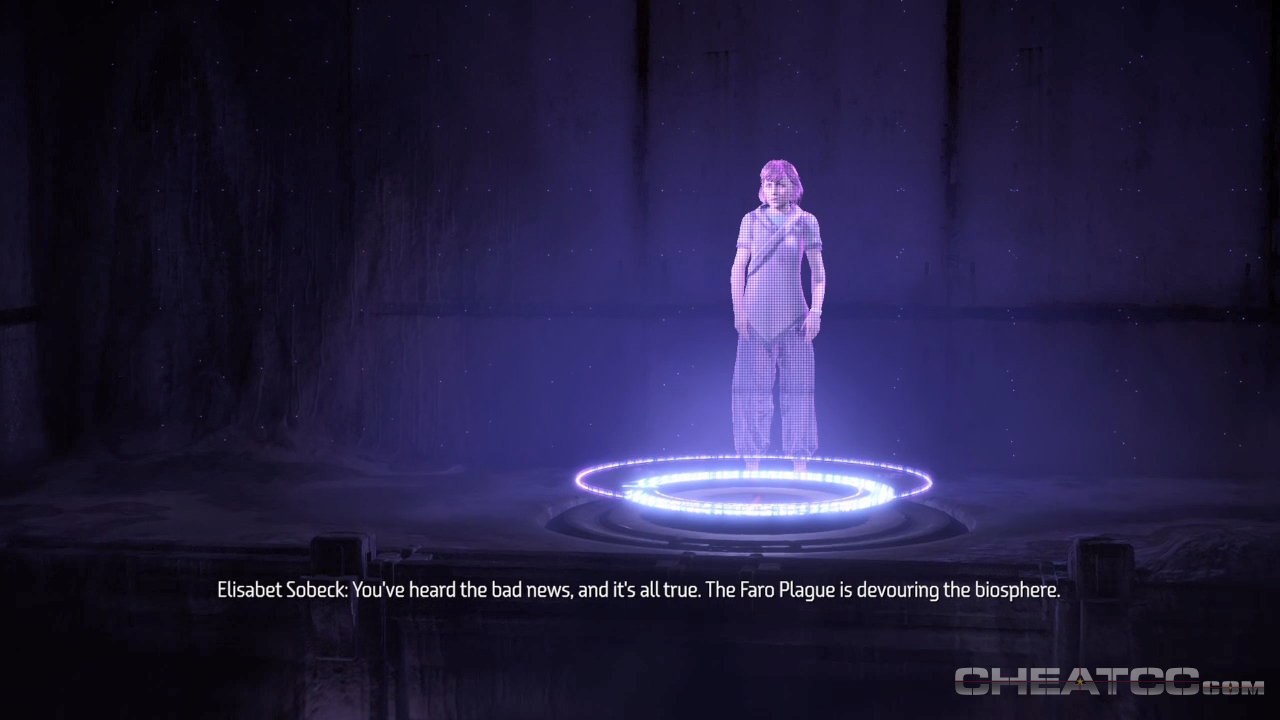
When you get there, go to the boarded up vent and pry off the boards to drop down into the bunker below. Sylense will warn you that there’s no turning back from here, but don’t worry, that’s not true for this particular quest at least. When you enter you’ll get a cutscene and once you’re back in control you’ll be in the Zero Dawn facility. Scan the various datapoints, then head through the doors to the next room and then do the same there. Pass through the next door to see the holoprojector show in a cutscene.

Once it’s finished, head through the doors. On the other side some Kestrels will drop down and being patrolling the area. Use the numerous corridors to block their view of you and take them out. Once you’re done that, make sure to pick up the datapoints before moving on. Follow your waypoint into the next holotheatre for another cutscene.
Once you’re back in control, head through into the next room, grabbing datapoints all the while. There’s also a set of Stranded Shackles in one of the rooms, so make sure you get those. When you’re ready follow your waypoint through the doors until you meet another bunch of Kestrels who’ve dropped in. Be aware that they all have Firestrikers and are capable of major damage so be careful. Kill them all then move on.
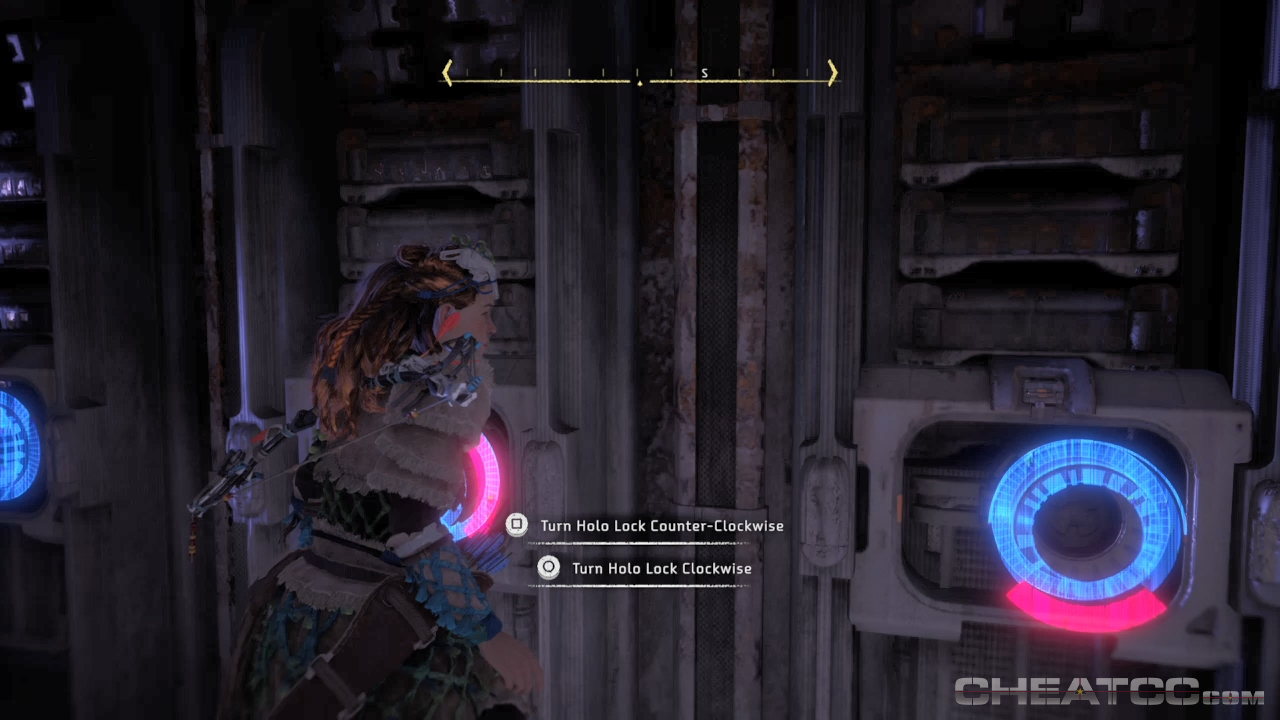
Follow your marker until you get to a locked door. Next door to this will be a room where you’ll have to solve another short puzzle of aligning the dials correctly. First you need to do the left hand side which is:
Left, Up, Left, Down, Right
Once that’s done, head through the now unlocked door, up the ladder and pick up the emitter to fix the broken one on the other set of dials. Drop down and put it in then put in the code. The answer next to it is actually upside down, so everything is in reverse, the correct solution is :
Down, Left, Up, Right, Down
When that’s done, head through the unlocked door.
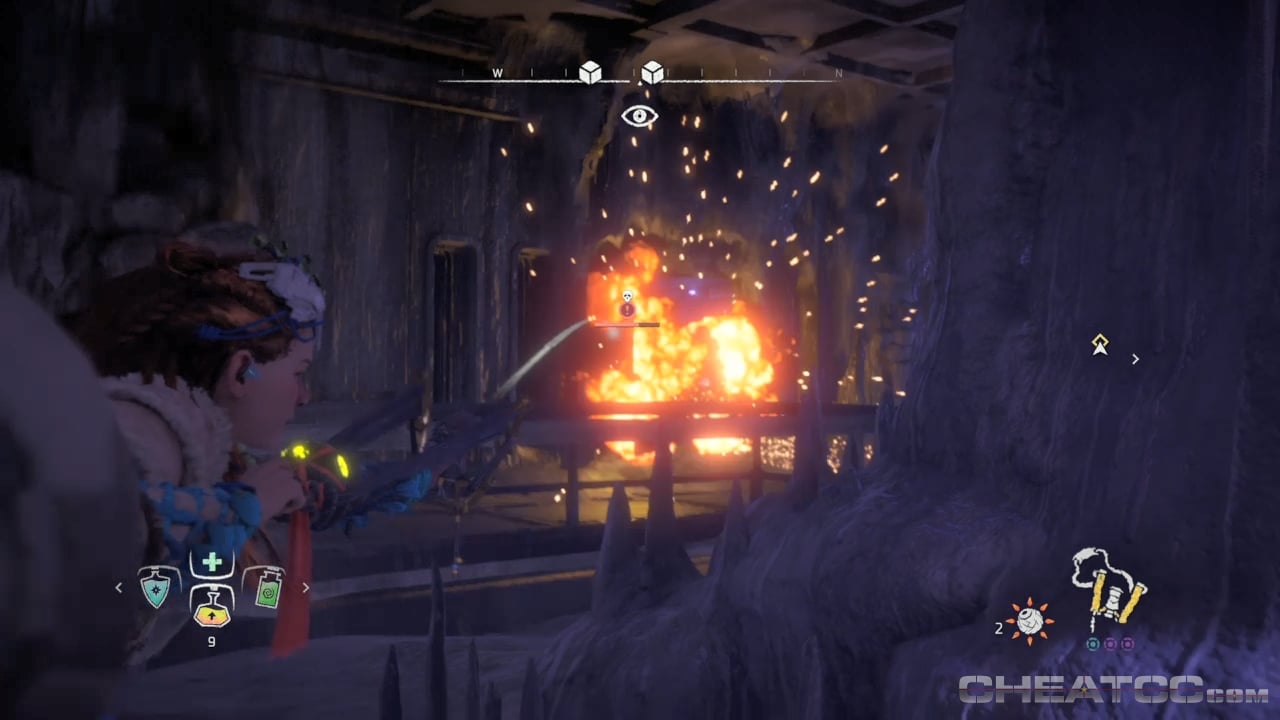
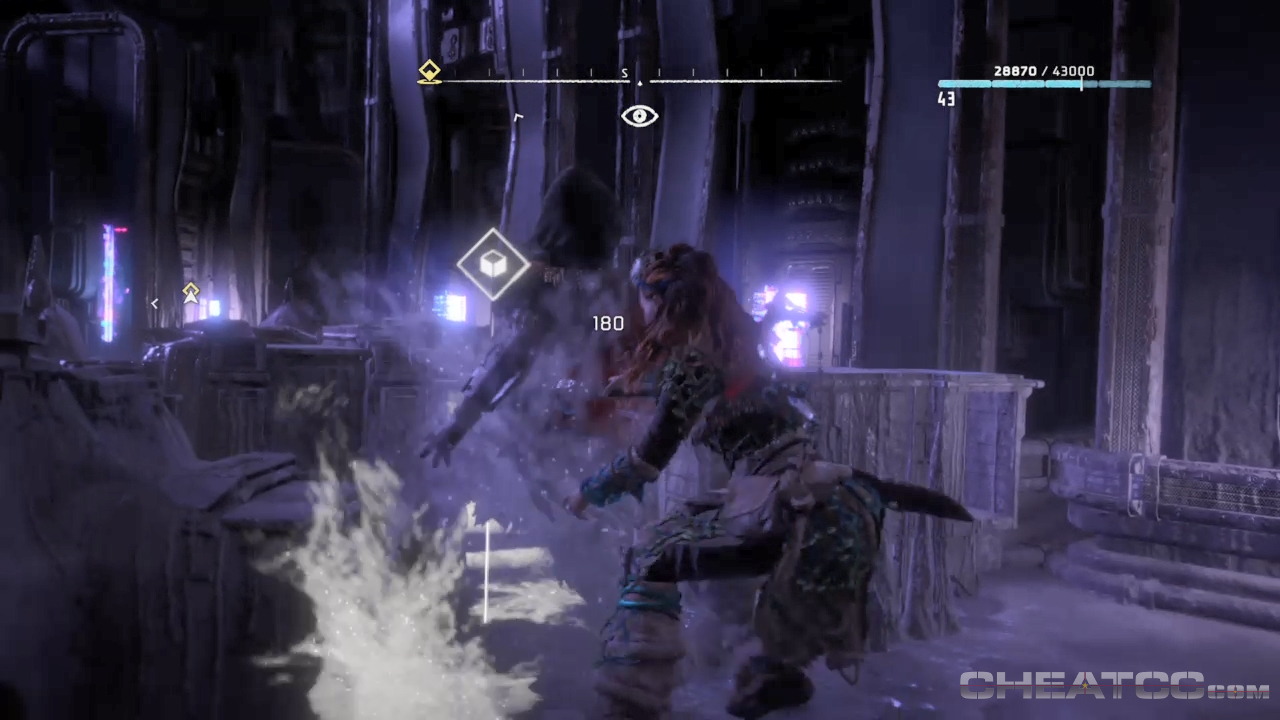
On the other side will be a bunch of Eclipse that you need to kill. At first it’s only a few, but as soon as they go down, a bigger wave will turn up. Once they go down, a final wave, including Deathbringer gun weilding heavies, will show up. Due to the relatively enclosed environment, the Blast Sling is a great weapon to use here as splash damage is always likely to hit more than one bad guy.

When they’re dead, follow your waypoint into the next room. Make sure to grab the datapoints and keep moving through the facility, finding out more about it as you go. Keep following your waypoint upstairs and past Sobek’s office until you drop down at the entrance to APOLLO. Keep going into the next room where more Eclipse are patrolling. Use the environment to your advantage and take them all out.
Once you’re clear, follow the waypoint through the room and into the next where you’ll find out just what HADES is. Keep going through the cave to ELUTHIA then up a lift shaft and into Sobek’s office, finally. Look around, grab datapoints then when you’re ready, pry open the doors to the inner office, go inside then access the Alpha registry file to start another cutscene where you’ll also have to talk to Helis again. Once you’re back in control that’s this quest done, technically at least.