MISSION 10 – Lotus Flowers
Weapon note: Taking along a weapon with a thermal scope and FMJ rounds will help you quite a bit in the earlier stages of this level as most of the human enemies you encounter will stick to cover.
Core selection: You will find an abundance of robots, R.A.P.S, hounds, P.A.W.W.S and turrets throughout this level, making the control core a valuable addition to your loadout. For those that want to take down human and robot, but not control them, the chaos core will work as a good substitute. There isn't much use for stealth or close combat here, making the martial core rather redundant.
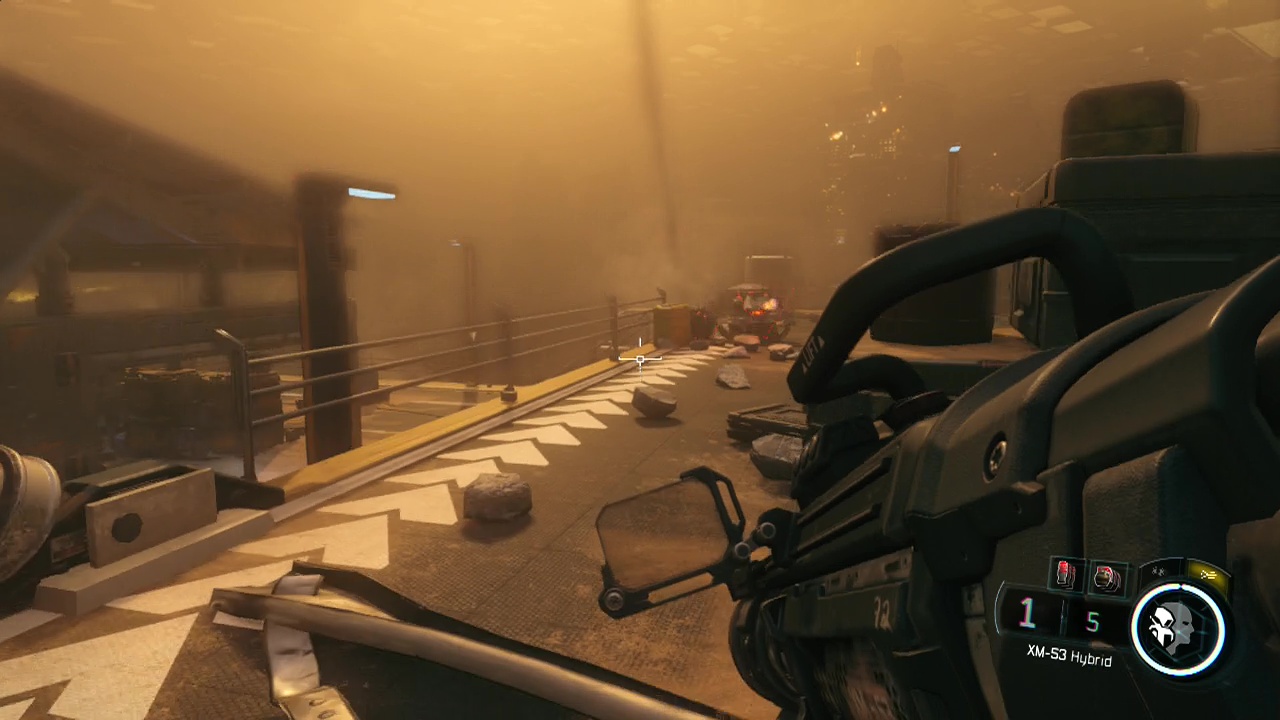
After gaining control once the opening scenes end, you'll be on the lower level of Lotus Towers. Your target is near the top floor (of course) so you are going to have to work your way upwards using whatever means possible. Follow Hendricks around the left turn in the corridor as your allies beat up a few enemies nearby. You can shoot them, but most are already in the process of being taken care of. When you go around another corner, you'll see an enemy trying to hold a door shut, and another through a doorway ahead. These guys should be gunned down before you get too close.
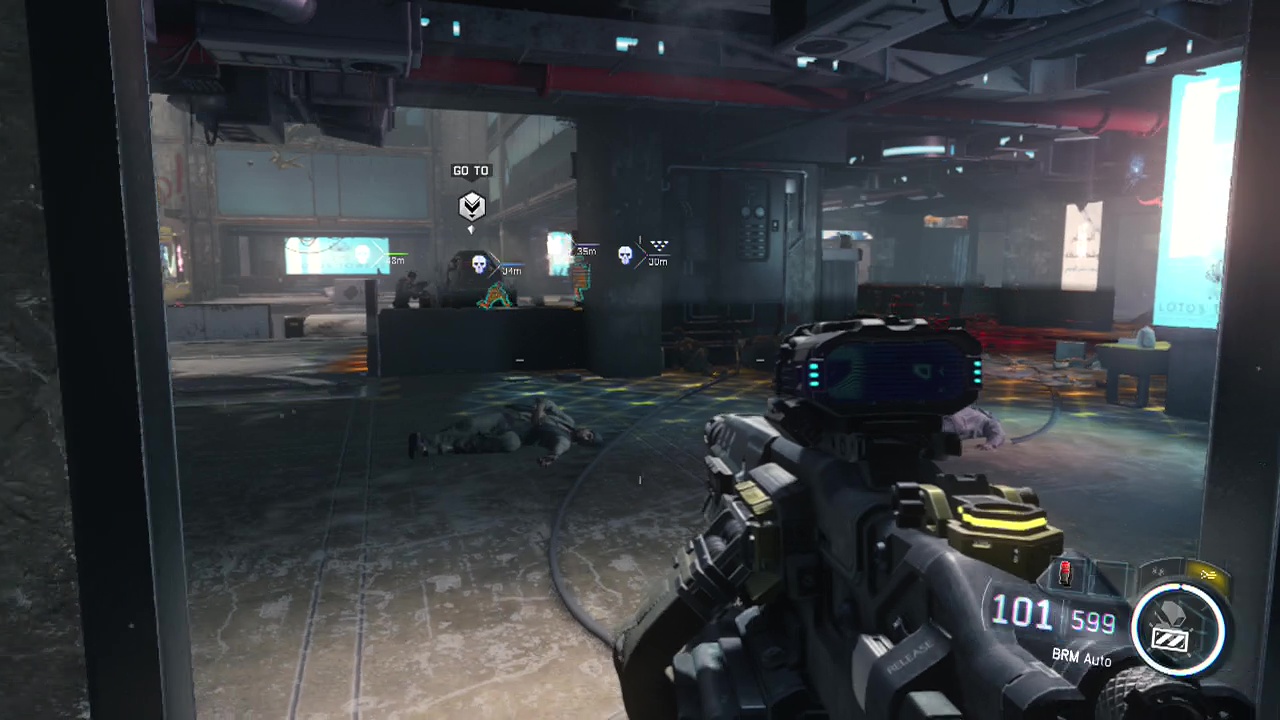
Take cover at the door frame just before where the second enemy was and look around the corner to see oncoming phalanxes moving down the hallway. Throw a well placed grenade into their midst or aim for their arms or legs to bring them down quickly. Pass through the doorway beyond where the phalanxes were, heading up the stairs to breach the door at the top, triggering a short scene. You'll land on a walkway below afterwards. Ignore the enemy lying on the ground and move towards the corridor with the objective marker nearby, stopping at the corner for cover. About six enemies will be spread in a semicircle in the next room, so peek around the corner and bring them down one at a time. You will probably need to move up to finish off the last couple who are in good cover positions.
As you move into the new hallway, another group of phalanxes will enter at the opposite end and start moving towards your position. Duck into the small room on the left for cover and throw a grenade or shoot at them and the additional reinforcements running in, from the doorway. If you have FMJ equipped to your gun you should be able to shoot through the cover at the human enemies here, bringing them down without exposing yourself. Otherwise you'll need to move around to try and get a clear shot. Flashbangs and human effecting core abilities are very useful here.
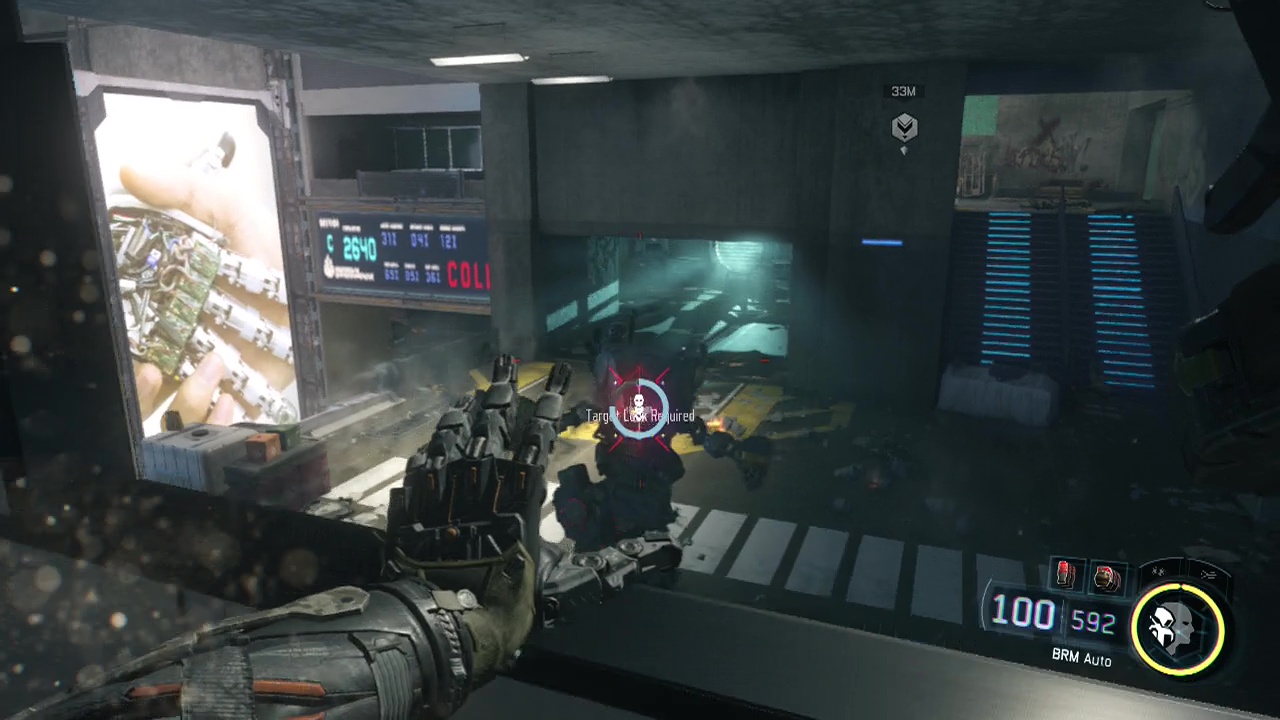
Pause at the doorway opening and let Hendricks and Khalil lead the way as there are a couple of enemies waiting at the top of the stairs in the next room. When you reach the top of the stairs, you'll see another eight or so enemies through the door frame ahead (four in cover dead ahead, the others in raised positions to the left or moving up on your right. Phalanxes and additional enemies will arrive at the back of the area from a mobile shop (think: shop sized elevator) a few seconds later. Take cover on the side of the door frame and start picking off any enemies who leave cover. You will likely need to once again flank around the outside (right side rooms) of the area, taking out those enemies camping in cover as they don't tend to leave it. This should bring you around to the marked mobile shop.
Jump up onto the top of the shop and use it and the next shop as stairs. When you reach the top of the second shop, take cover behind the air conditioner as the shop begins to move upwards. When the shop stops moving, turn around and carefully approach the hallway. A mix of robotic and human enemies will be firing down the hallway towards you. Take cover behind the closest debris pile and start using your core abilities against whichever side your core can target as you open fire. FMJ rounds will once again be your friends here as the human enemies like to sit back behind cover and let the robots do the work. Flanking time yet again. Move into the storefronts along the left wall grabbing the Hamsa off the wall at the back of the first one , then firing out at the enemies hidden behind cover. You'll see a group of human and phalanx enemies huddled further ahead from your position inside the first storefront, as you move forward you'll hear the noise of incoming R.A.P.S. Immediately back up and open fire on them as you spot them. The group of enemies will rush forward after the R.A.P.S advance as well, making your job of survival more difficult.
If you can, use your core abilities to control a couple of the R.A.P.S (it's always funny watching them turn around and detonate on their former allies) or failing that, take a cover position with a decent line of sight down the main hall, being on the lookout to the sides to avoid being flanked by the R.A.P.S while you are shooting the advancing human enemies. When the R.A.P.S barrage is over, you can resume your trek through the storefronts to flank the remaining human enemies. When they are all gone, take cover at the corner in the hallway as enemy robot forces blast through the wall ahead, be aware of more R.A.P.S that come through the hole after the initial explosion. They will walk/roll out into the hallway directly into your line of sight, so start unloading on both the R.A.P.S as well as the robots. When the coast is clear, move up to and enter the hole that was just blasted in the wall.
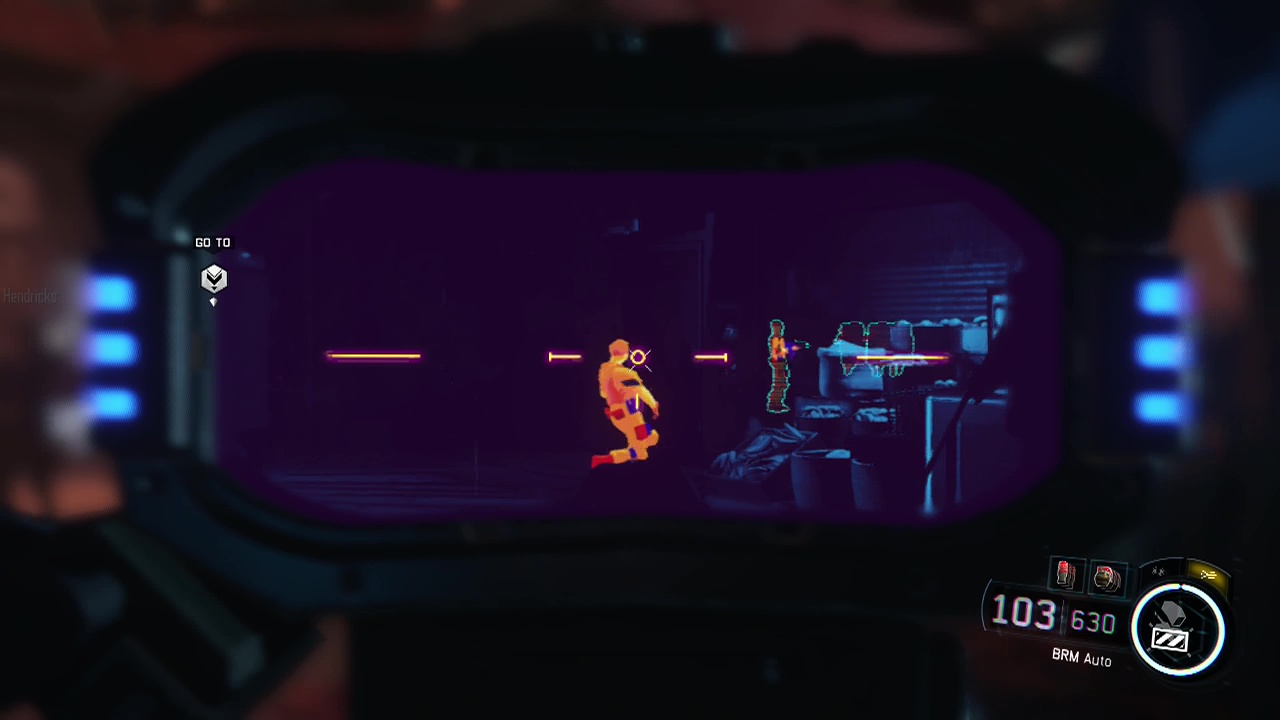
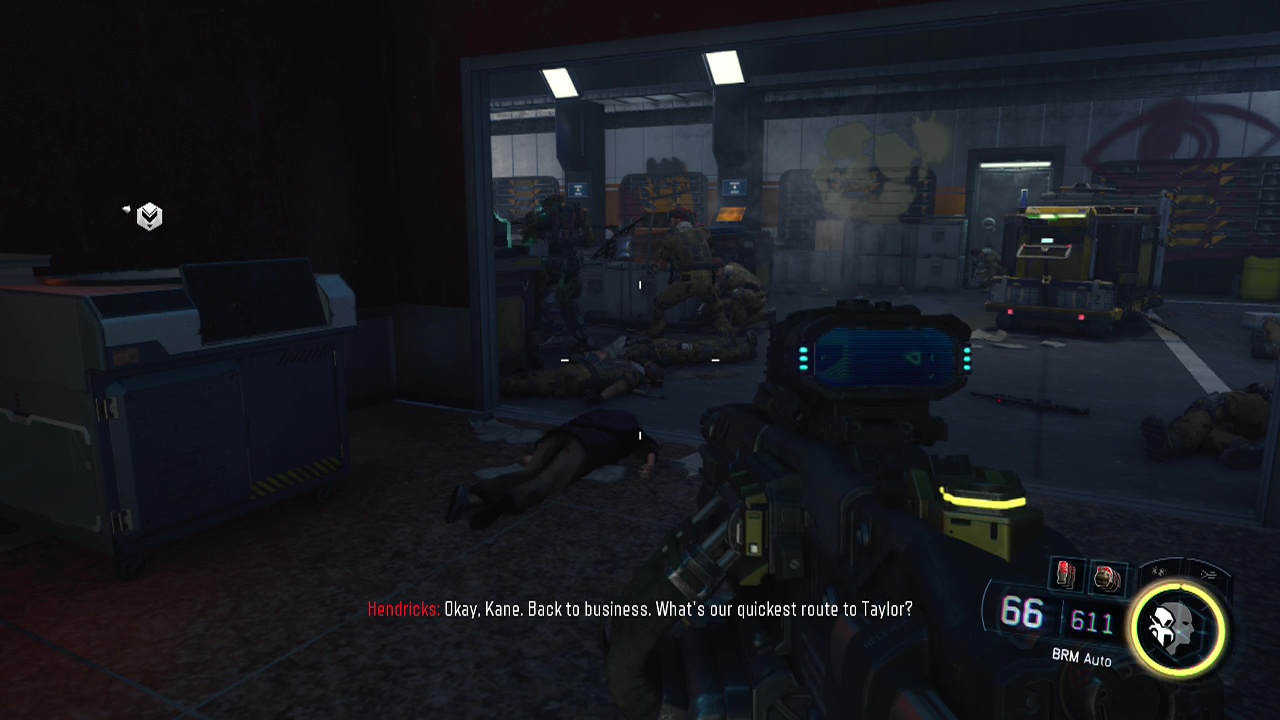
Follow Hendricks down the corridor and into the air duct when he opens it up. At the end of the vent, breach the duct cover to drop down into the room below with enemy soldiers at the other end. Grab Taylor's Insignia from the lockers on the left hand side of the room. Take cover behind the low wall slightly to the right and follow it all the way around to the right side, popping up to shoot through the glass at the enemies. After bringing down the four or five enemies in the room, you will be able to hack a nearby console. A fairly long scene will play out, eventually returning you to your place in front of the control panel. As soon as you regain control, sprint for cover behind you as enemy hostiles blast a hole through the wall to the left of the console. More R.A.P.S will roll through the hole, so be ready to open fire as soon as they appear. A couple of robots will follow after them.
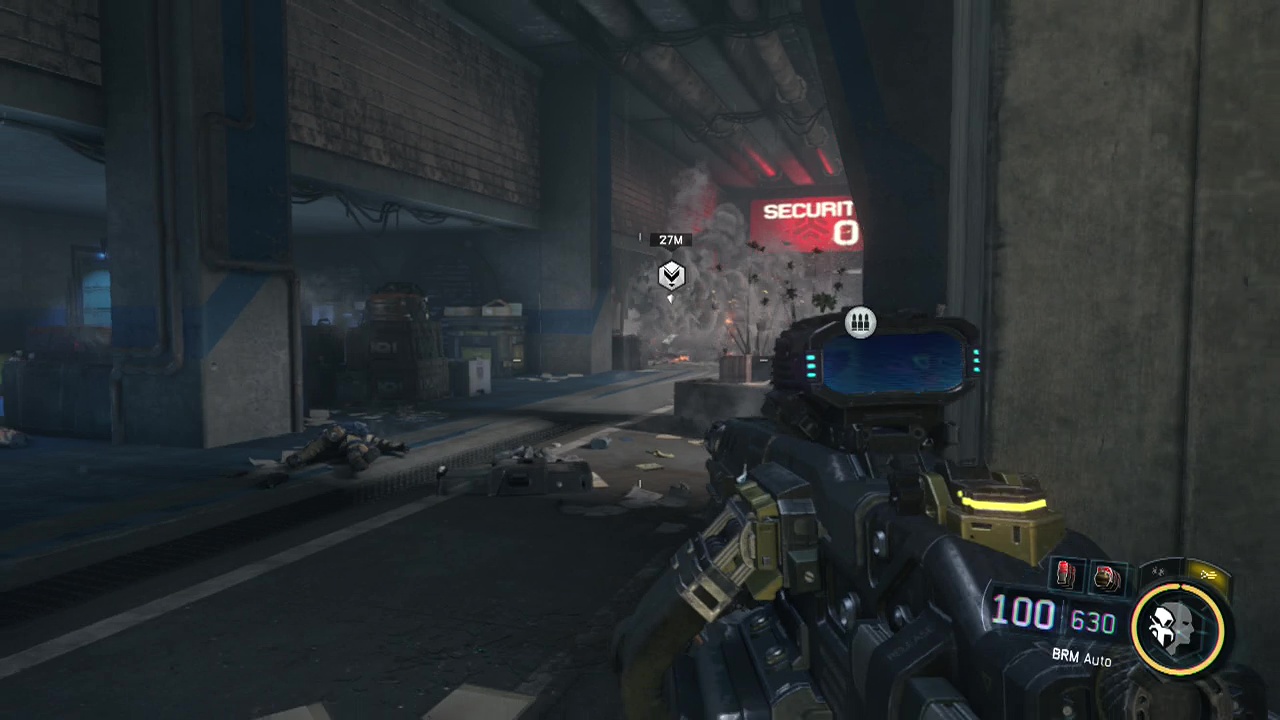
Follow Hendricks down the new corridor through the breach hole, watching the air forces moving in at the far end. When the red door opens beside Hendricks, basically just stay where you are and the aerial forces will eliminate the large group of enemies at the end of the hall for you. Deal with the one or two survivors afterwards and move up through another hole in the wall after your allies. Be careful at the next corner as it tends to be a grenade spamfest. Peek out around the corner and take out the enemies on the walkway overhead first, before concentrating on those on the same level. When the room is clear, enter the mobile shop at the end to start making your way to your target.
The shop will stop on the 88th floor, so jump up and out of the hole in the roof of the shop, racing after Hendricks to nearby cover. Groups of talons will be floating around in the air in this area, so either take command of them with your core abilities or bring them down. Enemy forces will begin moving down the walkway a few seconds later, so once the talons are not an issue start laying into the ground troops. A line of enemies on the far side of the bridge/ walkway will open fire, so you'll need to use a long-range weapon here or cross the bridge running from cover to cover to deal with them. You can also find a Decorative Lantern in the corner of this bridge as you cross. Move across the bridge either way, bringing down the enemies on the other side. Be careful of enemies on balconies just above you here as they like to appear there and shoot down at you.
You'll want to move around the benches and store counters here, firing out at any enemies you can see (stick to the left side of the area where Hendricks is). Robots and more human enemy troops will move in from the other side of the room, so continue your gunfire and spamming of abilities and grenades. When you get halfway through this maze of counters, R.A.P.S will enter the fray and start racing towards your position. At the same time, robotic enemies will begin their assault, so back up as much as you can and concentrate fire and abilities on the incoming R.A.P.S to avoid being blown up.
After the R.A.P.S are disposed of, you can then start on the incoming robots, moving along the outer counters as you deal with the enemies. When they are nothing but scrap on the ground, start moving after Hendricks towards the objective marker, taking cover inside the room in the left corner of the area as enemies start firing rockets down from the level above. You will want to fire out the window to take out both RPG launcher enemies before you follow Hendricks out onto the roof of another mobile shop. When they are finished off, jump or wall-run across from the roof of the mobile shop onto the slope nearby, taking cover behind the desk as soon as you clamber up to the next level (avoiding the R.A.P.S that is busy desecrating a corpse on ground nearby).
Carefully move up the nearby stairs and be ready to take on a couple of human enemies around the corner at the top. You'll also see a trio of phalanxes through a window ahead which you should be able to pick off by targeting their exposed arms or by running forward and lobbing a grenade into their midst. Make sure to take out the enemy past the phalanxes that appears when you move forward in this upper area too (he uses a laser scope). You'll be able to pick up a Hookah on a table in here as well (no, it's not what it sounds like). From this position, you should be able to look down out of the window to see a P.A.W.W.S in the lower area. If you have the control core, you can take this robot over to finish off any remaining enemies. If you don't have the control core, fire down out of the window to turn it into a pile of scrap, dodging back into cover when it fires rockets up at you. Just note that it really seems to suck at killing enemies in cover if you do take it over.
Finish off the last couple of remaining enemies in the area before hopping down out of the window and climbing up the marked stairs opposite. You'll reach the doorway to a new room at the top. Be ready to open fire at an incoming pair of robots to your right as you move through the door. Another robot will open fire from behind a wall past the two advancing robots, so take cover and deal with him from range. You'll move up to a doorway leading off to the left. Gun down the human enemy on the stairs ahead through the doorway as Hendricks moves up past you. Four enemies (two on the walkways above, two on the lower level) will be in the room at the end, so shoot from around the doorway to stay safe while you bring them down. A turret and a hound at the corner ahead can be dangerous if you are relying too much on a thermal scope here, so stay alert as you move up the stairs to the upper walkway.
More enemies will run out across a walkway opposite, so use the wall as cover as they emerge, gunning them down when they move into your line of sight. You should definitely get rid of the hound from this position if you aren't able to control it. Circle around through the office onto the other side of the walkway, shooting down at the small army of robot enemies below. Another turret will be on the lower level at the far end, so use the panels on the upper walkway as cover as you attempt to control/ destroy it. Now that this passageway is finally clear, descend to the lower level and meet up with Hendricks at a door with an objective marker on it. Open it up when a prompt appears to trigger a scene.
After the target flees, follow Hendricks as he chases after him. You'll see serveral melee robots in combat ahead, these will be under the control of your target, so don't bother trying to take them over if you have the control core. Instead, open fire on them and the enemies that they are attacking as you move along the corridor. Be ready to deal with charging robots from now on as you advance, with the rare shooting robot scattered amongst them. Keep following Hendricks as he crosses walkways and leaps up the side of mobile shops. Believe me, you are going to start getting really sick of the "imagine yourself in a frozen forest" lines. Especially in the final level of the game. Keep chasing after Hendricks, killing more melee robots until you see the outside world again and a green painted door ahead of you. Be extremely careful as you advance to the door, as a robot will smash through the wall above it attacking you as it lands.
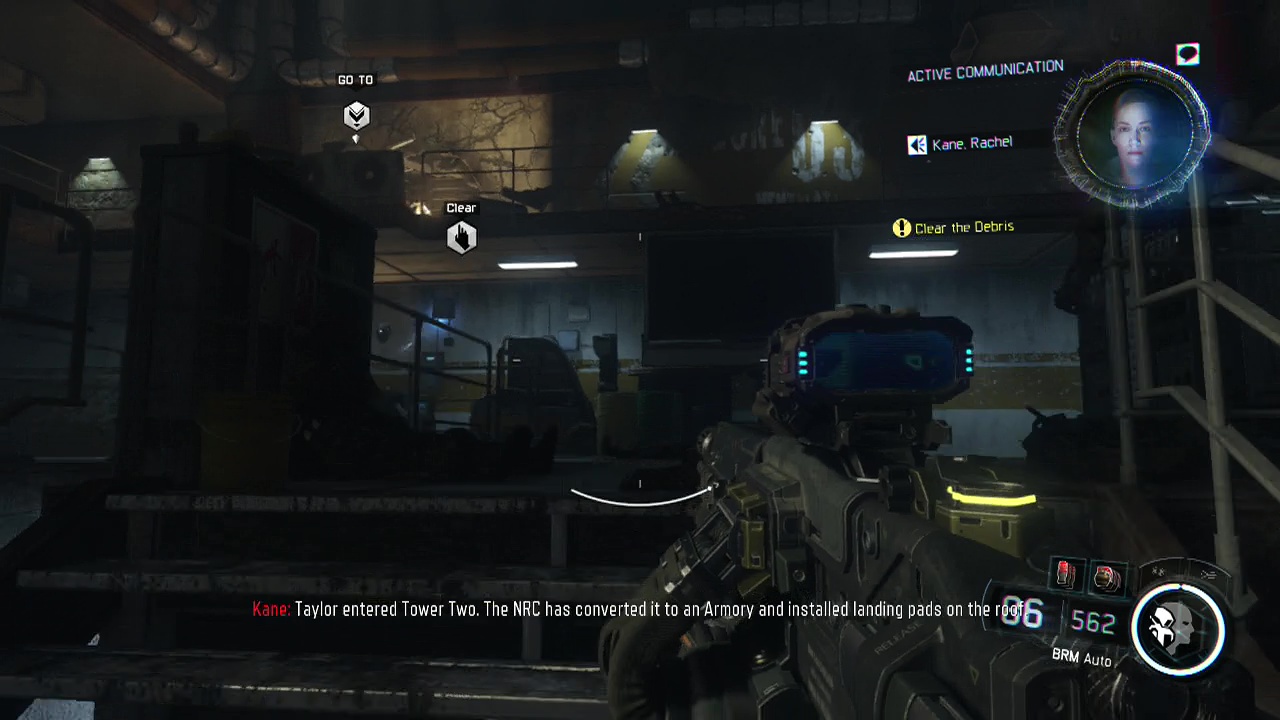
Now that you have a new path thanks to the robot, jump up and into the hole in the wall and kill the robot at the top of the stairs inside. Another pair of robots will sprint towards you as you near the top of the stairs, so be ready to engage them when they appear. More will sprint at you after the initial pair so be on the lookout as you move forward from the top of the stairs. A lone shooting robot will be on the walkway ahead of you as you move up. Continue following Hendricks as he trundles up onto the walkway, remaining vigilant of onrushing robotic threats. When the area is clear of robots, a prompt will appear beside Hendricks to help him clear the debris so you can reach entrance of the skybridge leading across to the second tower, where your target has fled to.
As you look out, you'll see a small army of robots and human enemies battling each other so use your starting position after pushing the debris out of the way to clear the path ahead. Move along the side of the building, jumping the gap the falling mobile shop creates as you rush along. You'll need to turn left, taking on more melee robots as you cross the crumbling remains of the skybridge. jumping down to the slope below and across the wreckage of a downed VTOL. You'll see more human and robot enemies fighting amongst themselves, so quickly gun them down, as well as the additional pair of melee robots that try to attack when you move down to where the fighting was going on.
Follow Hendricks up the slope to the right dealing with more melee robots along the way until you get to another flat area. Here you can climb up on some blue scaffolding on the right side of the passage to find a Wall Hung Carpet on the 'roof' of the area behind an airconditioner vent. This also acts as an alternate path to reach the marker but you are better off taking the lower level where you should take cover behind the debris to the right. A large number of melee robots will try to swarm you here with another couple of shooting robots backing them up from behind. Take out the melee robots from behind your cover position before carefully moving out to bring down the ranged robots. Two more ranged robots will appear above and behind you on the top of the ruined skybridge, so turn around and take them down before you advance. A melee and ranged robot will jump down out of the burning wreckage, so turn them into some of the same.
Follow Hendricks by jumping up the ledges and up the side of the second tower until you find a way into the building. Pass through a burning doorway and a scene will take over. When the scene ends you'll be back with Hendricks. Chase after him through the fire and flames, until you reach the central shaft of the tower. When you drop down and look to the left, melee robots will start emerging from their charge stations, so gun them down before they can attack you. More will start running at you and dropping down from above just past the charge stations, so be ready to take them on.
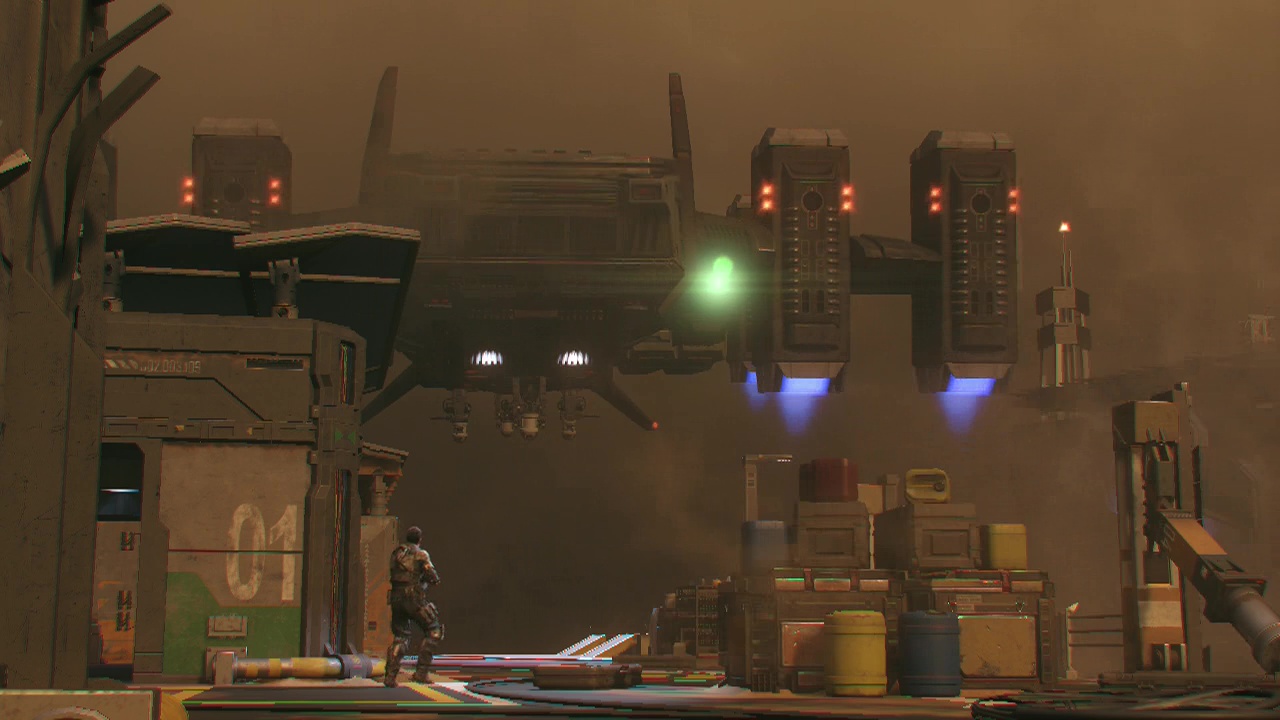
At the top of the next slope, more robots will emerge from the charge stations along the left and right walls for you to cut down. Keep moving upwards, blasting down the robots that come out of the charge stations and rush for you. You'll reach a more open are shortly where ranged robots will fire down at you from the levels above. Back up and take cover to take them out safely. Run up onto the burning walkway after Hendricks and interact with the console to take a mobile shop up to the roof. When the scene ends, you'll be left to face off against your target and a frickin' mothership all on your lonesome. Happy, happy, joy, joy.
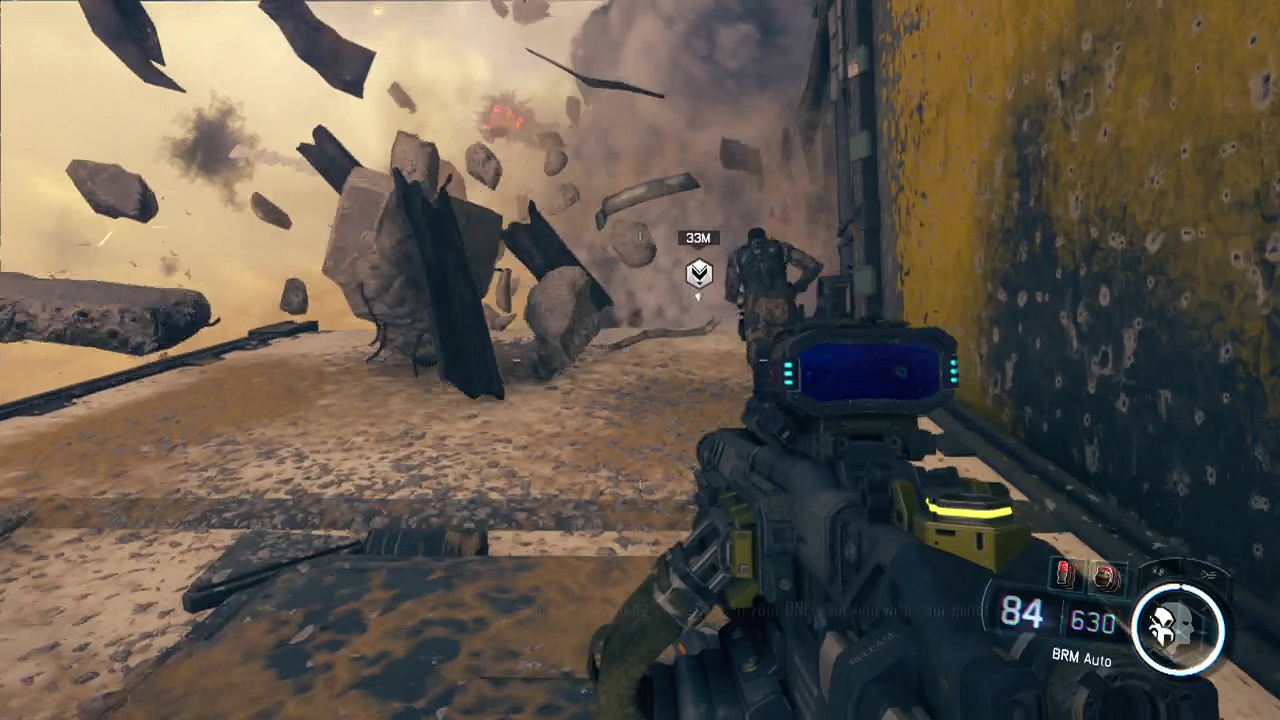
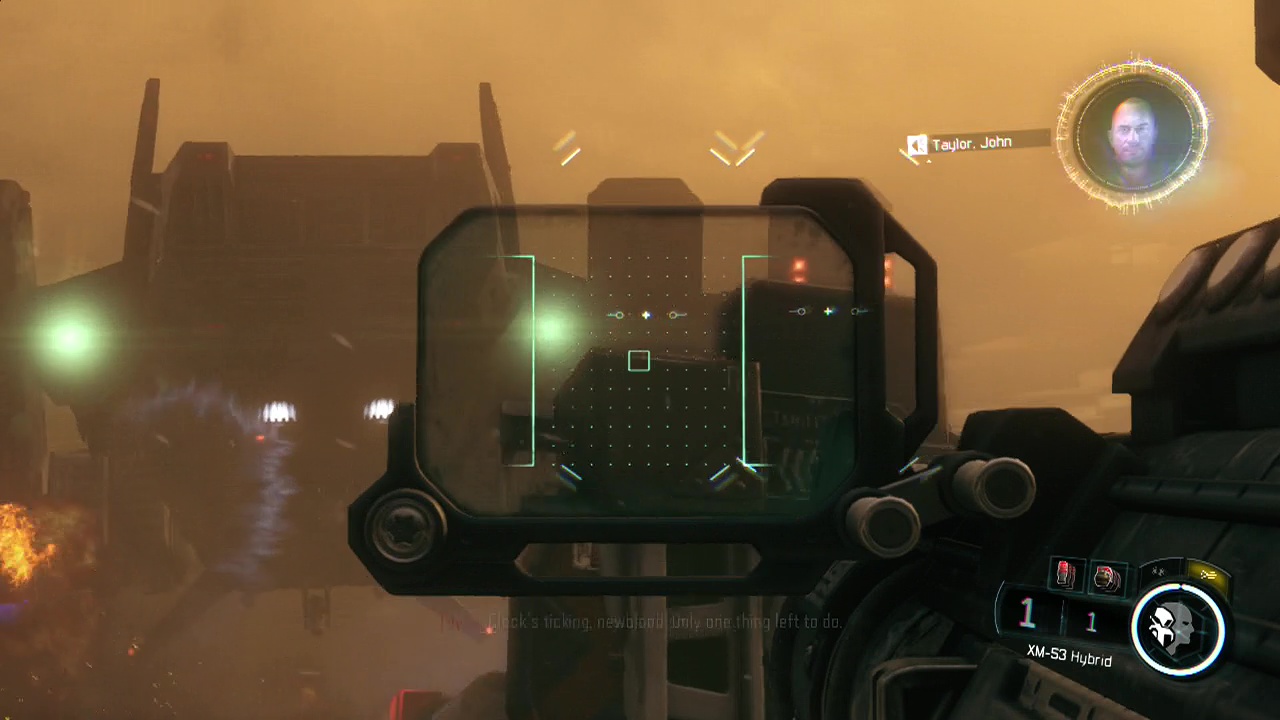
The mothership is a massive floating killing machine, having multiple banks of turrets and rocket launchers. So my advice would be… Take cover or end up with a massive lead overdose. Inside the closest building to your right when you regain control is a Melted Robot Part to retrieve. You'll see mobile shops raise up filled with ammo crates and XM-53 RPG launchers, so sprint inside and grab one. You'll need to lock on shots onto the thrusters on both sides of the mothership, reloading your ammo at the ammo crates or from the other launchers on the walls. While this may sound fairly easy there are a couple of things that make this extremely difficult.
The shop's structure deteriorates under the barrage of attacks from the mothership, making massive holes for rockets and machine gun fire to pass through, hitting you unexpectedly. Also after taking set amounts of damage, the mothership will release R.A.P.S and also ground troops onto the rooftop to add to the fun. The only good thing about this is that the mothership will drop down and stop attacking you for a short period, allowing you to concentrate on the incoming ground forces.
Ground wave 1: R.A.P.S x 6
Ground wave 2: R.A.P.S x 6, Hound x 1
Ground wave 3: You're probably dead or victorious by this point
When you take out all of the thrusters on each side of the mothership, a scene will take over and the mission will finally end. Onto the final level of the campaign folks. Nearly there.